tap a picture to see it big · tap DONE as you go - this device remembers
Step 1 of 10
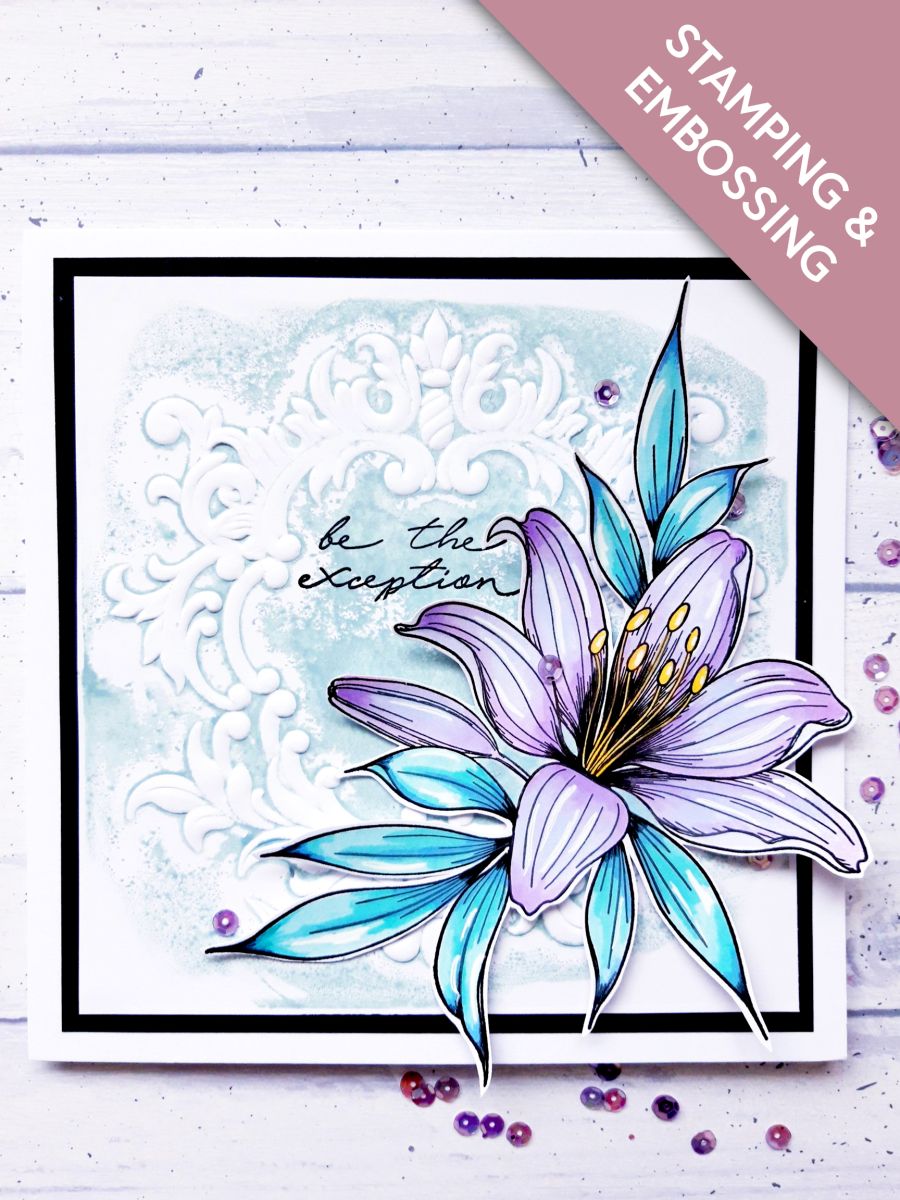
Apply the Salvaged Patina ink pad direct to the debossed side of the embossing folder. I like to apply the ink randomly around the folder, to give a distressed look. However, you can cover the entire folder to obtain a more distinct "square" inked impression.
Spritz lightly with water.
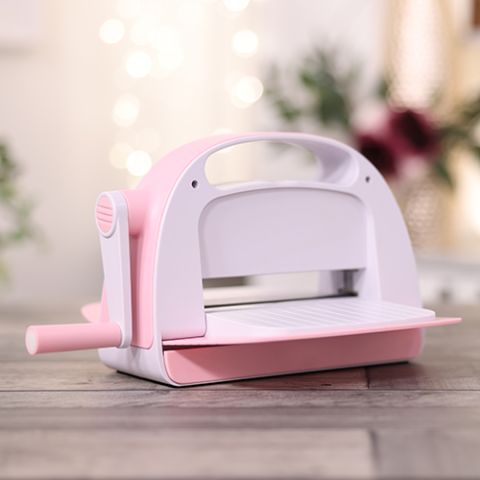
Pop the 6" square, white cardstock, inside the folder, and run through your embossing machine.
Step 2 of 10
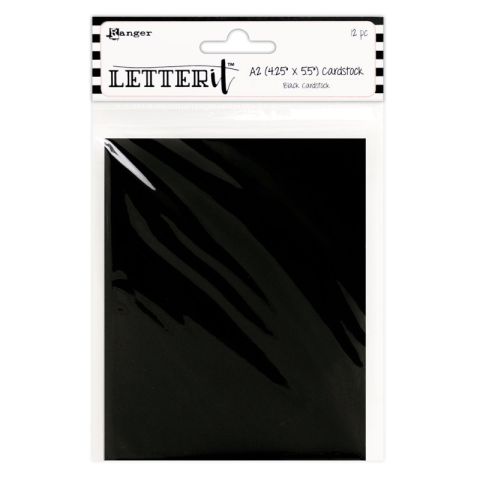
Once the ink is dry adhere your embossed artwork on to the black cardstock.
Step 3 of 10
Adhere this on to your white card blank.
Set this to one side.
Step 4 of 10
Ink up the floral image from Be The Exception Stamp Collection, in the Onxy Black Versafine. and stamp on to the 7 x 6" white cardstock.
Once the ink is dry, place the coordinating die over the stamped image, and run it through your embossing machine.
Step 5 of 10
Paint the leaves of your floral image usingSalvaged Patina, Peacock Feathers and Faded Jeans Oxides. Apply the ink on to a craft or glass mat, and use a paintbrush and water. Start with the lightest colour and build up with the darker colours, to add shadow and depth to your image.
Step 6 of 10
Use the Shaded Lilac and Wilted Violet Oxides to paint the petals, and Fossilized Amber for the stamens.
Step 7 of 10
Add a few layers of the Fossilized Amber to make the yellow really "pop".
Use the black HIMI Oil pencil to add more shadow to the centre of your petals.
Use the white gel pen to add highlights to both petals and leaves.
Step 8 of 10
Ink up your sentiment stamp, from Be The Exception Stamp Collection, in the Onyx Black Versafine.
Using your die cut floral image as a guide, stamp your sentiment top left, within the embossed frame.
Step 9 of 10
Adhere your floral image in place, around the bottom right hand side of the embossed frame and sentiment, with foam pads. This adds more dimension to your artwork.
Step 10 of 10
To finish your card, add some random sequins around, and tucked just under, your floral embellishment.
You made it!
Share your make with the Stamps By Me community - and keep this guide for next time.
Hello! I'm Toni's AI craft helper - I know the projects from Toni's shows, our guides and everything in the shop. Ask me anything, like "which dies go with this stamp set?" or "what do I need to start ink blending?"
An AI helper (not Toni herself), answering from Toni's shows and our shop - please check the product page before you buy.