tap a picture to see it big · tap DONE as you go - this device remembers
Step 1 of 8
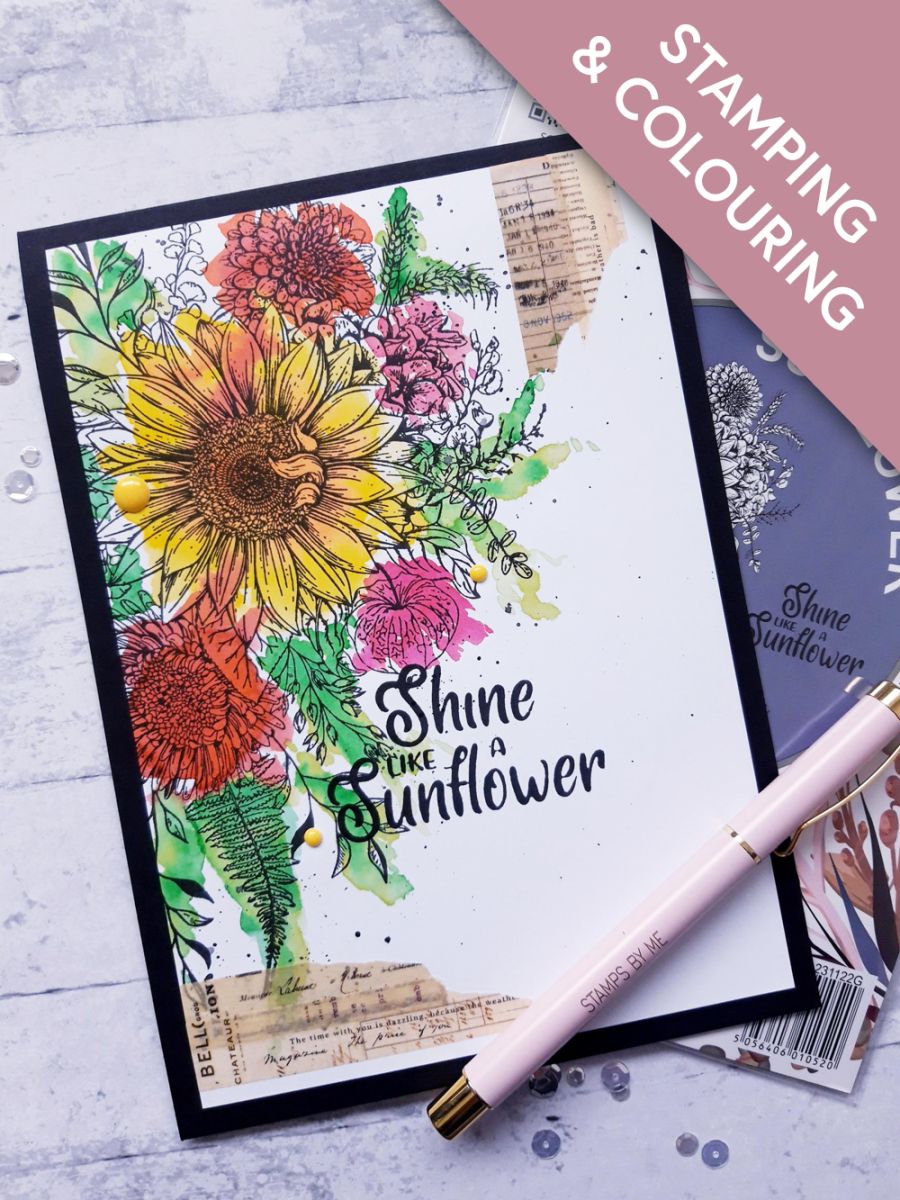
Apply a little of the Sherbet, Bittersweet, Magenta and Redwood inks on to your glass mat and add water.
Using your Sunflower stamp as a rough placement guide, drop the inks roughly where the flower heads will be stamped. Dont be precise, add water and allow the inks to move and bleed in to each other, whilst mopping up any excess with a paper towel. The idea is to create a loose, watercolour effect.
Bllast the ink dry before proceeding to the next step.
Step 2 of 8
Repeat the same process but this time using the Hedgerow and Limeade, where the leaves and foliage will be stamped. Dry off the inks when you're happy with the effect.
Step 3 of 8
Ink up the Sunflower stamp with the Midnight hybrid and stamp onto your inky artwork. Remember you are looking for a loose, watercolour effect so don't try to line it up perfectly!
Step 4 of 8
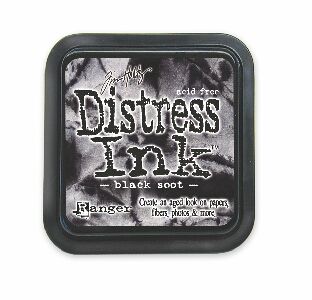
Apply the Black Soot Distress ink on to your glass mat, add water and splatter your artwork! I like lots of splats but you can do as many, or as a few as you like.
Step 5 of 8
Tear off strips of the Journal Notes washi tape and adhere across the bottom left and down the top right.
Step 6 of 8
Ink up the sentiment with the Midnight ink and stamp across the bottom, right of your artwork.
Step 7 of 8
Adhere your artwork on to your black card blank.
Step 8 of 8
Finish off by adding yellow, adhesive enamel dots on to your artwork.
You made it!
Share your make with the Stamps By Me community - and keep this guide for next time.
Hello! I'm Toni's AI craft helper - I know the projects from Toni's shows, our guides and everything in the shop. Ask me anything, like "which dies go with this stamp set?" or "what do I need to start ink blending?"
An AI helper (not Toni herself), answering from Toni's shows and our shop - please check the product page before you buy.