


Step 1 of 11
Place the edger die, from the Deboss Nesting Circles Collection 5" from the left, on the front of your white card blank and run through your machine, as seen here. If you don't have an edger die just trim the front page at 5".








Prices change straight away. Every language is our own translation, not Google.
 Blending Tool RectangleBlending tool€11.49BUY✓ ADDED
Place the edger die, from the Deboss Nesting Circles Collection 5" from the left, on the front of your white card blank and run through your machine, as seen here. If you don't have an edger die just trim the front page at 5".
Remove these papers, from the Paperchain paper pads and trim the lighter paper to 6 1/2" square and the darker paper to 6 3/4" square.
Ink around the edges with the Sherbet ink.
Removing the same papers from the paper packs, this time trim the lightest to 6 1/4 x 4 1/4" and the darkest to 6 1/2 x 4 1/2". Again, blend around the edges with Sherbet.
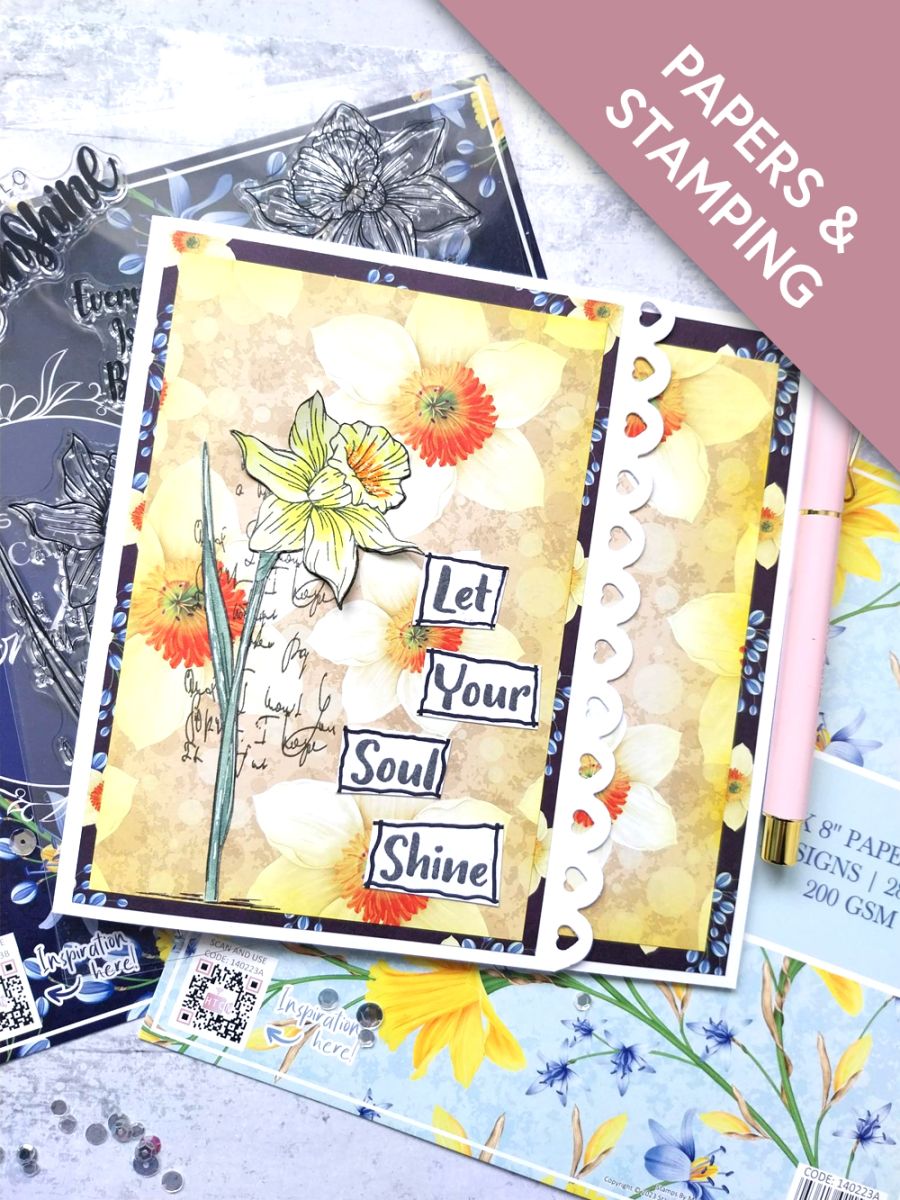
Taking the darkest papers first, adhere the square one on the inside page of your card blank and the other on the trimmed, front page of the card blank. Then adhere the 2 lighter papers on top of their darker, paper mats, as seen here.
Ink up the right facing Daffodil stamp, from the Sketched Florals Collection, with the Midnight hybrid ink and stamp to the left of your card blank front.
Set your card to one side.
Reink the stamp with Midnight and stamp on to a piece of white card.
Fussy cut the Daffodil, discarding the "script" aspect of the design. Using a paint brush and your pigment ink pads, watercolour your floral. I mixed the Sherbet and Hedgerow to get a different shade of green, which i felt coordinated well with the green in the decorative papers.
Once the ink is completely dry, use your Imala white gel pen to add a few highlights.
Adhere your painted Daffodil on top of the stamped image, using wet glue on the stem and a little foam pad under the flower head.
Ink up the sentiment stamp from the Sketched Florals Collection, with Midnight and stamp on to a piece of white card.
Cut the sentiment in to individual words and use a black pen to frame each one.
Adhere the sentiment words, with foam pads, down the right side of your artwork.
Finally, add a touch of sparkle to the centres of the flower heads, with the Stickles.
Share your make with the Stamps By Me community - and keep this guide for next time.
Prefer the previous layout? Open the old page.



