


Step 1 of 8
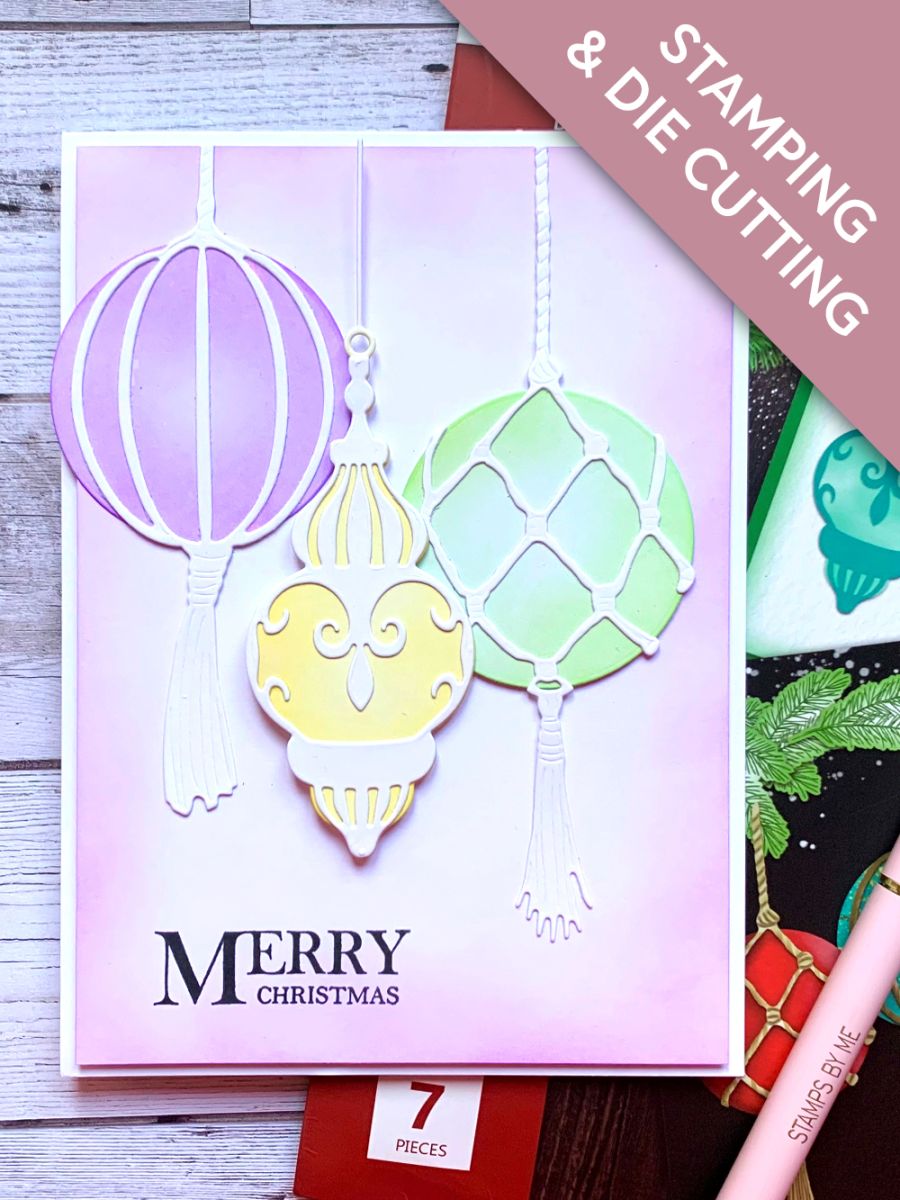
Die cut both layers, for each of the 3 decorative baubles, from the A4 white card.








Prices change straight away. Every language is our own translation, not Google.
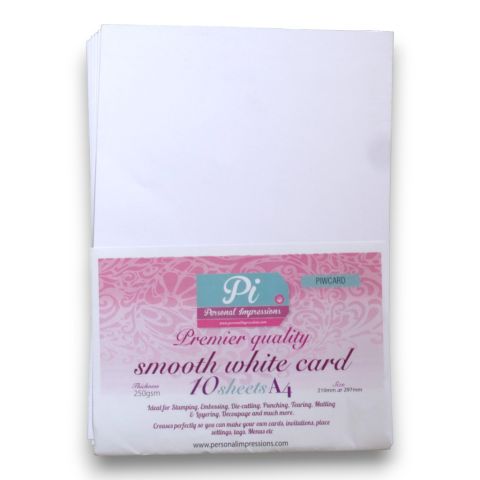 Premier Smooth White Card A4 x10Smooth white card 6 3/4 x 4 3/4"€2.89BUY✓ ADDED
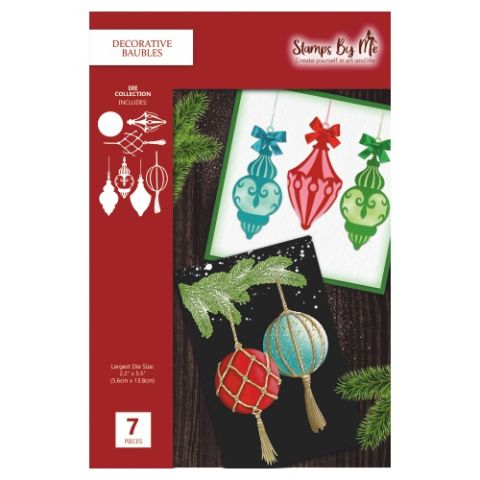 TV - A5 DIE - CHRISTMAS - DECORATIVE BAUBLES - 120621b DDB01Decorative Baubles Die Collection
 Blending Tool RectangleBlending tool€11.49BUY✓ ADDED
Die cut both layers, for each of the 3 decorative baubles, from the A4 white card.
Use your blending tool to colour the bottom layer of each of the baubles, using your Distress Oxides.
Adhere the coordinating top layer to the base coloured layer of the bauble.
Take the piece of 6 3/4 x 4 3/4" white card and blend the Wilted Violet lightly around the edges.
Stamp your chosen sentiment, with the Midnight hybrid ink, in the bottom left corner.
Cut the foam sheet to size and adhere to the back of your inked card.
Remove the backing and adhere to the front of your white card blank.
Adhere the first bauble flat, to the left of the card, using wet glue.
To finish, adhere the other 2 baubles to the card, using 3D silicone glue gel, to create dimension.
Share your make with the Stamps By Me community - and keep this guide for next time.
Prefer the previous layout? Open the old page.



