


Step 1 of 11
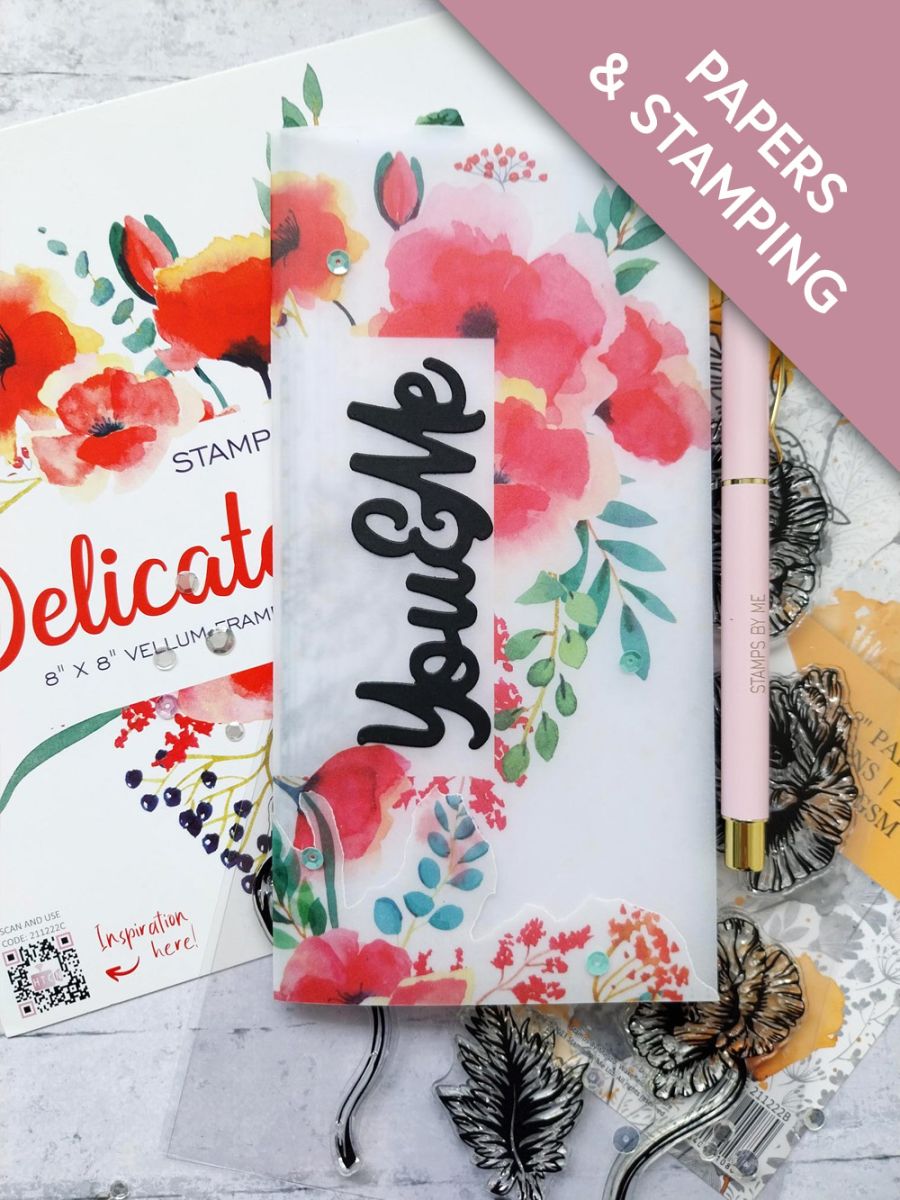
Trim this decorative paper, from the Delicate Florals paper pack, to 8 x 4" (same size as your DL card blank).








Prices change straight away. Every language is our own translation, not Google.
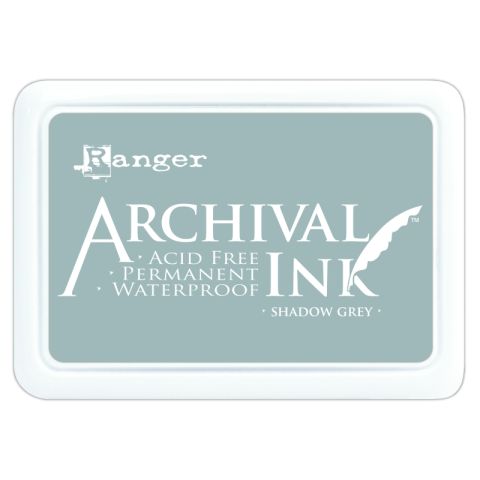 Archival Ink Pad Shadow GreyArchival Ink Pad: Shadow Grey
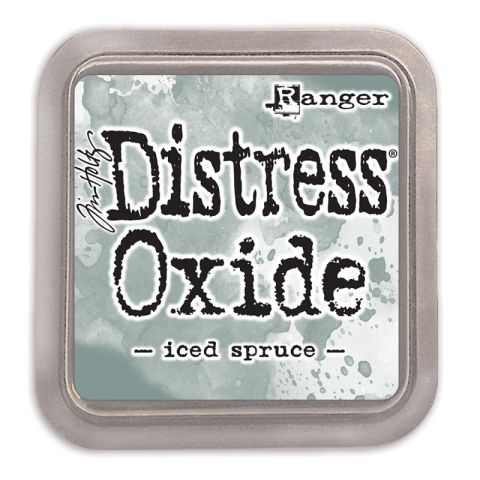 Tim Holtz - Distress - Oxide Pad Iced SpruceDistress Oxide: Iced Spruce
 Blending Tool RectangleBlending tool€11.49BUY✓ ADDED
Trim this decorative paper, from the Delicate Florals paper pack, to 8 x 4" (same size as your DL card blank).
Adhere to the front of your card blank, before blending around the edges with the Iced Spruce Oxide.
Place this decorative vellum sheet on top of your card blank, so the right side is flush with the card and make a mark where the open panel is, on the paper underneath.
Stamp this Poppy with the Archival, so it's coming in from the left edge and will be visible within the vellum panel.
Place the vellum sheet back in position on the card blank, make a mark and trim off the left side so there are a couple of cm's overhanging, as seen here. Pop the trimmed piece of vellum to one side, as you will need it in a minute.
Fold the vellum overhang over the left edge of the card blank and secure on the reverse with your tape runner or vellum dots.
From the vellum you set aside, tear around this floral image. You can use scissors but I like the raw look of tearing it!
Adhere along the bottom of your card, leaving the leaves and tops of the floral elements loose.
Pop your card to one side.
Die cut the You & Me sentiment from black card. You can cut 2 or 3 and adhere together, to create a substantial 3D element.
Adhere your sentiment down the right side of the vellum panel.
Finish your card with a few sequins, as required.
Share your make with the Stamps By Me community - and keep this guide for next time.
Prefer the previous layout? Open the old page.



