


Step 1 of 13
Trim this beautiful decorative paper, from the Classic Clelebration paper pack to 7 3/4 x 5 1/4".








Prices change straight away. Every language is our own translation, not Google.
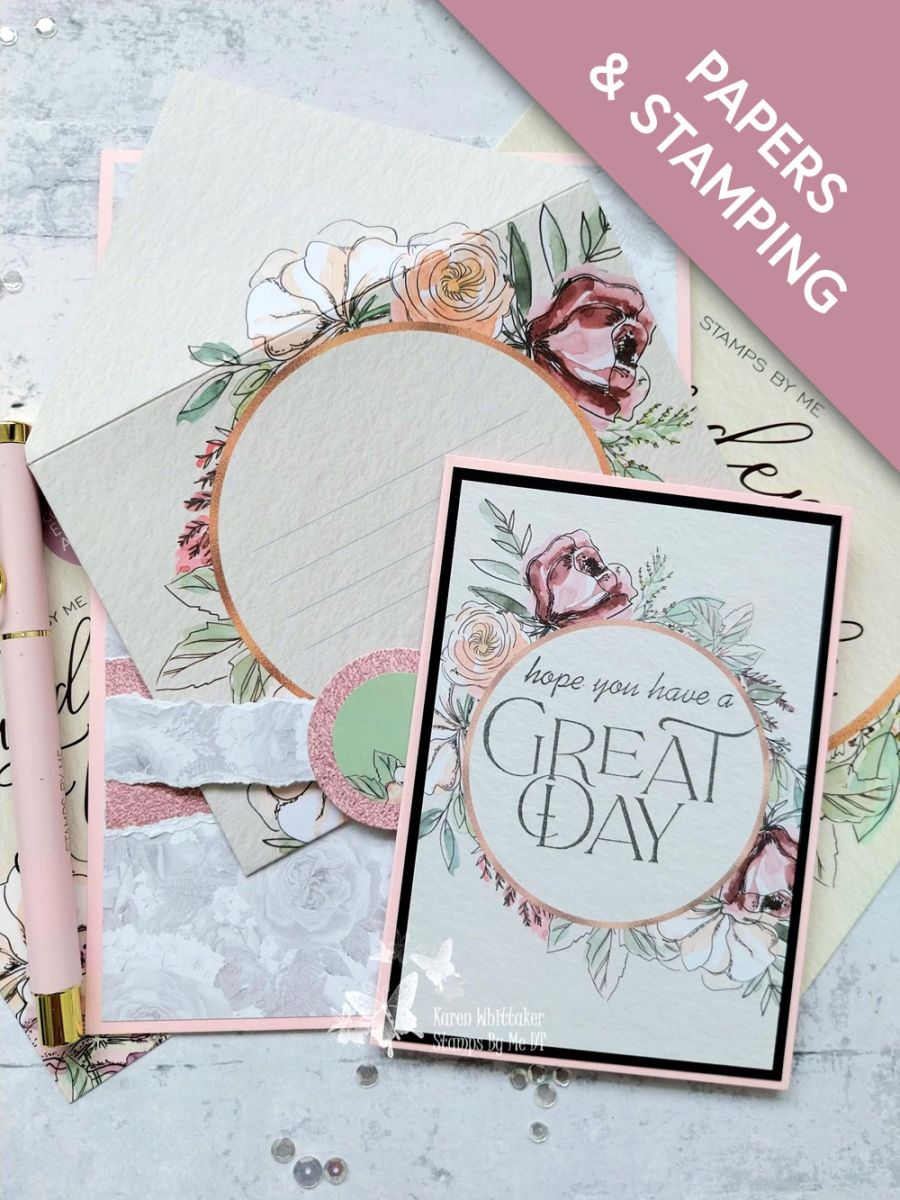
Trim this beautiful decorative paper, from the Classic Clelebration paper pack to 7 3/4 x 5 1/4".
From the leftover paper, tear a narrow panel 5 1/4" long. Tear another panel the same length but wider, from the pink textured paper out of the Classic Celebration Textured pack.
Adhere the pink paper panel flat, across the decorative paper, just under halfway down.
Pop red liner tape down the sides only, on the narrower paper panel, as shown here.
Remove the backing tape and adhere the sides flush, with the edges of the paper. You now have a band to slide your envelope under.
Adhere this on to your pink card blank and pop to one side.
Take the coordinating topper and envelope from the Garden Florals Collection. Score and fold on the pre-scored envelope lines and secure with tape or wet glue.
Stamp the "Great Day" and add-on sentiment, from the Saying Hello Collection, in the Smokey Grey Versafine, in the centre of the floral topper wreath.
Adhere this on to the black card, trimmed to 5 x 3 1/2" and then on to the pink card blank, cut to 5 1/4 x 3 3/4".
Stick this coordinating sticker, from the Garden Florals Envelope Collection, on to a scrap of the left-over pink textured paper, used earlier.
Cut out with your circle die.
Adhere to the centre of the panels, ensuring you only apply glue across the middle, allowing the envelope to still slide under the band.
You can now pop your card/gift card, inside the envelope and slide it under the band. A beautiful way to present your gift.
Share your make with the Stamps By Me community - and keep this guide for next time.
Prefer the previous layout? Open the old page.



