


Step 1 of 13
Take out this Chalkboard Florals envelope and TWO of the same, coordinating toppers.








Prices change straight away. Every language is our own translation, not Google.
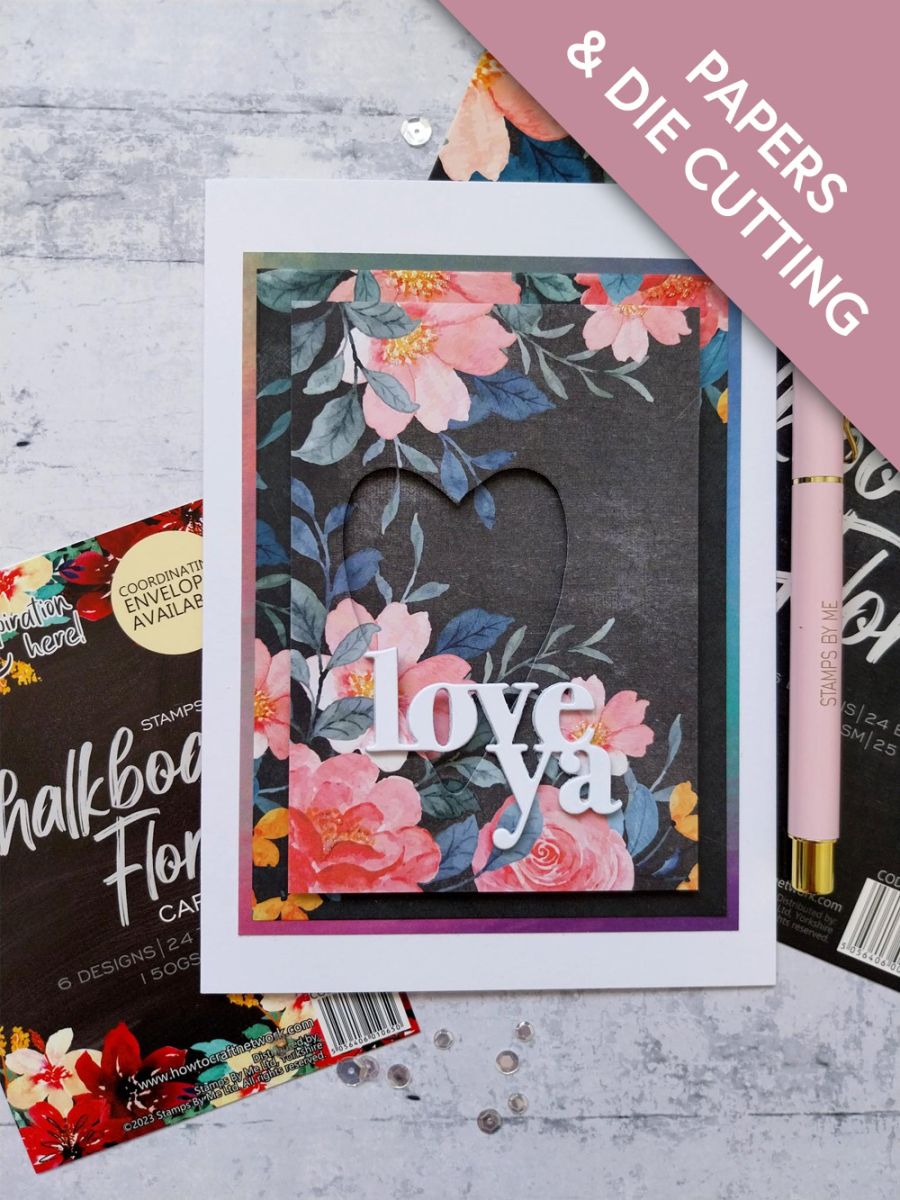
Take out this Chalkboard Florals envelope and TWO of the same, coordinating toppers.
Die cut a heart aperture in ONE of the toppers, using the Thirsty Brush Framed Heart die measuring approximately 3 x 2". Try to capture an area of detailed artwork within the die cut aperture.
NB: You can use any shape or size aperture die, for this project.
Adhere foam tape or trimmed foam sheets, on the reverse of the die cut topper, as shown here.
Remove the foam sheet backing and lining up the artwork carefully, adhere on top of the other identical topper sheet.
Cut the flaps off the coordinating envelope and trim the centre panel to 5 1/2 x 4".
Adhere your topper on to the coordinating panel you've just created.
Trim this holographic paper, from the All Surfaces Paper Pack, to 5 3/4 x 4 1/4".
Adhere your topper on to the holographic paper.
Adhere to the front of your white card blank.
Die cut FOUR "Love Ya" sentiments from white card, using the die from the Creative Words Die Collection.
Adhere your die cut sentiments together to create a substantial 3D element.
Adhere to your card, so it sits just across the bottom of your heart aperture.
Add a touch of sparkle to your artwork, using your Stickles, for a glittery finish to your project.
Share your make with the Stamps By Me community - and keep this guide for next time.
Prefer the previous layout? Open the old page.



