


Step 1 of 13
You will need this coordinating topper and envelope, from the Songbirds Noir Collection.
Fold along the pre-scored lines and adhere the flaps of the envelope with a little wet glue.








Prices change straight away. Every language is our own translation, not Google.
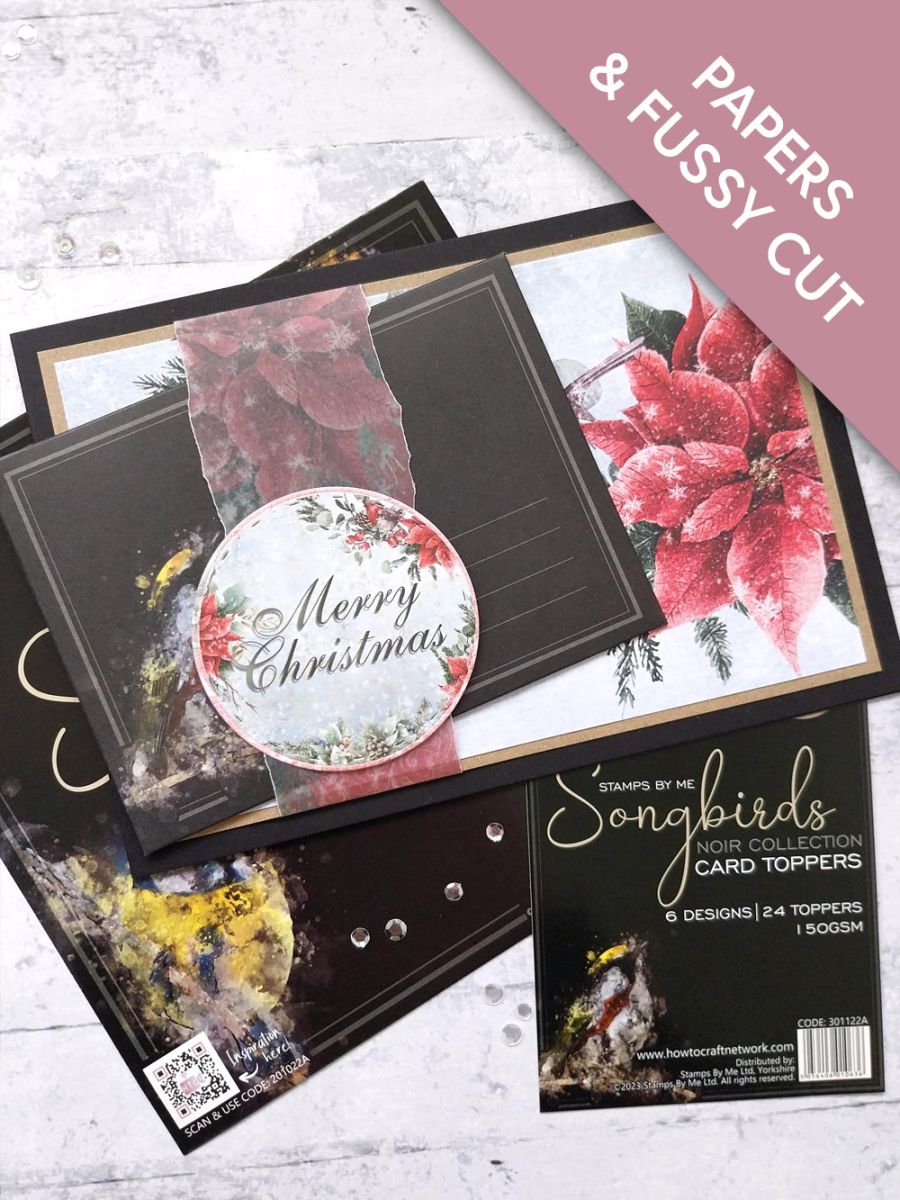
You will need this coordinating topper and envelope, from the Songbirds Noir Collection.
Fold along the pre-scored lines and adhere the flaps of the envelope with a little wet glue.
Stamp this sentiment from the Special Wishes Collection, in the Cotton pigment ink, on to your Songbirds topper.
NB: Pigment ink is very slow drying and will smudge, so give it a quick blast with your heat tool.
Ink up the floral stamp, from the same collection, with the Cotton ink and stamp around the top right of your sentiment, again blasting the ink dry with your heat tool.
Adhere on to your white card blank and pop to one side with the envelope.
Trim this gorgeous sheet of paper, from the 12 x 12" A Winter Story Paper Pack, to 7 1/4 x 4 3/4".
Adhere to your landscape kraft cardstock, trimmed to 7 1/2 x 5", then pop to one side.
Take this utterly gorgeous vellum sheet from the A Winter Story Vellum Pack.
Tear off a panel roughly 5 3/4" in length and the width of your choice.
Place vertically, towards the left side of your patterned paper, tuck the top and bottom edges over the card and secure on the reverse with double-sided adhesive tape.
Adhere this on to your black, landscape card blank.
Use a circle die, to cut one of the sentiment toppers, from the 6 x 6" A Winter Story Embellishment Pack.
Pop a little glue down the centre of the topper only and adhere to the vellum panel, ensuring the panel is loose and your card can be slipped underneath.
Use your Stickles to add a touch of sparkle and glitter to your printed artwork.
Pop your Songbird "gift" card inside the coordinating envelope and, once the glitter is dry, you can slide it under the vellum panel, to send to the recipient.
Share your make with the Stamps By Me community - and keep this guide for next time.
Prefer the previous layout? Open the old page.



