


Step 1 of 14
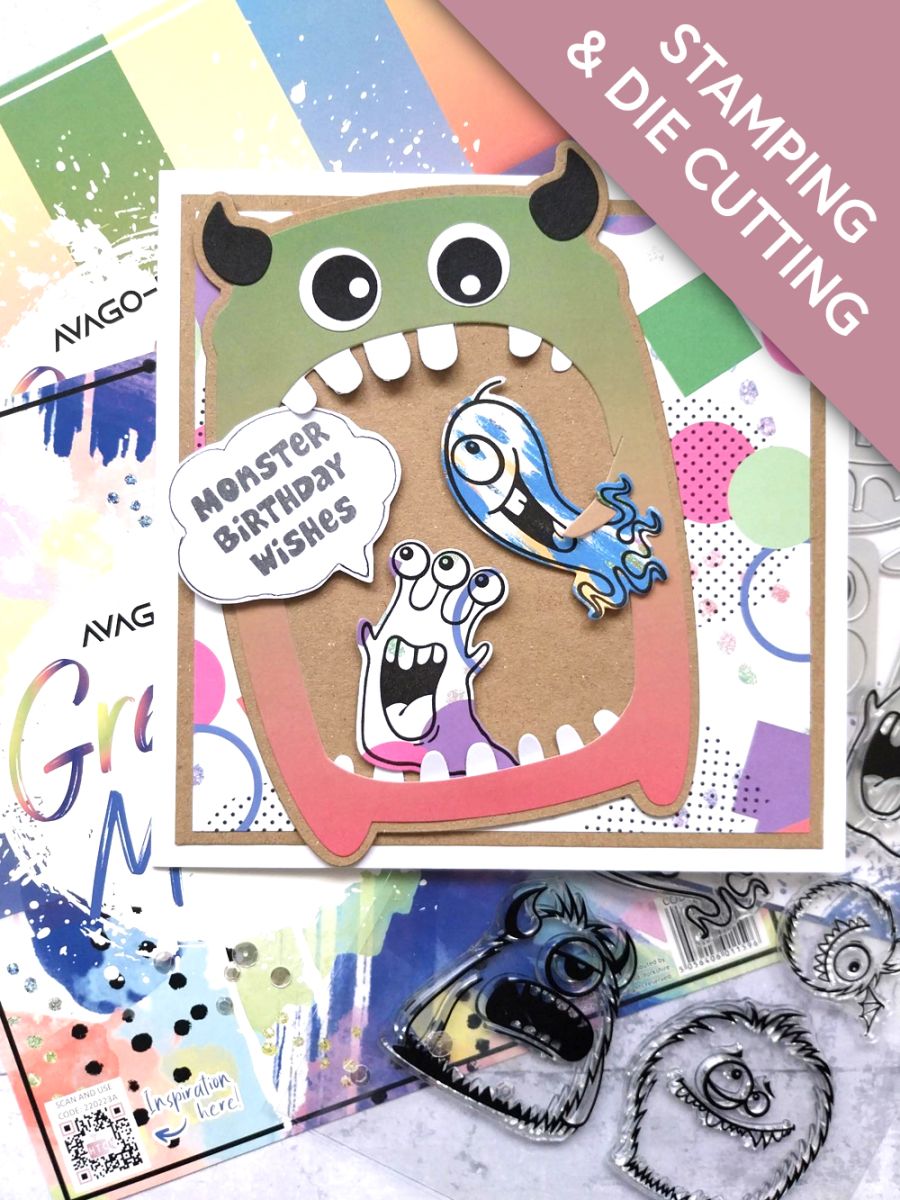
Remove this beautiful ombre paper from the Foundation Pack and place the detailed monster die on top. Secure the coordinating outline die on to the kraft card, cut to 7 1/2 x 5 1/2" and run both through your die cutting machine.








Prices change straight away. Every language is our own translation, not Google.
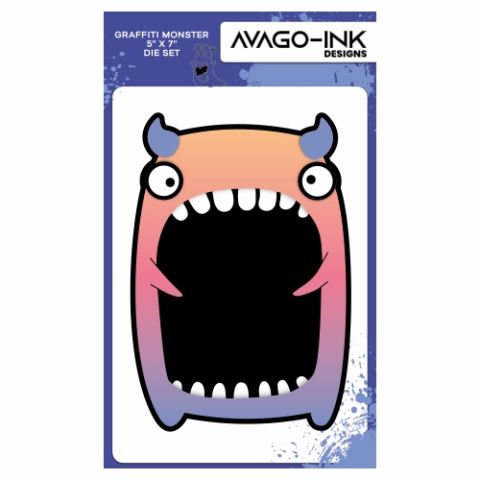 Avago-ink Designs Monster Die SetAvago Ink Designs Graffiti Monster 7 x 5" Die Set€19.99BUY✓ ADDED
Remove this beautiful ombre paper from the Foundation Pack and place the detailed monster die on top. Secure the coordinating outline die on to the kraft card, cut to 7 1/2 x 5 1/2" and run both through your die cutting machine.
Die cut the teeth from white card.
Die cut the eyes and horns from both white and black card.
Adhere the die cuts together to create your monster eyes.
Secure the teeth in place, on the reverse of the die cut ombre monster. I chose to cut off one of the teeth, to create a "gap".
Manipulate and mould the teeth, to give dimension, as required.
Secure the monster on to the kraft card layer, lifting and leaving the arms and teeth free.
Adhere the eyes and horns in place, then pop your monster to one side.
Draw around one of the speech bubbles, on to white card and fussy cut. Stamp your sentiment in the Midnight ink and pop aside.
Using papers from the Graffiti Monster paper pack, stamp and die cut these cheeky monsters.
Trim this abstract paper, from the pack, to 6 1/4" square and adhere to the kraft card trimmed to 6 1/2" square.
Adhere this on to your white 7 x 7" card blank.
Adhere your die cut monster flat, on to your card.
Adhere your 2 cheeky monsters with foam pads, one tucked under the bottom teeth and the other under the arm.
Adhere the sentiment bubble in place, to finish.
Share your make with the Stamps By Me community - and keep this guide for next time.
Prefer the previous layout? Open the old page.



