tap a picture to see it big · tap DONE as you go - this device remembers
Step 1 of 12
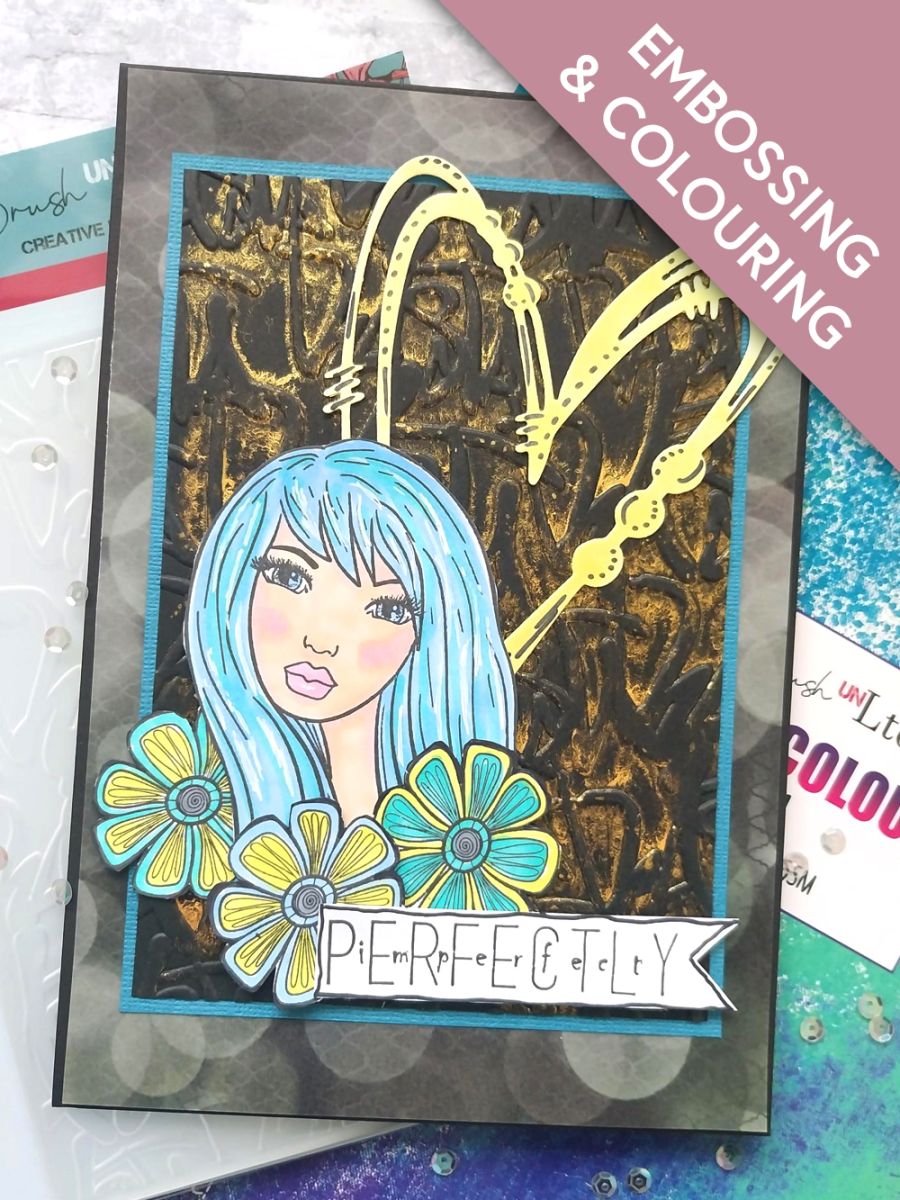
Cut a piece of black card to about 7 x 5", place inside the Scribble It embossing folder and run it through your machine. Trim to 6 1/2 x 4 1/2".
Spray water in your Confetti Goldmine ink tub, to activate the paint. Using the pad of your finger and a light touch, apply the paint to the raised, embossed areas of your background.
Step 2 of 12
Once dry, mat on to the teal textured card, pre-cut to 6 3/4 x 4 3/4".
Step 3 of 12
Remove the bokeh effect vellum, from the Life In Full Colour Vellum Pack and trim to fit the front of your card blank.
Adhere your embossed background, on to the vellum panel.
Step 4 of 12
Adhere this on to your black card blank and pop to one side.
Step 5 of 12
Die cut this heart, from the Mixed Up Hearts Die Collection, out of yellow cardstock.
Step 6 of 12
Adhere on to your card, towards the top right corner, as seen here, before popping the card to one side.
Step 7 of 12
Stamp these elements on to a piece of white card, with the hybrid Midnight ink and die cut. Use your Gossip alcohol pens to colour them in, placing a sheet of copy paper underneath. This protects your work surface from the alcohol ink that bleeds through the card.
Step 8 of 12
Using a combination of wet glue and foam pads, adhere your 3D elements to the bottom left of your embossed background.
Step 9 of 12
Stamp this sentiment in the Midnight ink, on to a piece of white card, before trimming around it to create a banner.
Use a black pen to edge the card, which will make it "pop" from the page.
Step 10 of 12
Use foam pads to adhere your sentiment banner across the bottom right of your artwork.
Step 11 of 12
Use your black pen to add accents to your artwork, as required. I added accents in her hair, on the die cut heart and on the floral petals.
Step 12 of 12
To complete your project, use your Imala white gel pen to add highlights...I added a few to her hair.
You made it!
Share your make with the Stamps By Me community - and keep this guide for next time.
Hello! I'm Toni's AI craft helper - I know the projects from Toni's shows, our guides and everything in the shop. Ask me anything, like "which dies go with this stamp set?" or "what do I need to start ink blending?"
An AI helper (not Toni herself), answering from Toni's shows and our shop - please check the product page before you buy.