tap a picture to see it big · tap DONE as you go - this device remembers
Step 1 of 10
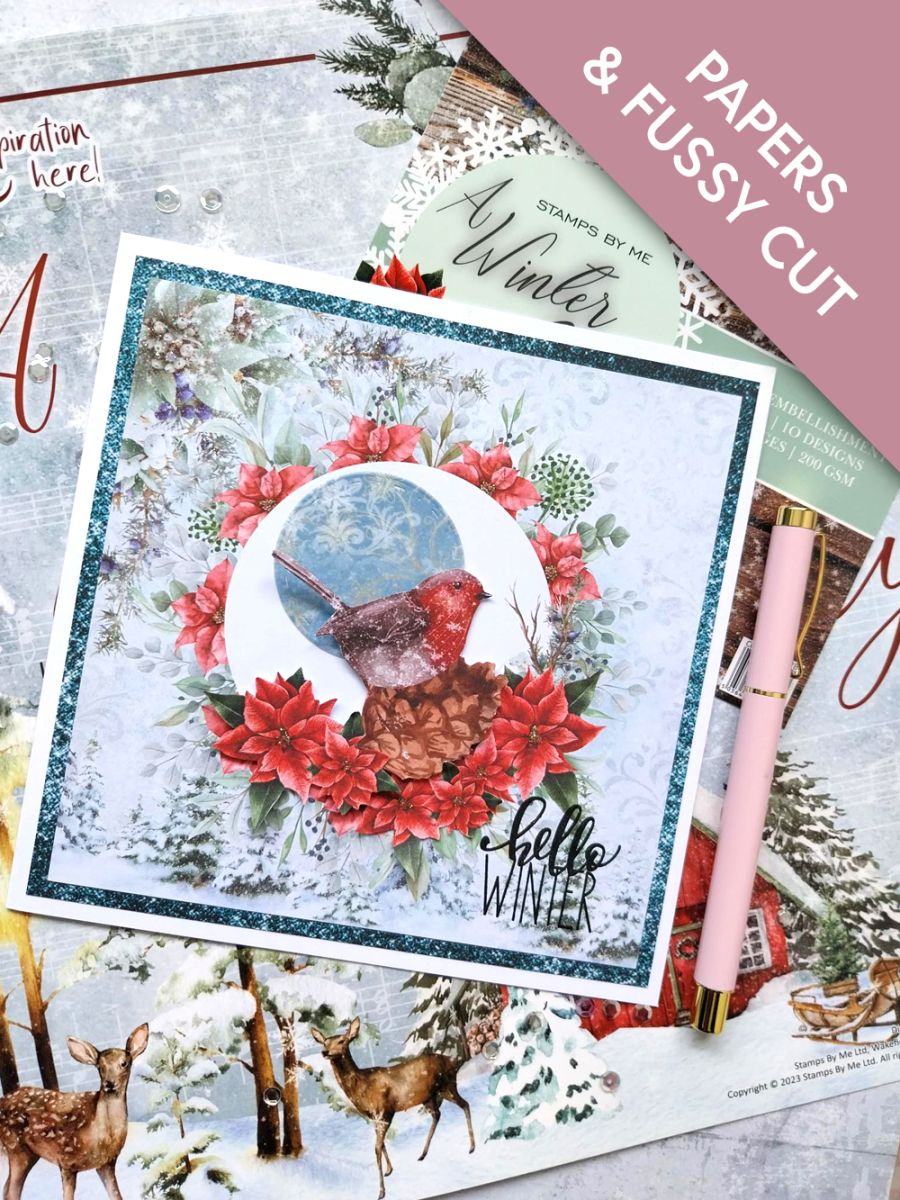
Remove this beautiful floral frame paper from the Winter Story 6 x 6" Embellishment pack. If you are using a smaller card blank, then trim down to size, as required.
NB: You can use smaller card blanks and for our USA crafters, you can adapt your exclusive HSN collection, as necessary, to fit the sizes you are working with.
Step 2 of 10
Fussy cut the Robin and a variety of floral elements, from this sheet found in the Embellishment pack.
Step 3 of 10
Use a 2" circle die to create a "Moon" from one of the elegant vellum sheets, in the Winter Story Vellum Pack.
Step 4 of 10
Mould and shape your cut-out elements with your fingers, before adhering around the bottom right of your floral frame. Use a combination of wet glue and foam pads, to create depth and dimension to your 3D layout.
NB: Leave the top of the Robin free from glue, so you can slide the "Moon" behind it.
Step 5 of 10
Using your tape runner, secure the vellum "Moon" behind, so the Robin emerges from the floral display, against the backdrop of the Moon.
Step 6 of 10
Trim this gorgeous teal paper, from the All Surfaces Paper Pack, to 6 1/4" square (if you're working on a smaller card, then trim 1/4" bigger than the size of your floral wreath paper).
Step 7 of 10
Adhere your artwork on to the teal background paper.
Step 8 of 10
Stamp your chosen sentiment with the Midnight ink, in the bottom right corner of your artwork.
Step 9 of 10
Adhere your artwork on to the front of your white card blank.
Step 10 of 10
To complete your project, add a touch of festive sparkle, where required, using the Ranger Stickles.
You made it!
Share your make with the Stamps By Me community - and keep this guide for next time.
Hello! I'm Toni's AI craft helper - I know the projects from Toni's shows, our guides and everything in the shop. Ask me anything, like "which dies go with this stamp set?" or "what do I need to start ink blending?"
An AI helper (not Toni herself), answering from Toni's shows and our shop - please check the product page before you buy.