


Step 1 of 14
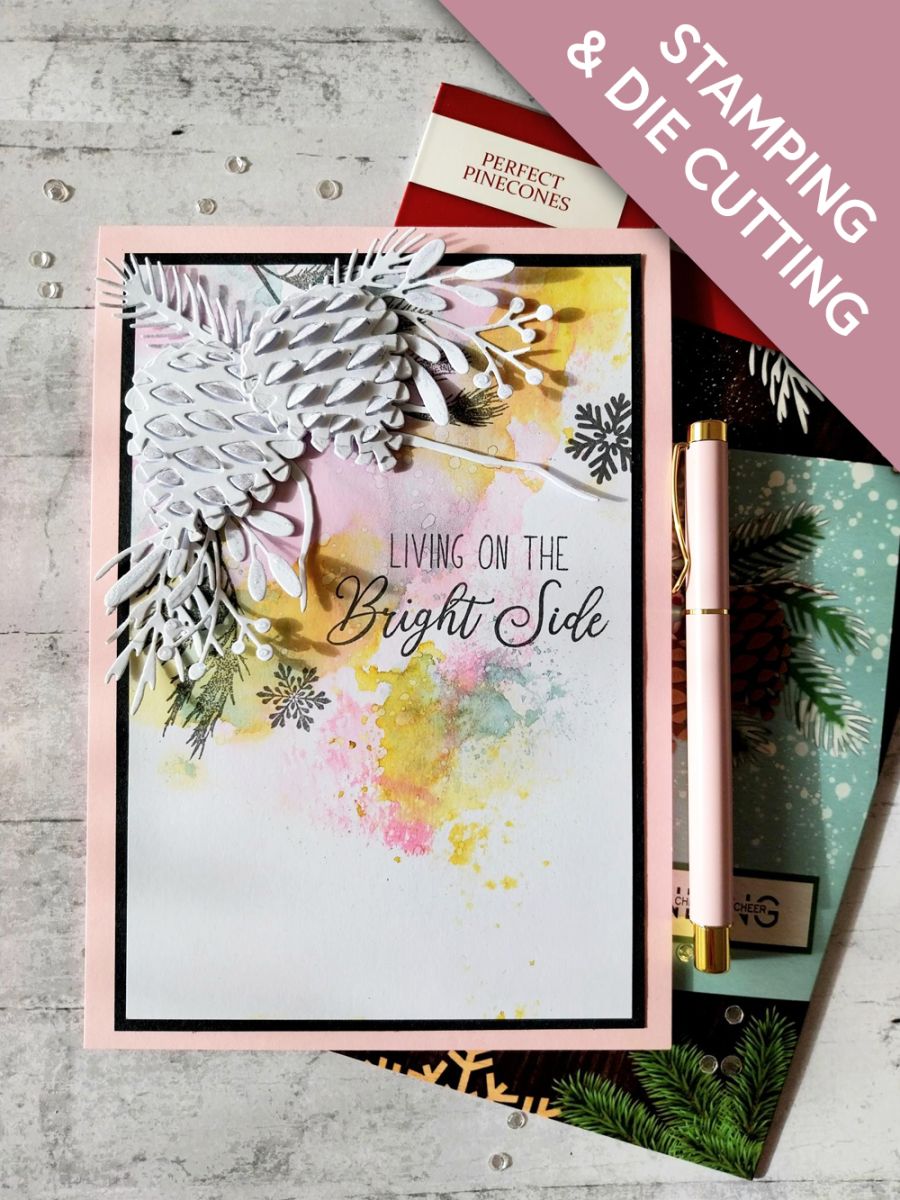
Using the plates, die cut all the Pine Cone elements from white cardstock. Set the foliage elements to one side.
NB: If you are adding colour to your Pine Cones, do so at this stage.








Prices change straight away. Every language is our own translation, not Google.
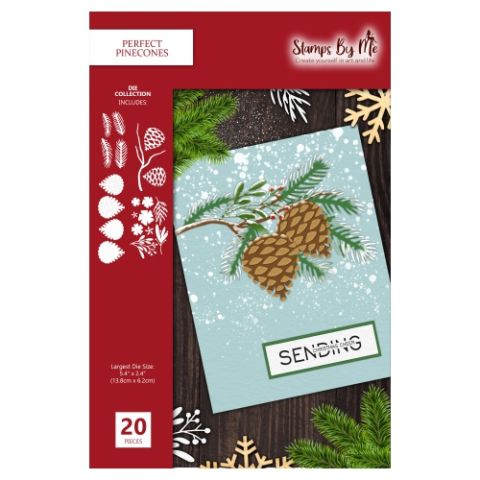 Tv - A5 Die - Christmas - Perfect Pine ConesPerfect Pinecones A5 Die Set
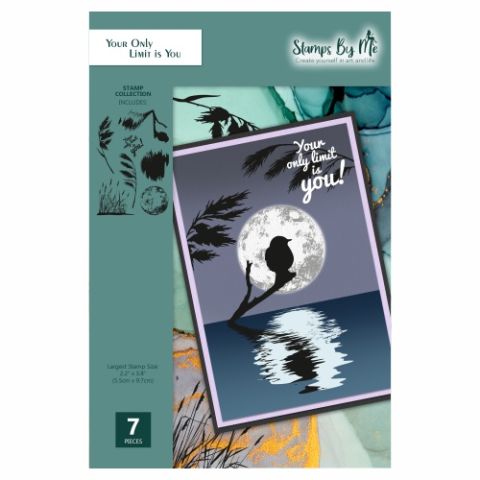 Tv - A5 Reflection Stamp - Your Only Limit Is YouYour Only Limit Is You Stamp Set€18.99BUY✓ ADDED
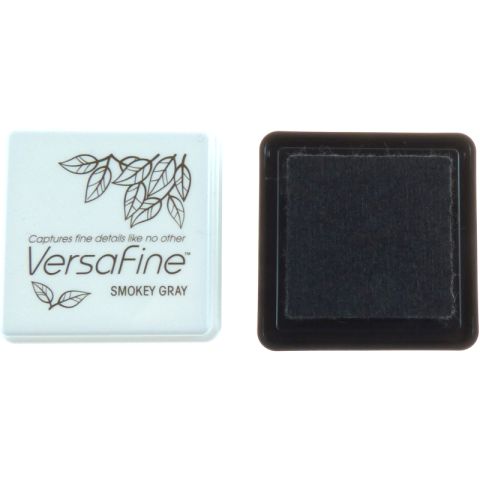 Smoky Grey Versafine Small PadVersafine: Smoky Grey
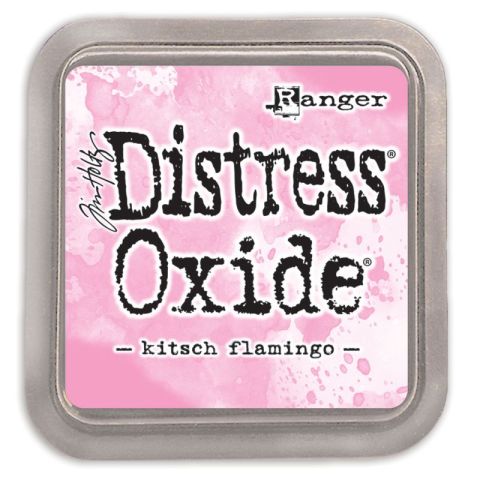 Tim Holtz - Distress - Oxide Pad Kitsch FlamingoDistress Oxide: Kitsch Flamingo
Using the plates, die cut all the Pine Cone elements from white cardstock. Set the foliage elements to one side.
NB: If you are adding colour to your Pine Cones, do so at this stage.
There are 2 sizes of cones so sort in to 2 piles. You can lift the flaps on this element now or after the next step. Once you've made a few, you'll find your own way of assembling the Pine Cones.
Glue the die cut with the " open gaps" on top of the "flap" element, then poke them through the holes. I find a pokey tool is great for this step.
Adhere the solid element on the back and voila!! A very realistic Pine Cone.
Repeat these steps to assemble your second Pine Cone, then pop them to one side.
Trim white card to 7 1/2" x 5".
Spray your Izink's on to your glass mat, add a touch of water then "smoosh" your card in to the ink, thus creating your background. Blast dry with your heat tool.
Swirl the Pearlywinks Pearl Mist to activate the mica and spray on to your glass mat. Use a paint brush to splatter over your background. Again, blast dry.
Ink up the foliage stamps, from Your Only Limit Is You set, with the Smoky Grey Versafine and stamp coming down from the top left corner.
Adhere the long branch die cut as seen here.
Adhere your Pine Cones in place with foam pads, then add all your foliage elements where required.
Stamp the sentiment, from the Merry & Bright Lamination set, in the Versafine, to the right of your 3D display.
Stamp a few snowflakes around your sentiment.
Adhere your artwork on to black card trimmed to 7 3/4 x 5 1/4" and then on to your pink card blank.
To complete your project, use Stickles to add a touch of festive sparkle to your 3D elements.
Share your make with the Stamps By Me community - and keep this guide for next time.
Prefer the previous layout? Open the old page.



