tap a picture to see it big · tap DONE as you go - this device remembers
Step 1 of 12
Trim a piece of white card to 6 3/4 x 4 3/4".
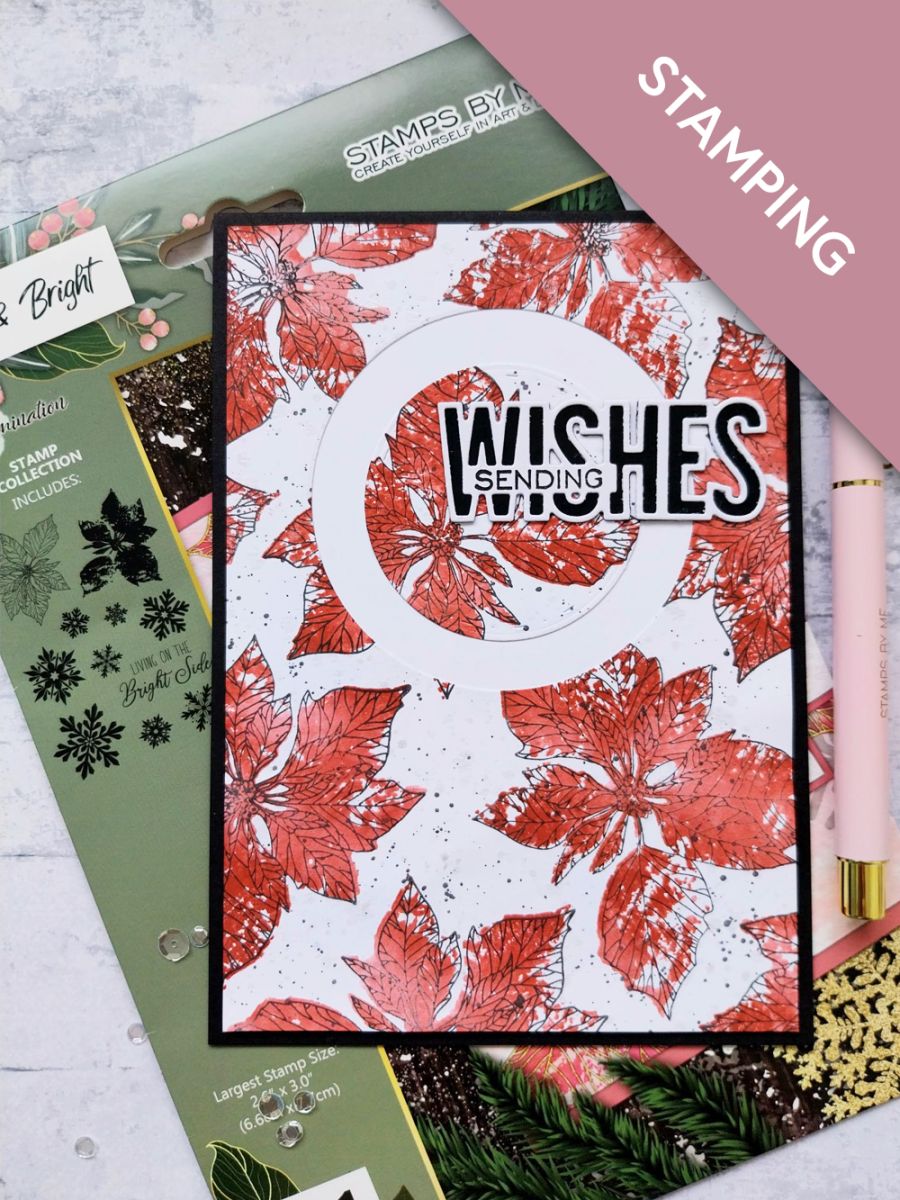
Ink up the solid stamp, from the Merry & Bright Lamination set, with the Redwood ink pad. Spritz the stamp with water and stamp on to the white card. Repeat this multiple times, to create a background.
Blast dry with your heat tool.
Step 2 of 12
Stamp over each imagewith the detailed stamp, using the Midnight hybrid ink.
Step 3 of 12
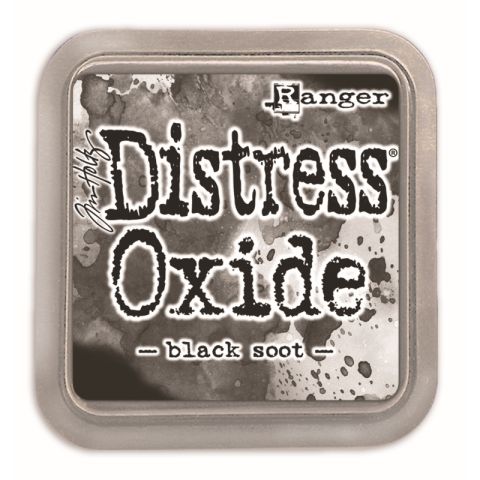
Smoosh a little Black Soot Oxide on to your glass mat, spritz with water and splatter over your background with a paint brush. Blast dry with your heat tool.
Step 4 of 12
Swirl the Pearlywinks Pearl Mist, to activate the mica.Spray on to your glass mat then use your paint brush to splatter over your artwork. Dry with your heat tool.
Step 5 of 12
You will need TWO circle nesting dies, one 3 1/4" in diameter and the other 2 1/2" in diameter, thus omitting the die in between.
Step 6 of 12
Use the biggest die to cut a circlefrom your stamped background, then place the smaller die in the center of the die cut circle and run that through your machine.
Step 7 of 12
Trim a piece of card slightly smaller than your background and adhere your background on top, as seen here.
Step 8 of 12
Adhere the die cut stamped circle, in the middle of the circle aperture, lining it up with the stamped background images.
You will not need the die cut stamped circle frame but don't bin it! Save for another project!
Step 9 of 12
Adhere your artwork on to your black card blank and pop to one side.
Step 10 of 12
From the Special Wishes set, die cut the "Wishes" solid die from black card and the coordinating detailed die from white card. Adhere together as shown here.
Step 11 of 12
Ink up the add-on "Sending" stamp in the Midnight ink and stamp on to the white, die cut panel.
Step 12 of 12
Adhere across the top right of the circle aperture, to complete your card.
You made it!
Share your make with the Stamps By Me community - and keep this guide for next time.
Hello! I'm Toni's AI craft helper - I know the projects from Toni's shows, our guides and everything in the shop. Ask me anything, like "which dies go with this stamp set?" or "what do I need to start ink blending?"
An AI helper (not Toni herself), answering from Toni's shows and our shop - please check the product page before you buy.