


Step 1 of 15
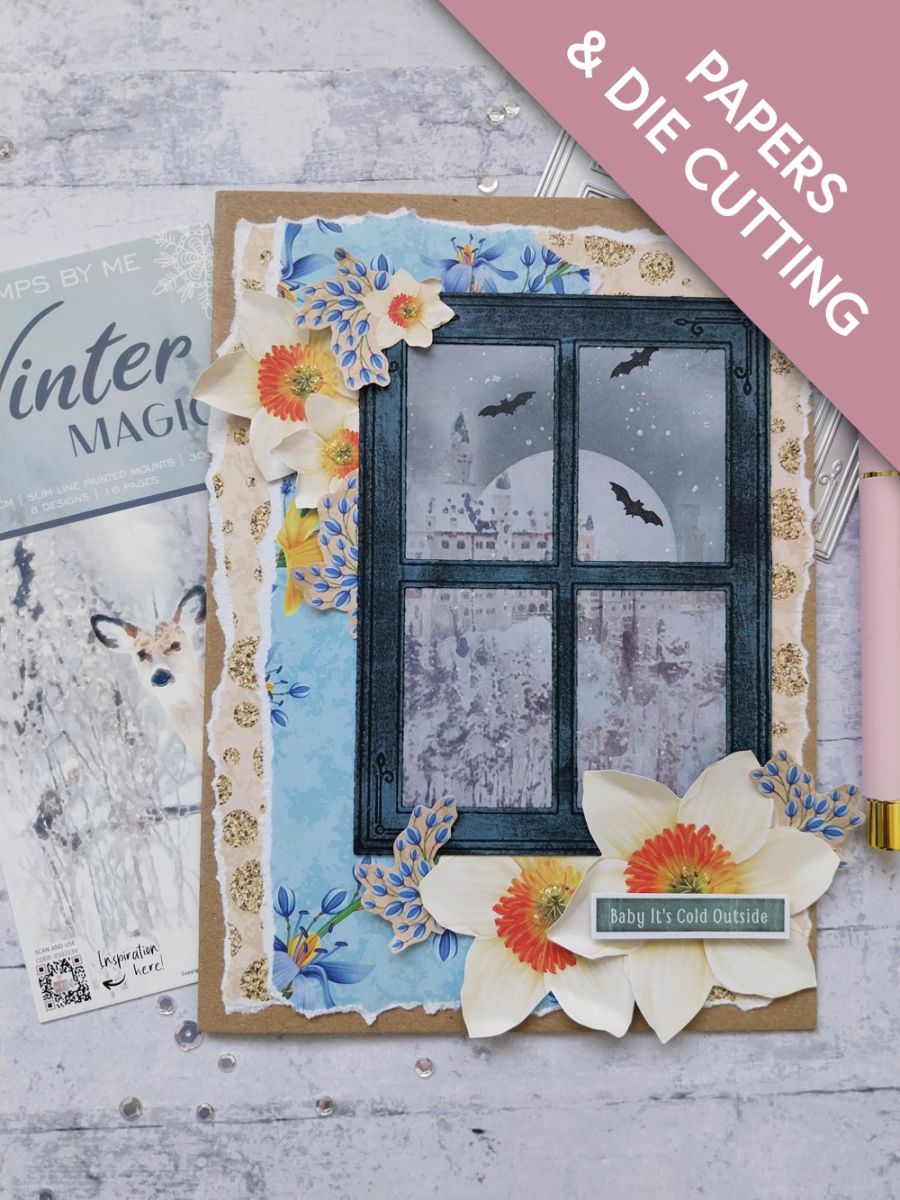
Place the window die on a piece of black card and run it through your die cutting machine.








Prices change straight away. Every language is our own translation, not Google.
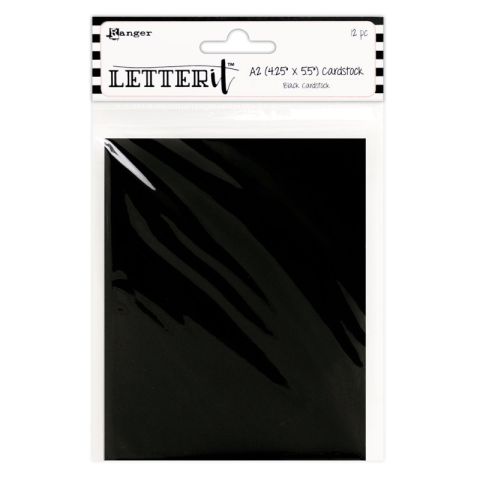 Cardstock BlackBlack cardstock€5.65BUY✓ ADDED
 TV - A5 DIE - CHRISTMAS - DECORATIVE BAUBLES - 120621b DDB01
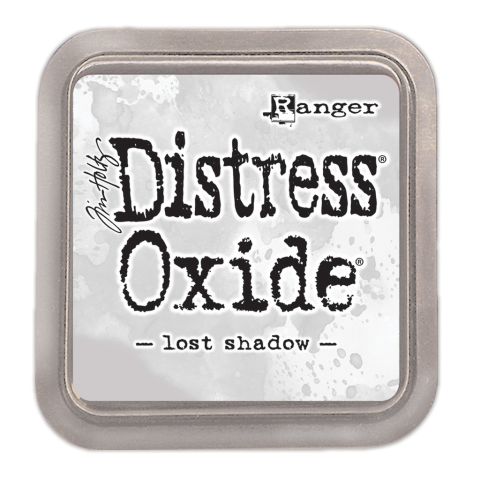 Tim Holtz - Distress - Oxide Ink Pad Lost ShadowDistress Oxide Ink Pad: Lost Shadow
Place the window die on a piece of black card and run it through your die cutting machine.
Gently swipe your Cotton ink pad around the window, to achieve a distressed effect. Blast dry with a heat tool, as pigment ink will smudge and is slow drying.
Trim this painted mount from the Winter Magic set, so it will fit behind your window.
Place circle mask just above the skyline and use your blending brush to blend the Lost Shadow away from the mask, thus creating a rising Moon effect.
Pop a little Cotton ink on to your glass mat, spritz with water and splatter on to your artwork. Dry thoroughly with your heat tool.
Stamp the bats, from the Trick or Treat stamp set, with the Midnight ink, where required. Blast dry with the heat gun.
Adhere the window die on top of your painted mount and set to one side.
Tear this decorative paper from the Paperchain Cotton Breeze paper pack, so it's slightly smaller than your kraft card blank.
Tear a panel, from this coordinating paper and adhere down the left side.
Adhere to your card blank.
Adhere your die cut window element just to the top right of your card and pop aside.
Fussy cut a selection of floral elements from another sheet of the coordinating papers.
Mould the florals with your fingers before adhering on, around and tucked just behind, your window.
Cut out the sentiment tab, from the Cotton Pines sentiment sheet and adhere across the bottom right floral element.
Use your Stickles to add a touch of festive sparkle to your finished project.
Share your make with the Stamps By Me community - and keep this guide for next time.
Prefer the previous layout? Open the old page.



