


Step 1 of 5
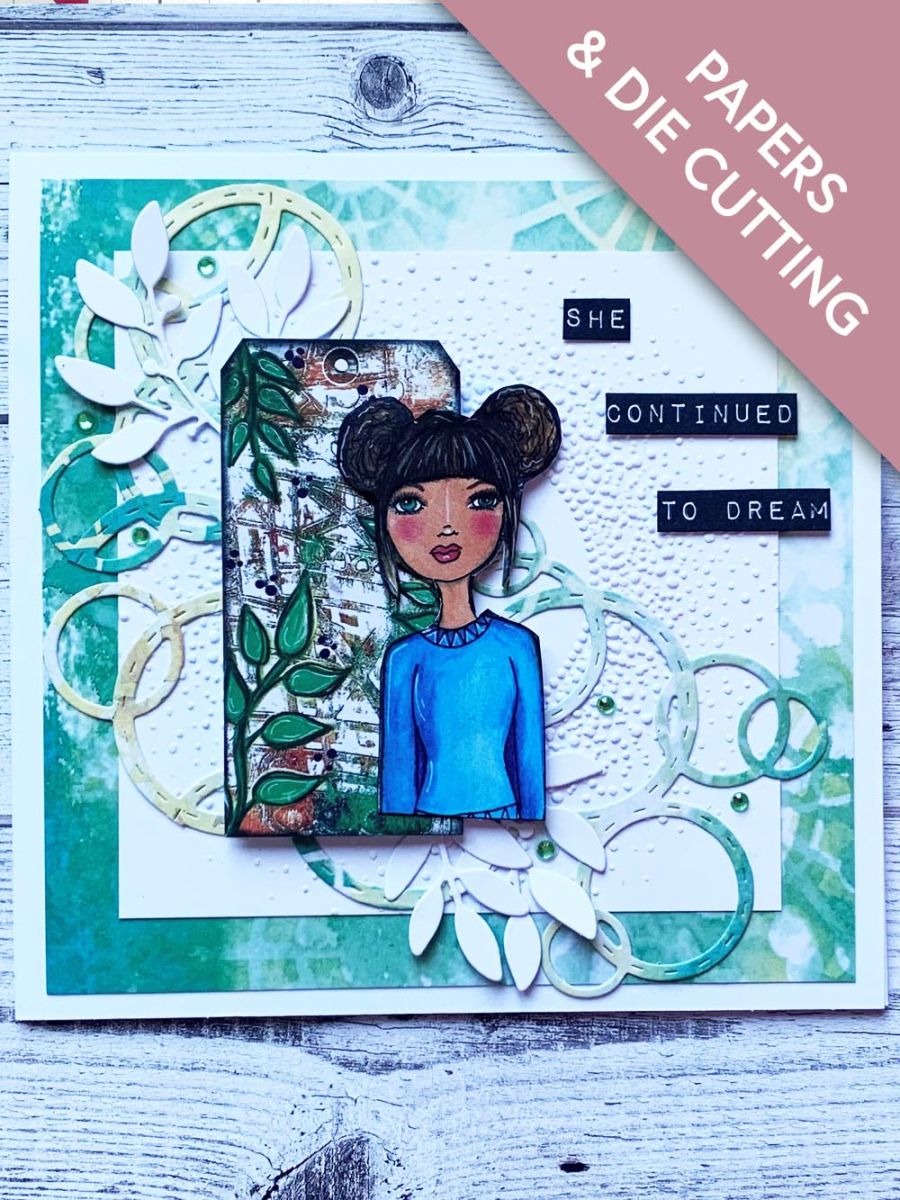
Select a piece of patterned paper from the Life In Full Colour pad. Trim to 5 1/2 x 5 1/2 and also cut out the tag from one of the sheets.








Prices change straight away. Every language is our own translation, not Google.
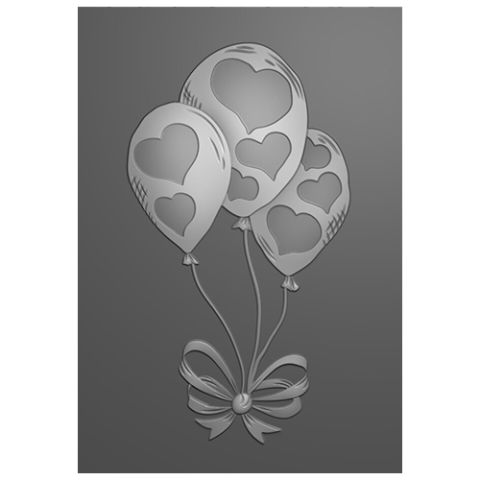 Signature Watercolour High Definition 3d Embossing Folder - Birthday Love€9.99BUY✓ ADDED
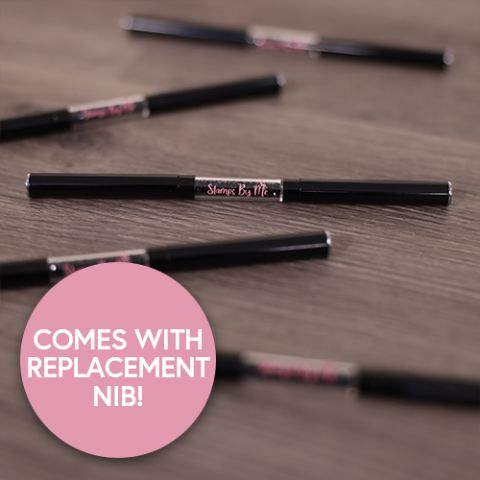 Tuxedo Black Essentials Gem Pick Up And Pokey Tool With Replacement Nib
Select a piece of patterned paper from the Life In Full Colour pad. Trim to 5 1/2 x 5 1/2 and also cut out the tag from one of the sheets.
Take the 4 1/2 x 4 1/2 white card and emboss using the Snow Burst embossing folder.
Die cut the Bubbles & Fizz from the same patterned paper, using the left over pieces.
Snip into the die cut to create 3 pieces.
Cut out one of the girls from paper pad and die cut the leaves from the Pressed Flowers Collection. Stick all the elements down onto the card, as shown here.
Add foam pads to the girl and stick to the right side of the tag.
Lastly add sentiments from the Bloom & Grow kit and add gems using the SBM Gem Pick Up & Pokey tool.
Share your make with the Stamps By Me community - and keep this guide for next time.
Prefer the previous layout? Open the old page.



