


Step 1 of 6
Die cut a circle in the centre of the 6 x 6” white cardstock, keeping the centre piece for later.








Prices change straight away. Every language is our own translation, not Google.
 Cardstock White6 x 6” white cardstock€5.65BUY✓ ADDED
 Eureka 101 Replacement Bar MagnetsEureka 101€10.99BUY✓ ADDED
Die cut a circle in the centre of the 6 x 6” white cardstock, keeping the centre piece for later.
Spray the ink sprays on your aperture card, Place foam pads on the reverse and pop aside to dry.
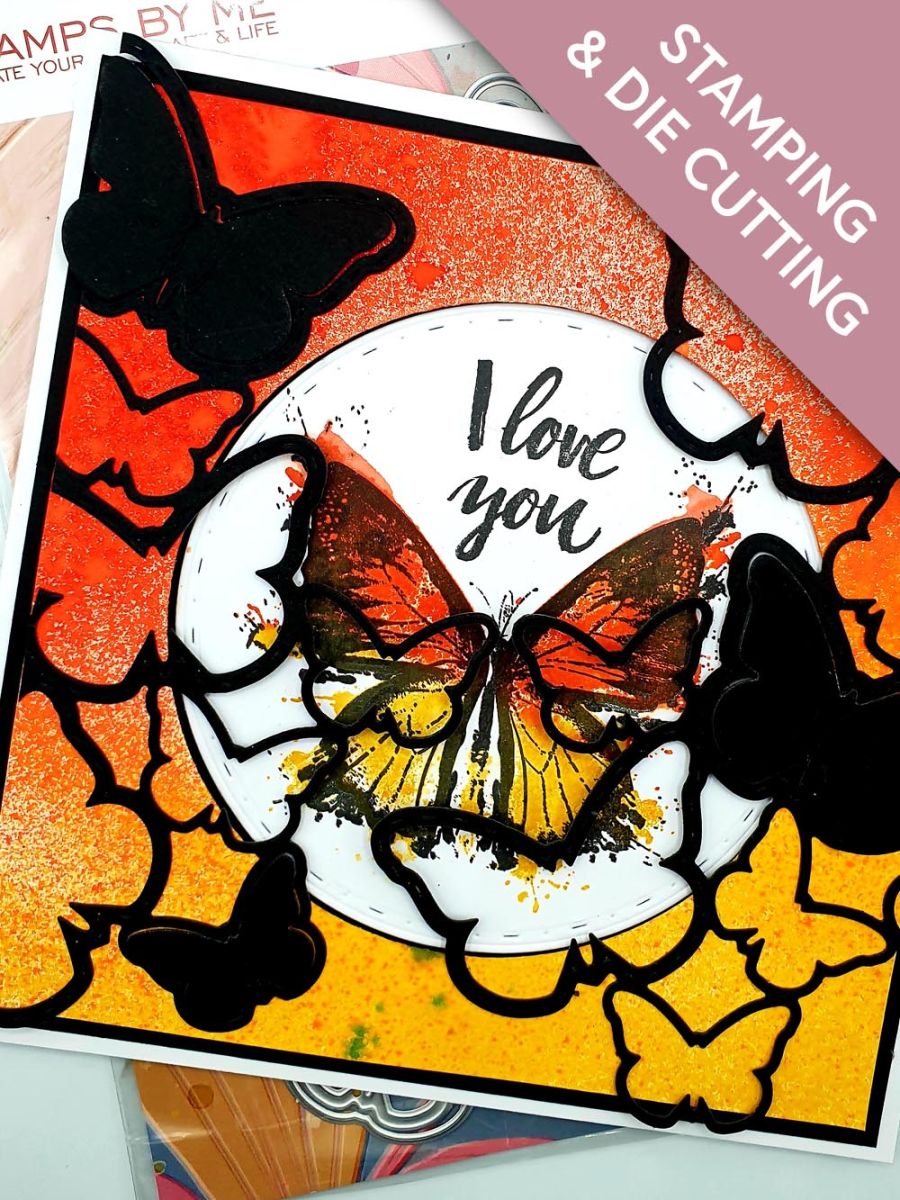
Stamp the lamination butterfly on the white die cut circle, using the SBM inks as shown on the photo & stamp the sentiment in black.
Die cut TWO lots from the Flutterbies die, out the thick black cardstock, keeping a few of the butterflies for later. Glue on each side of the aperture leaving some overlapping in the centre. Cut off excess as required
Glue the stamped circle topper into the centre of the 6 ½ “ x 6 ½ “ black cardstock.
Adhere your artwork onto the black cardstock and then on to your card blank. Glue some of the butterflies onto the card to finish.
Share your make with the Stamps By Me community - and keep this guide for next time.
Prefer the previous layout? Open the old page.



