


Step 1 of 3
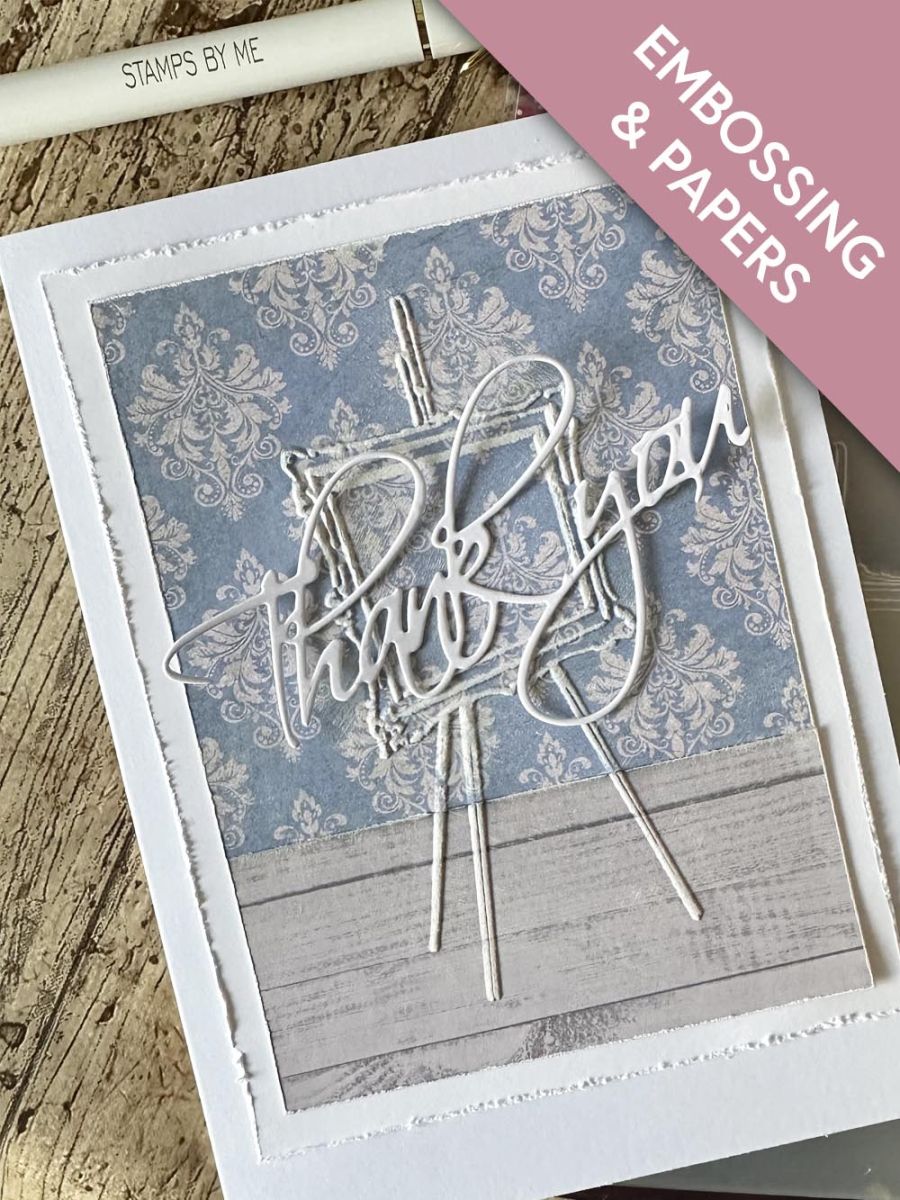
Trim two pieces of patterned cardstock from your Time To Grow paper pads. The wallpaper piece to 5 ½ x 4 and the woodgrain effect to 2 ¾ x 4. Glue together as shown.








Prices change straight away. Every language is our own translation, not Google.
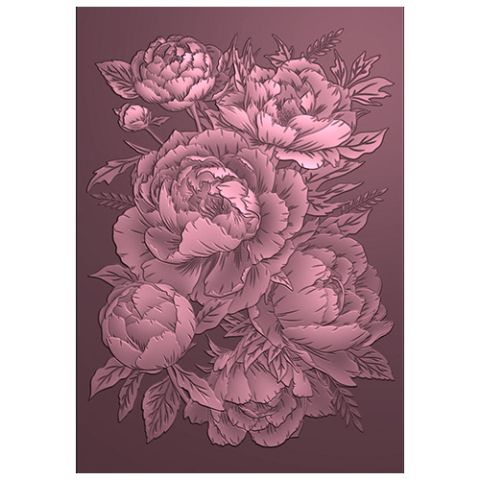 Signature Watercolour High Definition 3d Embossing Folder - Pretty Peony€12.99BUY✓ ADDED
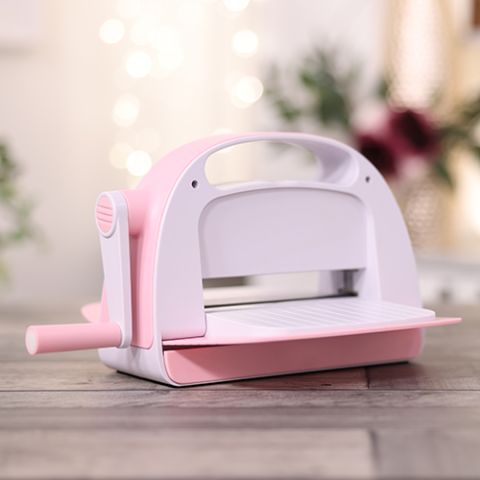 Stamps By Me 6 Inch Die Cutting & Embossing MachineDie Cutting & Embossing Machine€129.99BUY✓ ADDED
 Gesso White 4 ozWhite Gesso€15.29BUY✓ ADDED
Trim two pieces of patterned cardstock from your Time To Grow paper pads. The wallpaper piece to 5 ½ x 4 and the woodgrain effect to 2 ¾ x 4. Glue together as shown.
Run your patterned paper through your embossing folder.
Dry brush the raised areas of your embossed card, the overlap and edges with white Gesso.
Trim a piece of 6 x 4 ½ white card stock and distress using the edge of a pair of scissors. Construct your card by gluing the layers together.
Die cut your sentiment in white cardstock applying glue to the centre and attaching to card (I like to keep the edges of the sentiment loose for added dimension).
Share your make with the Stamps By Me community - and keep this guide for next time.
Prefer the previous layout? Open the old page.



