


Step 1 of 5
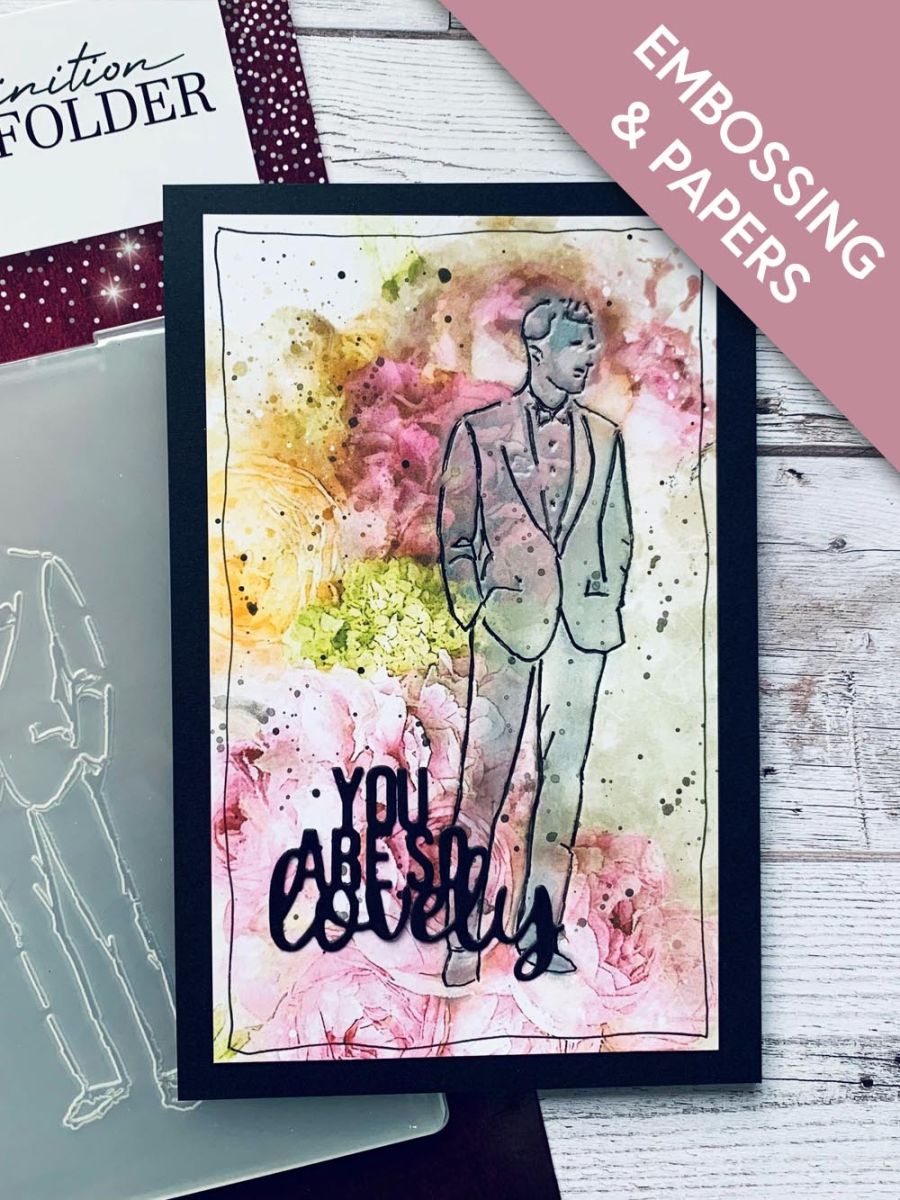
Take your chosen mount from the Floral Bouquet pack and place it coloured side down.








Prices change straight away. Every language is our own translation, not Google.
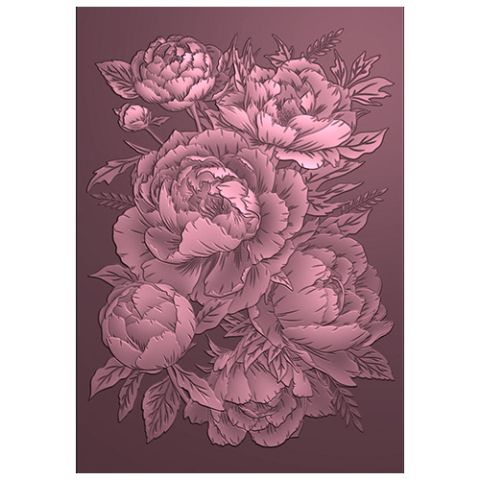 Signature Watercolour High Definition 3d Embossing Folder - Pretty Peony€12.99BUY✓ ADDED
Take your chosen mount from the Floral Bouquet pack and place it coloured side down.
Jasper will then be debossed when you have run it through your die cutting machine.
Take a small blending brush and add the Cotton ink very lightly over all of the Jasper image. Pigment ink is slow drying so use your heat tool to dry the ink thoroughly. Go back over the image again lightly with Black Soot Distress ink. If you are a little heavy with the black ink go over again with some white.
Trim the length of the image to 5 1/2 inches.
Take the Micron pen and create a border around the mount. Take the same pen and draw in the debossed lines of the image. Add some black splats using the watercolour paint and leave to dry.
Die cut the sentiment from black card and add to the bottom left of the image. Finally adhere the image to a black card blank measuring 6 x 4 and your male card is complete.
Share your make with the Stamps By Me community - and keep this guide for next time.
Prefer the previous layout? Open the old page.



