


Step 1 of 7
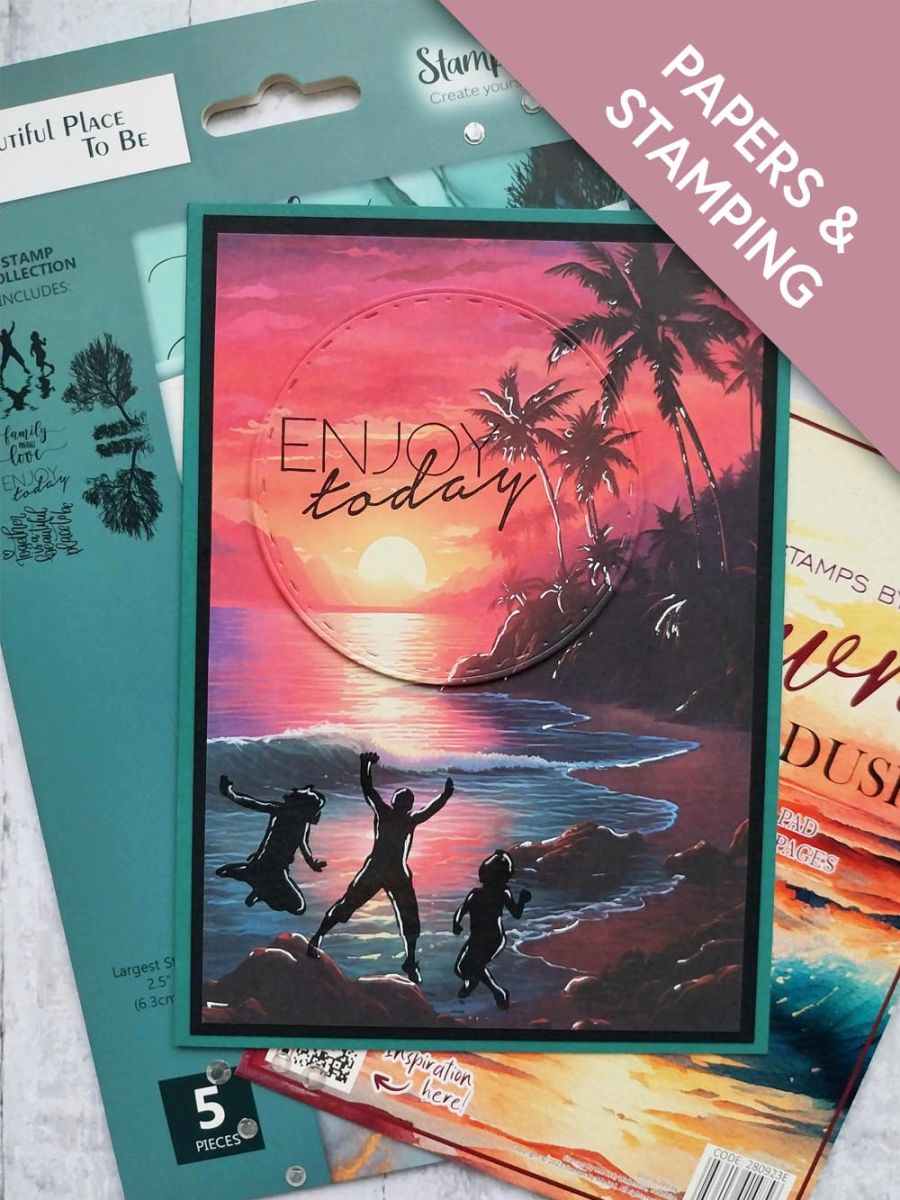
Trim your chosen sunrise/sunset paper to 4 1/2 x 6 1/2".








Prices change straight away. Every language is our own translation, not Google.
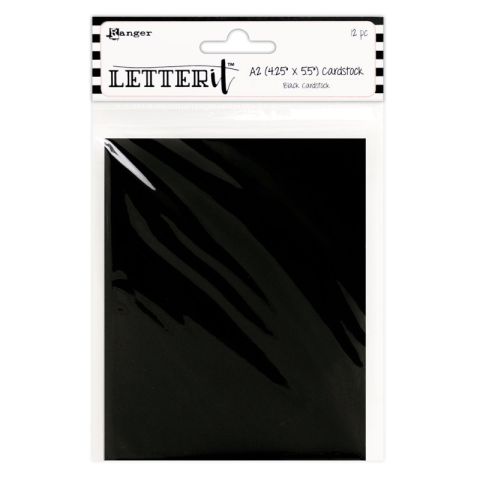 Cardstock BlackBlack cardstock€5.65BUY✓ ADDED
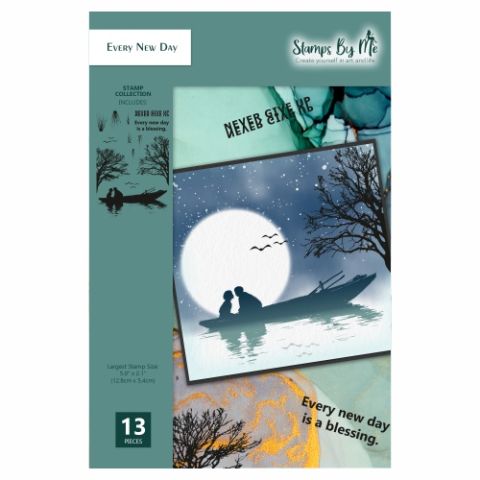 Tv - A5 Reflection Stamp - Every New Day€18.99BUY✓ ADDED
Trim your chosen sunrise/sunset paper to 4 1/2 x 6 1/2".
Decide on the area of the artwork you want to "spotlight" and die cut with a circle die.
Use your white gel pen to add accents and highlights to your printed artwork, as required.
Stamp your sentiment in Midnight, on your die cut topper.
Stamp the silhouette images, as though they are jumping off the rocks. Again, use your gel pen to add any accents and highlights.
Line up the design on your topper and insert back in position, securing on the reverse with a little tape.
Optional: If you wish to raise up your topper, secure the paper on to the black cardstock first (see next step) and then line up and adhere the topper with foam pads.
Mat your artwork on to black card trimmed to 4 3/4 x 6 3/4" and then on to your teal card blank.
Share your make with the Stamps By Me community - and keep this guide for next time.
Prefer the previous layout? Open the old page.



