


Step 1 of 9
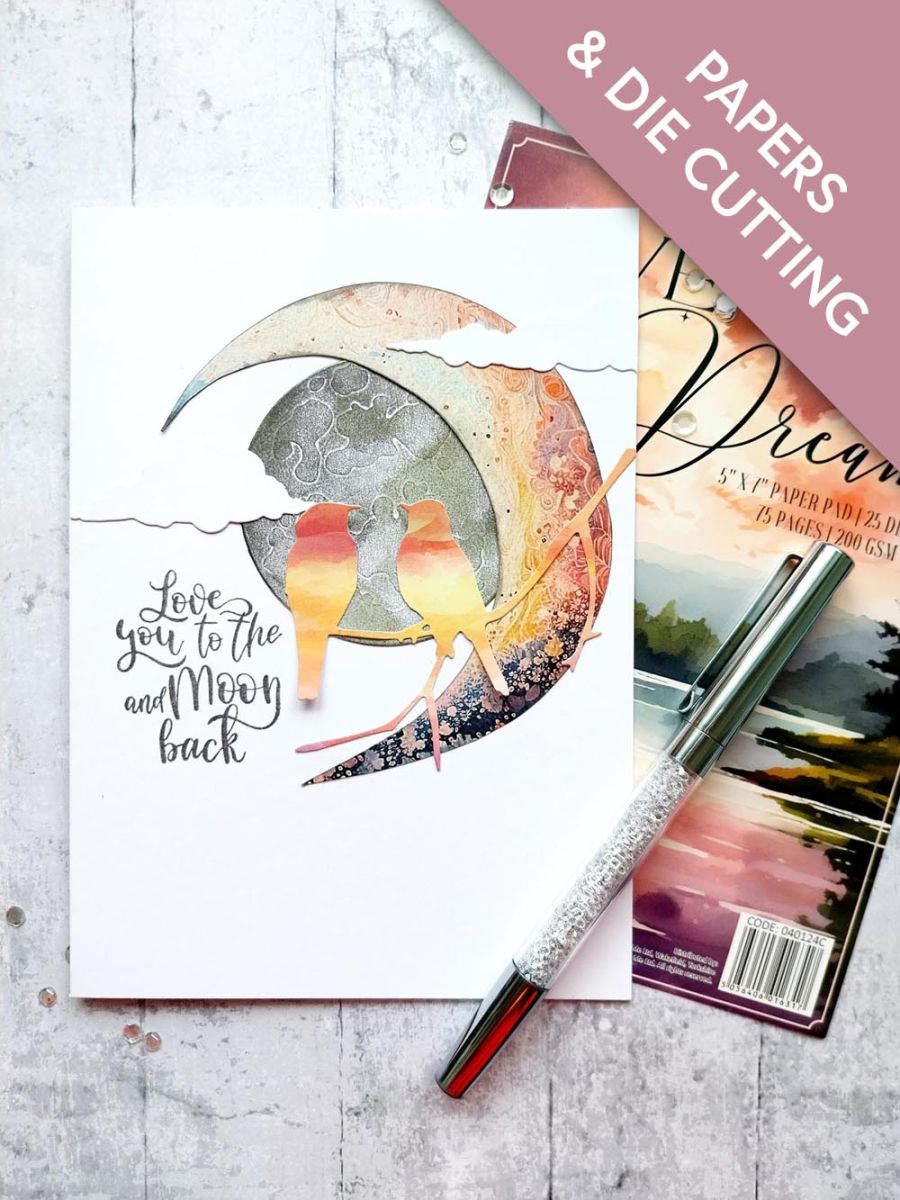
Remove this decorative sheet from We Can Dream paper pack.








Prices change straight away. Every language is our own translation, not Google.
 Cardstock WhiteWhite cardstock€5.65BUY✓ ADDED
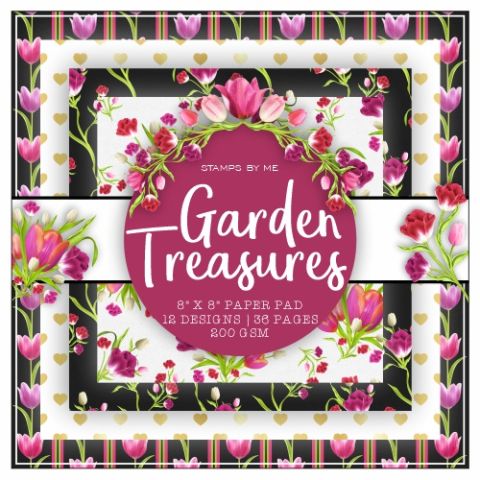 Stamps By Me Garden Treasures 8 X 8 Paper Pad
 Tim Holtz - Distress - Oxide Pad Hickory SmokeDistress Ink/Oxide Ink Pad: Hickory Smoke€10.45BUY✓ ADDED
 Blending Tool RectangleBlending tool€11.49BUY✓ ADDED
Remove this decorative sheet from We Can Dream paper pack.
Fussy cut the Moon and ink around the edges with the Hickory Smoke Distress ink.
Die cut the Moon using the die from Moonlit Skies. Use a blending tool to apply Hickory Smoke all over the embossed element. Blend the Graphite and Mushroom Confetti inks in random areas to highlight the rise and fall of the embossed lines.
Adhere the embossed Moon to the right of your card blank and the fussy cut decorative Moon around it.
Fussy cut the silhouette birds from one of the papers, then trim to leave two of the birds sitting together on the branch.
Adhere the love birds across your Moon.
Die cut several clouds from white cardstock.
Adhere your clouds where required.
Finally, stamp the sentiment in the Versafine, to the left of your die cut design.
Share your make with the Stamps By Me community - and keep this guide for next time.
Prefer the previous layout? Open the old page.



