


Step 1 of 8
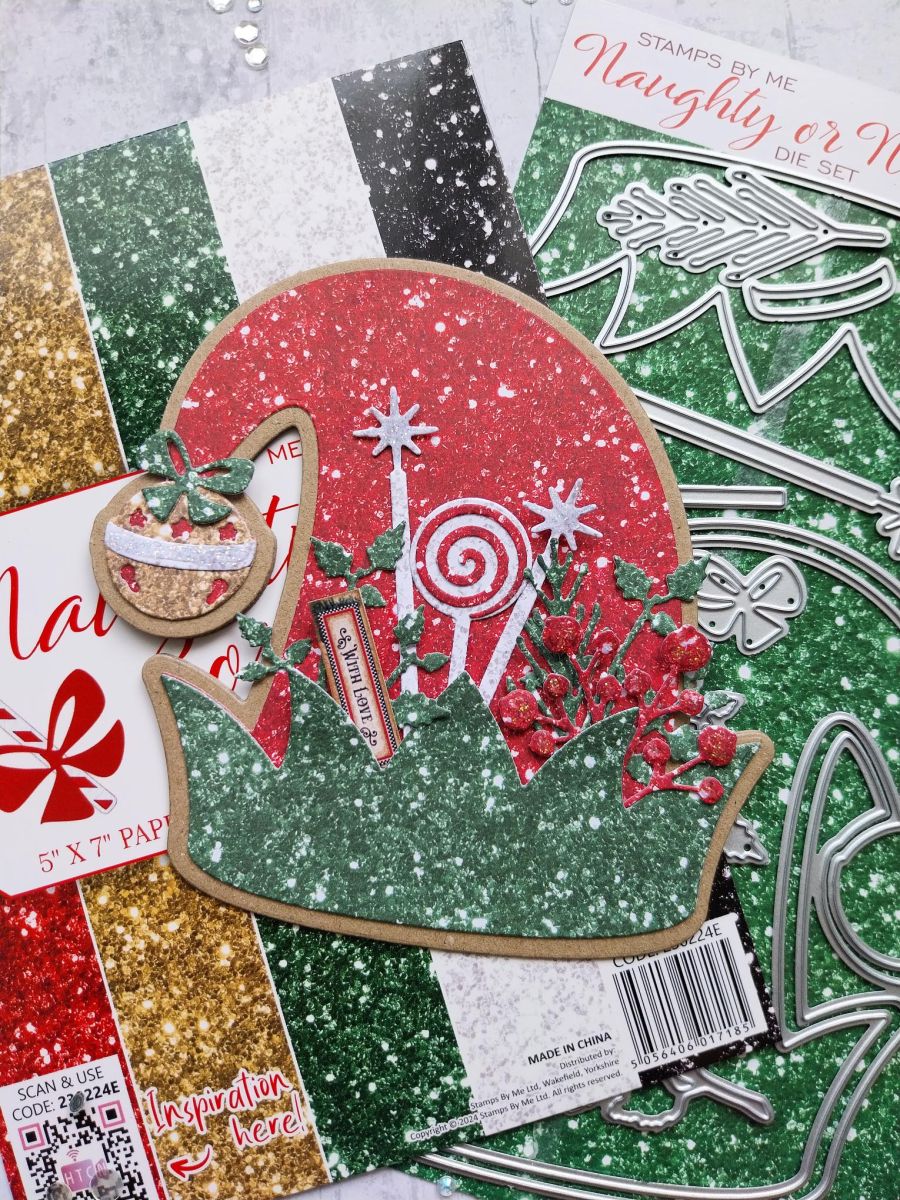
Die cut TWO of the elf hats from kraft card.
Score across ONE, a couple of centimetres from the top and apply red liner tape ABOVE the score line.








Prices change straight away. Every language is our own translation, not Google.
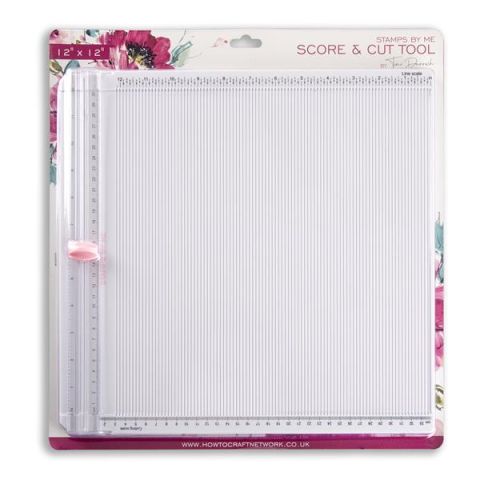 Stamps By Me Cut And Score ToolSBM Cut and score tool€39.99BUY✓ ADDED
Die cut TWO of the elf hats from kraft card.
Score across ONE, a couple of centimetres from the top and apply red liner tape ABOVE the score line.
Peel off the tape backing, carefully line them up and push firmly together to create your shaped card blank.
Die cut the hat and zig-zag fringe from papers out of the paper pack.
Glue onto your card blank. When adhering the zig-zag fringe, first shape the points and only apply glue along the bottom edge as you will be tucking things under here.
Die cut a selection of the embellishments from your chosen papers.
Tuck them under the fringe and adhere in place, adhering the layered Bell on the end of the hat, as seen here.
Cut out one of the sentiment tabs and adhere where required.
To finish, use your Stickles to add a touch of festive sparkle to your card.
Share your make with the Stamps By Me community - and keep this guide for next time.
Prefer the previous layout? Open the old page.



