


Step 1 of 9
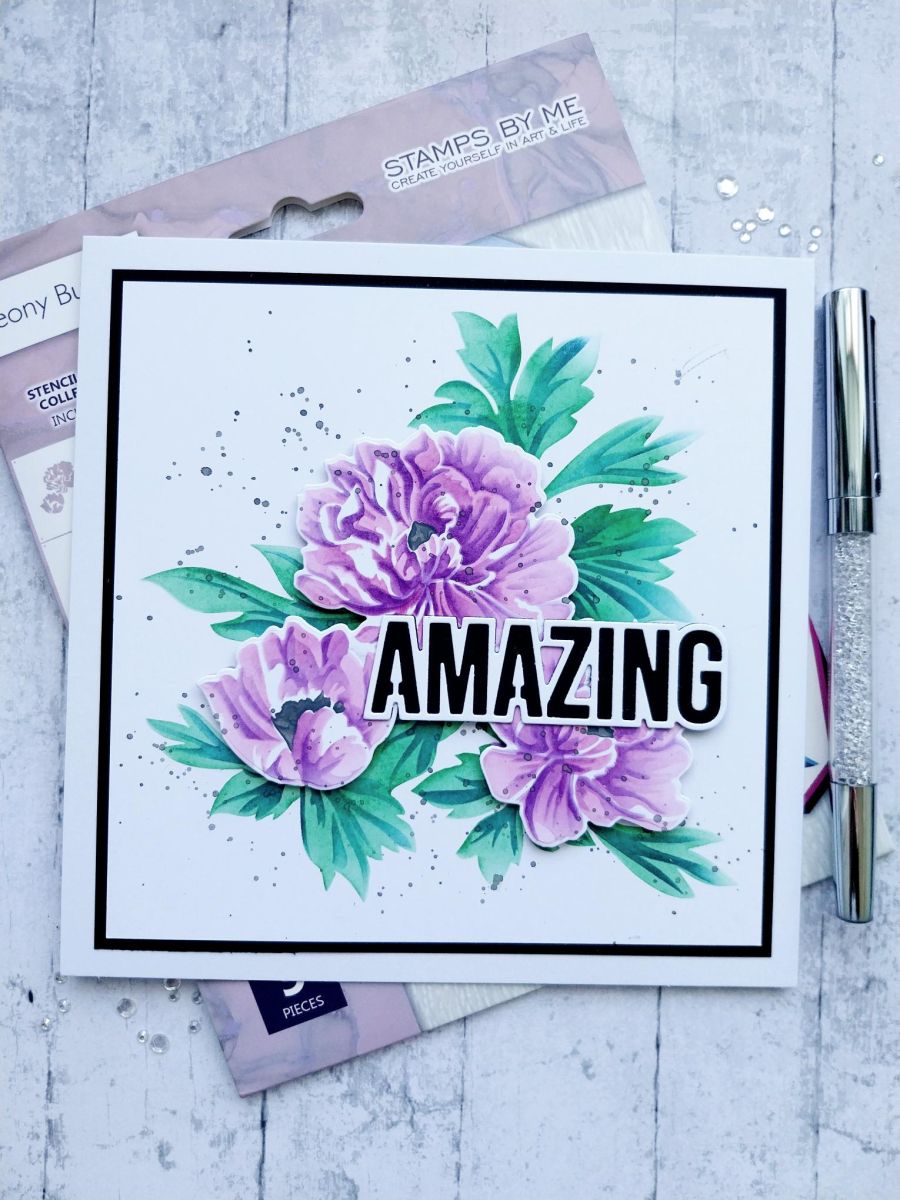
Secure stencil 1 on a piece of white card 6 x 6".








Prices change straight away. Every language is our own translation, not Google.
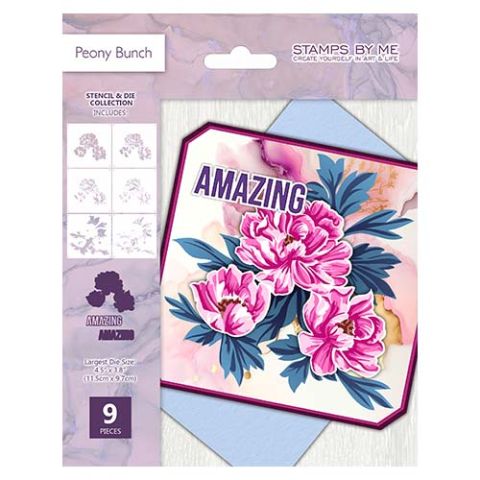 Stencil & Die Set - Peony BunchPeony Bunch Stencil & Die Set
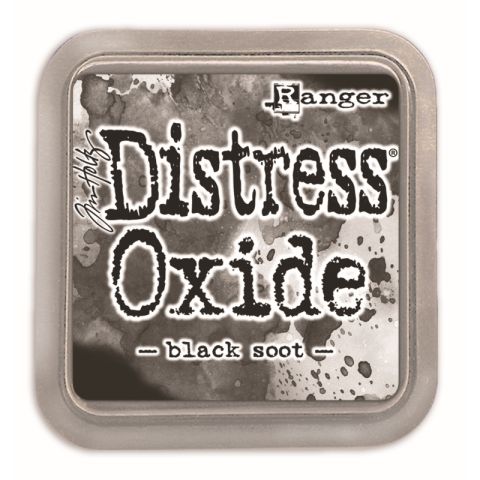 Tim Holtz - Distress - Oxide Pad Black SootDistress Ink/Oxide Ink Pad: Black Soot
 Blending Tool RectangleBlending tool€11.49BUY✓ ADDED
Secure stencil 1 on a piece of white card 6 x 6".
Blend Magenta lightly through stencil 1.
Line up stencil 2 and blend lightly with Magenta and Indigo.
Line up stencil 3 and blend with the same colours but with a bit more intensity.
Line up stencil 4 and use the same colours but again applying more pressure.
Line up stencil 5 and apply Hedgerow and Black Soot in the centres of the flowers.
Line up stencil 6 and apply Hedgerow and Tiffany on the leaves and Black Soot in the centre, with more pressure.
Set to one side.
On a seperate piece of white card repeat the stencilling process as before but using stencils 5 and 6 to add the centre of the flowers only. The result is just the flower heads, as seen here.
Die cut these with the coordinating die.
Use foam pads to adhere on top of your complete stencilled image.
Splatter with watered-down Black Soot.
Use the sentiment dies to cut the detailed sentiment from white card and the mat from black. Adhere together.
Use foam pads to adhere across your artwork as required.
Mat onto black card cut to 6 1/4" square and then onto the front of your 7 x7" card blank.
Share your make with the Stamps By Me community - and keep this guide for next time.
Prefer the previous layout? Open the old page.



