


Step 1 of 7
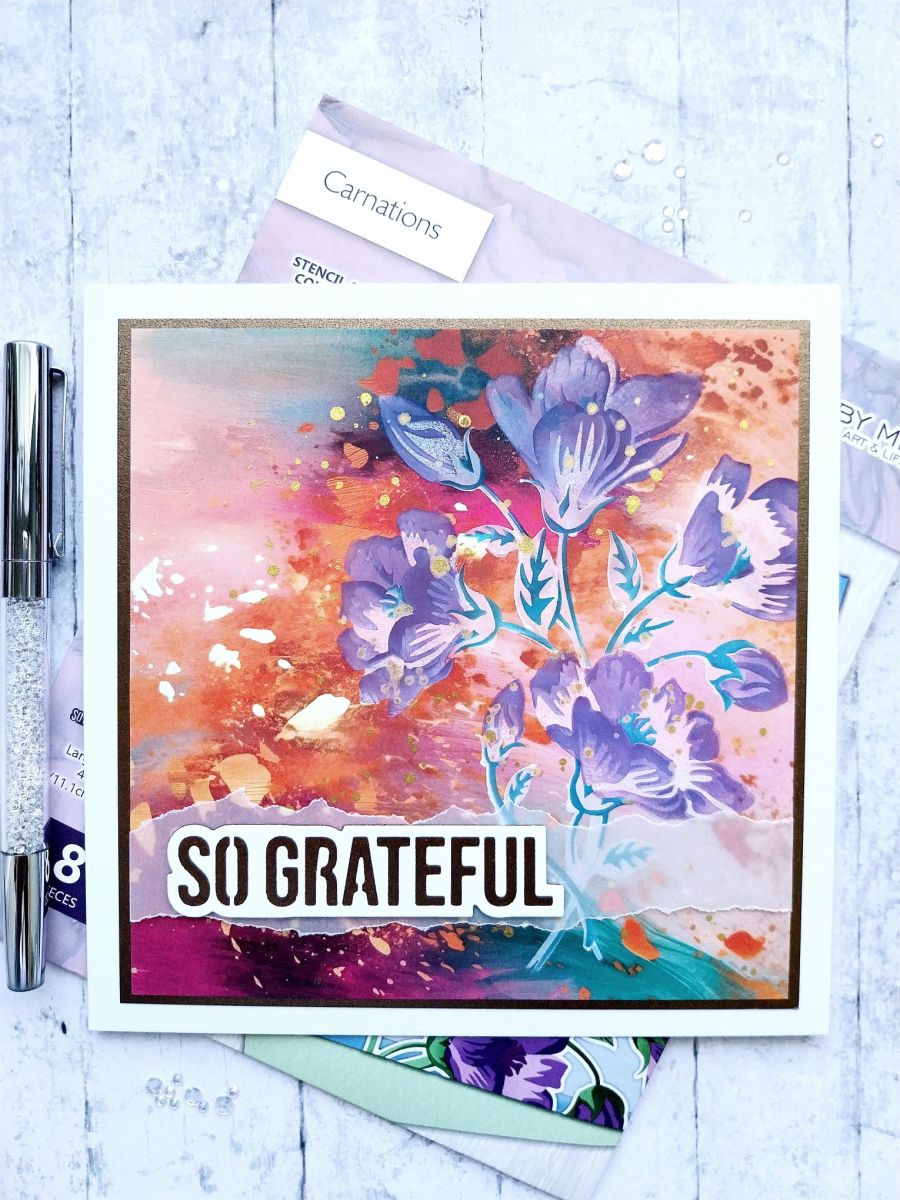
Choose your paper from the Marbled Elegance paper pad.








Prices change straight away. Every language is our own translation, not Google.
 Cardstock WhiteWhite cardstock€5.65BUY✓ ADDED
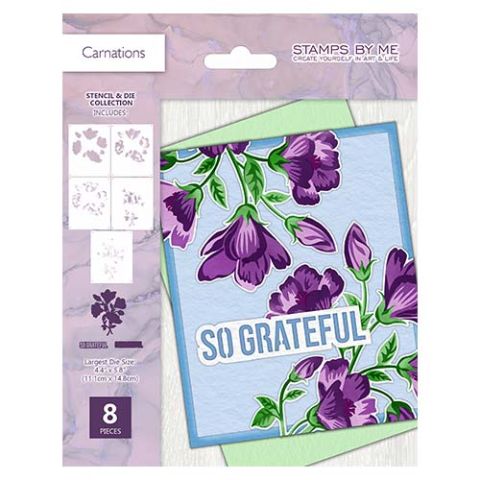 Stencil & Die Set - CarnationsCarnations Stencil & Die Collection€34.99BUY✓ ADDED
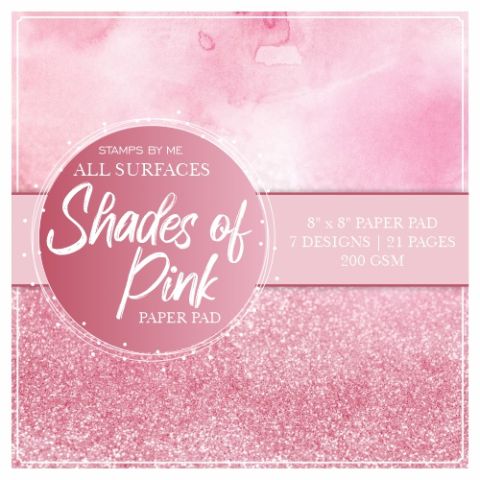 STAMPS BY ME - ALL SURFACES - SHADES OF PINK - 8 x 8 PAPER PAD€12.99BUY✓ ADDED
Choose your paper from the Marbled Elegance paper pad.
Secure stencil 1 just off the right edge of the paper.
Blend Cotton through stencil 1 and blast dry with your heat tool.
Line up stencil 2 and blend with Indigo.
Line up stencil 3 and apply Indigo but this time with more pressure.
Line up stencil 4 and blend with Cotton.
Line up stencil 5 and blend with Tiffany.
Dry with your heat tool.
Swirl your Pearlywinks Pearl Mist to activate the mica, spray onto your glass mat then splatter over artwork as required.
Die cut the sentiment die from white card and the coordinating mat from Gold satin card.
Glue your die-cut sentiment together. Tear a strip of vellum and lay across the bottom of your paper. Secure on the reverse with double-sided tape before adhering the sentiment on top and to the left.
To finish, mat your artwork onto Gold satin card measuring 6 1/4" square and then onto your white card blank.
Share your make with the Stamps By Me community - and keep this guide for next time.
Prefer the previous layout? Open the old page.



