


Step 1 of 6
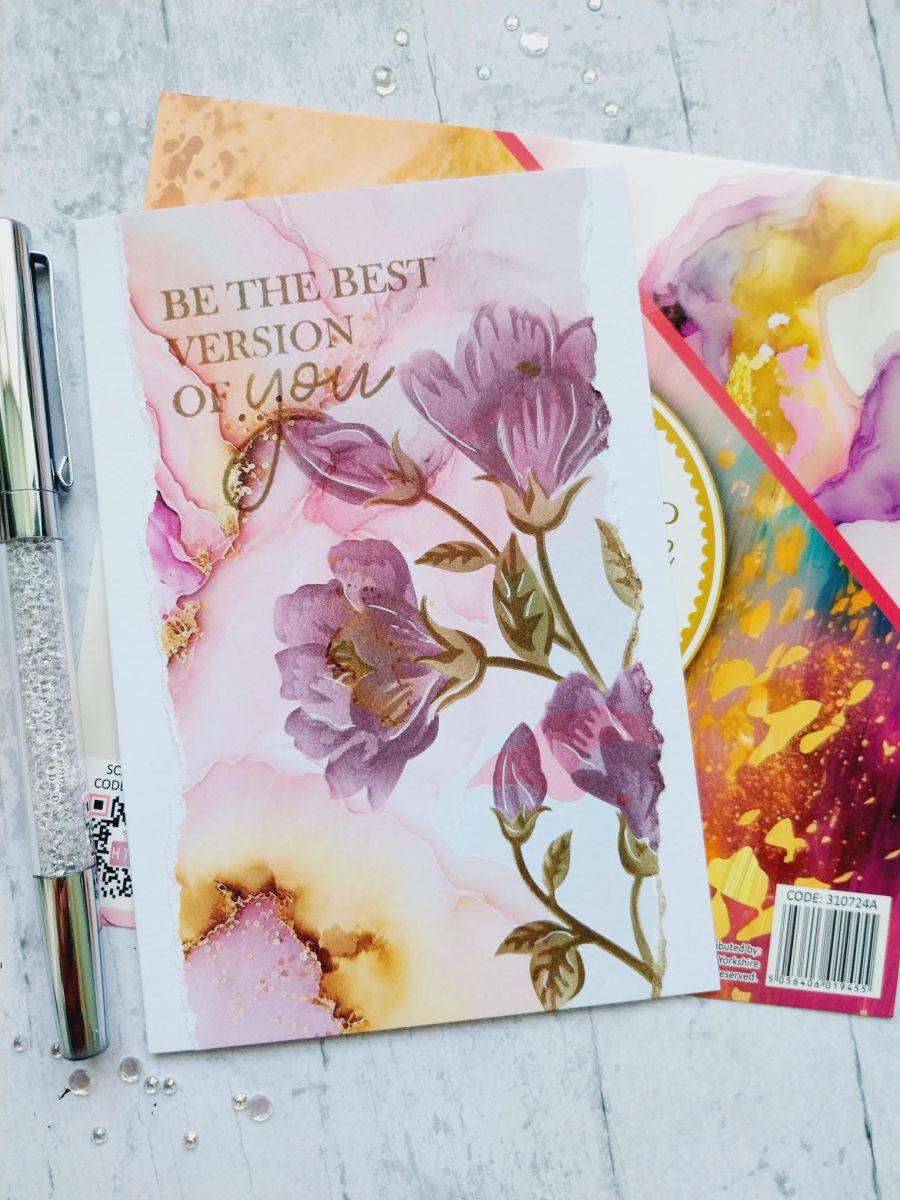
Choose your paper from the Marbled Elegance paper pad and tear down 2 sides to create a panel that will fit on front of your card blank.








Prices change straight away. Every language is our own translation, not Google.
 STAMPS BY ME - ALL SURFACES - SHADES OF PINK - 8 x 8 PAPER PAD€12.99BUY✓ ADDED
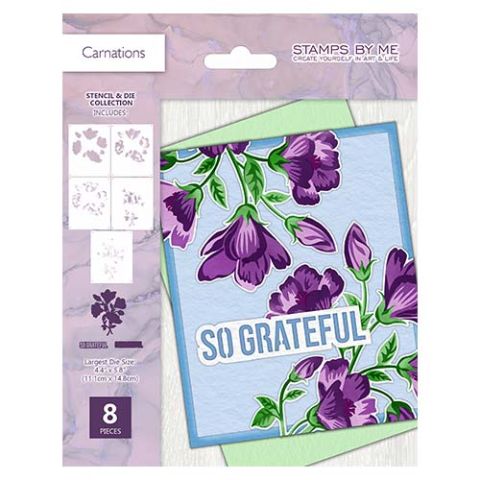 Stencil & Die Set - CarnationsCarnations Stencil & Die Collection€34.99BUY✓ ADDED
 Stamps By Me - Premium Dye Ink Pad - HeatherSBM Dye Ink Pad: Heather
 Blending Tool RectangleBlending Tool€11.49BUY✓ ADDED
Choose your paper from the Marbled Elegance paper pad and tear down 2 sides to create a panel that will fit on front of your card blank.
Secure stencil 1 coming onto the right side of the torn paper.
Blend Heather lightly through stencil 1.
Line up stencil 2 and blend with the Heather again.
Line up stencil 3 and apply Heather with more intensity.
Line up stencil 4 and apply Frayed Burlap.
Line up stencil 5 and blend with Walnut Stain.
Once the ink is dry, use a white gel pen to add accents and highlights to your stencilled image.
Stamp your sentiment with the Frayed Burlap.
Tip: Prime the stamp with sticky embossing ink before inking with Distress inks, to get a crisper stamped image.
Adhere your torn panel onto the front of your card blank, to finish.
Share your make with the Stamps By Me community - and keep this guide for next time.
Prefer the previous layout? Open the old page.



