


Step 1 of 10
Ink up the stamp from the Textured Wall Stamp Collection, with the Vintage Photo Distress Oxide.
Spritz the stamp with water, and stamp on to the white card (6 1/2 x 4 1/2").








Prices change straight away. Every language is our own translation, not Google.
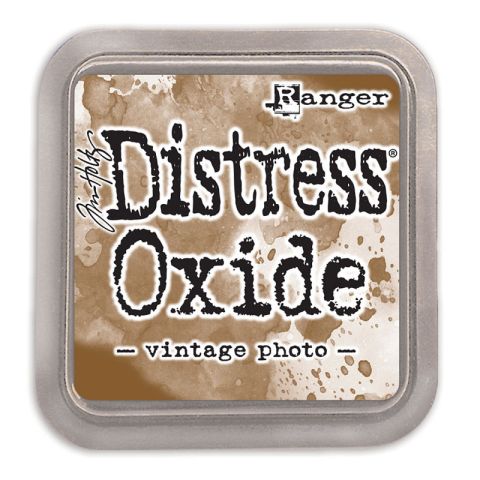 Tim Holtz - Distress - Oxide Pad Vintage PhotoDistress Oxide: Vintage Photo
 Eureka 101 Replacement Bar MagnetsEureka 101€10.99BUY✓ ADDED
Ink up the stamp from the Textured Wall Stamp Collection, with the Vintage Photo Distress Oxide.
Spritz the stamp with water, and stamp on to the white card (6 1/2 x 4 1/2").
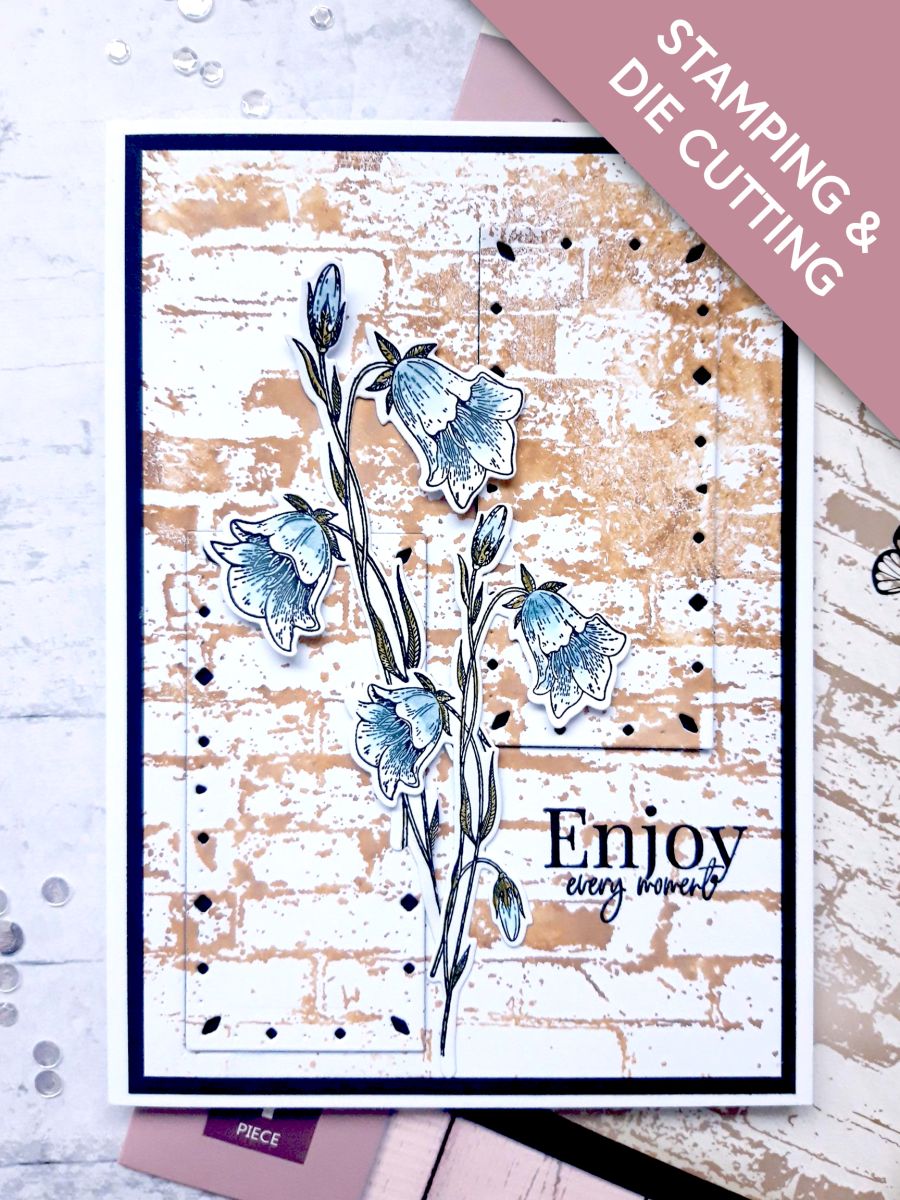
Use the die that measures approx 3 3/4 x 1 3/4", from the Diamond Stitching Nesting Dies Collection, to die cut out TWO vertical apertures, from your stamped wall background. Have 1 low and the other slightly higher, as shown in this picture.
Mat your background on to the black card (6 3/4 x 4 3/4").
Alternatively, if you don't want "black" to show through (see finished sample), you can mat your background on to white card.
Cut a piece of the double side foam sheet, to adhere on the back of each die cut panel.
Peel off the backing from the foam sheet, and adhere in place, inside each die cut aperture.
Adhere this on to the front of your card blank, and set to one side.
Ink up the floral stamps, from the Possibility Stamp and Die Collection, with the Onyx Black Versafine.
Stamp each one on to the 6 x 6" white card.
Use the coordinating dies to die cut your stamped images.
Apply a little of the Izink Pigments on to your craft, or glass mat.
Add a little water, and use your paint brush to colour in your die cut, floral elements.
Adhere your floral elements, where required, on to your card.
To finish, ink up your sentiment stamp, from the Possibility Collection, with the Versafine, and stamp in the lower right corner of your card.
Share your make with the Stamps By Me community - and keep this guide for next time.
Prefer the previous layout? Open the old page.



