Give your friends €10 off their first order!
Refer a FRIEND








A project from our live show ONE DAY SPECIAL - Join Toni for her brand new launch - Broadcast 13th February 2026 · 13/02/2026 · watch it from 51:30
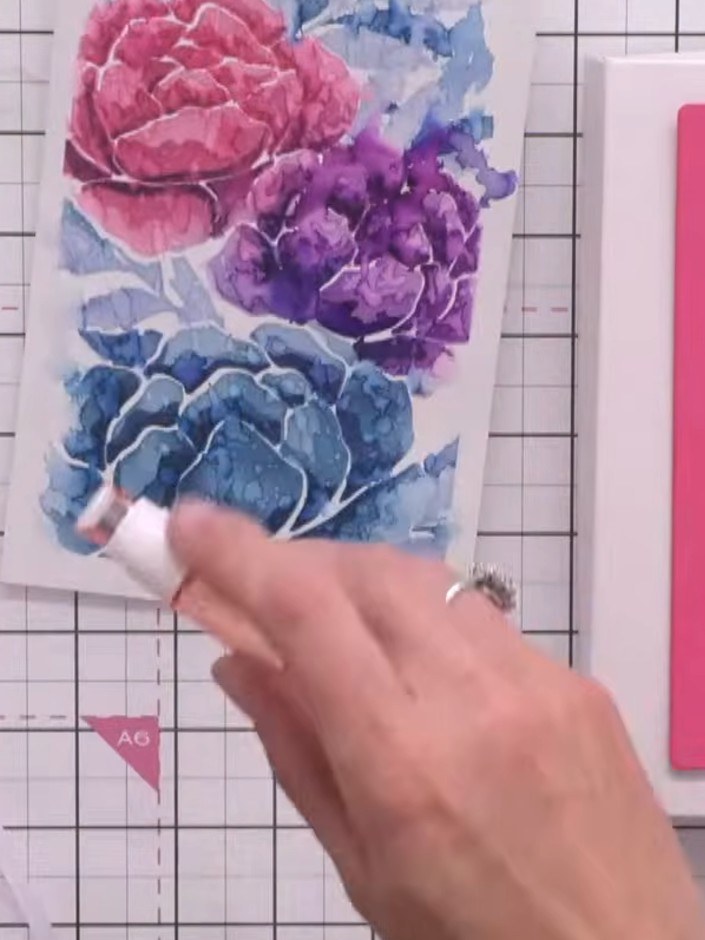
Create an elegant decorative gift box with a coordinating lid featuring beautiful peony artwork. This project uses pearl card stock to construct a box with a 3/4-inch depth, topped with a stencilled peony design in soft pink and coral tones. The main techniques include scoring, folding, and stencilling to achieve a professional finish perfect for presenting special gifts.
 Stamps By Me - Stencils and Die Set - Pretty Peony - 070824ASEE IT
 3D Foam Pads 2MM Thick Double Sided Foam Pads - 130226GSEE IT
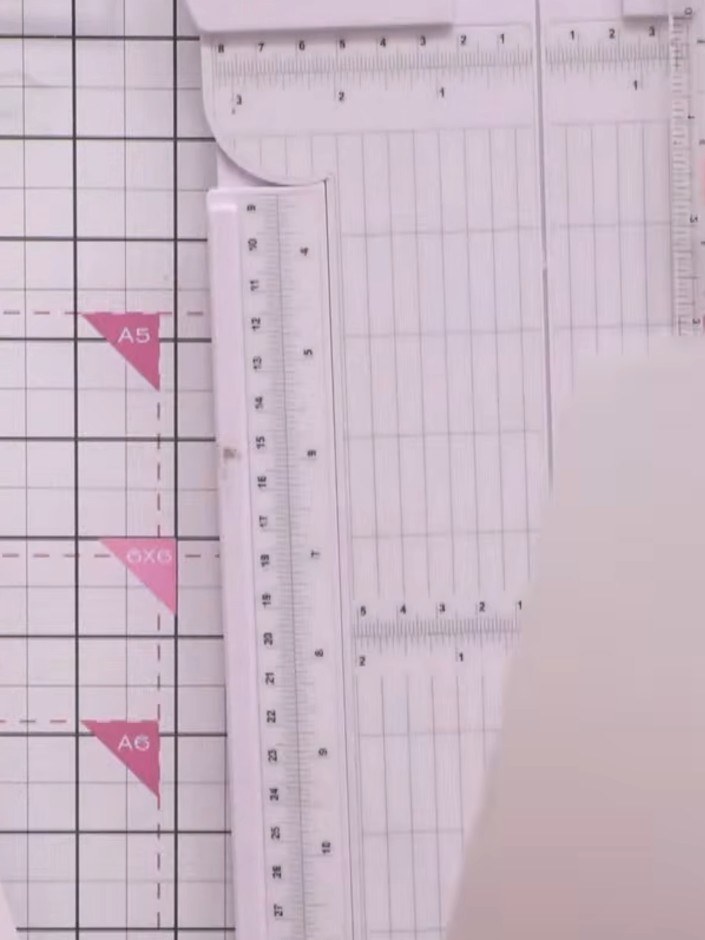
Cut two pieces of pearl card stock to 7 by 9 inches (approximately 18 x 23 cm). One piece will be used for the box base and one for the lid.
▶ watch this step (51:30)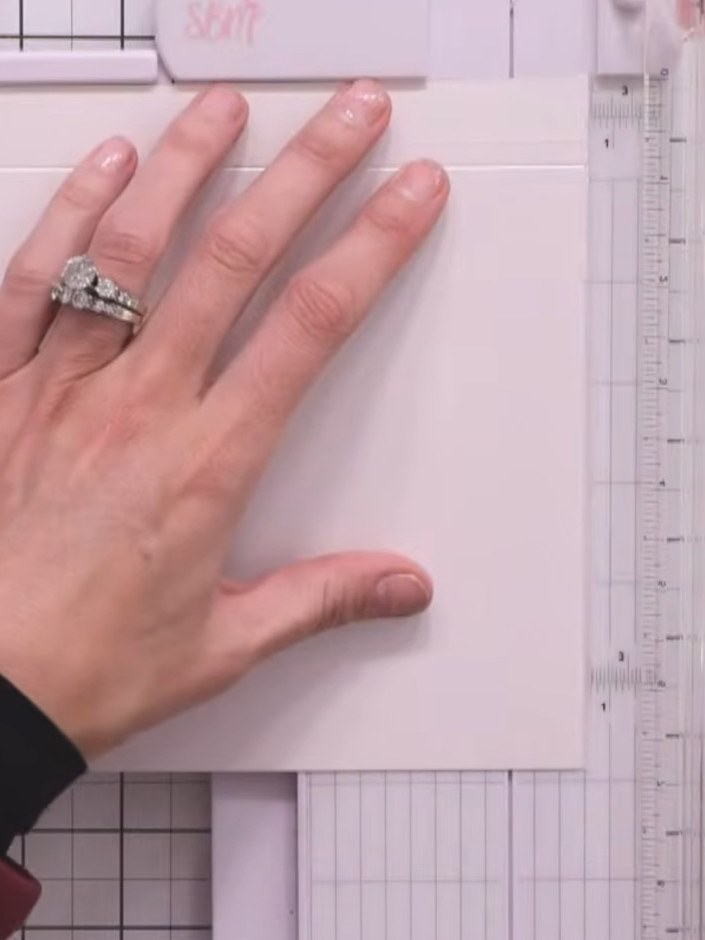
Using a guillotine, trim approximately 1mm off the top and one side of one piece to create a slightly smaller lid that will sit inside the base.
▶ watch this step (53:15)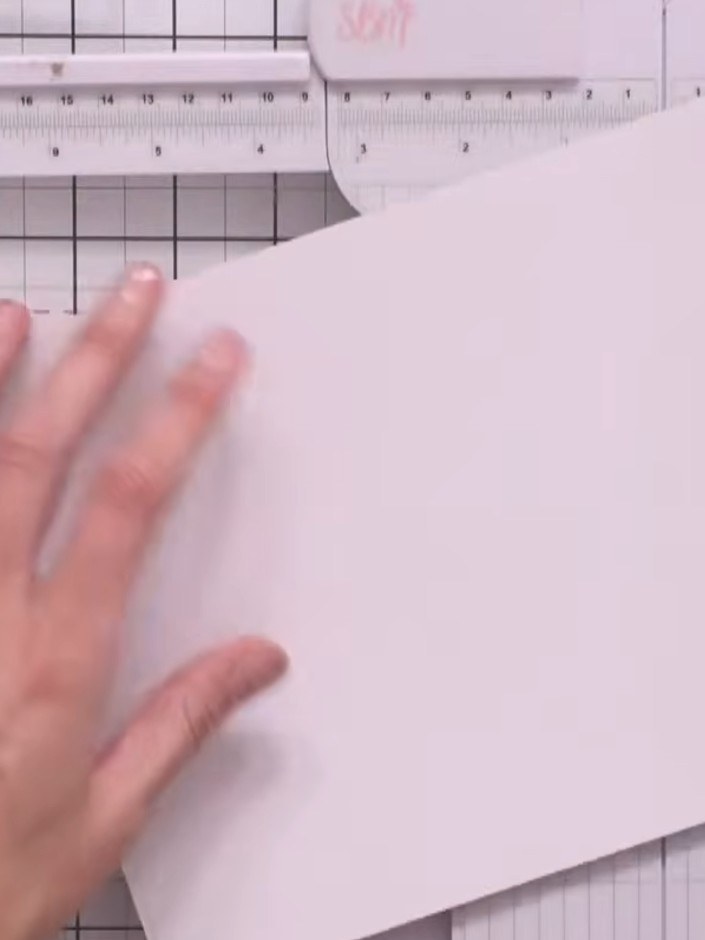
Place both pieces of white cardstock in your score tool and score at 3/4 inch intervals all the way around each piece.
▶ watch this step (53:45)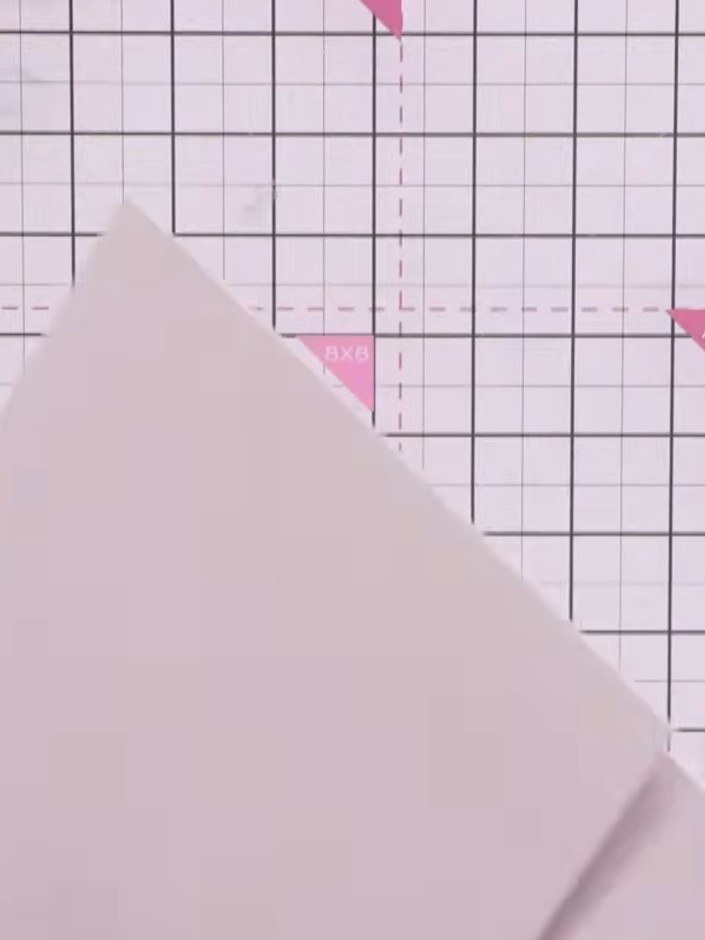
Cut diagonally into each corner at the score lines to create small triangles, stopping just before the scored line. This will allow the sides to fold up neatly.
▶ watch this step (54:15)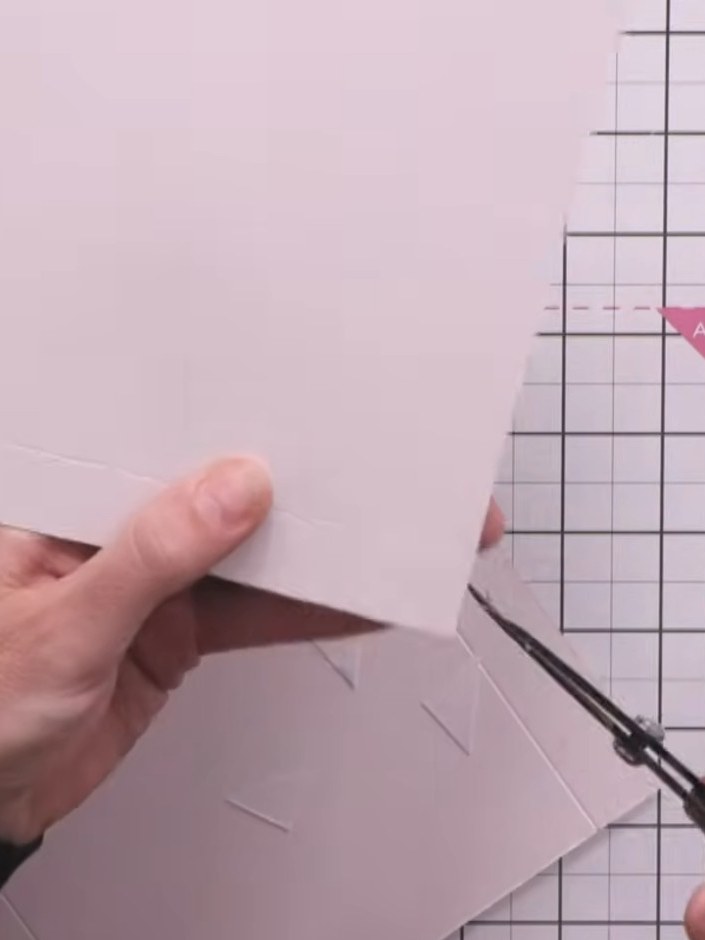
Fold up all four sides of the box base along the score lines to create the box walls.
▶ watch this step (54:45)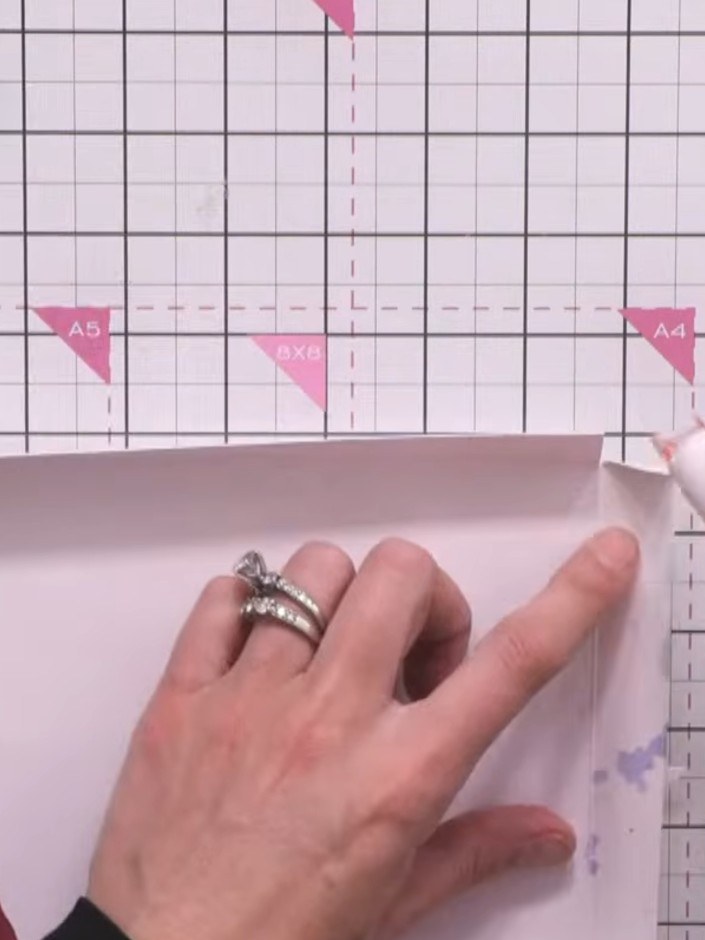
Trim your stencilled artwork down to fit neatly on the lid, leaving a small border of the pearl card visible around the edges.
▶ watch this step (56:30)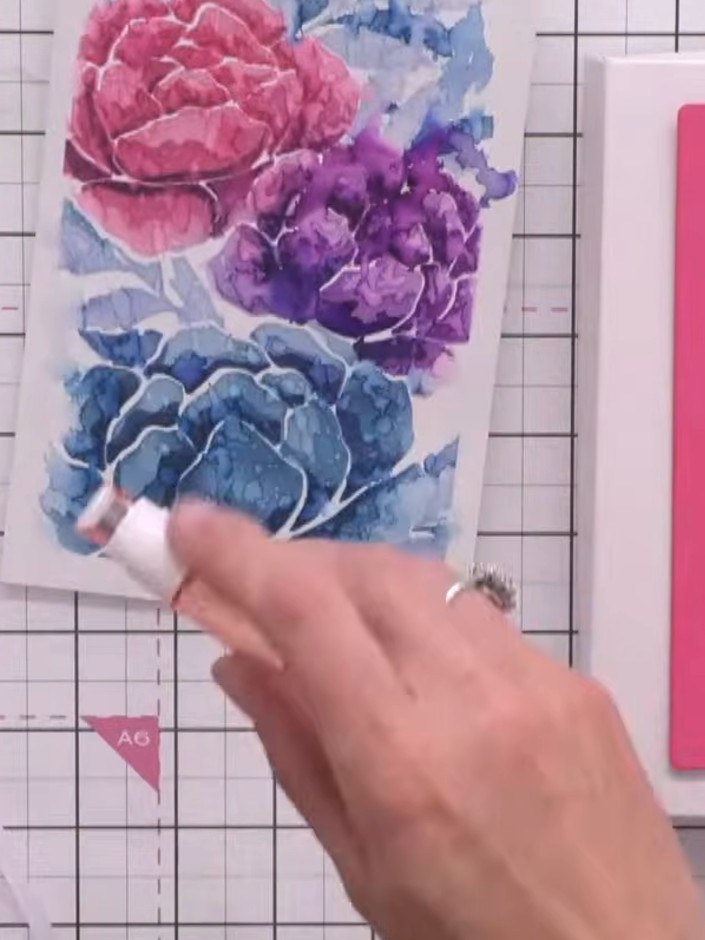
Adhere the white die-cut peony frame to the stencilled watercolour background panel using 3D foam pads or tape pen.
▶ watch this step (58:45)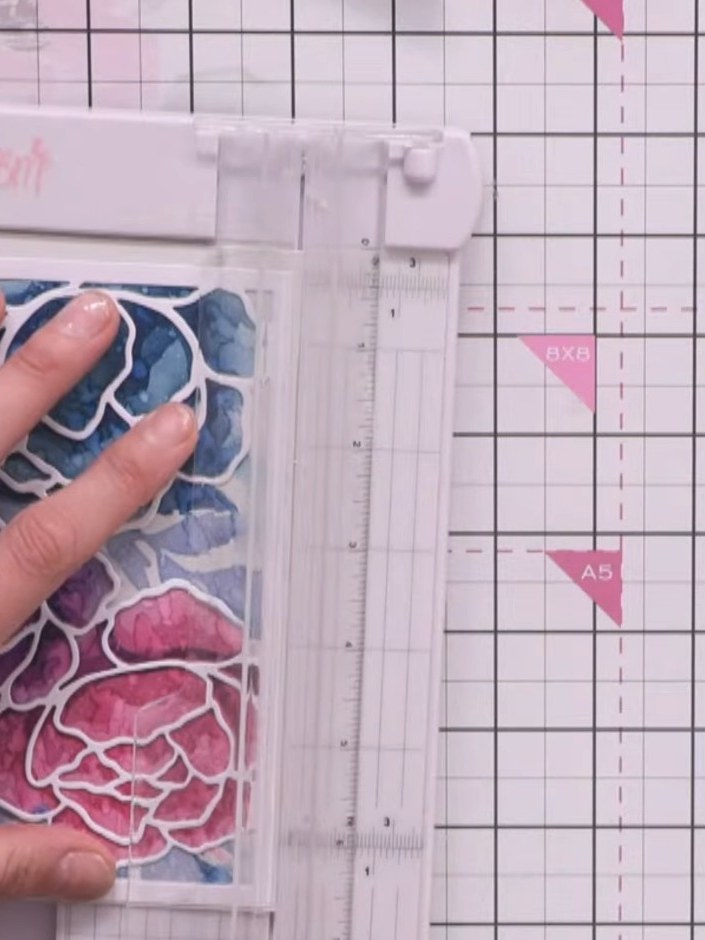
Apply 3D foam pads to the back of your layered peony artwork. Position and adhere the artwork onto the lid of your pink box, ensuring it is centred.
▶ watch this step (59:30)Written up from the show itself. See every guide from our shows · free how-to guides · watch live on My Telly