Give your friends €10 off their first order!
Refer a FRIEND








A project from our live show ONE DAY SPECIAL - Join Toni for her brand new launch - Broadcast 30th January 2026 · 30/01/2026 · watch it from 30:45
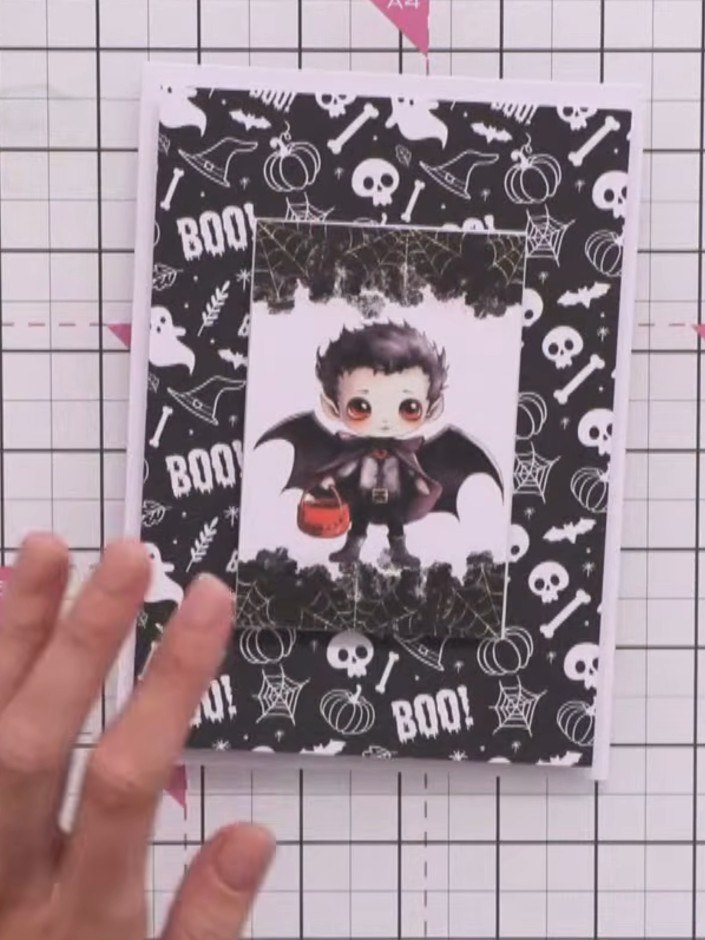
Create a charming Halloween card featuring a cute vampire character on a black and white spooky patterned background. This quick project uses pre-made components from the Bootiful Kit, including a printed topper and sentiment die-cut, assembled with foam pads for added dimension. Perfect for creating a finished greeting card in just minutes with minimal effort.
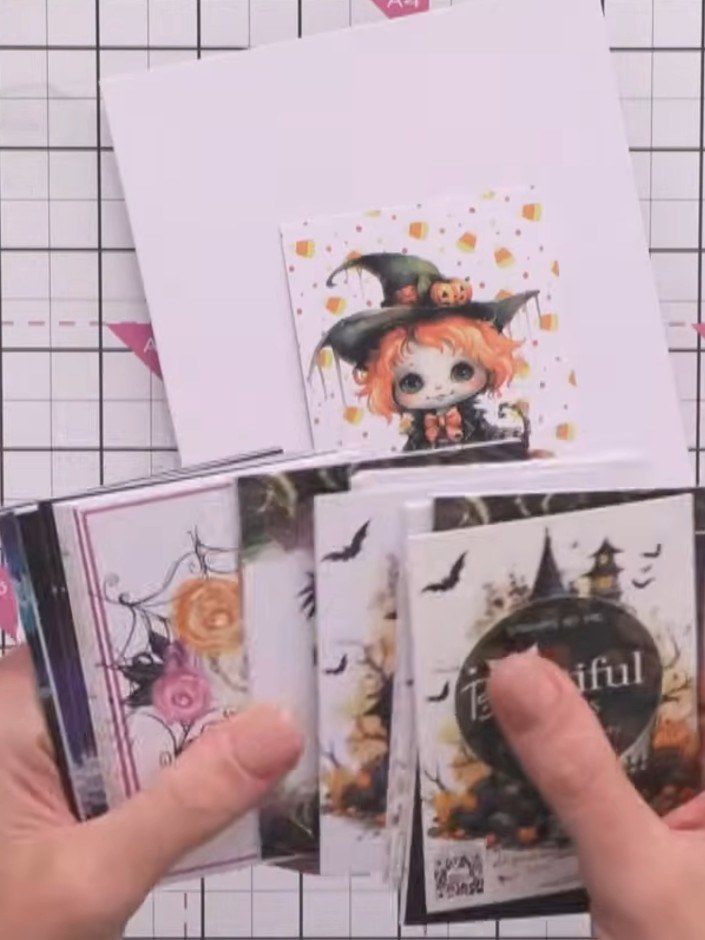
Select a card blank from your kit. Choose from the available designs - the witch character, the vampire character, or other Halloween-themed options included in the Bootiful kit.
▶ watch this step (30:45)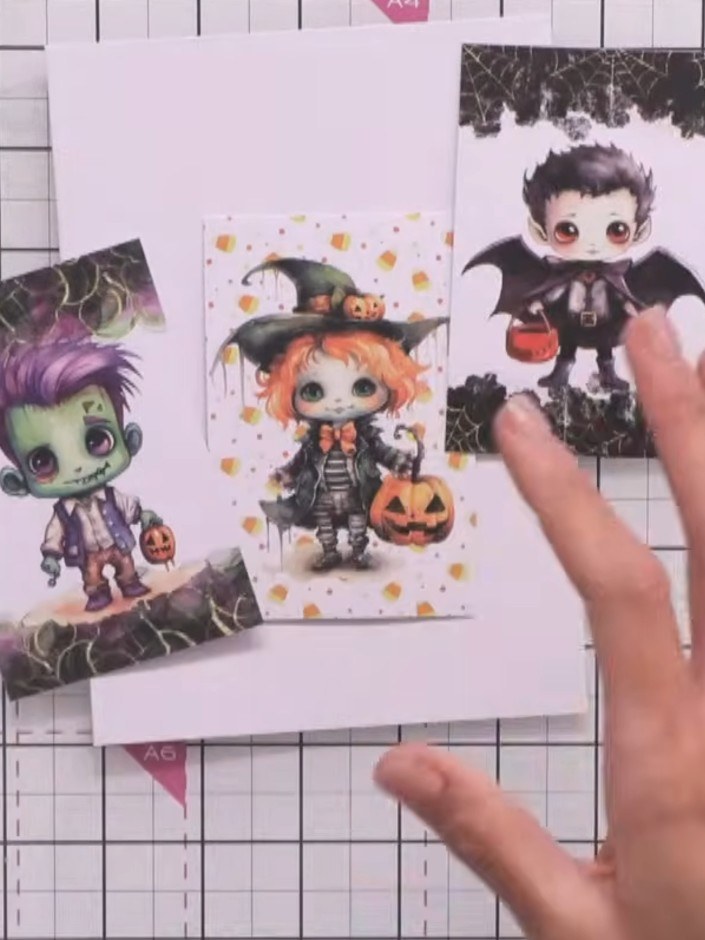
Choose a topper from the selection provided in the kit. The kit includes three Halloween character toppers: a witch with orange hair and pumpkin, a vampire with bat wings, and a Frankenstein character.
▶ watch this step (31:00)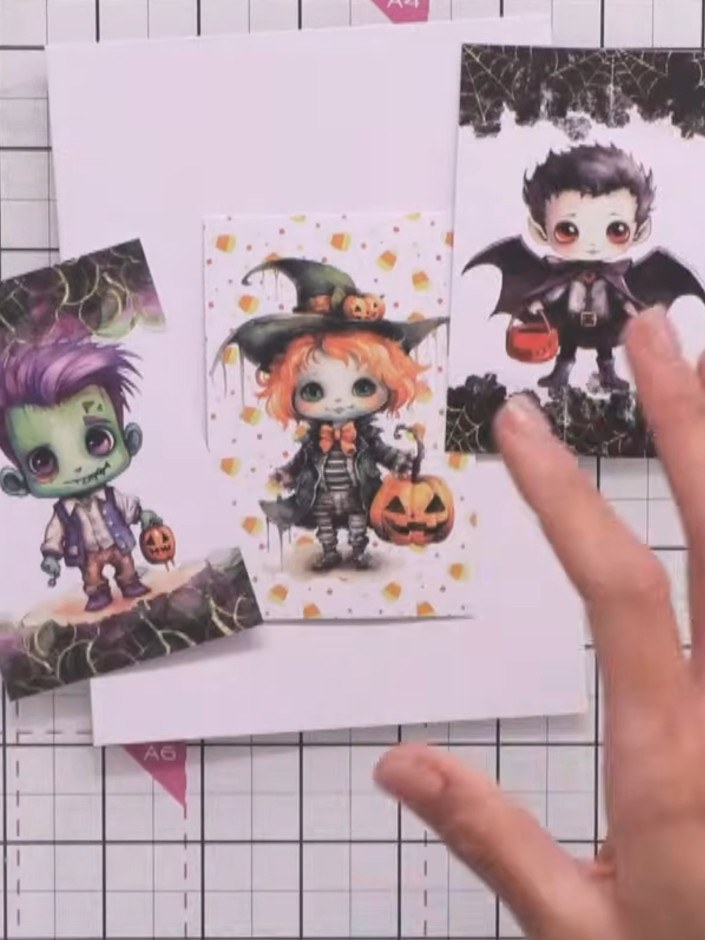
Apply foam pads to the back of your chosen topper to add dimension. Position the foam pads evenly across the back of the topper piece.
▶ watch this step (31:15)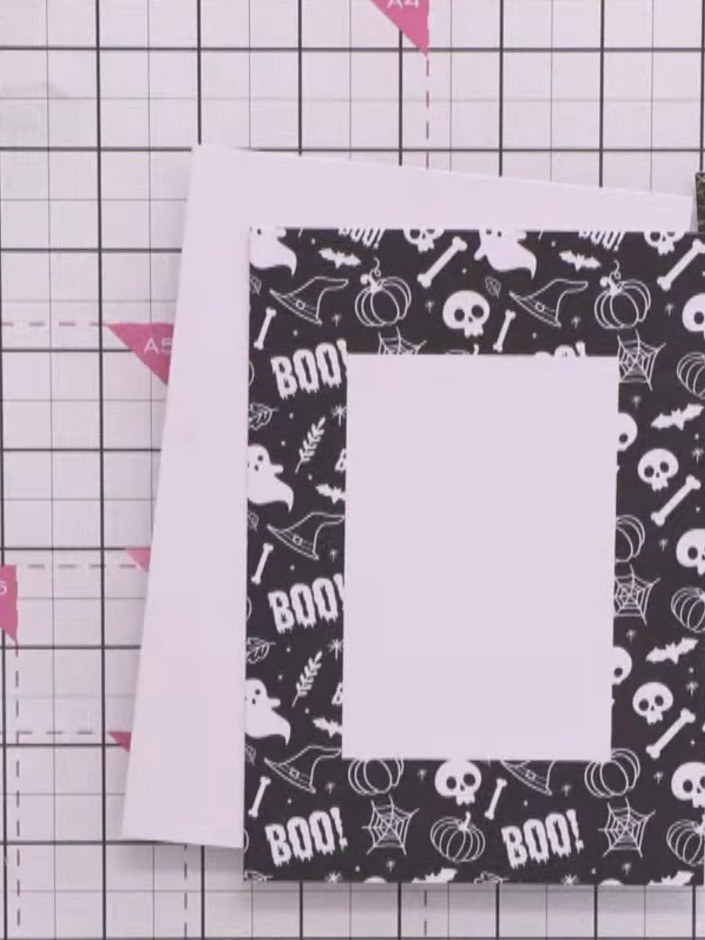
Adhere the padded topper to the front of the card blank. Position it centrally on the black and white patterned frame.
▶ watch this step (31:30)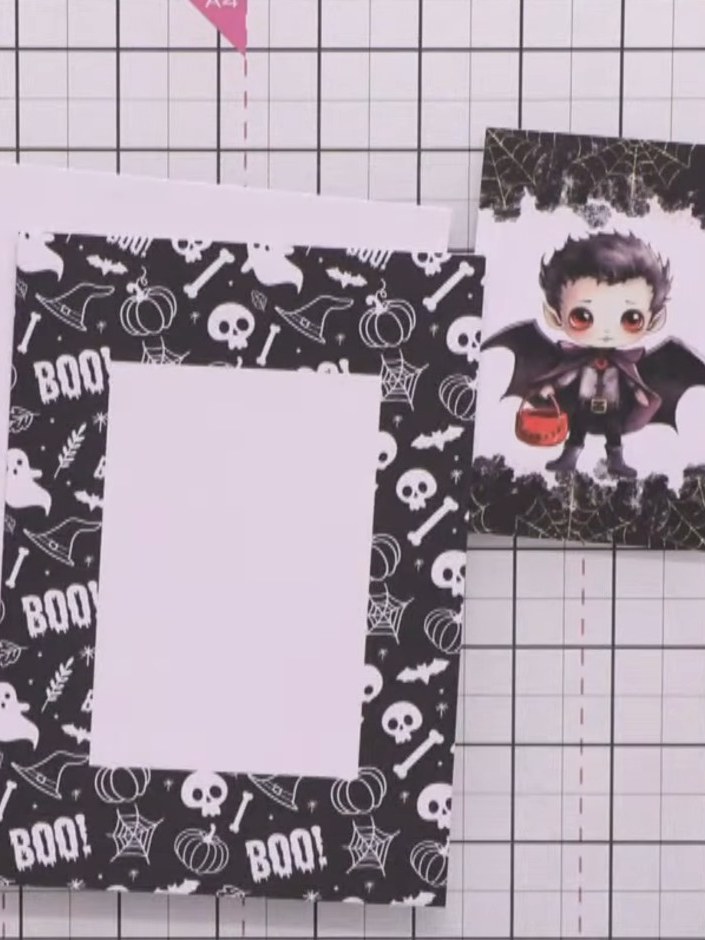
Select a pre-printed sentiment from the kit's sentiment pad and set it aside for your card.
▶ watch this step (32:00)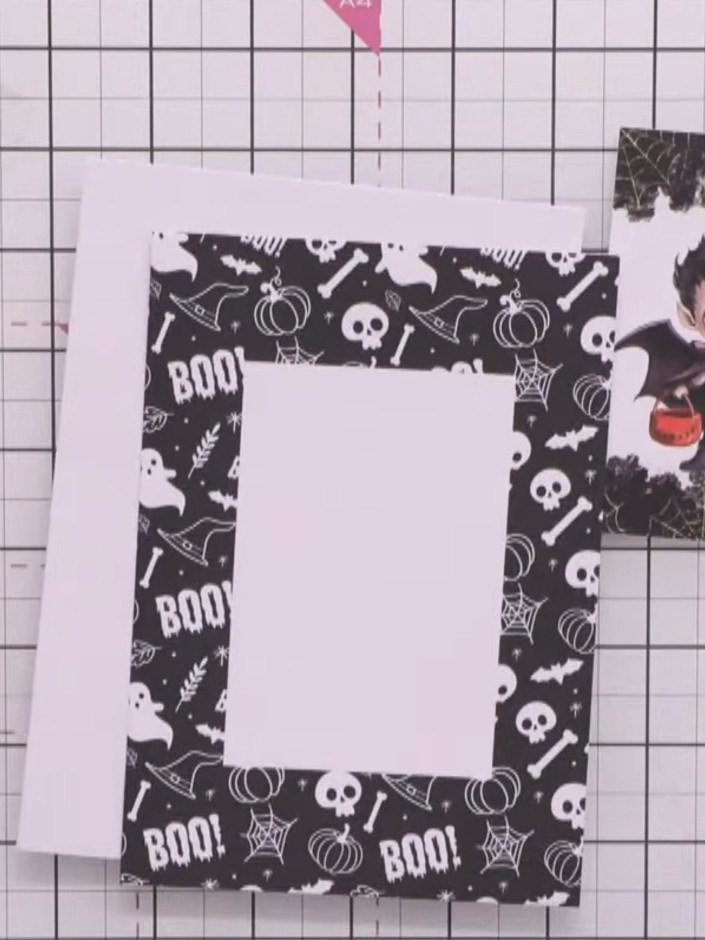
Use the die provided in the kit to cut out the sentiment banner from white cardstock. Position the die over your chosen sentiment area and run through your die-cutting machine.
▶ watch this step (32:15)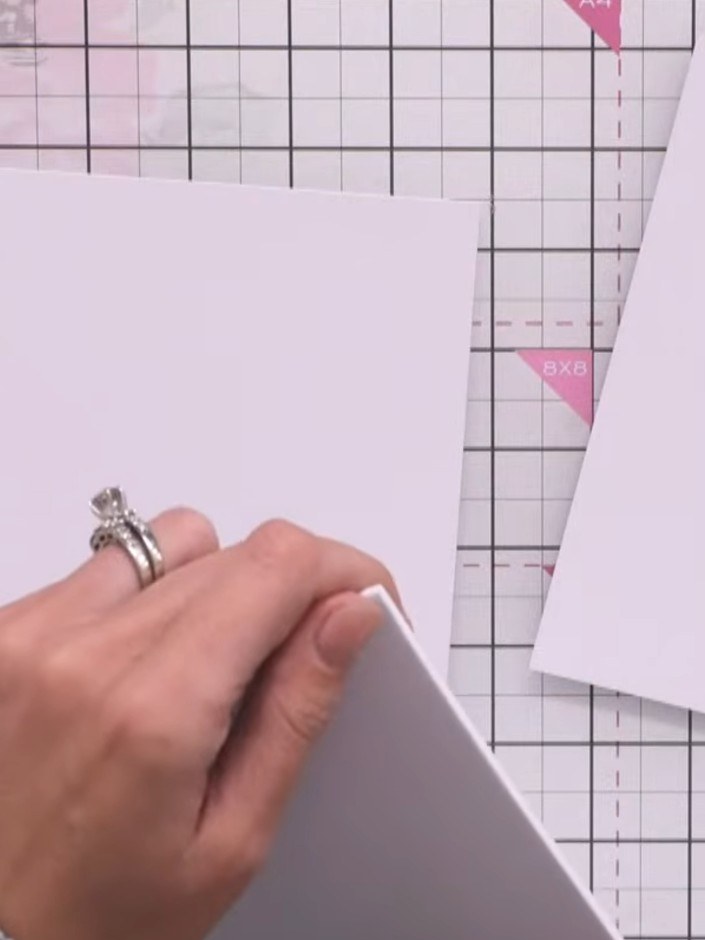
Apply foam pads to the back of the sentiment panel. Position them evenly to create dimension when attaching to your card.
▶ watch this step (32:30)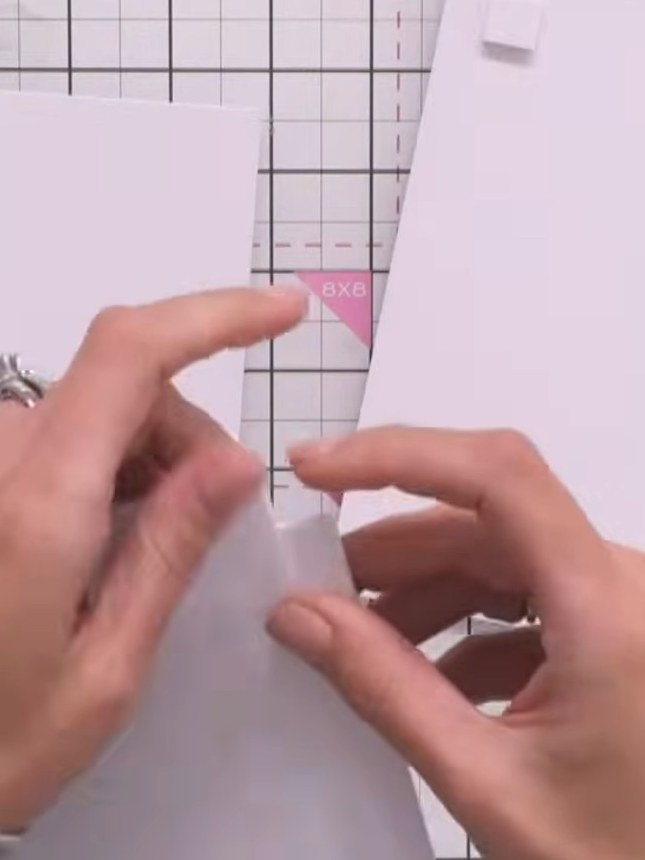
Adhere the sentiment piece to the lower portion of the card front using adhesive.
▶ watch this step (32:45)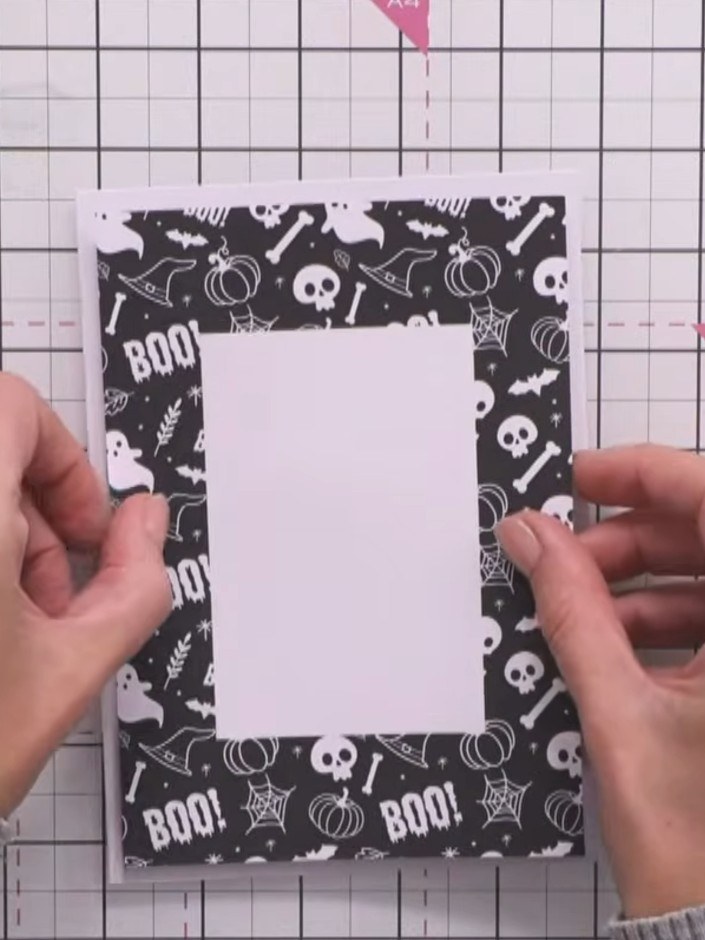
Apply Stickles glitter glue around the edges of the white card panel for added sparkle and embellishment. Allow to dry completely before handling.
▶ watch this step (33:30)Written up from the show itself. See every guide from our shows · free how-to guides · watch live on My Telly
