Give your friends €10 off their first order!
Refer a FRIEND








A project from our live show ONE DAY SPECIAL - Join Toni for her brand new launch - Broadcast 30th January 2026 · 30/01/2026 · watch it from 40:30
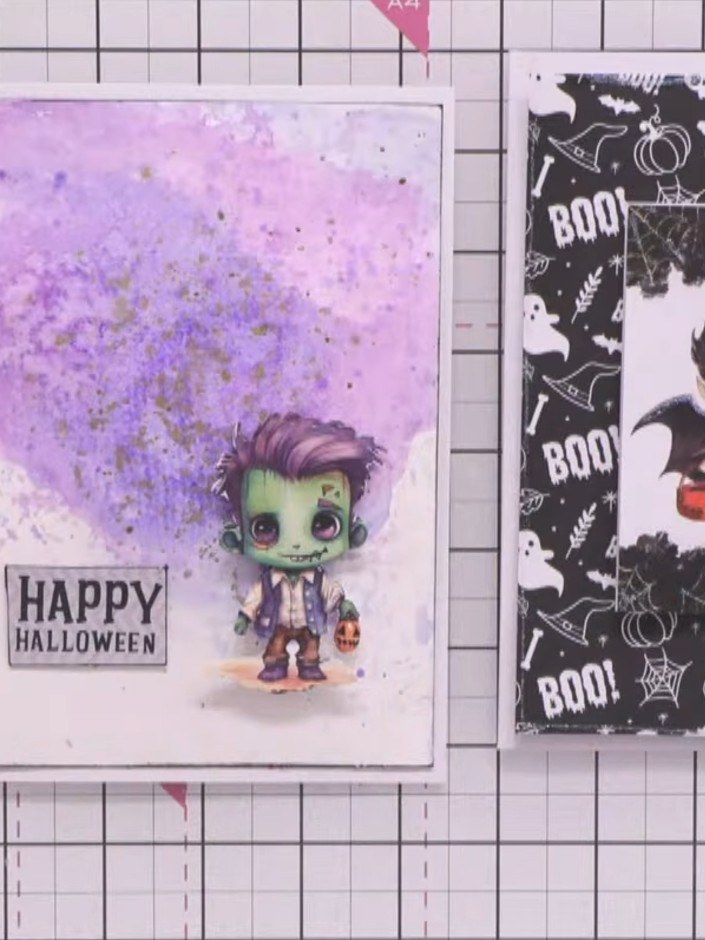
Make a stunning Halloween card with a hand-painted watercolour background in beautiful purple and lilac shades, enhanced with tissue paper texture for added depth. Layer a cute decoupage character on top to create a charming 3D effect that brings your card to life. This project combines artistic watercolour techniques with dimensional paper layering for a truly special handmade greeting.
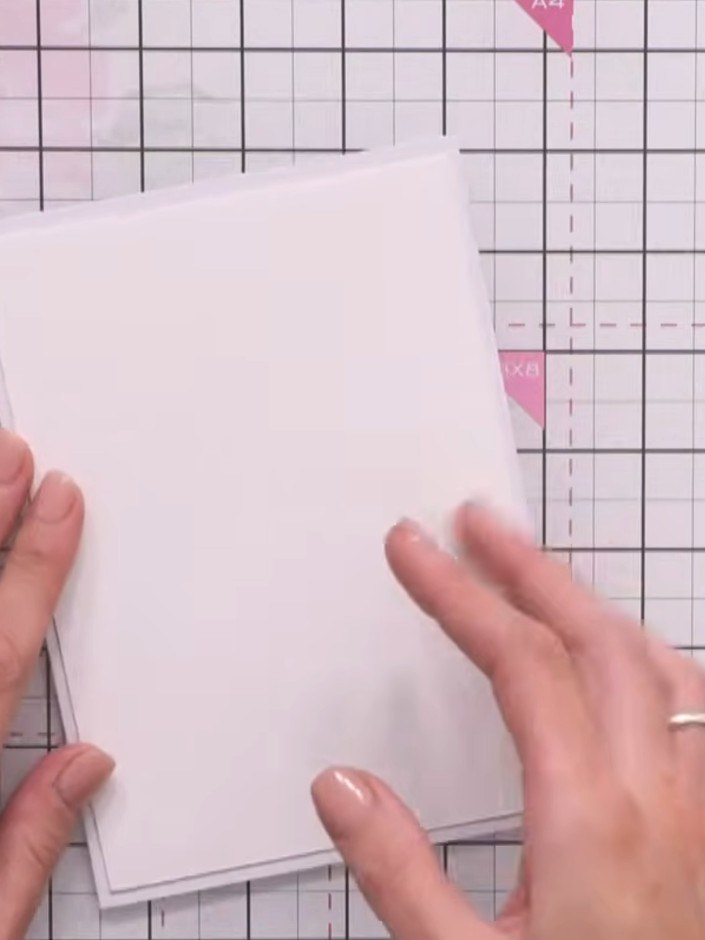
Cut a piece of watercolour card to the size of your card blank.
▶ watch this step (40:30)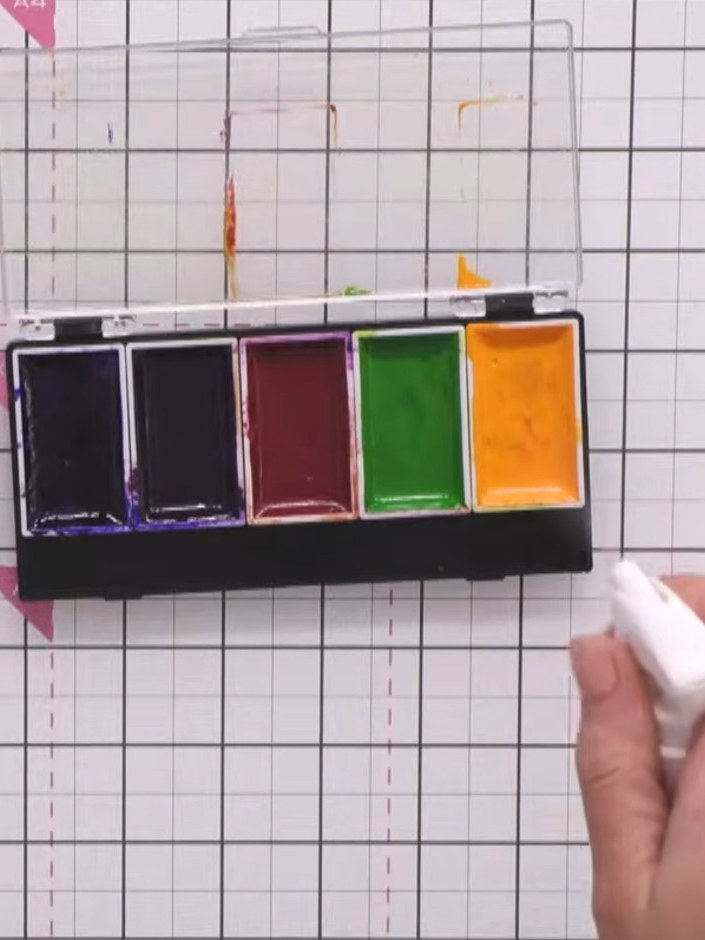
Spray your watercolour paints with water to activate them using a water mister or spray bottle.
▶ watch this step (40:45)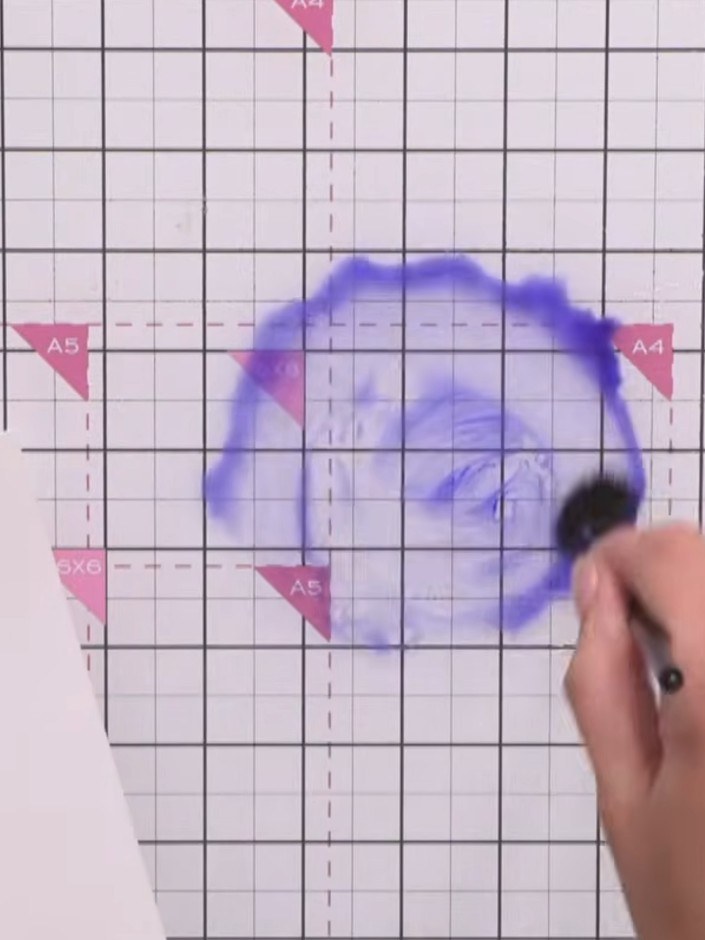
Create a large puddle of water in the centre of your glass mat using a water brush or paintbrush.
▶ watch this step (41:00)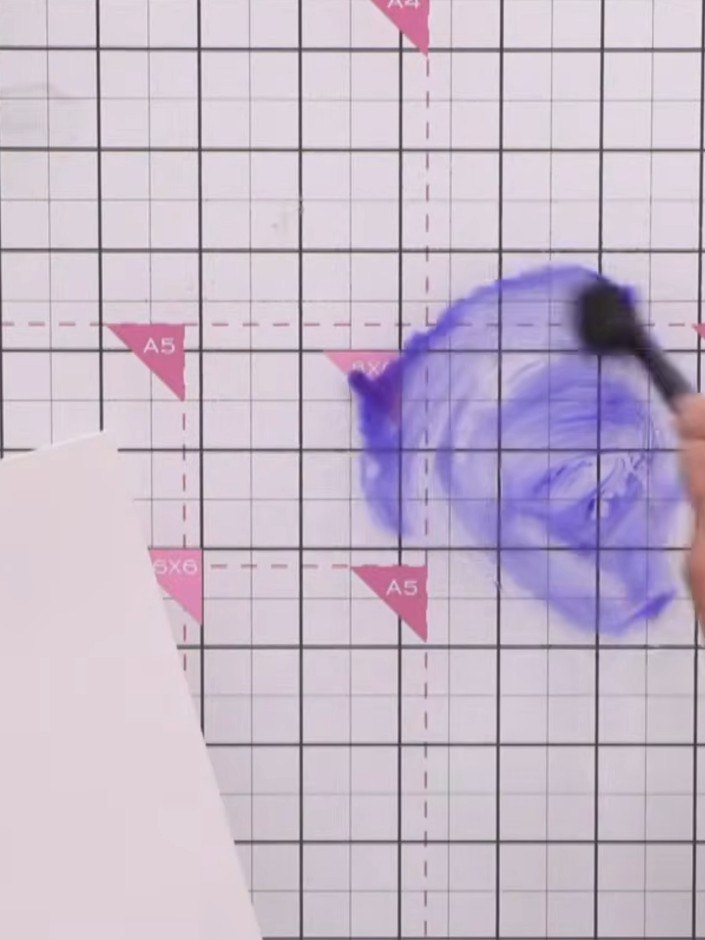
Pick up blue paint on your brush and add it to the water puddle on your card, building up the colour to make it darker.
▶ watch this step (41:15)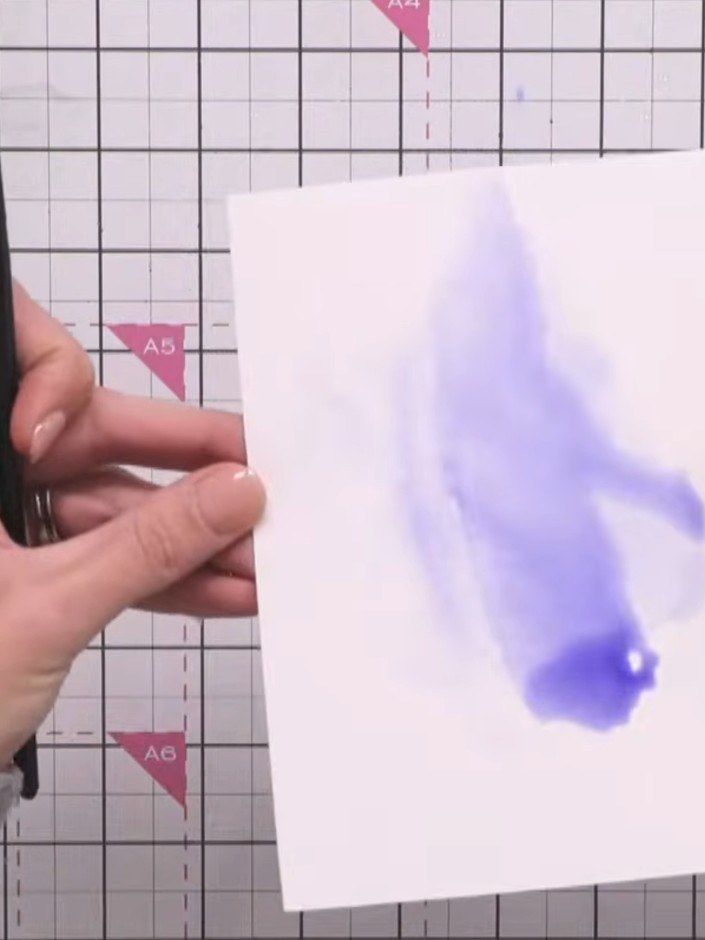
Scrunch up tissue paper and press it into the wet purple paint to create texture and lift colour from the background.
▶ watch this step (41:30)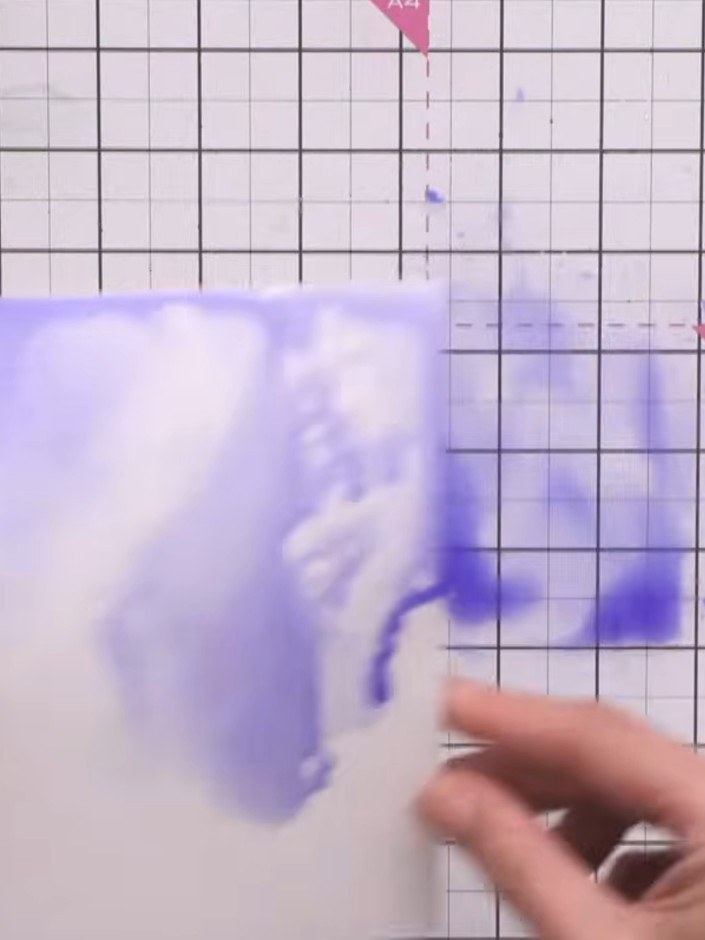
Twist and tilt the card to move the purple paint around, creating varied watercolour effects across the surface.
▶ watch this step (41:45)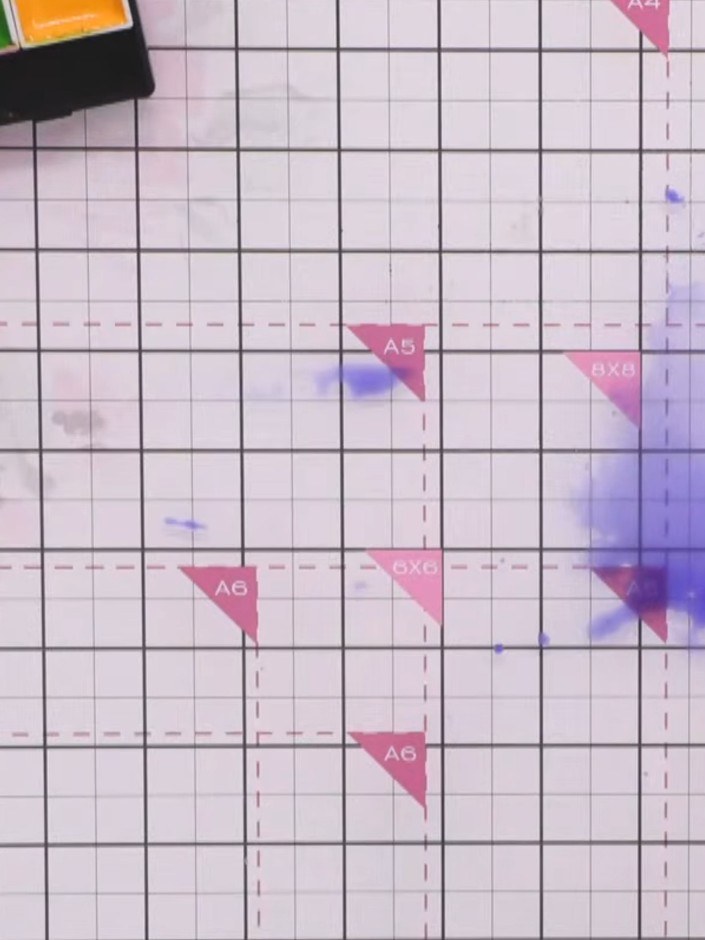
Create a second puddle of water on your card. Add purple ink to the puddle and use scrunched tissue paper to dab and blend the colour, twisting the tissue to create texture.
▶ watch this step (42:00)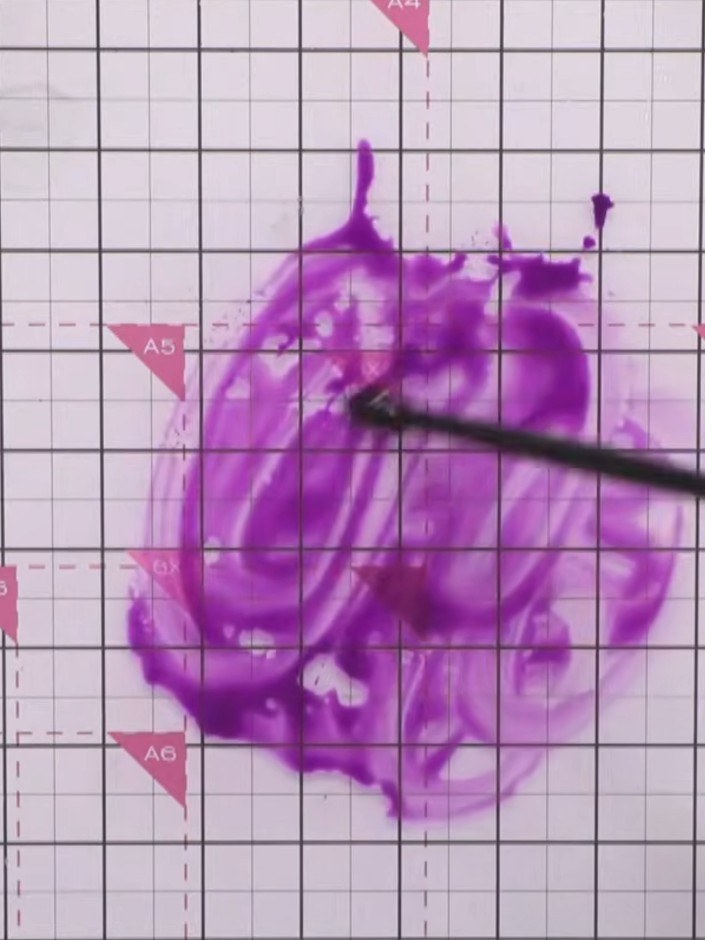
Add more water to the purple watercolour background using a paintbrush to create an acid-like effect. Work the water across the surface to create additional texture and movement in the colour.
▶ watch this step (42:30)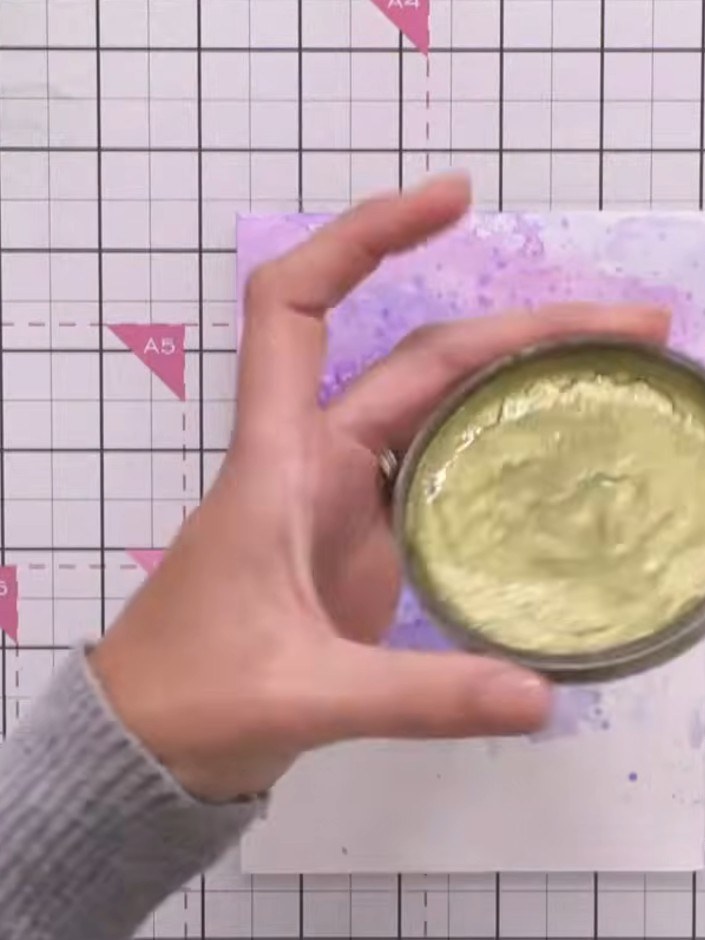
Apply a small amount of gold metallic paint to the centre of the purple watercolour background using a paintbrush or sponge applicator.
▶ watch this step (47:45)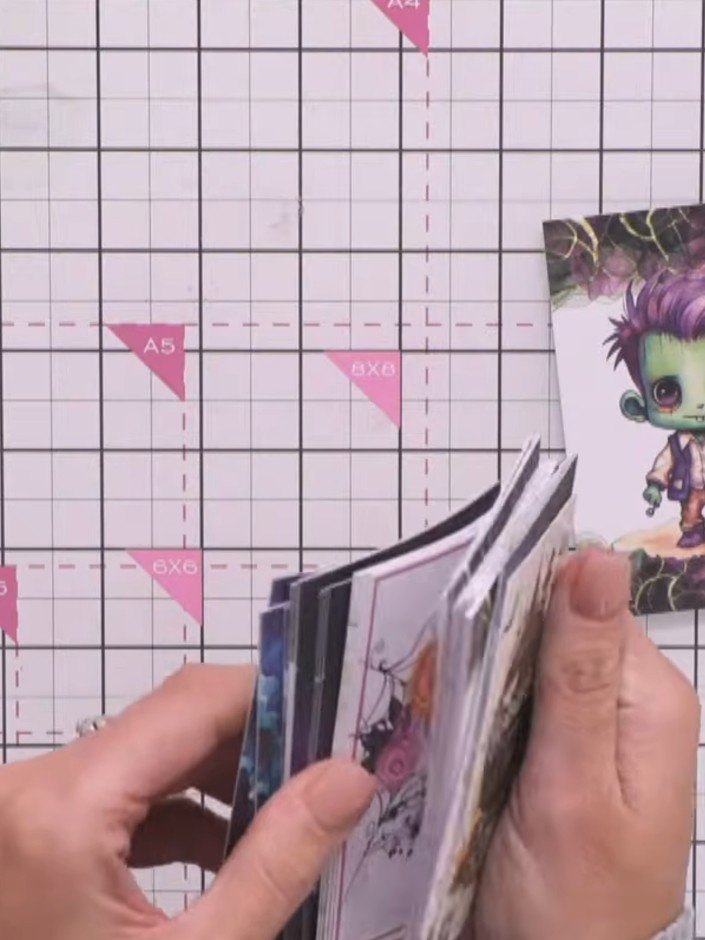
Select a character topper from the Bootiful kit. Carefully fussy-cut around the character image, following the outline closely to remove all the white background.
▶ watch this step (49:00)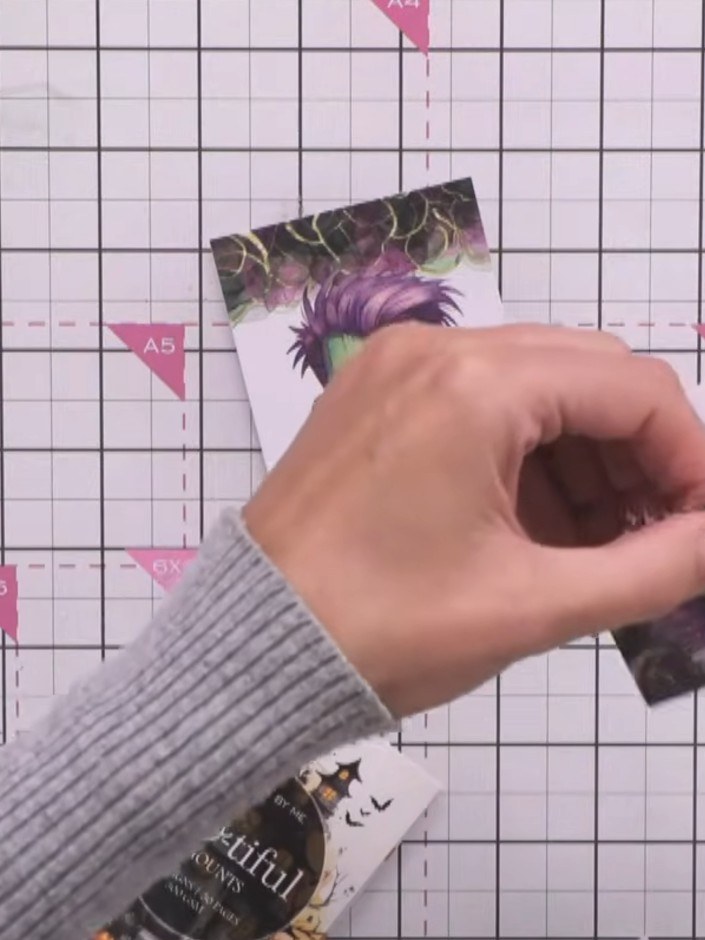
Adhere the full character topper flat to the watercolour background card using adhesive.
▶ watch this step (50:00)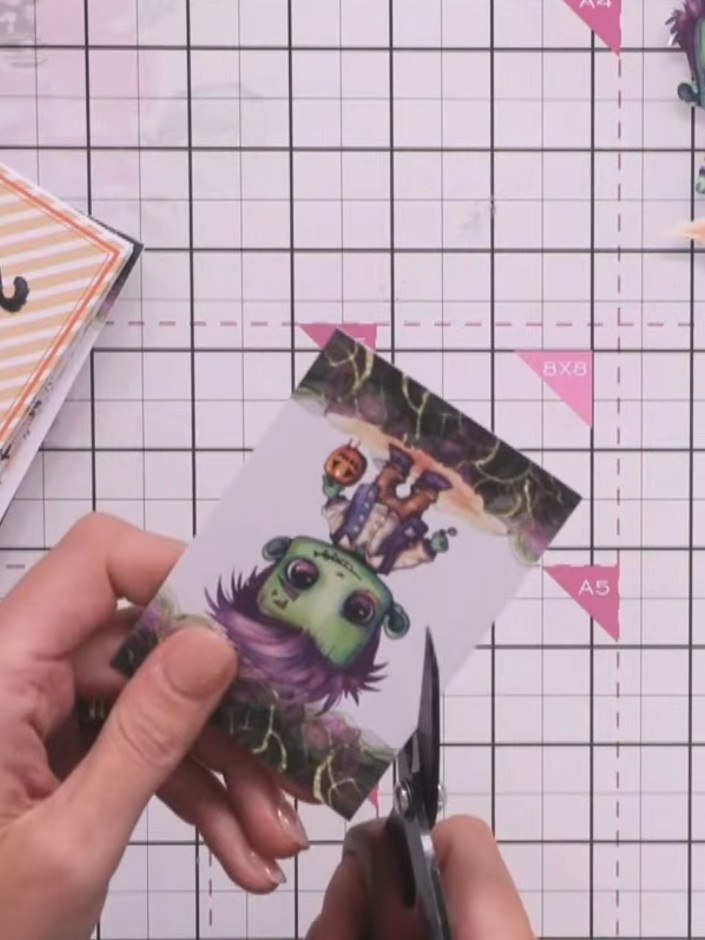
Fussy-cut the same character again, this time removing the lower body and hand to create a decoupage layer. Cut carefully around the head, upper body and remaining arm.
▶ watch this step (50:30)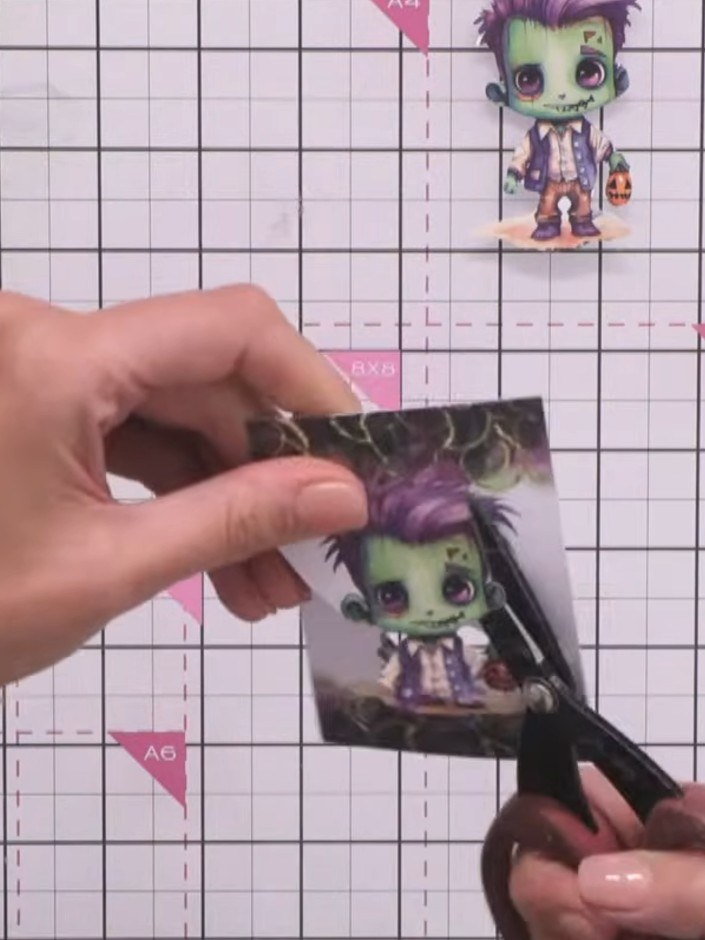
Apply foam pads to the back of the cut-out decoupage character piece. Adhere the decoupage layer on top of the first character image to create a 3D dimensional effect.
▶ watch this step (51:00)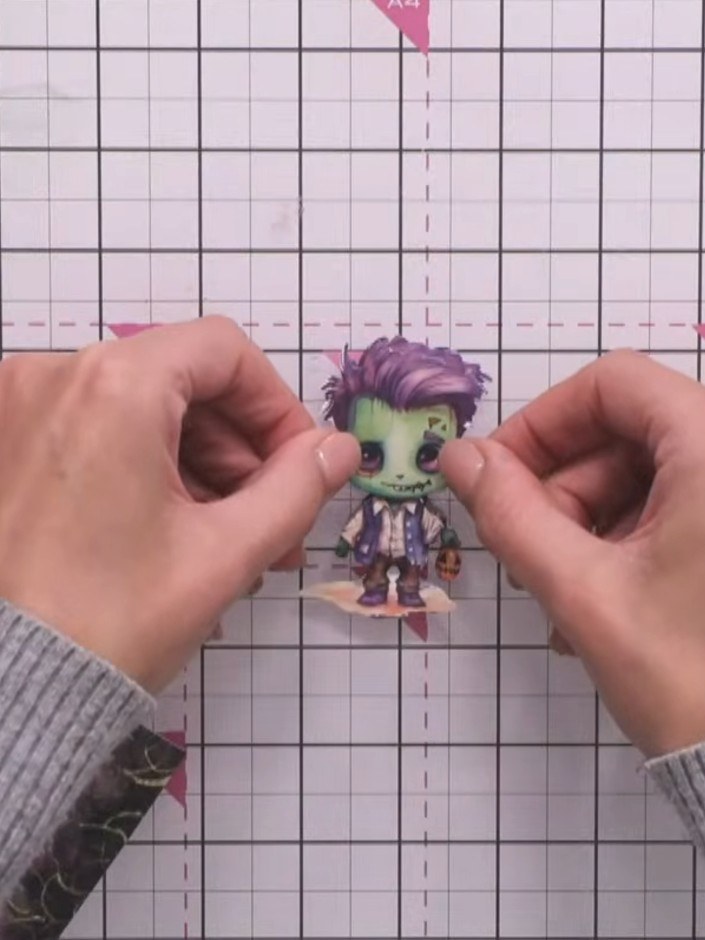
Use a black ink pad to edge around the character topper to make it pop and add definition.
▶ watch this step (52:00)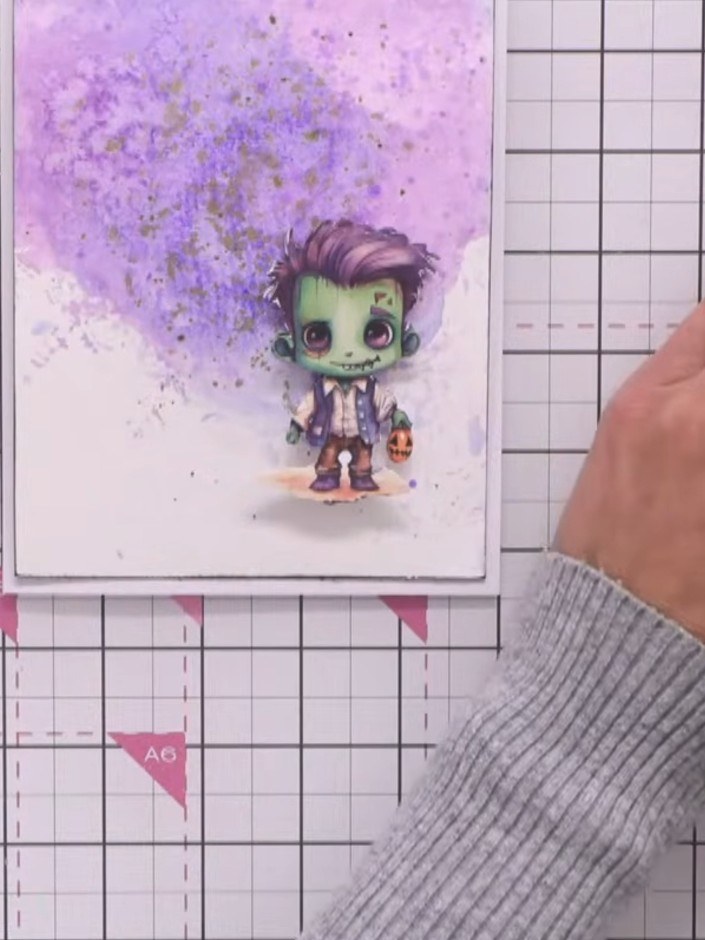
Cut a pre-printed 'Happy Halloween' sentiment into a rectangle shape using a guillotine or trimmer.
▶ watch this step (54:00)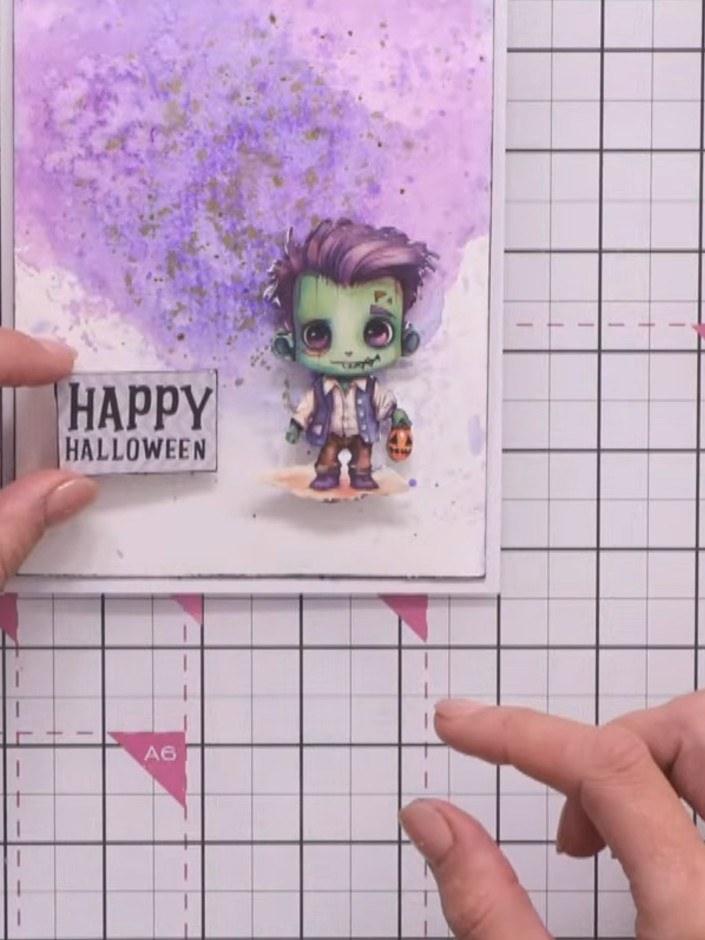
Edge the 'Happy Halloween' sentiment stamp with black ink pad. Adhere the sentiment to the left side of the card front.
▶ watch this step (55:00)Written up from the show itself. See every guide from our shows · free how-to guides · watch live on My Telly
