Give your friends €10 off their first order!
Refer a FRIEND








 The Thursday DropThu 19 Nov 1pm
 The Friday Final CutFri 20 Nov 5am
 Community ShowcaseMon 23 Nov 5am
Prices change straight away. Every language is our own translation, not Google.
A project from our live show MY PODCAST - Catch my latest updates broadcast 19th January 2026 · 19/01/2026
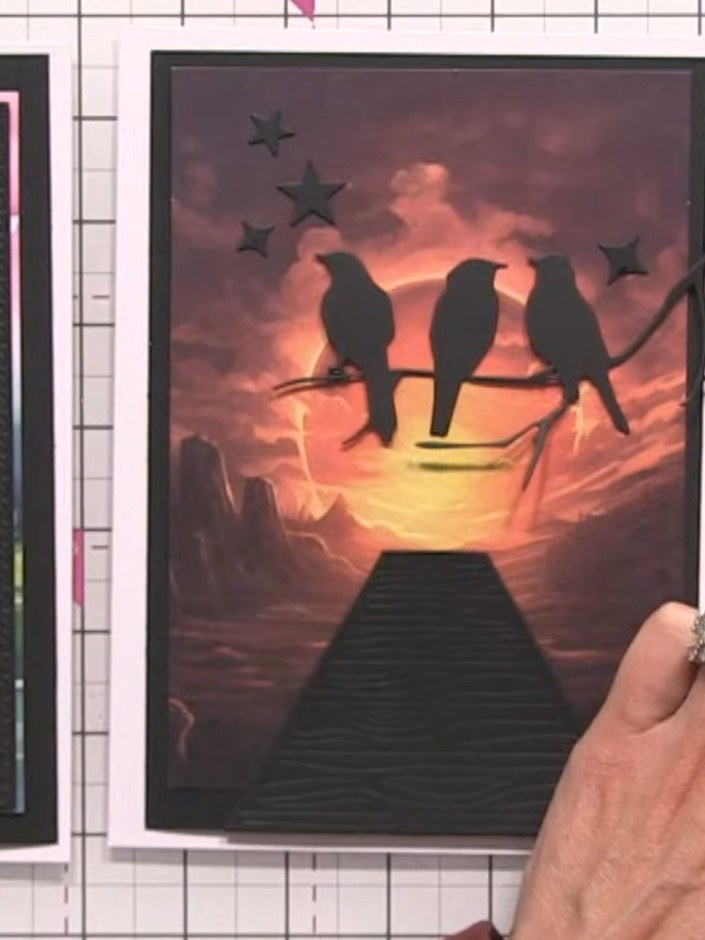
Create a stunning layered card featuring a delicate tree silhouette die-cut that frames a dreamy landscape scene. Using the Moonlit Skies die set and the We Can Dream paper collection, you'll craft an elegant design with a black tree frame that creates a window effect, revealing beautiful ombre skies and a peaceful lakeside scene behind. This sophisticated card combines die-cutting and layering techniques to achieve a professional, gallery-worthy finish.
 1
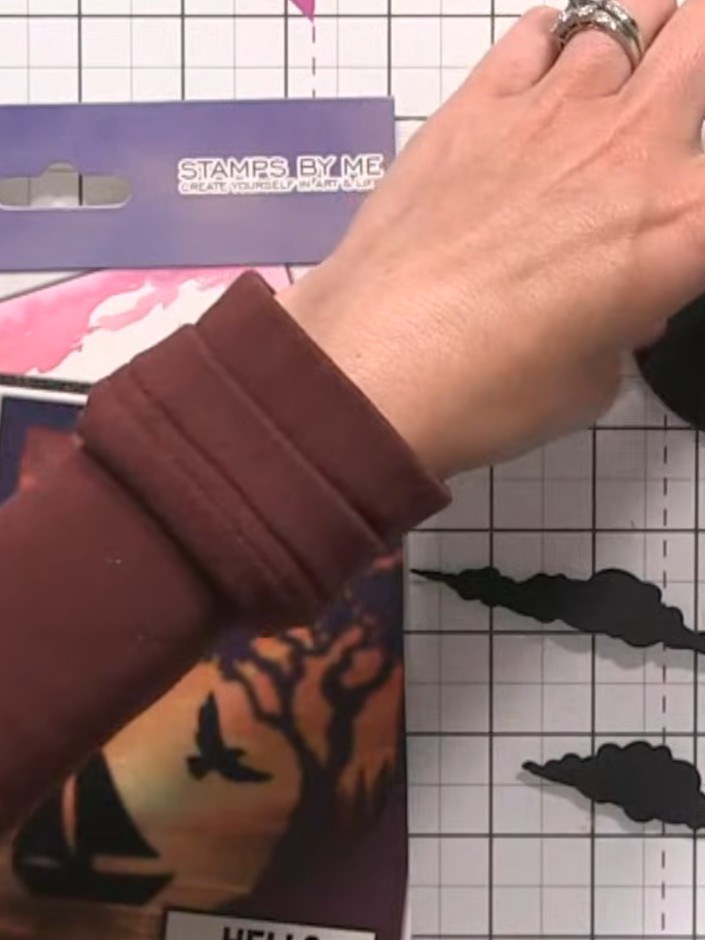
Cut the tree die from the Moonlit Skies die set using black card stock. Position the large tree die on black card and run through your die-cutting machine.
 2
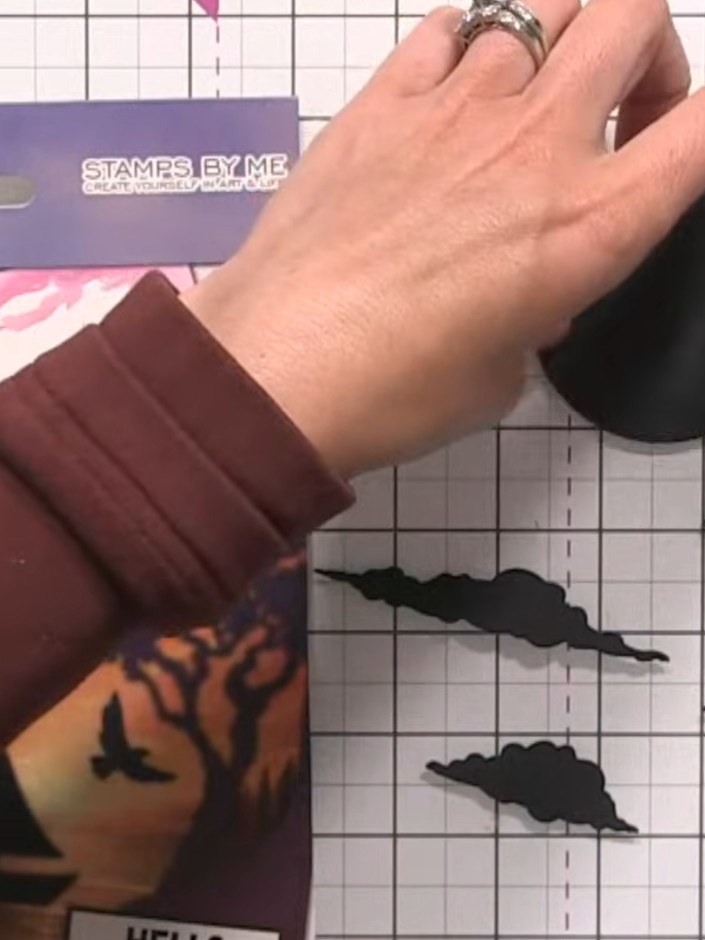
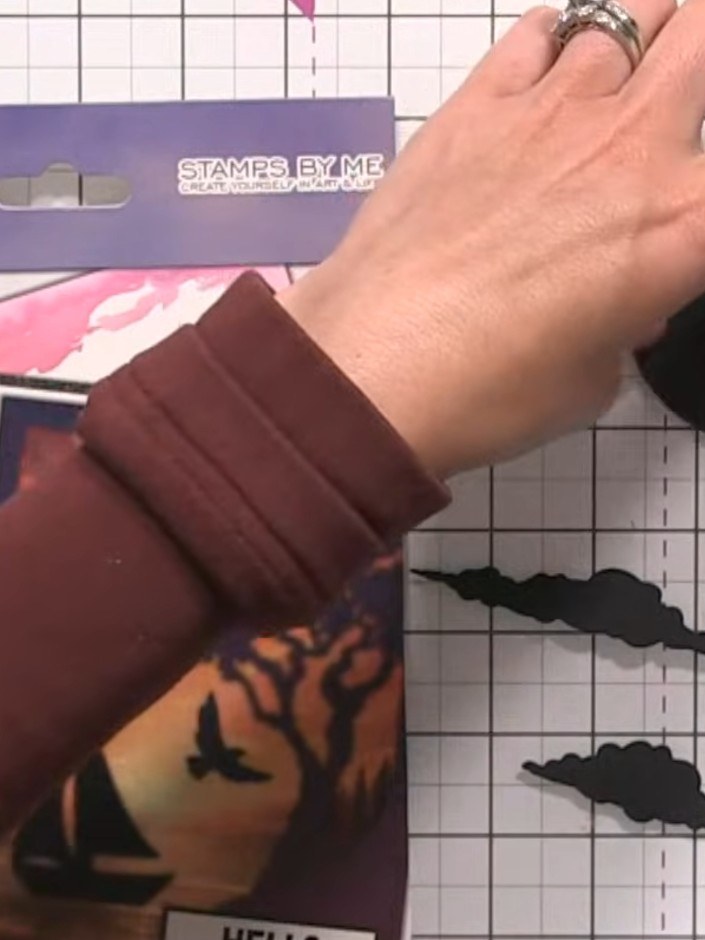
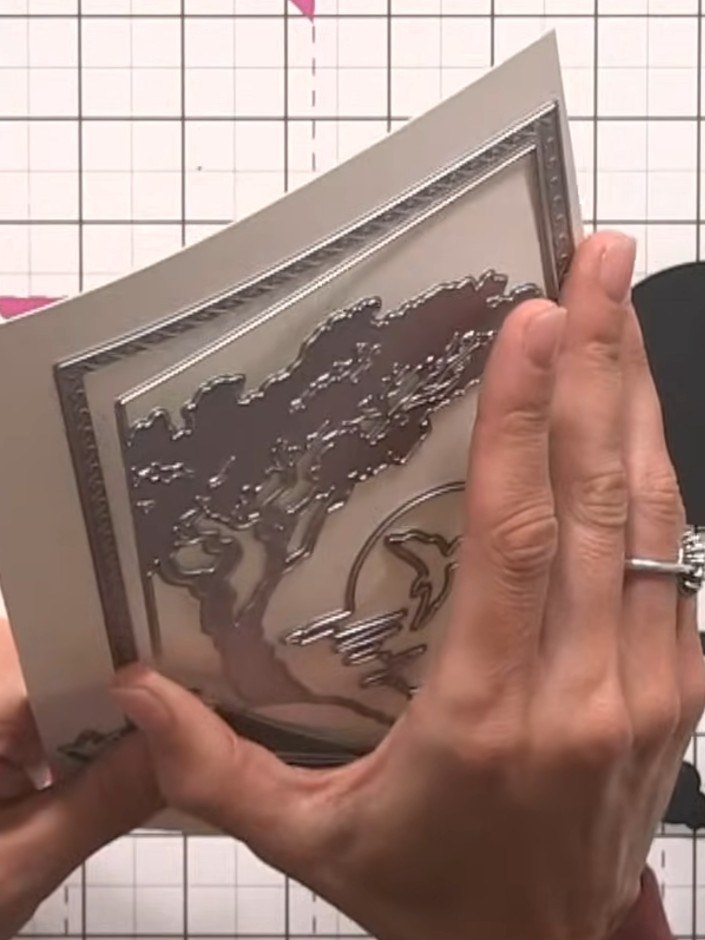
Cut the decking die piece from black card stock to create a wooden pathway effect. Die-cut the birds, twigs, clouds and stars from black card stock as well.
 3
Die-cut the moon from black cardstock using the moon die from the Moonlit Skies die set. Place the die-cut moon on an embossing mat and run it through your die-cutting machine to add texture and dimension to the surface.
 4
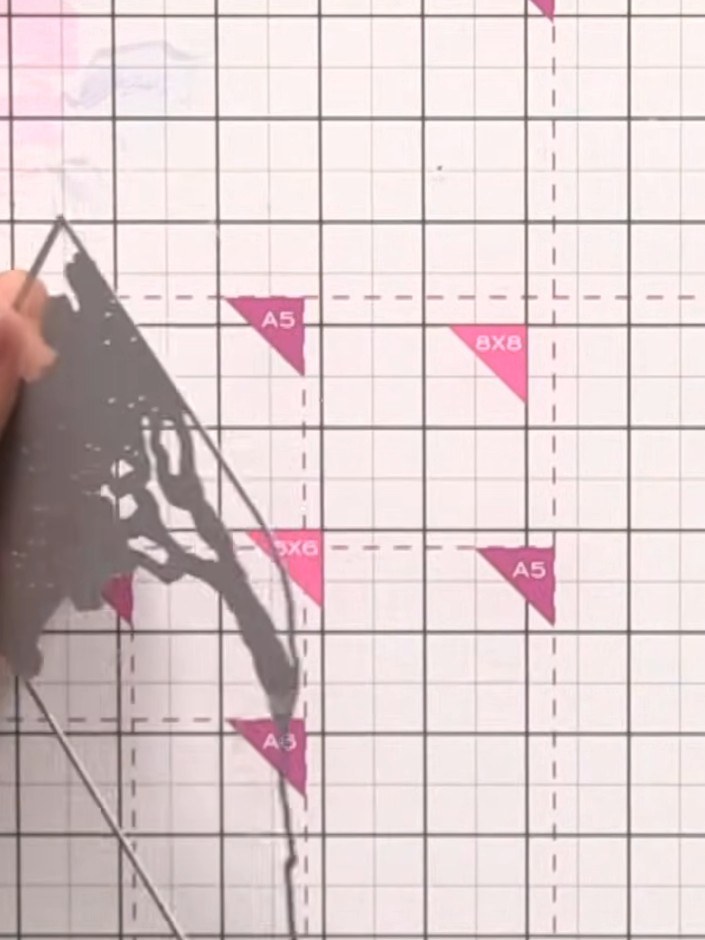
Die-cut the bird and twig designs from black card stock using the dies from the Moonlit Skies die set. Run the dies through your die-cutting machine to create the intricate cut-out shapes.
 5
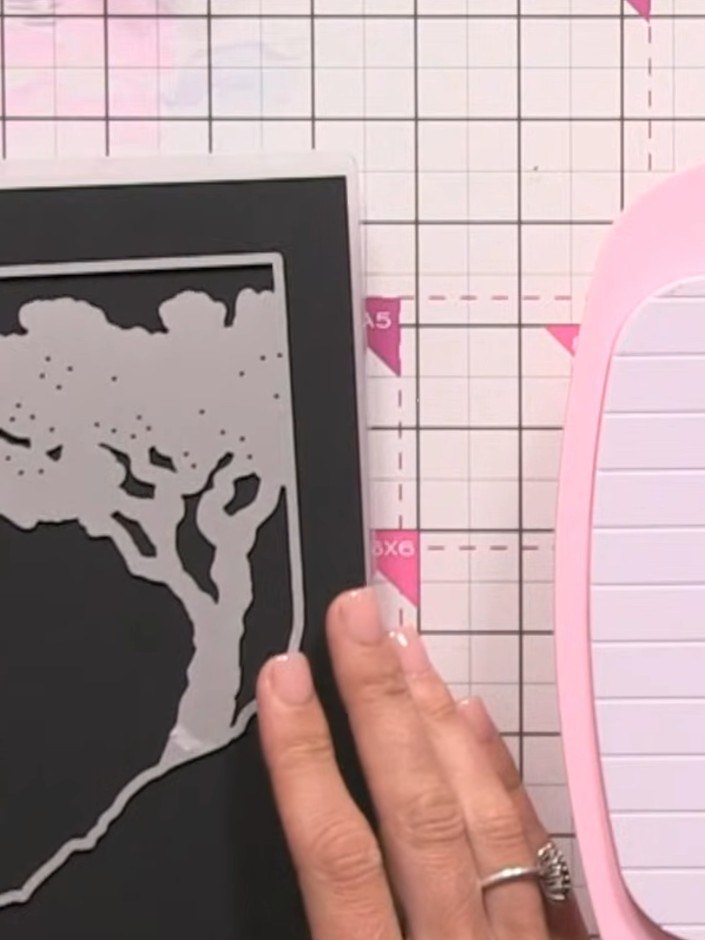
Die-cut the cloud and tree design from black card stock using the Moonlit Skies die set. The die creates a decorative frame with a tree silhouette, clouds, and stars.
 6
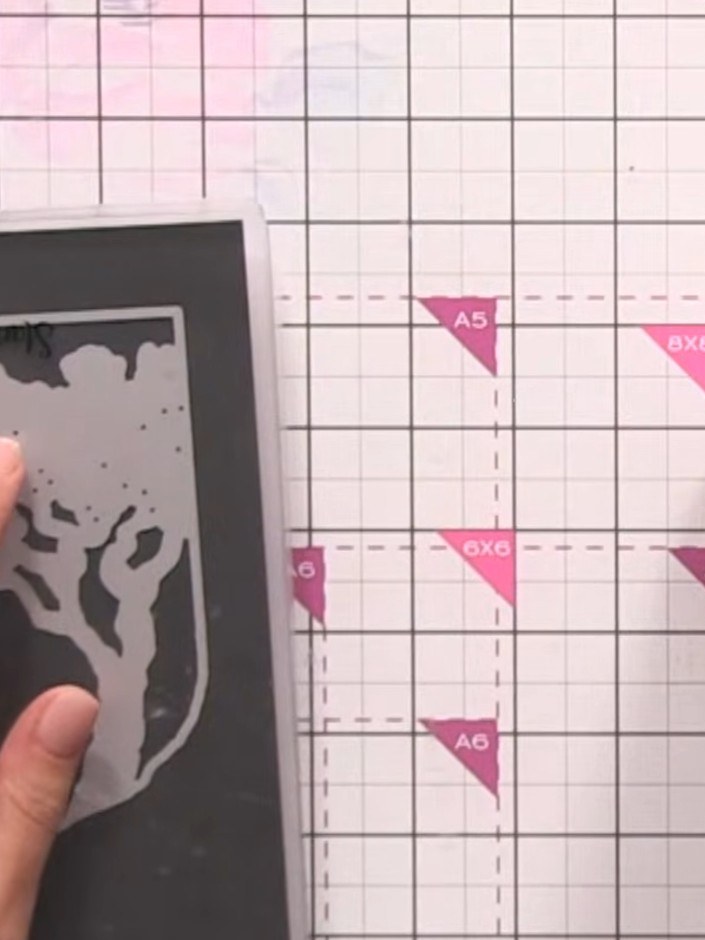
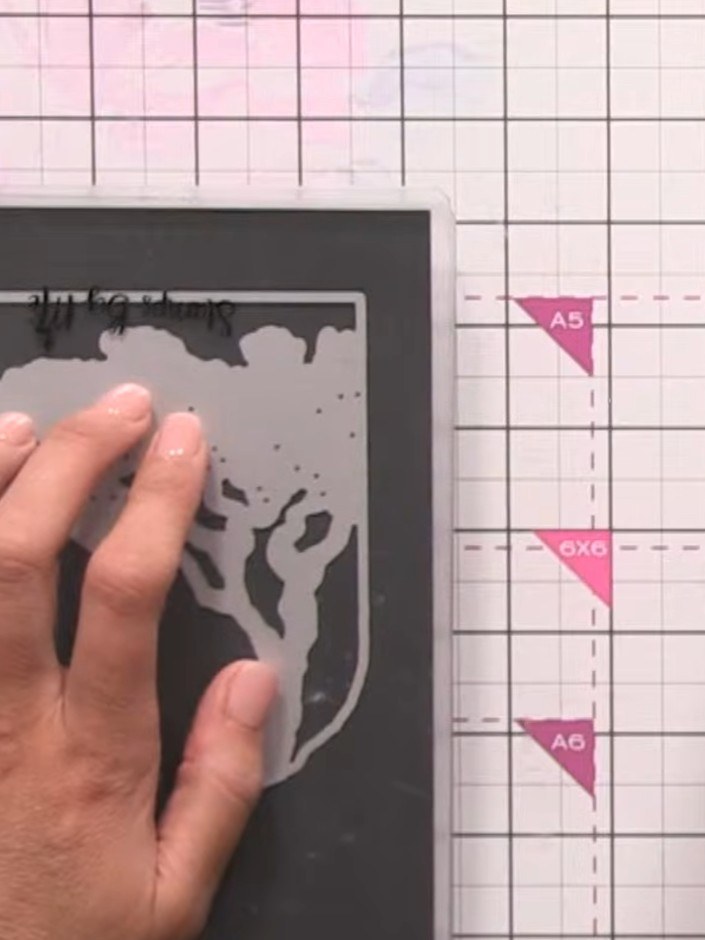
Select the outside frame die from the Set the Scene die set. Use this die to cut a frame from pink cardstock to create a mat for your card.
 7
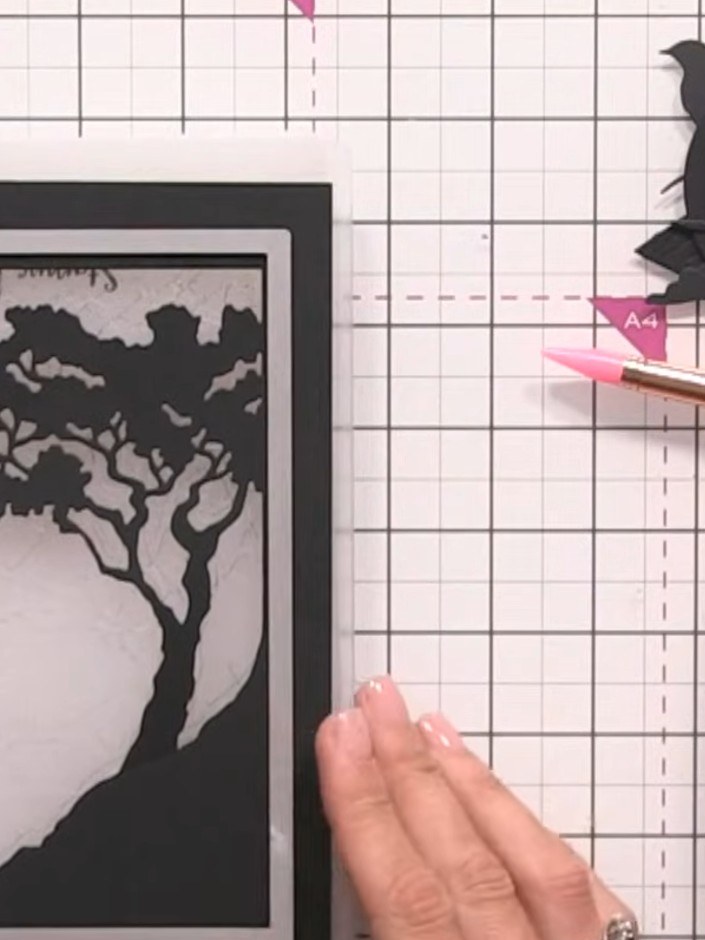
Select an ombre paper from the We Can Dream collection to use as your background layer for the card.
 8
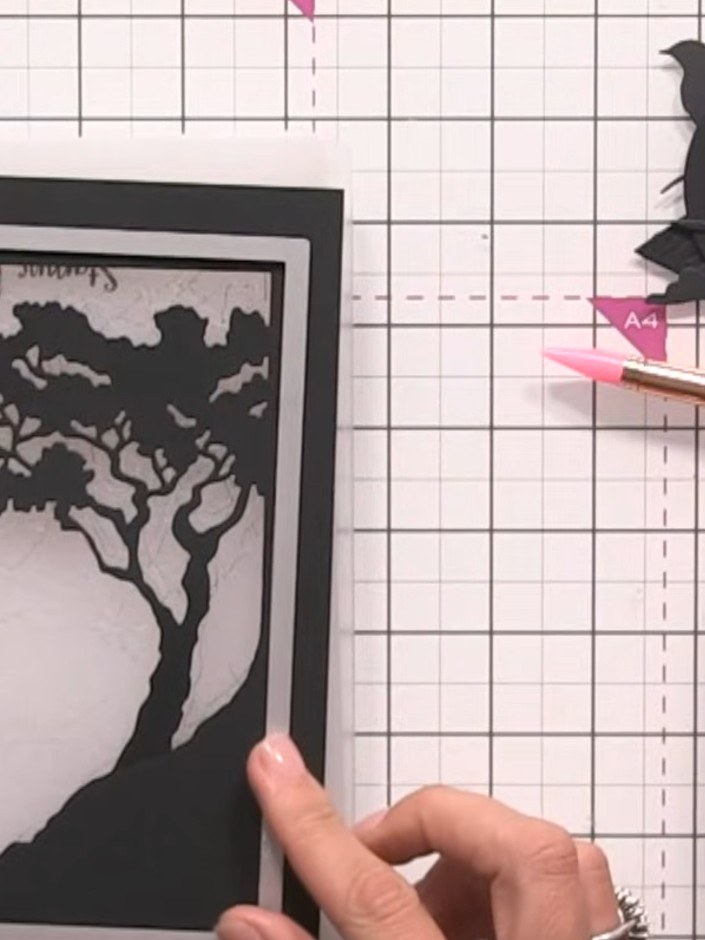
Layer the black die-cut tree frame onto the ombre background paper, positioning it to frame the scenic elements. Add the additional black frame pieces around the edges to create a layered border effect.
 9
Mount the completed layered tree frame piece onto a white card blank, ensuring an even white border is visible around all edges for contrast.
Share your make with the Stamps By Me community - and keep this guide for next time.
Written up from the show itself. See every guide from our shows · free how-to guides · watch live on My Telly · the previous layout