Give your friends €10 off their first order!
Refer a FRIEND








A project from our live show MY PODCAST - Catch my latest updates broadcast 19th January 2026 · 19/01/2026 · watch it from 52:00
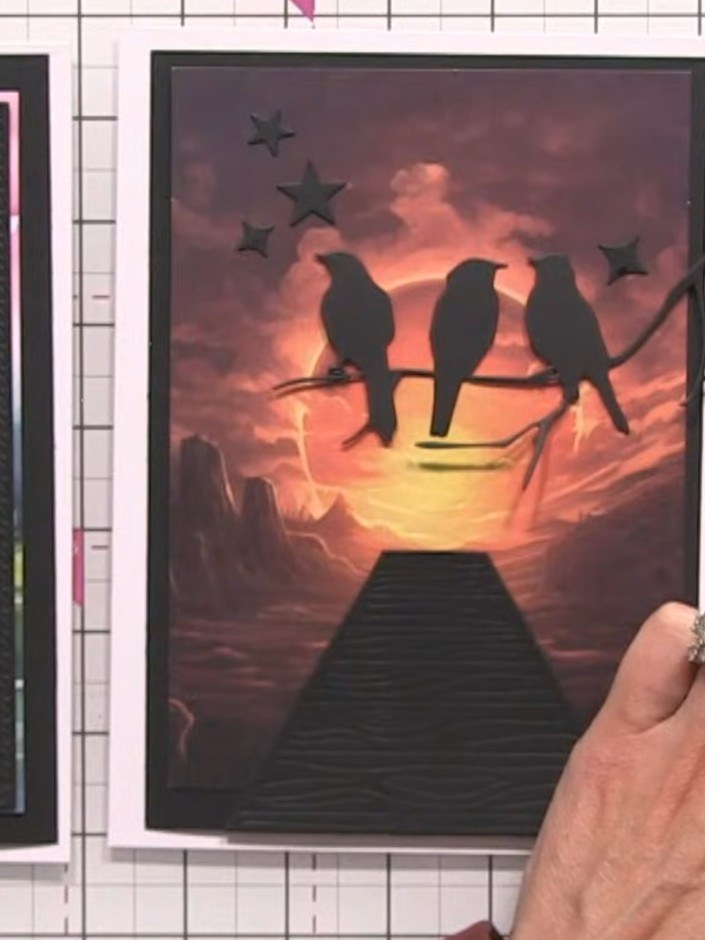
Create two stunning scenic cards featuring silhouette designs with added sparkle and dimension. Using the Moonlit Skies and Set the Scene dies, you'll craft a peaceful lakeside scene and a dramatic sunset with birds, enhanced with chunky glitter applied with clear-drying glue to catch the light. The glitter accents mimic natural highlights on water, trees and landscape elements for a beautiful finishing touch.
 Stamps By Me - Moonlit Skies Die Set - 210125CSEE IT
 Stamps By Me - Set the Scene Die Set - 210125DSEE IT
 Stamps By Me - We Can Dream - 5 X 7 Paper Pad - 040124CSEE IT
Trim black card stock to create a card base. Score and fold the card to form the base structure.
▶ watch this step (52:15)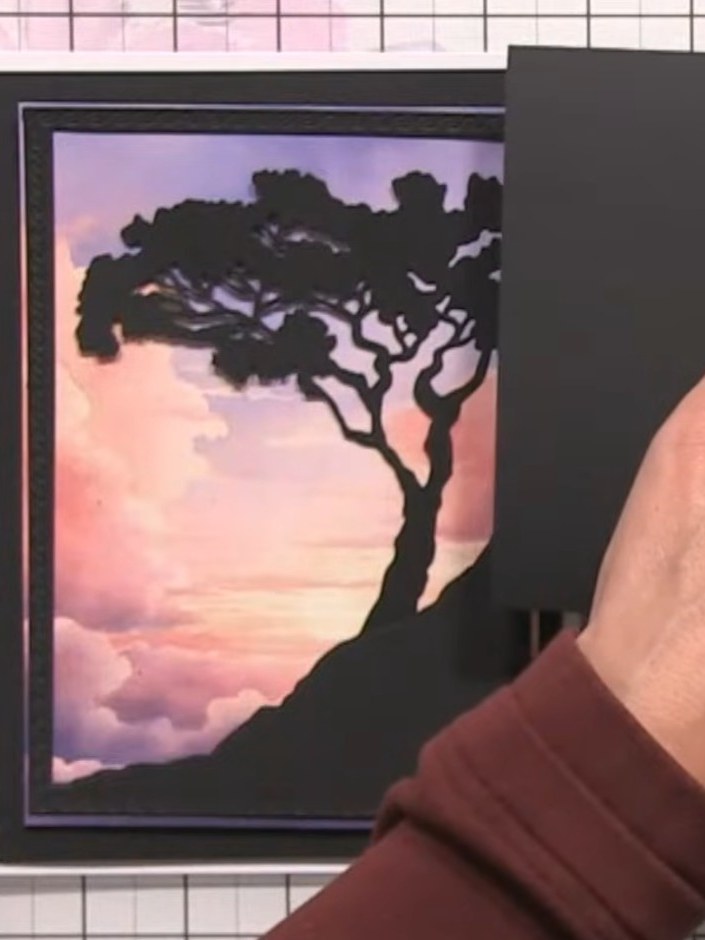
Select an ombre paper from the We Can Dream collection. Position it as your background layer on your card base.
▶ watch this step (53:00)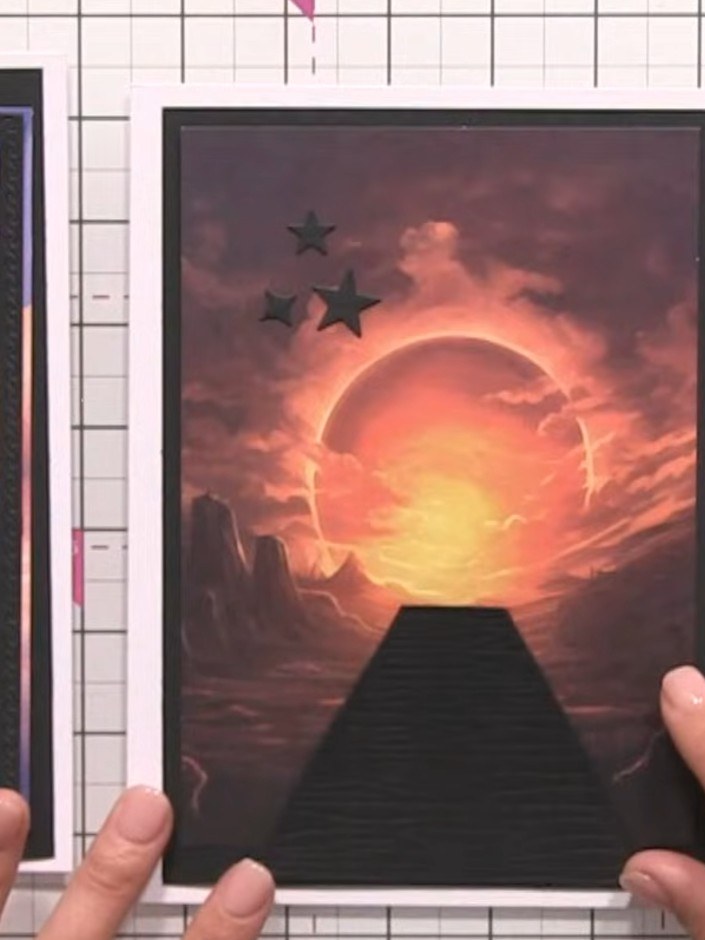
Apply clear-drying glue around the halo of the moon die-cut. Work carefully to create a neat outline that will hold the glitter accent.
▶ watch this step (56:00)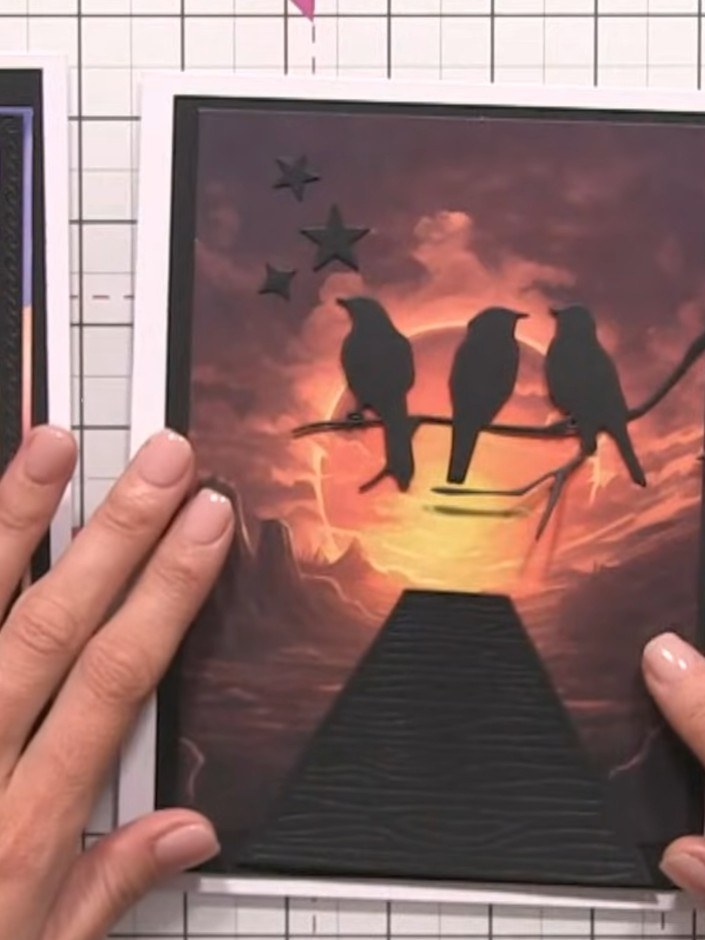
Sprinkle chunky glitter mix over the glued areas on your card to create a sparkling effect. Press gently to ensure the glitter adheres well.
▶ watch this step (56:30)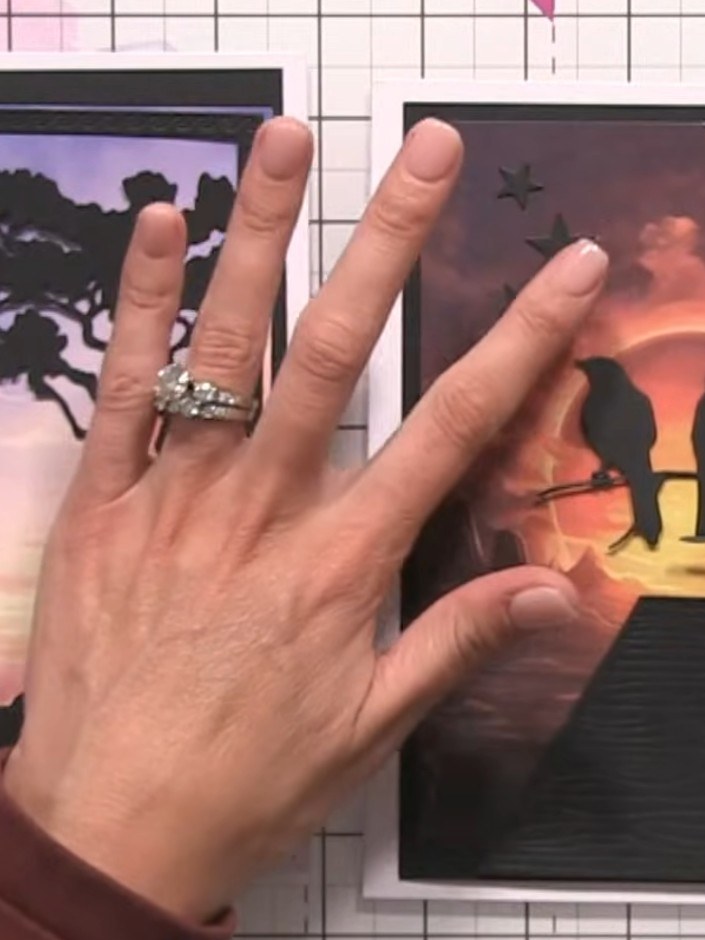
Layer the black tree die-cut from the Moonlit Skies die set onto the left card panel, positioning it over the scenic background.
▶ watch this step (57:00)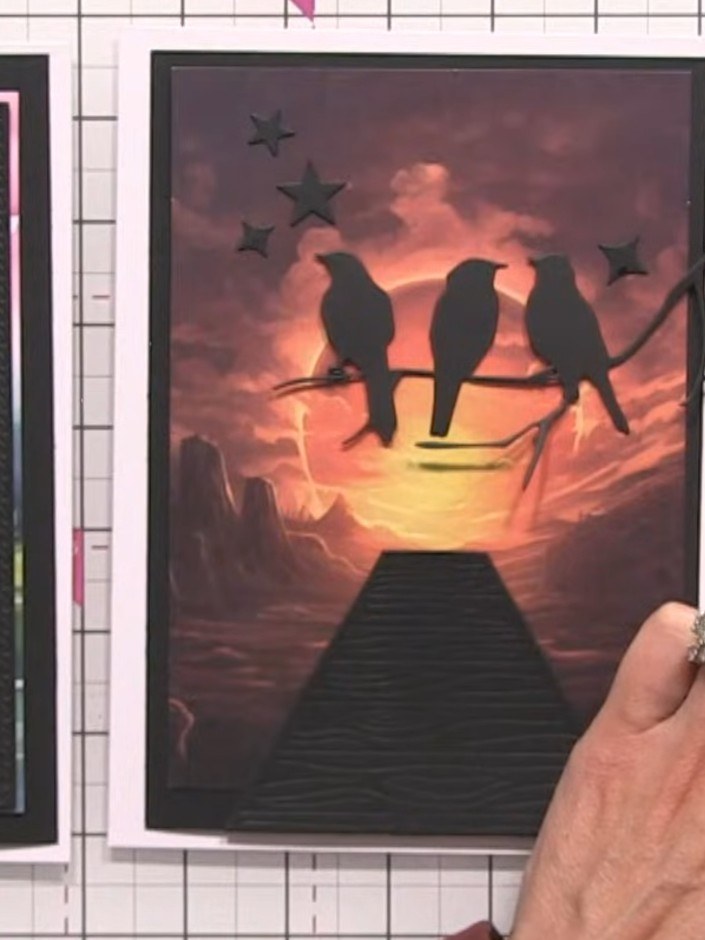
Add die-cut clouds and stars to your card in strategic positions. Position a cloud element to the right of the birds on a wire scene and secure in place with adhesive.
▶ watch this step (58:00)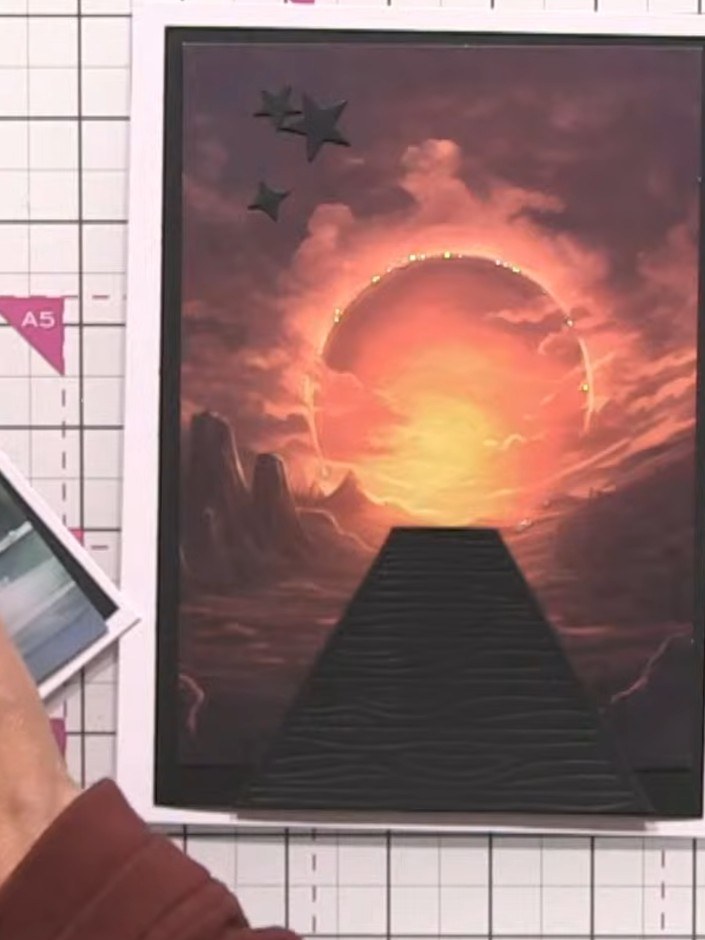
Apply glitter glue around the sun area on the sunset scene to add sparkle and highlight the focal point.
▶ watch this step (59:00)Written up from the show itself. See every guide from our shows · free how-to guides · watch live on My Telly