Give your friends €10 off their first order!
Refer a FRIEND








A project from our live show ONE DAY SPECIAL - Join Toni for her brand new launch - Broadcast 5th December 2025 · 05/12/2025 · watch it from 19:30
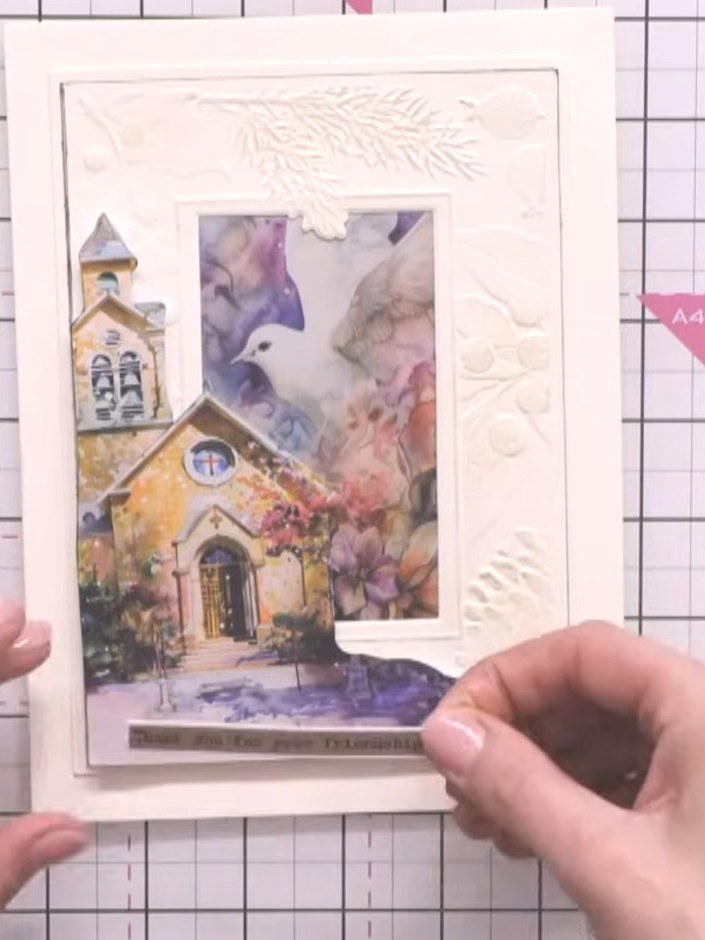
Create an elegant Christmas card featuring a beautiful stained glass window church scene. This project combines embossing techniques with fussy-cut floral elements on cream cardstock, enhanced with warm watercolour tones and metallic accents. The dimensional design creates a timeless festive greeting with vintage charm.
 Stamps By Me - Heavenly Blooms - 5 X 7 Paper Collection - 261124ASEE IT
 Stamps By Me - 3D Embossing Folder and Die - Making Spirits Bright - 050523BSEE IT
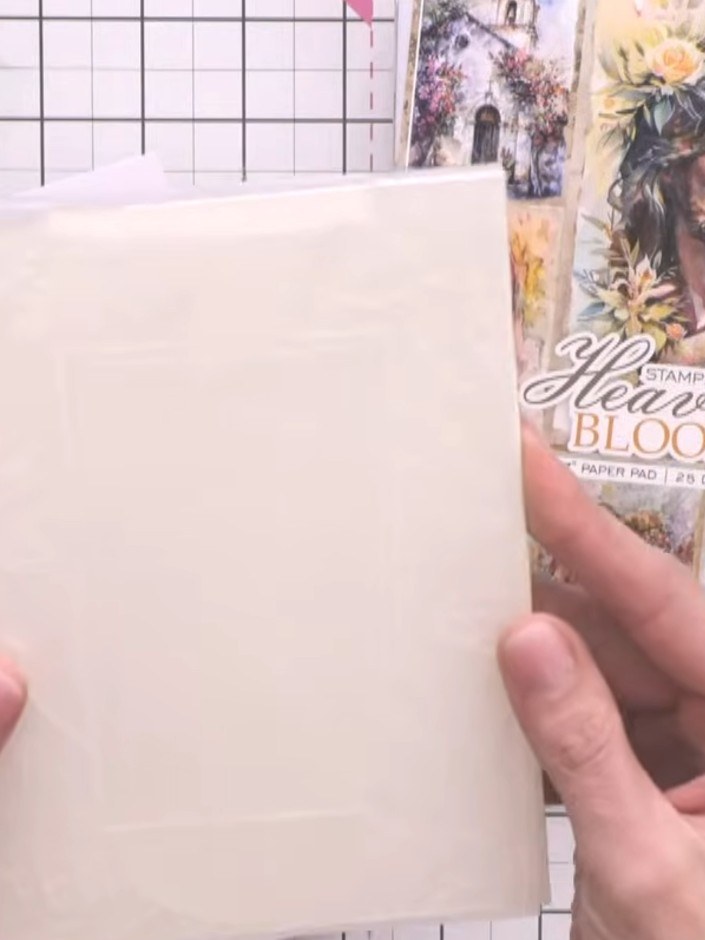
Trim a piece of cream card to fit your A4 die-cutting machine.
▶ watch this step (19:30)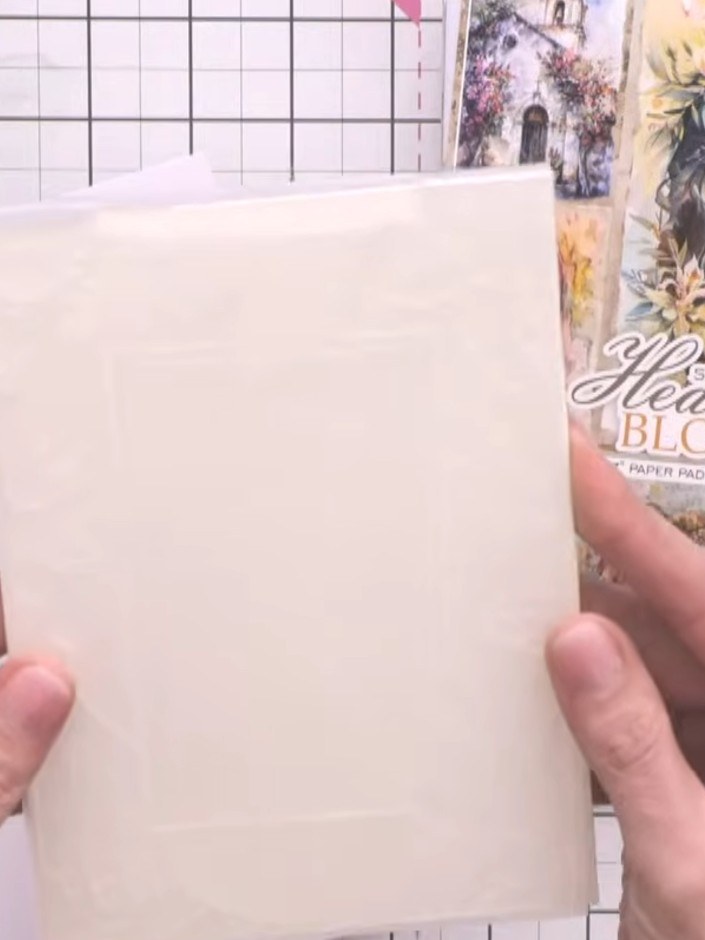
Run the cream card through the embossing folder using the clear plates on your die-cutting machine to create the embossed design.
▶ watch this step (20:00)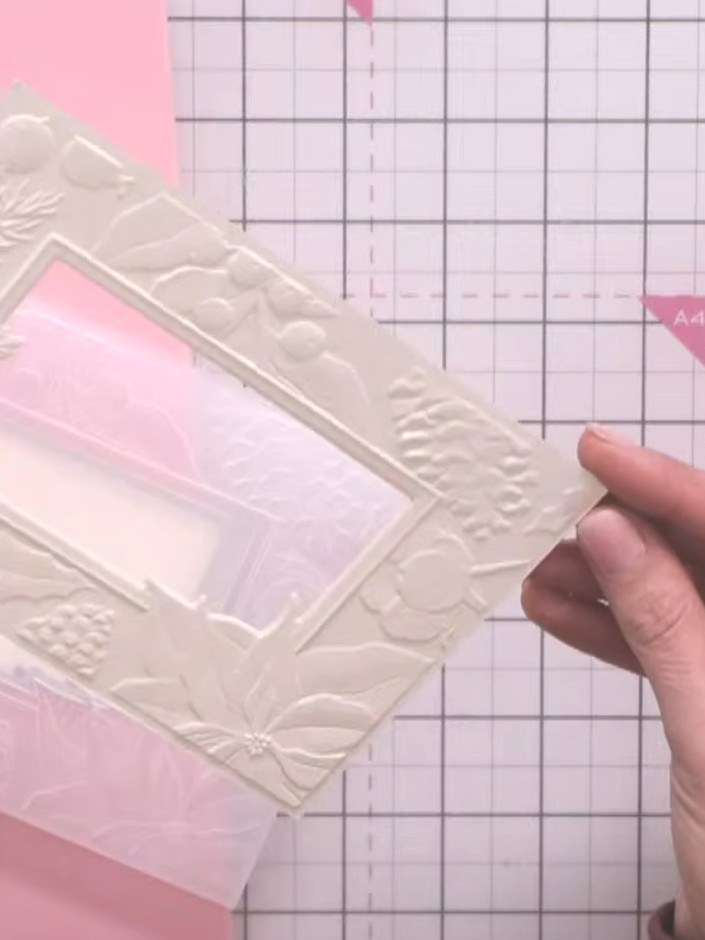
Select a floral design from the Heavenly Blooms paper pad that complements the embossed window design. The debossed (reverse) side of the embossing is equally beautiful and can be used for your card.
▶ watch this step (22:45)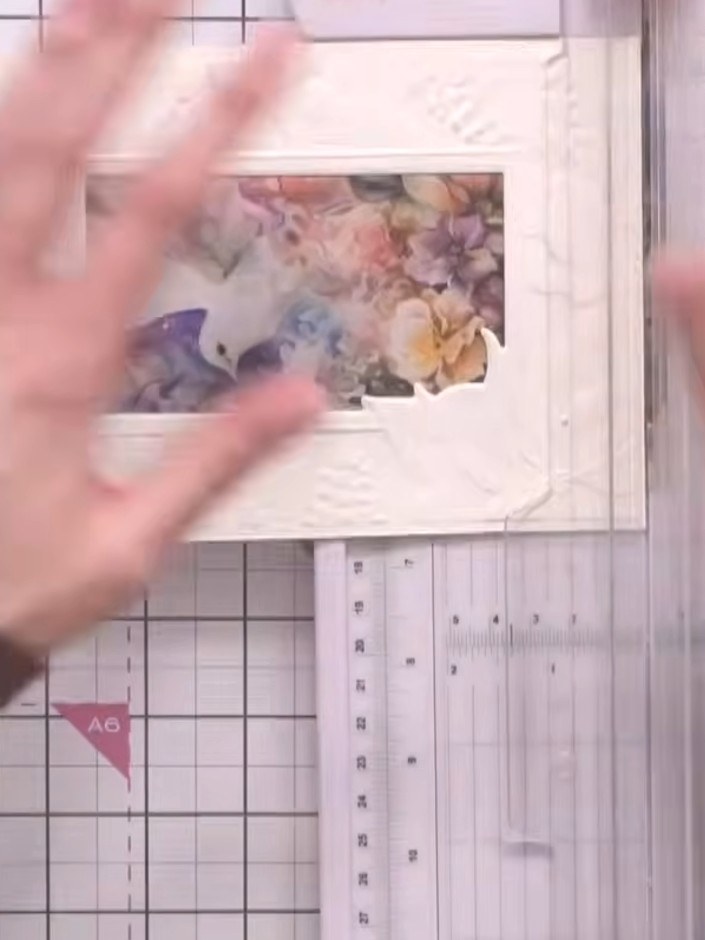
Carefully fussy-cut around the floral elements from the Heavenly Blooms paper using scissors, preserving all the design details.
▶ watch this step (26:00)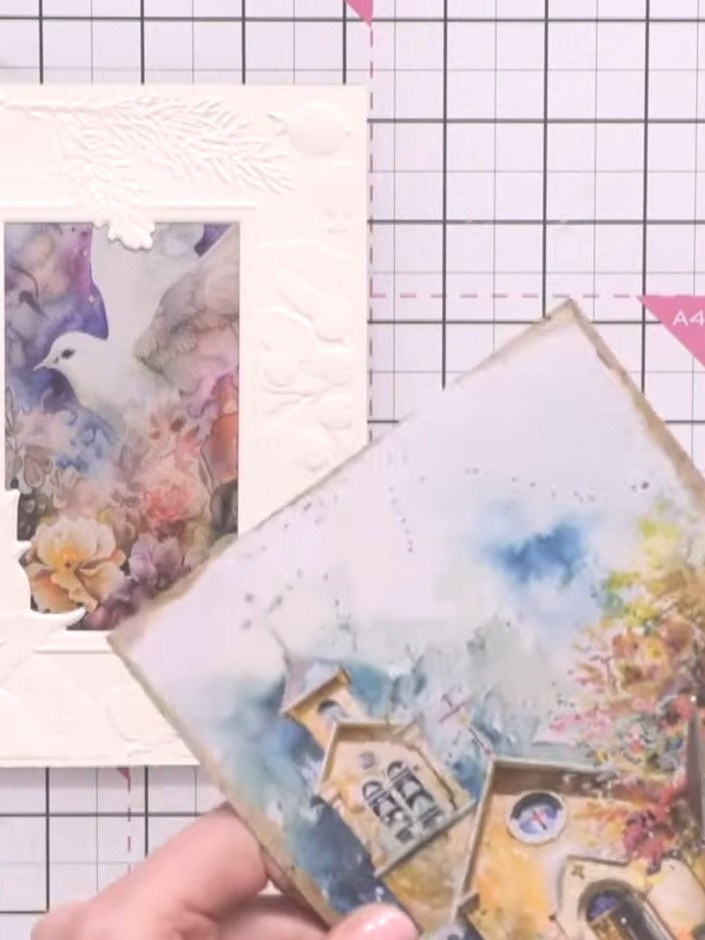
Adhere the fussy-cut floral elements from the Heavenly Blooms paper collection to the embossed card using glue. Position the florals to complement the embossed design on the card front.
▶ watch this step (27:00)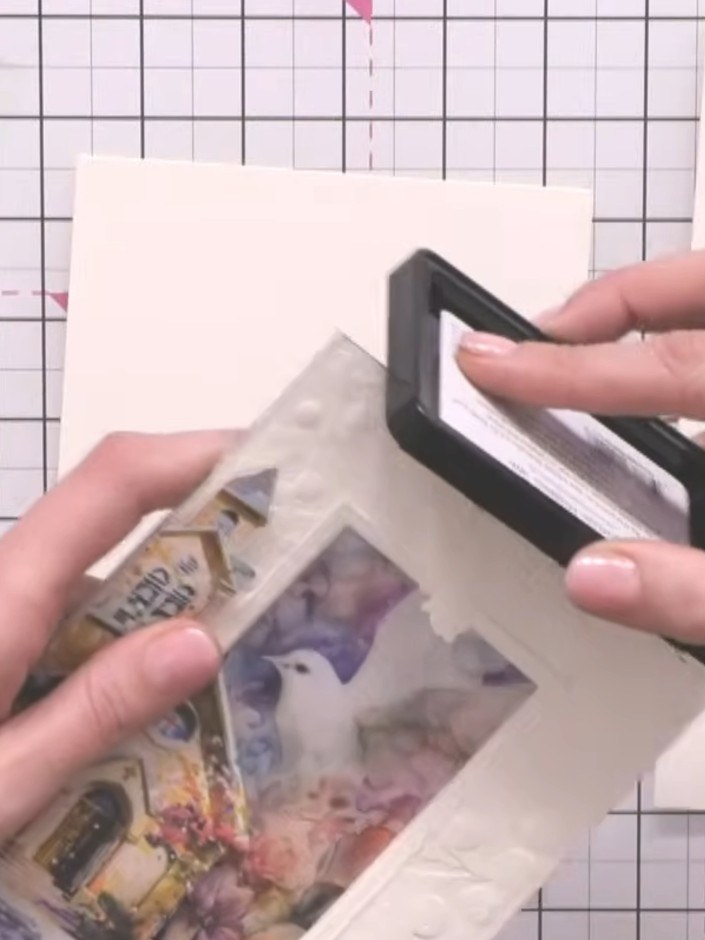
Edge the embossed panel with black ink using an ink pad, angling it along the raised edges of the embossing to create subtle definition and enhance the design.
▶ watch this step (32:30)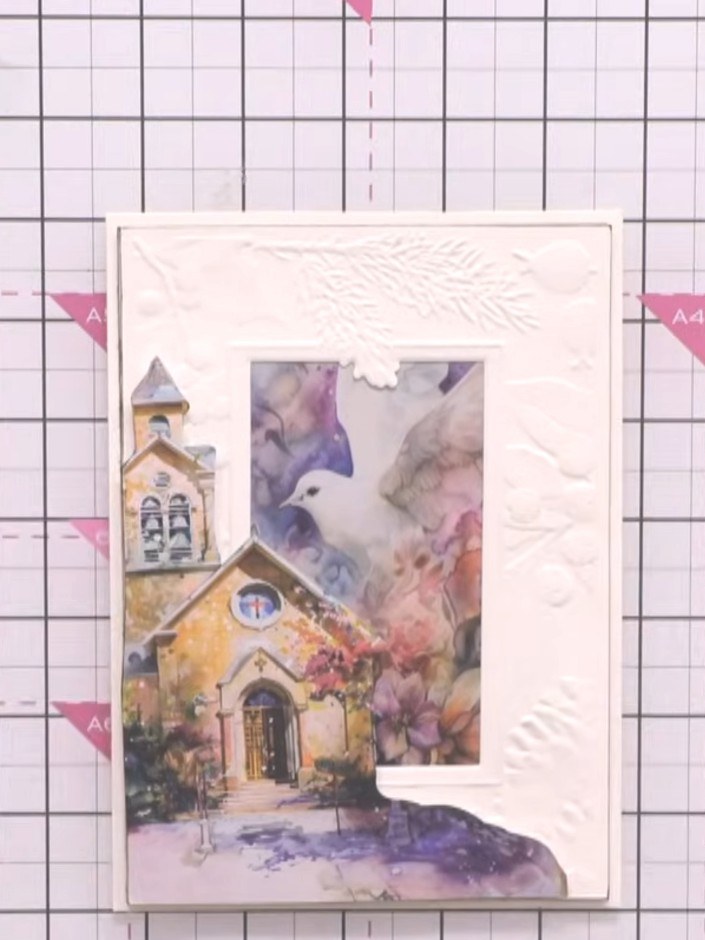
Mount the embossed and inked panel onto a cream card blank using adhesive. Position it centrally to create your base layer for the card.
▶ watch this step (33:15)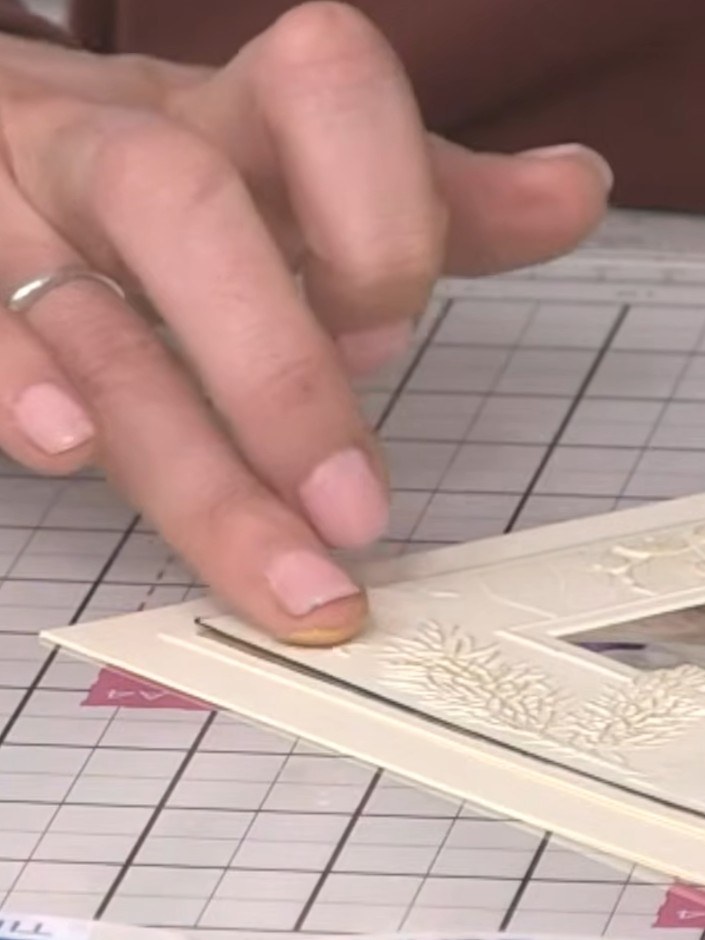
Apply gold blending wax to your finger and gently rub it onto select details of the watercolour church design to add metallic accents.
▶ watch this step (35:00)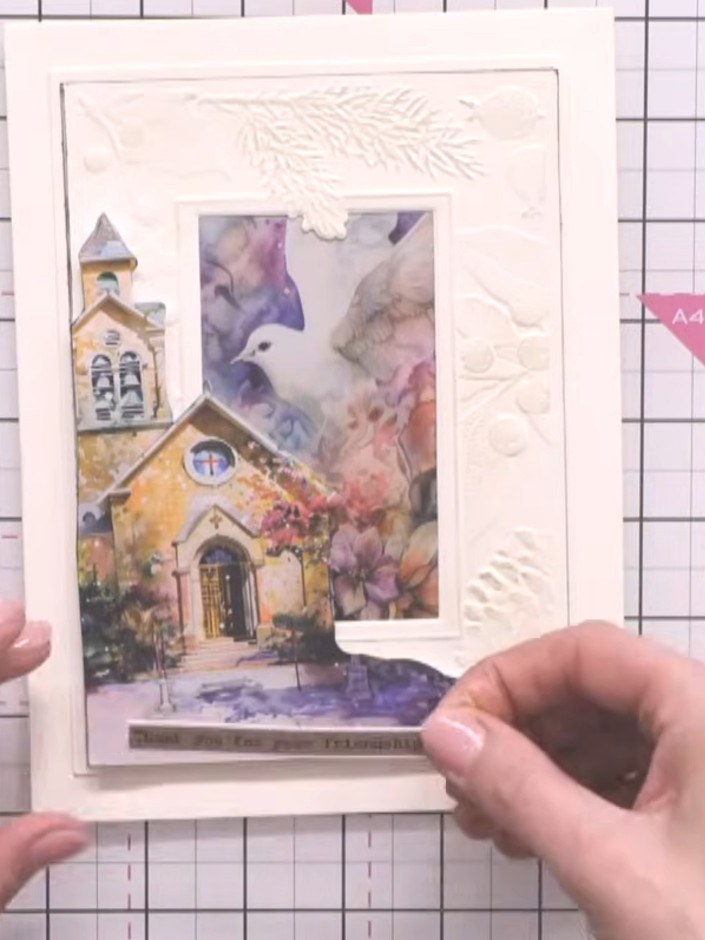
Add a sentiment using washi tape, positioning it at the bottom left of the card, just off to the left of the church image.
▶ watch this step (36:30)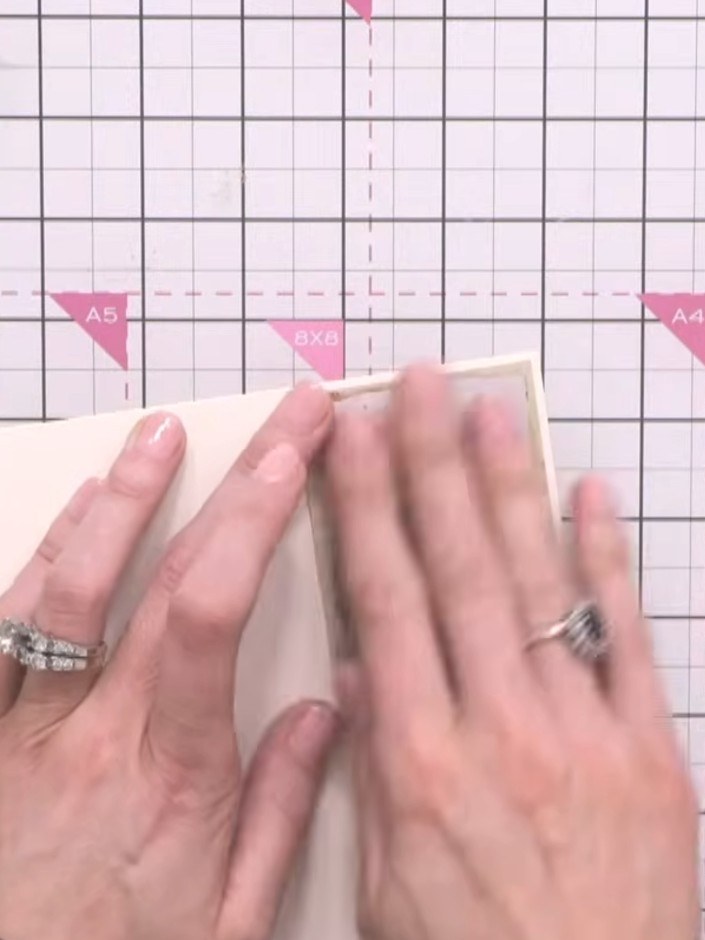
Glue a coordinating paper element to the inside of the card to create a finished interior. This completes your embossed stained glass window Christmas card.
▶ watch this step (38:00)Written up from the show itself. See every guide from our shows · free how-to guides · watch live on My Telly