Give your friends €10 off their first order!
Refer a FRIEND








A project from our live show We are celebrating 3 million LIKES! - Broadcast 12th November 2025 · 12/11/2025 · watch it from 35:30
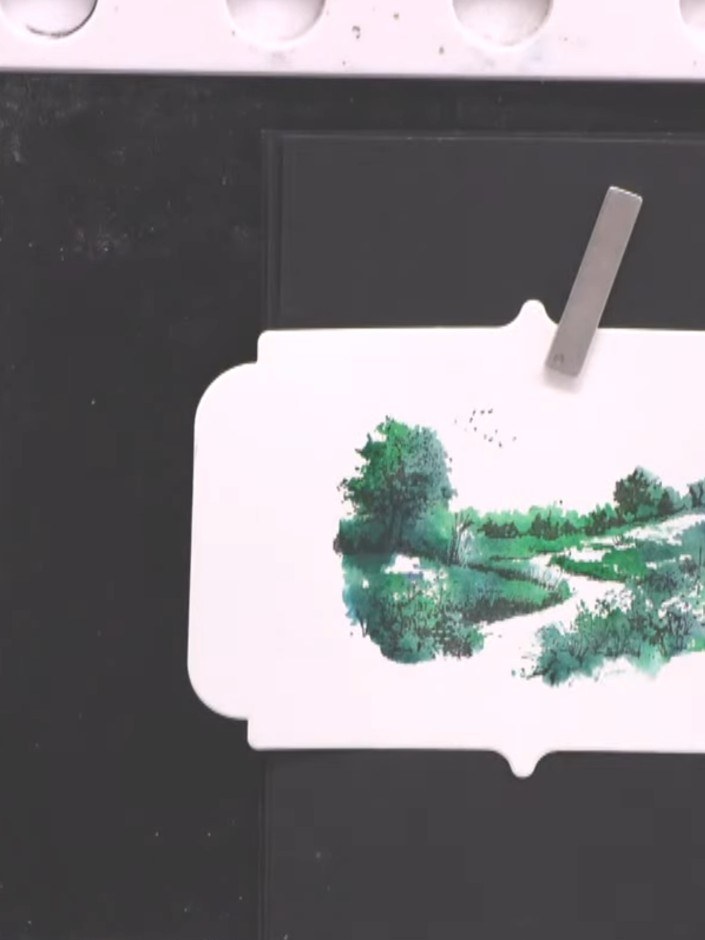
Create a stunning landscape card featuring a watercolour-effect countryside scene with lush green trees and foliage. This project uses a two-part lamination stamp system to build up layers of colour and detail for a hand-painted look. The finished card is mounted on a black base with a decorative white frame, perfect for any occasion.
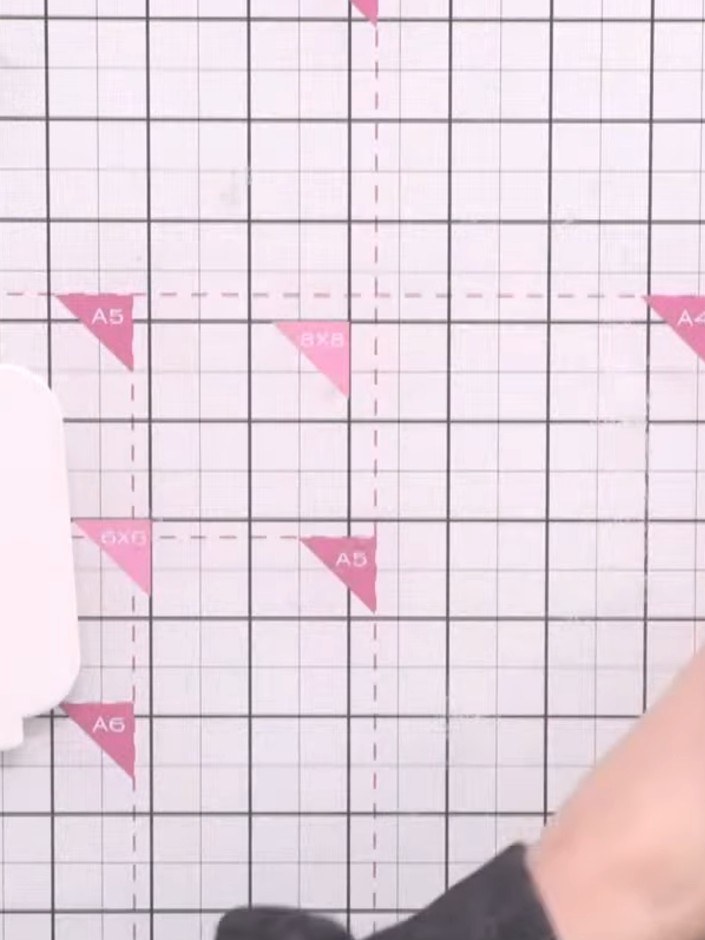
Prepare a piece of white watercolour card stock as your base for the project.
▶ watch this step (36:00)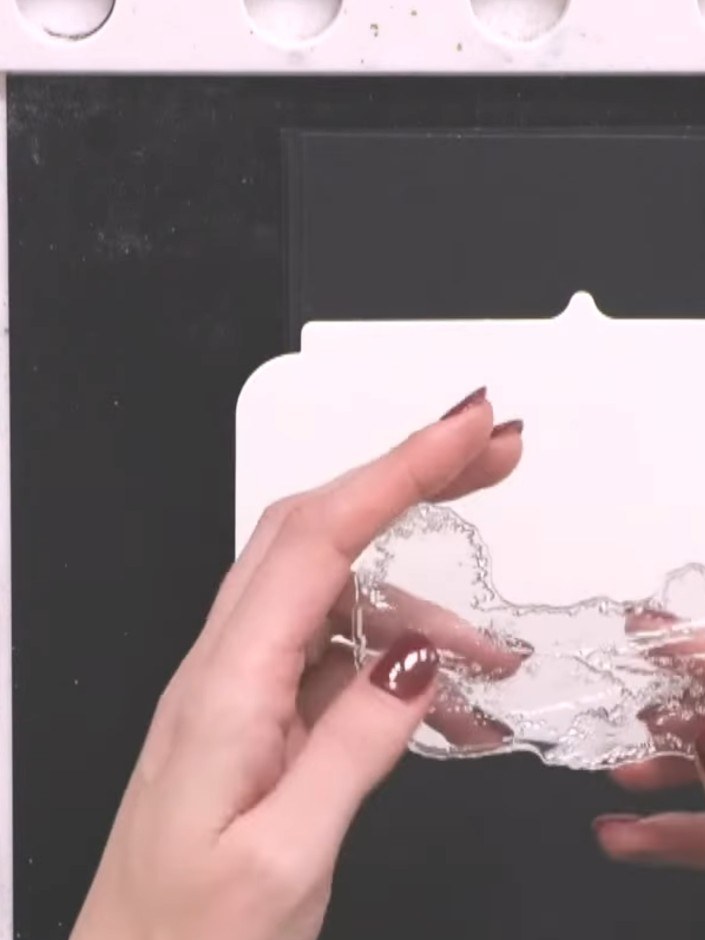
Select the solid portion of the lamination stamp, which is the colour part featuring the tree design. This will be used to create the landscape element of your card.
▶ watch this step (36:15)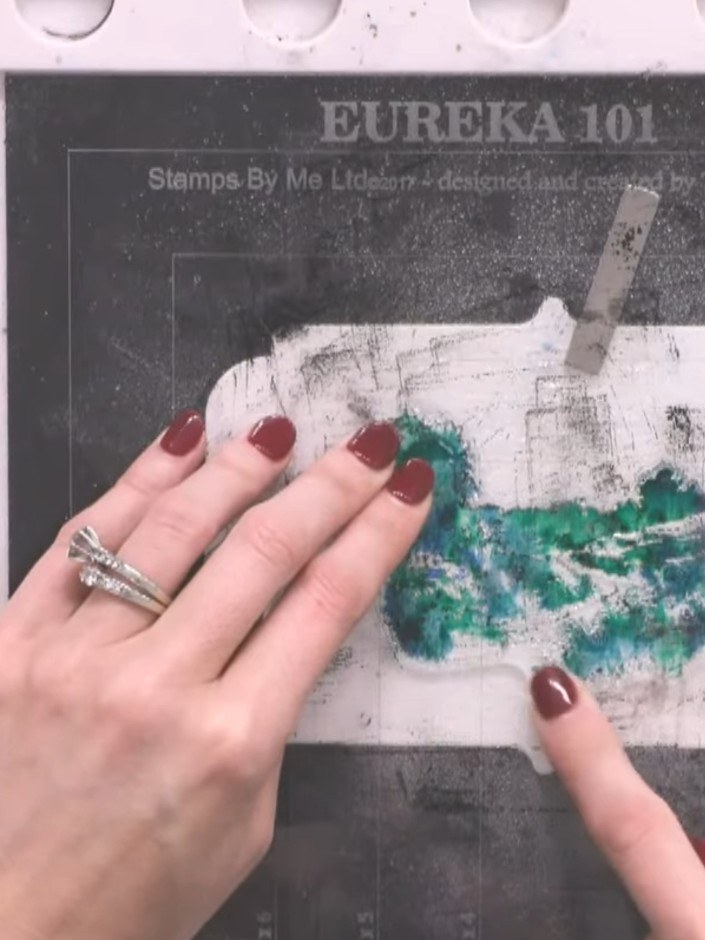
Tap the stamp onto multiple ink pads in greens and teals, using random spots of colour for variation across the stamp surface.
▶ watch this step (36:30)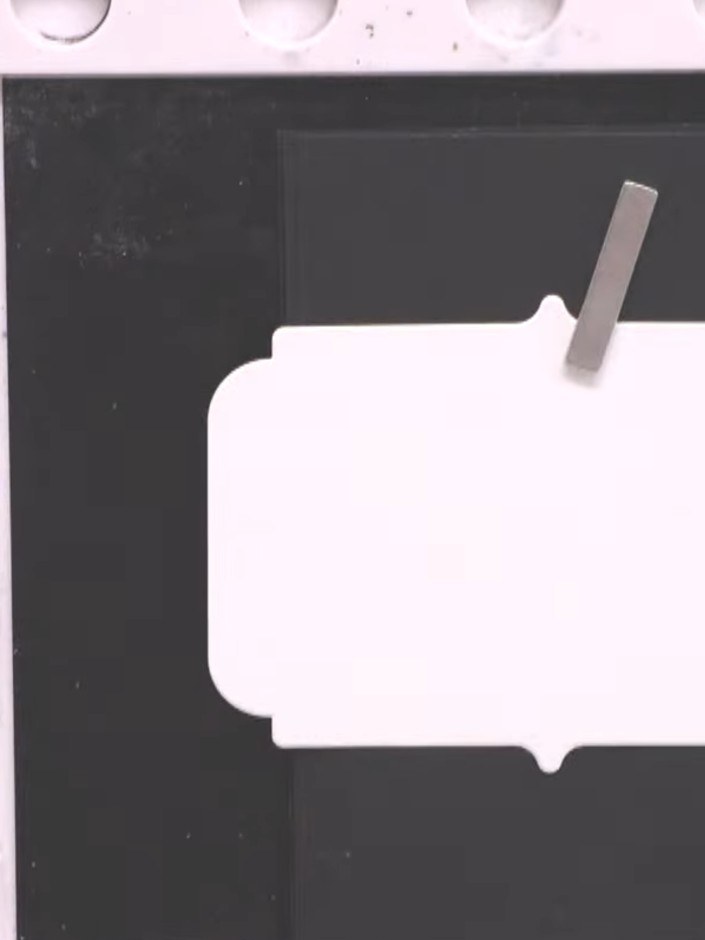
Press the inked stamp firmly onto your white card stock. Spray the stamp with water and press it onto the card stock multiple times to achieve the desired effect.
▶ watch this step (37:00)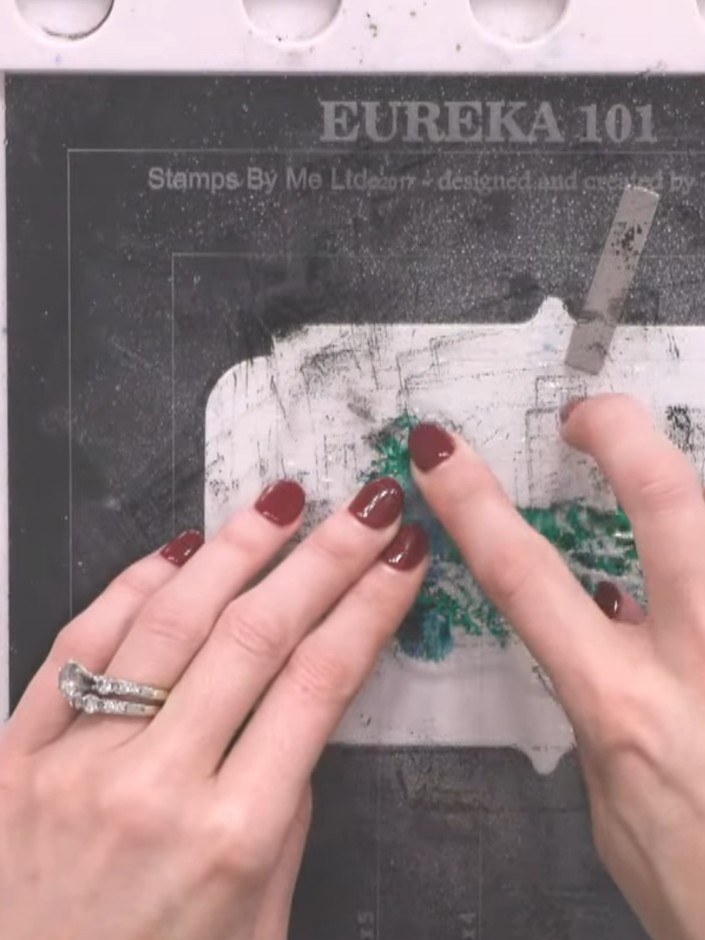
Spray the stamped image with water two to three times. The water will cause the turquoise and teal colours to blend and bleed together, creating a soft, watercolour effect.
▶ watch this step (37:15)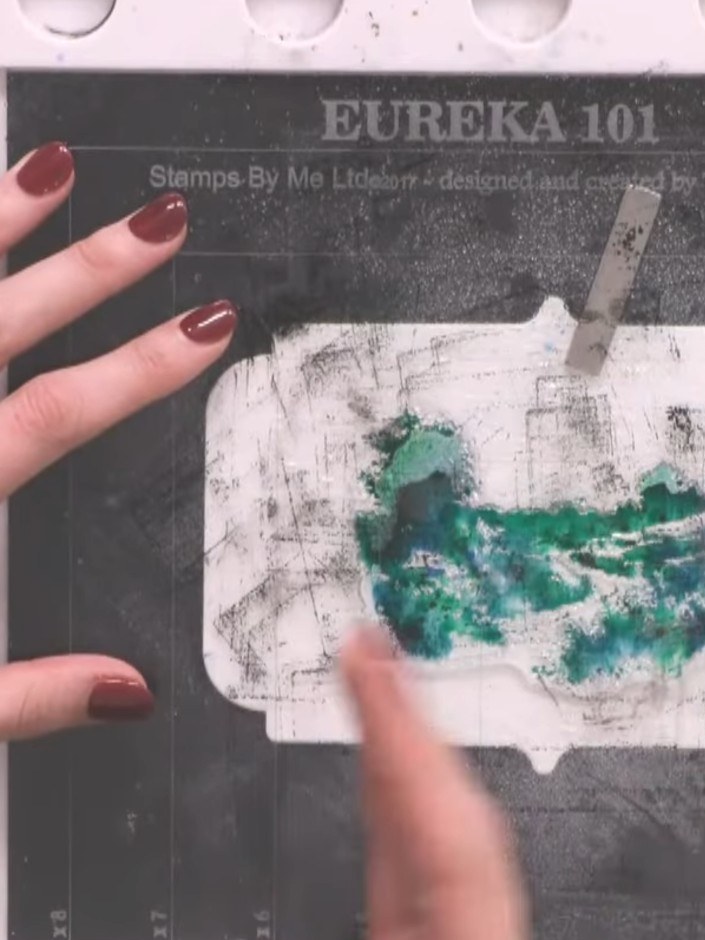
Blot away any excess water from the watercolour areas using a tissue or paper towel. Gently dab the surface to remove moisture without disturbing the paint.
▶ watch this step (37:45)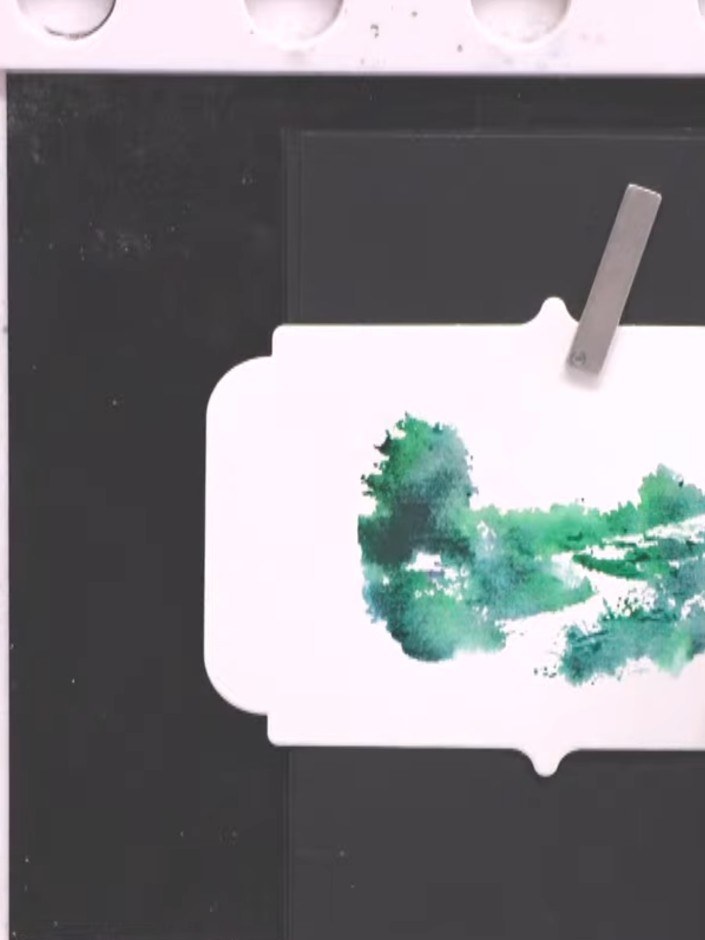
Clean the stamp thoroughly and allow the watercoloured landscape card to dry completely before proceeding to the next step.
▶ watch this step (38:30)
Line up the detail outline stamp over the coloured watercolour area on the white panel, using the example image on the packet as a positioning guide.
▶ watch this step (39:00)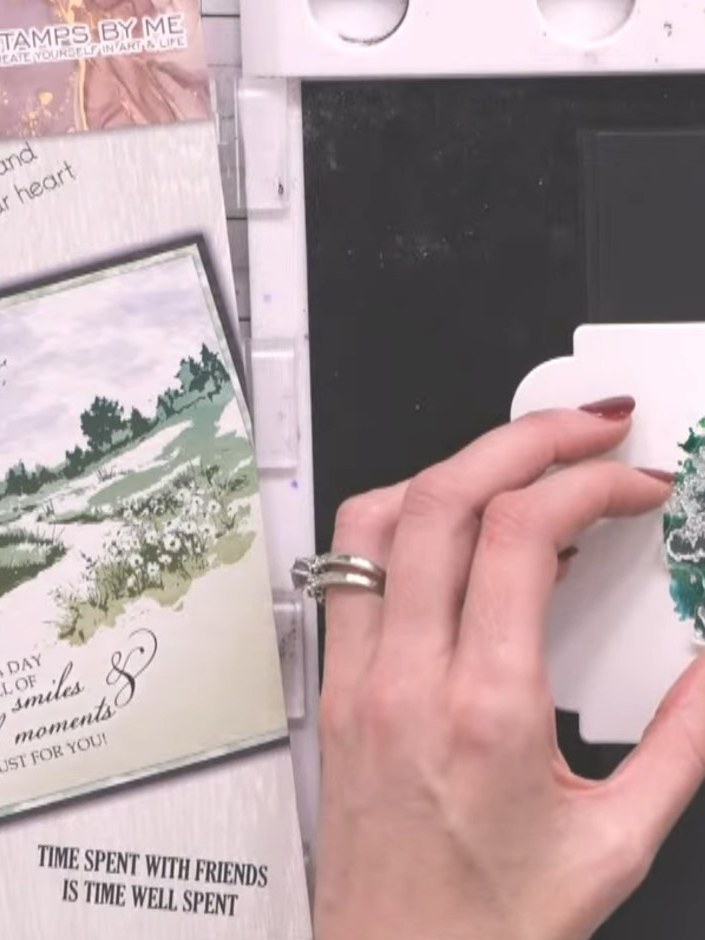
Ink the detail stamp in black and press it down firmly over the landscape scene to add fine line work and texture details to the trees and scenery.
▶ watch this step (40:00)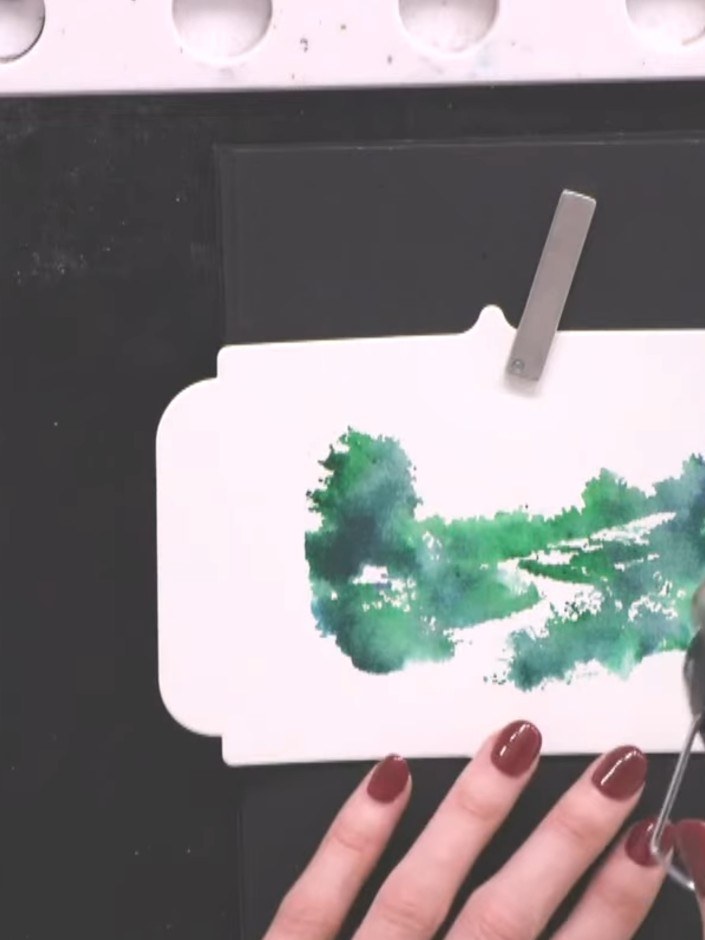
Heat-set the black ink using a heat gun to prevent smudging. Hold the heat gun over the stamped image and move it gently across the surface until the ink is dry.
▶ watch this step (40:45)Written up from the show itself. See every guide from our shows · free how-to guides · watch live on My Telly
