Give your friends €10 off their first order!
Refer a FRIEND








 The Friday Final CutFri 20 Nov 5am
 Community ShowcaseMon 23 Nov 5am
 Deal HuntersTue 24 Nov 8am
Prices change straight away. Every language is our own translation, not Google.
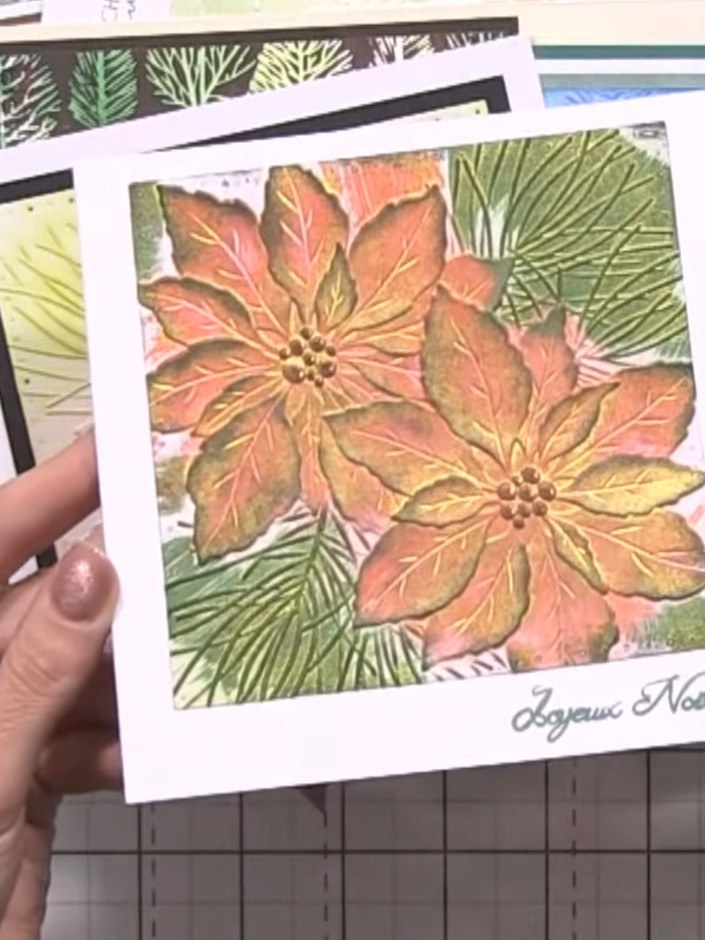
A project from our live show MY PODCAST - Catch my latest updates broadcast 13th October 2025 · 13/10/2025
Create a stunning dimensional card featuring poinsettias with embossed texture and watercolour effects. This festive design combines warm coral, orange and green tones with the French greeting 'Joyeux Noël'. The technique involves inking an embossing folder, misting with water to blend colours, then running cardstock through a die-cutting machine to achieve beautifully textured embossed and debossed details.
 1
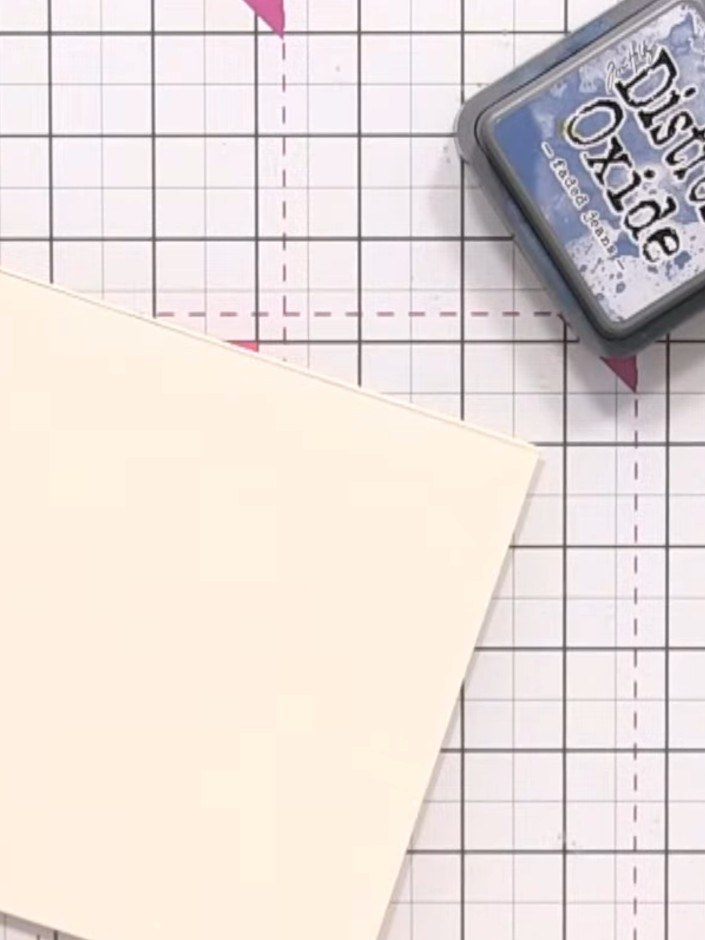
Cut your cardstock to approximately 15 x 15 cm (6 x 6 inches) or smaller. This will be used as the base for your embossed design.
 2
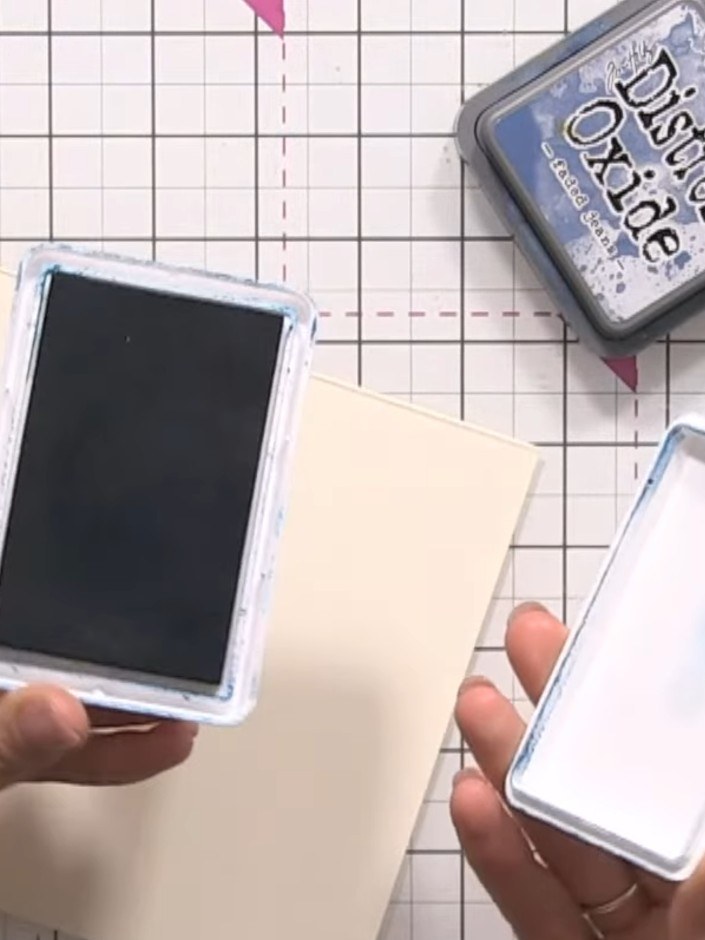
Select a water-based ink pad in your chosen colour, such as faded jeans or walnut stain. These pigmented inks work well with the watercolour technique.
 3
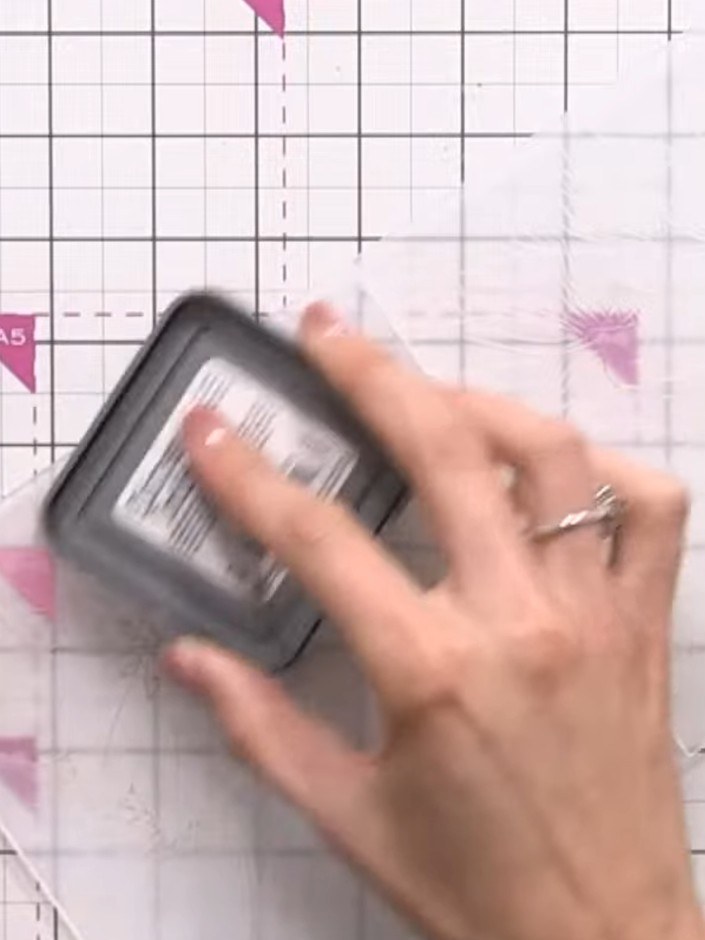
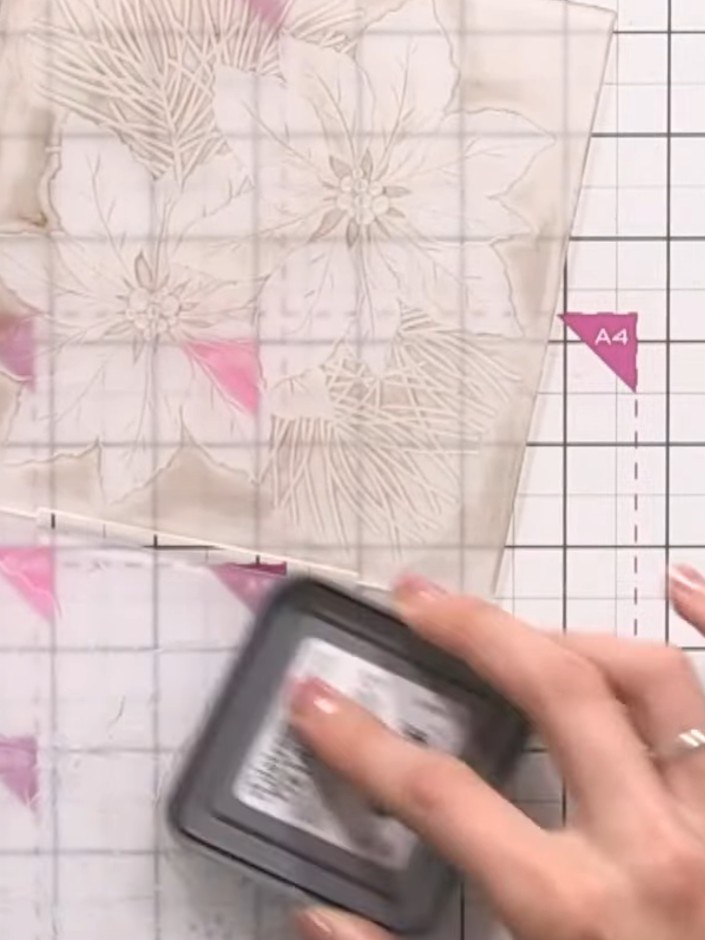
Swipe the ink pad across both the inside and outside surfaces of your embossing folder to pick up all the fine detail from the design.
 4
Use the ink applicator to apply ink over the embossed design, working it into the raised areas. Don't worry about getting ink around the edges, as this adds to the effect.
 5
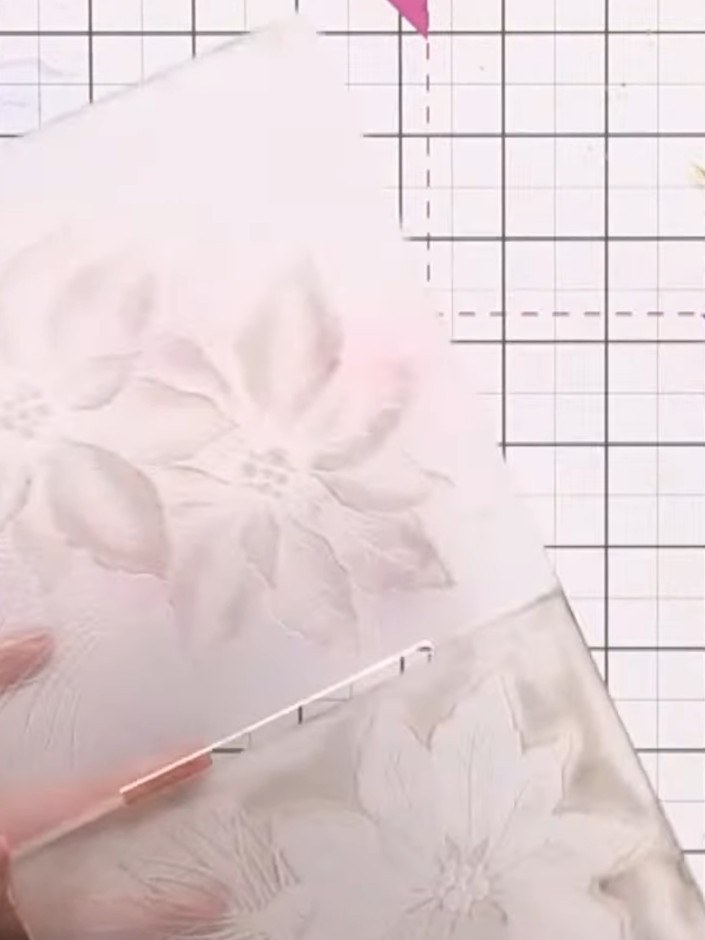
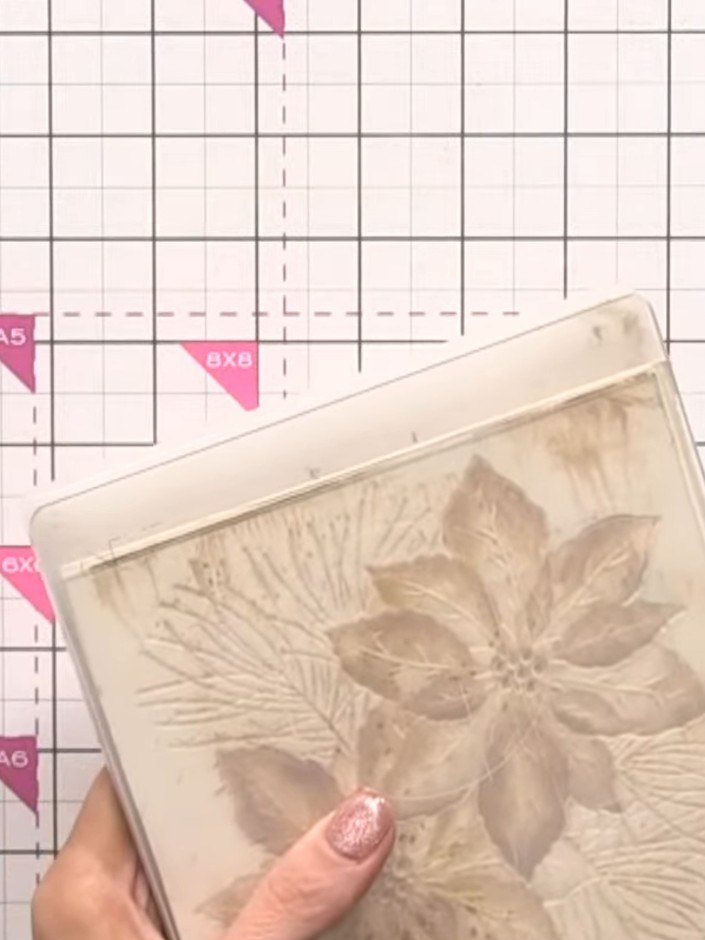
Fill a spray bottle with water and lightly mist the inked embossing folder to activate the ink and create a watercolour effect on the embossed design.
 6
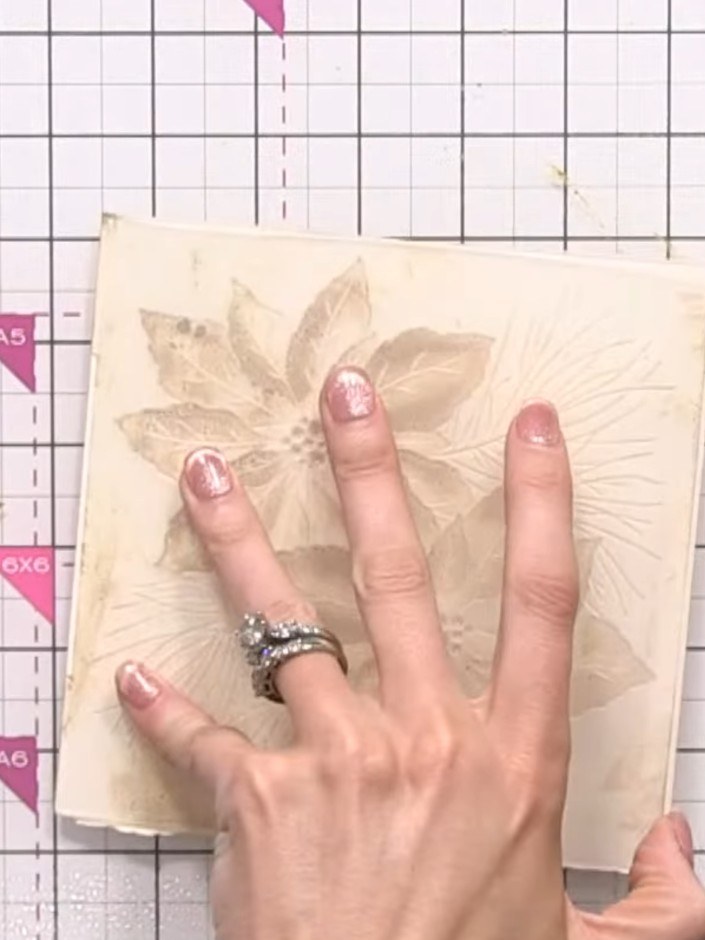
Place your prepared cardstock into the embossing folder, positioning it centrally over the floral design.
 7
Place your embossed cardstock into the embossing folder and run it through your die-cutting machine according to the manufacturer's instructions to create the raised embossed design.
 8
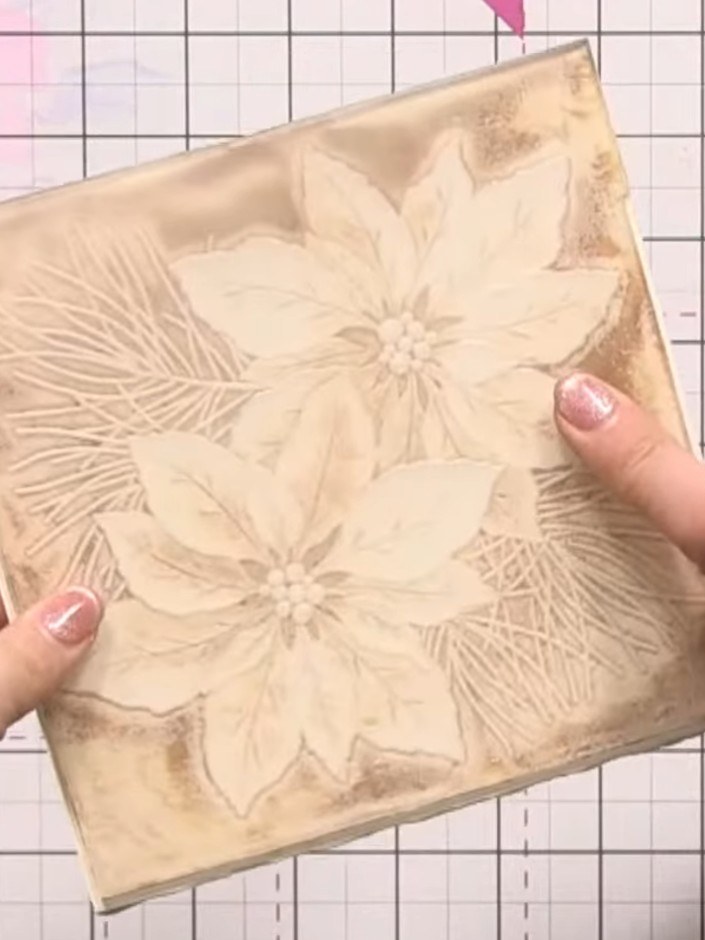
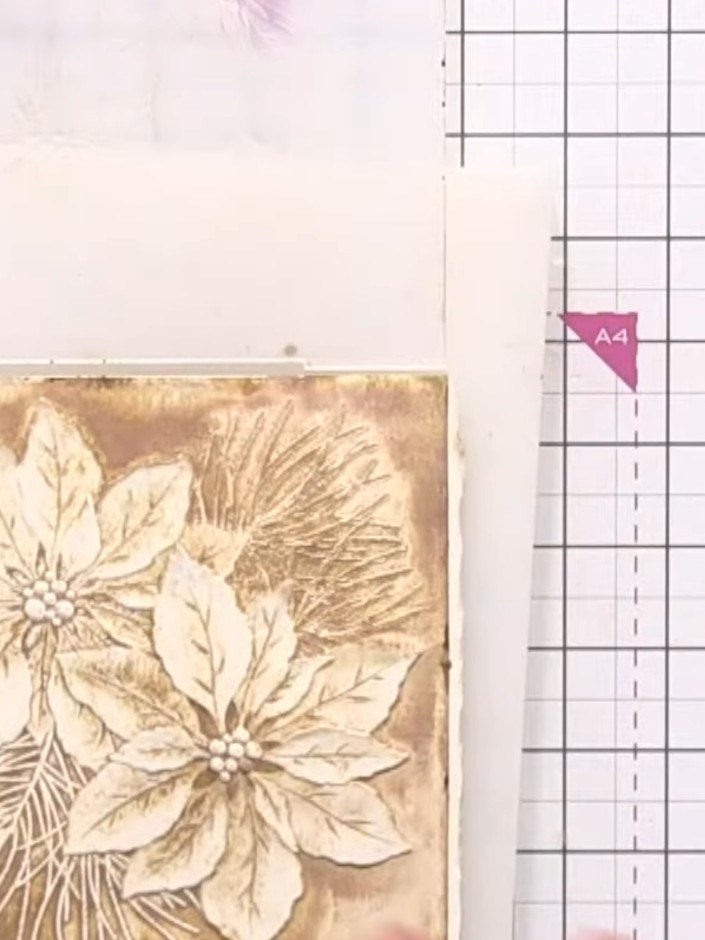
Carefully open the embossing folder to reveal the embossed design on your cardstock, showing both the raised and recessed floral details with the inked effect.
 9
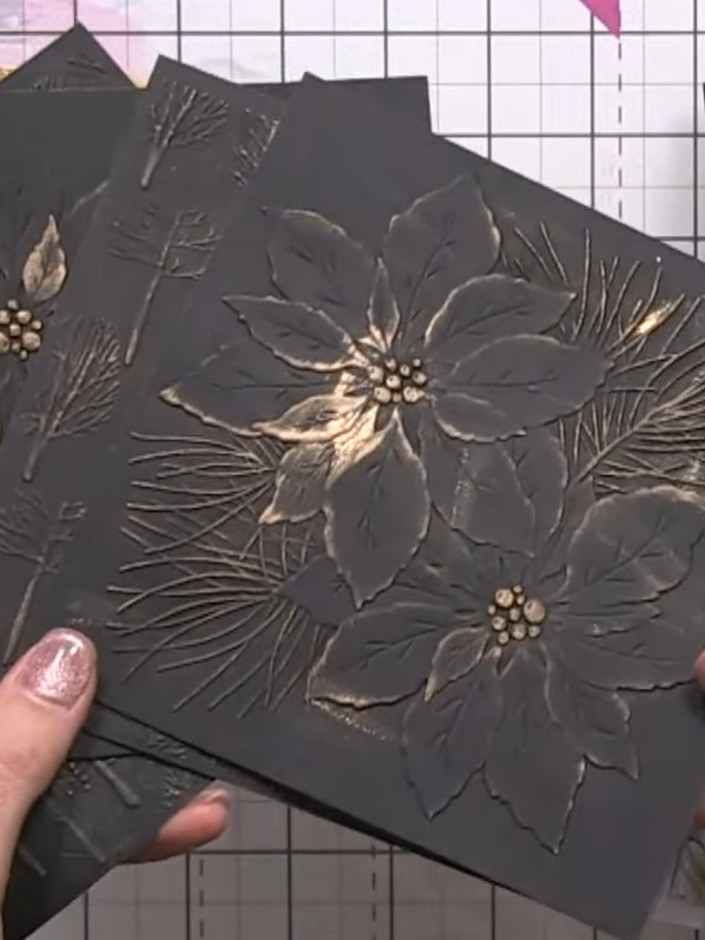
Once the embossed panel is completely dry, lightly tap a white ink pad over the raised areas to push back the darker colours and enhance the dimensional effect.
 10
Trim your finished embossed piece to size and mount it onto a card base. Alternatively, use it as an aperture card feature.
Share your make with the Stamps By Me community - and keep this guide for next time.
Written up from the show itself. See every guide from our shows · free how-to guides · watch live on My Telly · the previous layout