Give your friends €10 off their first order!
Refer a FRIEND








 The Friday Final CutFri 20 Nov 5am
 Community ShowcaseMon 23 Nov 5am
 Deal HuntersTue 24 Nov 8am
Prices change straight away. Every language is our own translation, not Google.
A project from our live show More Inspiration - Using - Gnome for the Holidays · 10/10/2025 · watch it from 43:00
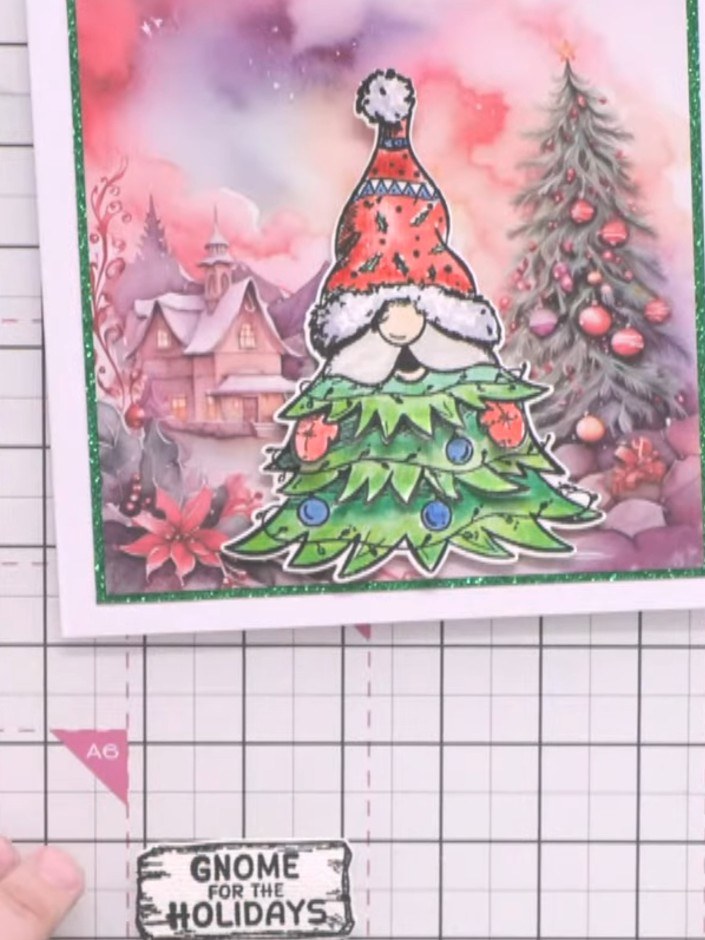
Create a charming Christmas gnome card featuring a festive character perched atop a decorated tree against a dreamy watercolour background. This layered design combines stamped and coloured images with a striped paper mat border, creating depth and visual interest. The finished card showcases vibrant reds, greens and purples with a whimsical holiday scene complete with a 'Gnome for the Holidays' sentiment.
 Avago-ink Designs Stamp & Die Set - Gnome for the Holidays - 110624FSEE IT
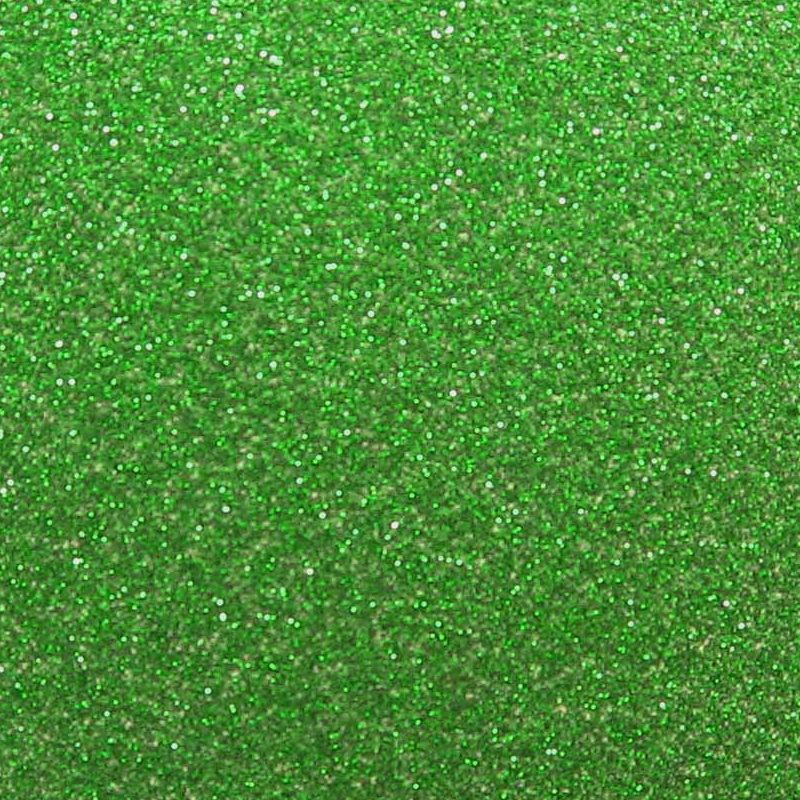 Best Creation Glitter Card Stock 12x12 Green (15 sheets)SEE IT
 Best Creation Glitter Card Stock 12x12 Red (15 sheets)SEE IT
Cut strips from the mystical Christmas patterned paper, alternating between blue and pink tones. These will be used to create the striped background for your card. Layer the coloured paper strips over glitter card stock to create a striped background panel. Arrange the strips in an alternating pattern across the card base.
▶ watch this step (43:00)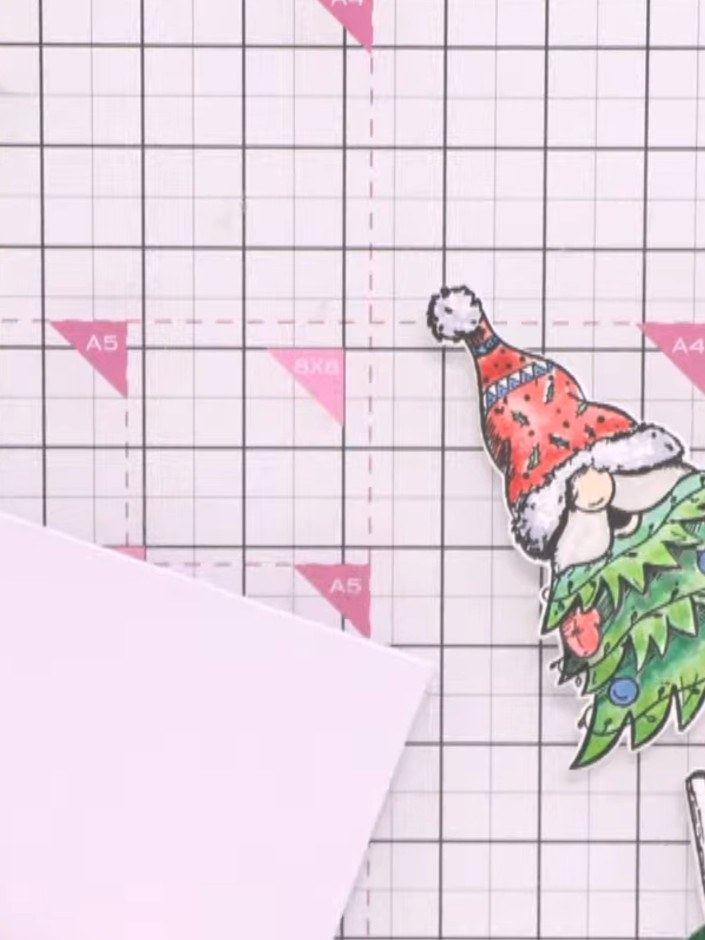
Trim the edges of the striped panel to fit your card size using scissors or a paper trimmer.
▶ watch this step (44:00)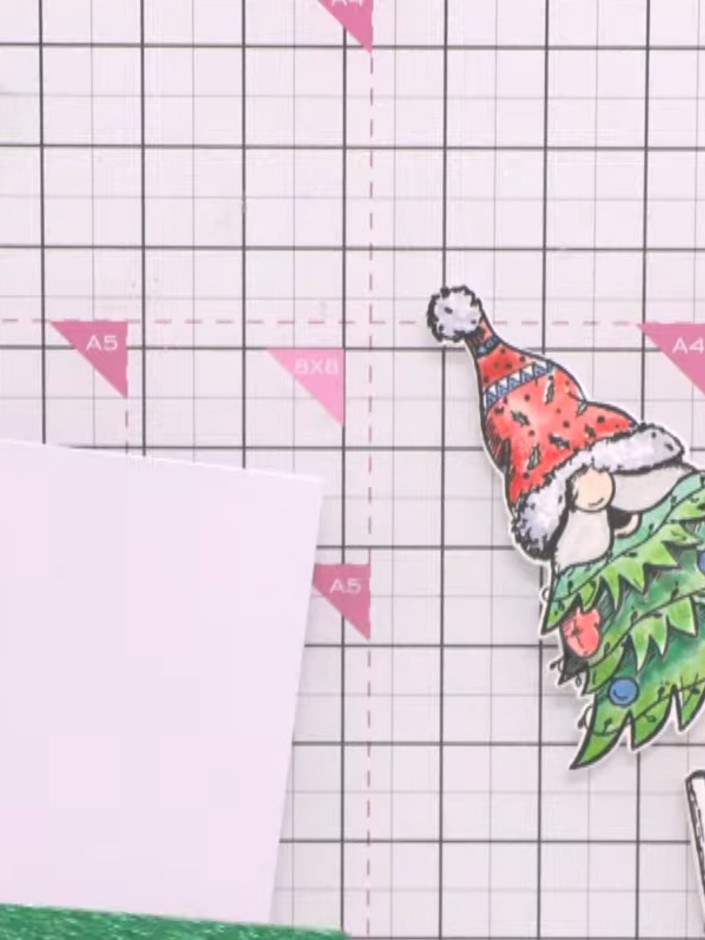
Mount the striped panel onto a craft card base using glue. Ensure the panel is centred and adhered smoothly to the card front.
▶ watch this step (44:15)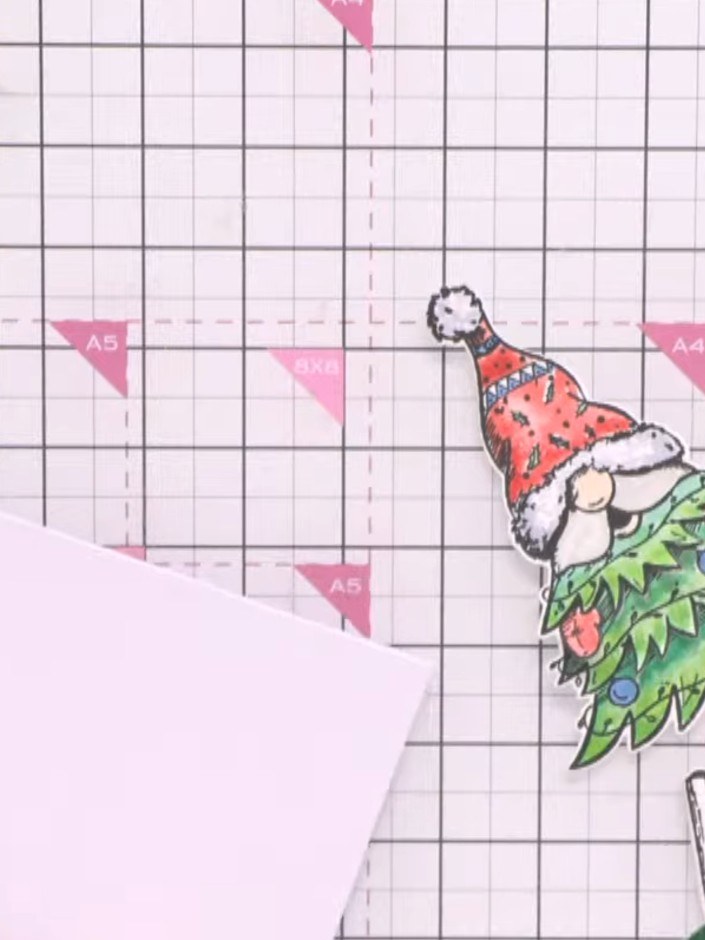
Stamp multiple gnome characters from the Gnome for the Holidays stamp set onto white cardstock. Colour the stamped images using your chosen colouring medium, adding festive colours like red, green and traditional skin tones.
▶ watch this step (44:45)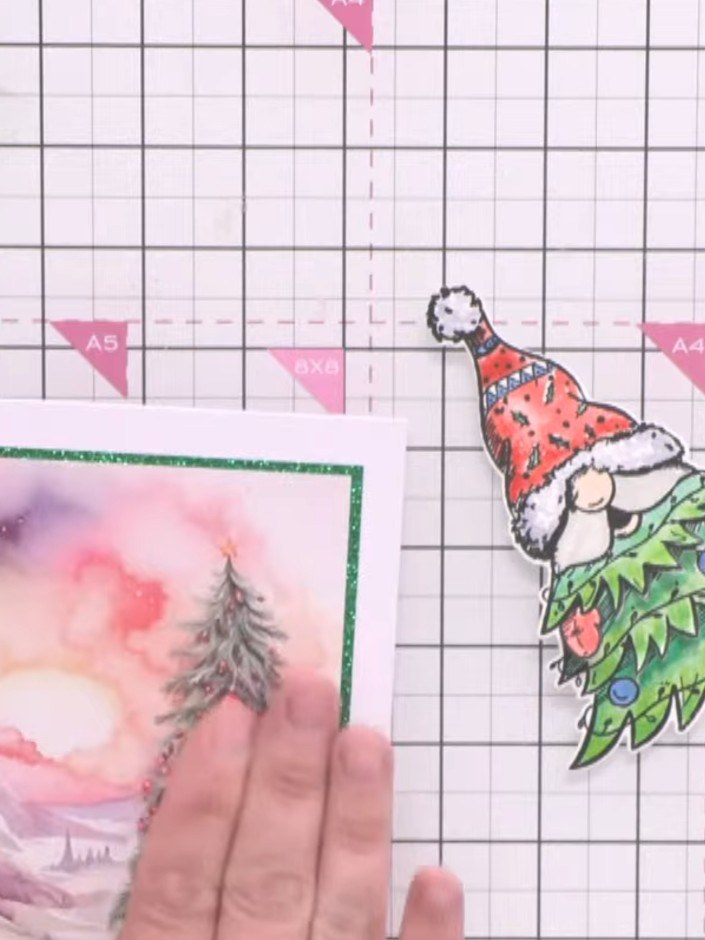
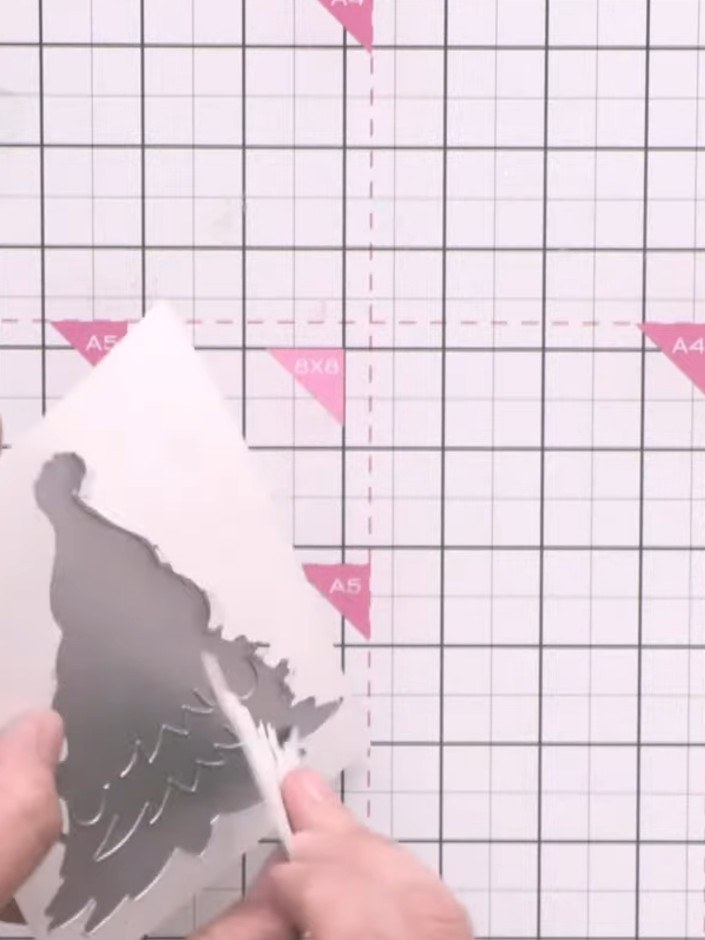
Die cut the gnome characters using the coordinating dies from the AVAGO-INK Designs Gnome for the Holidays stamp and die set.
▶ watch this step (45:15)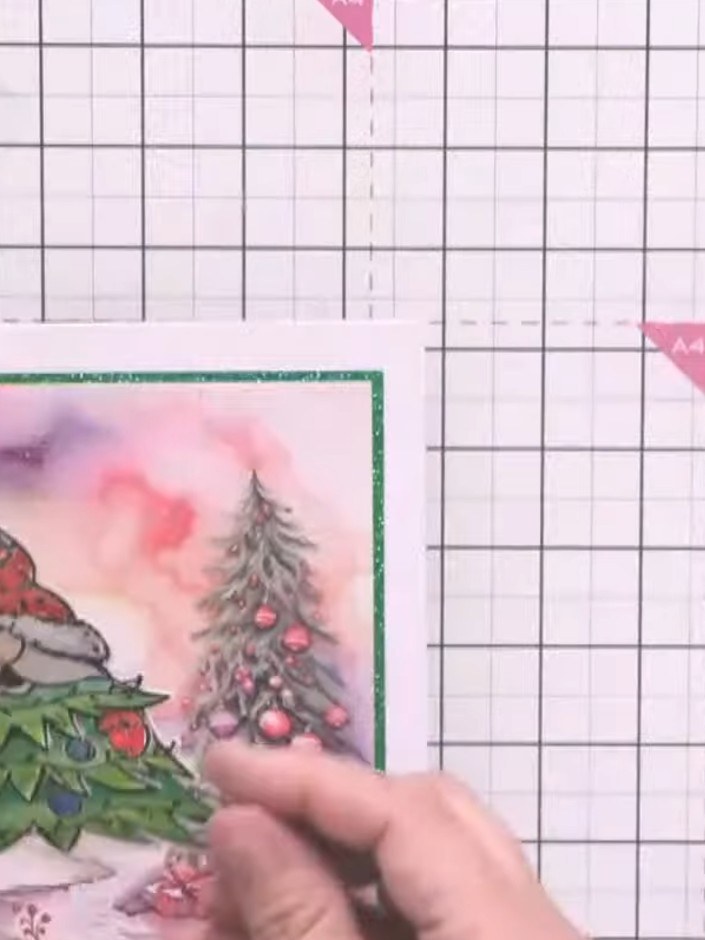
Position the die-cut gnomes on your card. Place one gnome so it appears to be running in from the side of the card.
▶ watch this step (46:00)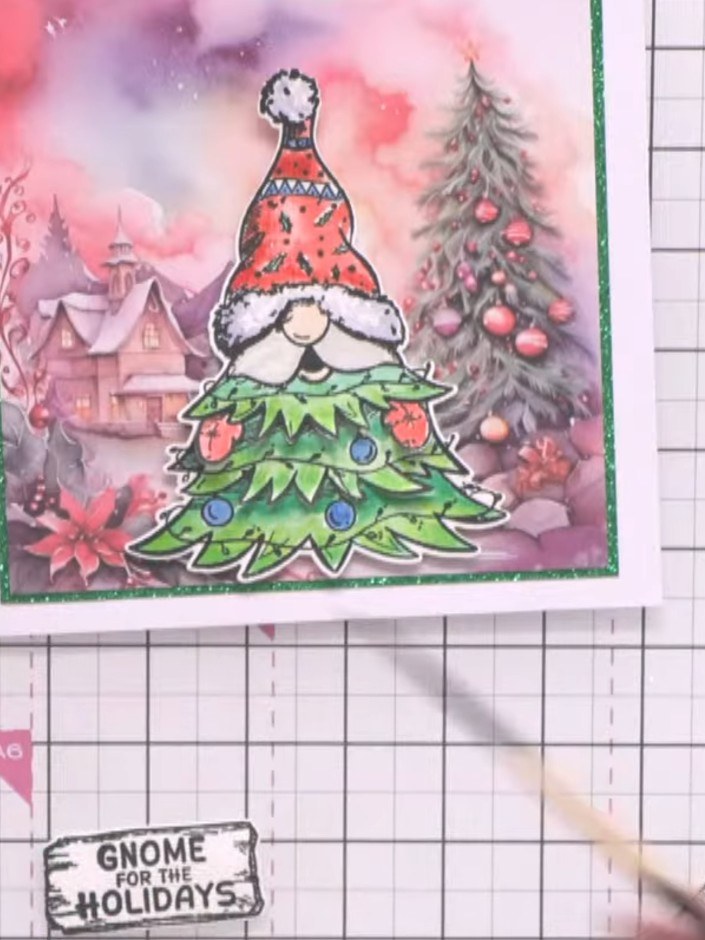
Stamp the 'Gnome for the Holidays' sentiment onto white card stock and trim to create a small plaque. Brush the edges with ink to add definition, then adhere the sentiment to the bottom of the card.
▶ watch this step (46:30)Written up from the show itself. See every guide from our shows · free how-to guides · watch live on My Telly