Give your friends €10 off their first order!
Refer a FRIEND








 The Friday Final CutFri 20 Nov 5am
 Community ShowcaseMon 23 Nov 5am
 Deal HuntersTue 24 Nov 8am
Prices change straight away. Every language is our own translation, not Google.
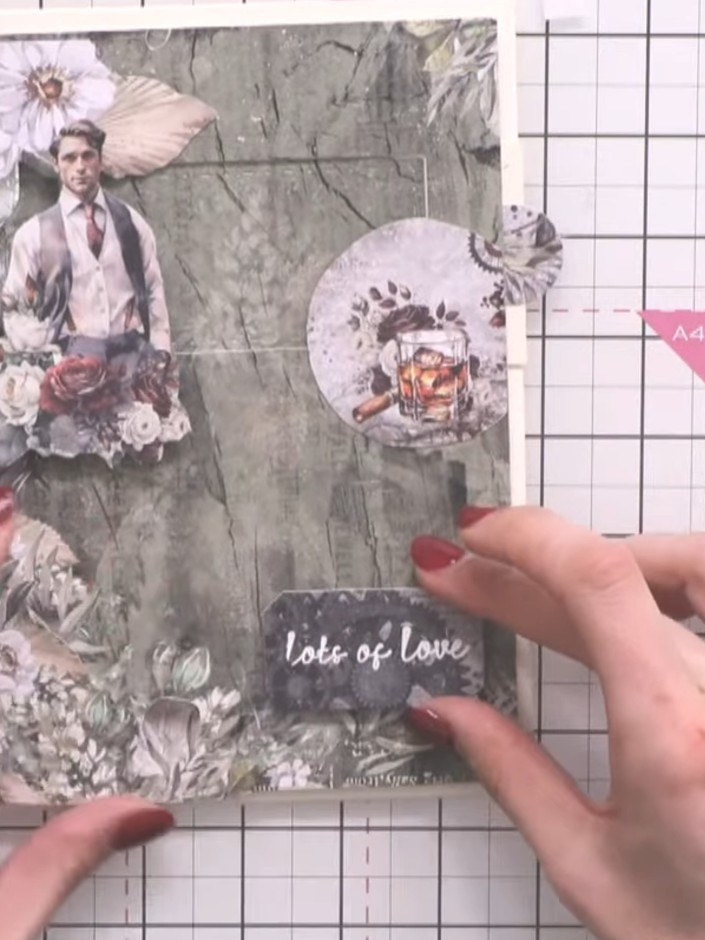
A project from our live show Create Together Club - 5 Days of Creativity - Broadcast Wednesday 24TH September 2025 · 24/09/2025
Create an interactive slider card with a vintage romantic theme featuring muted greys, soft pinks and floral imagery. This engaging greeting card uses a pull-out mechanism that reveals a hidden 'Lots of Love' message through a window aperture. The project combines layering techniques, die-cutting and dimensional embellishments to create a memorable keepsake card perfect for special occasions.
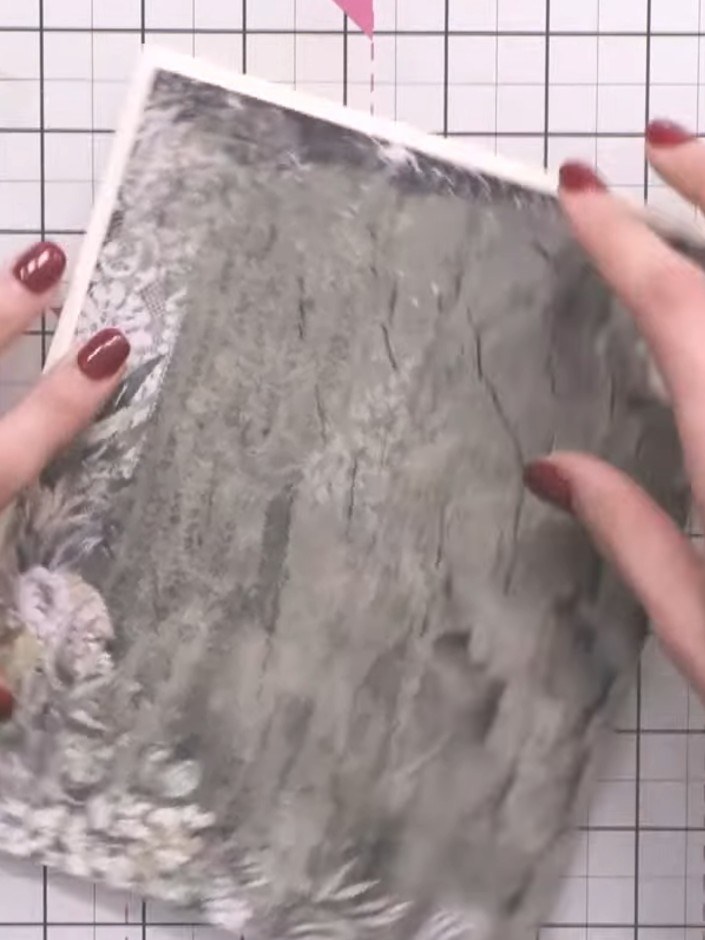 1
Cut a piece of grey textured card stock down to size using a guillotine or trimmer. Choose your preferred orientation - either portrait or landscape - for your card base.
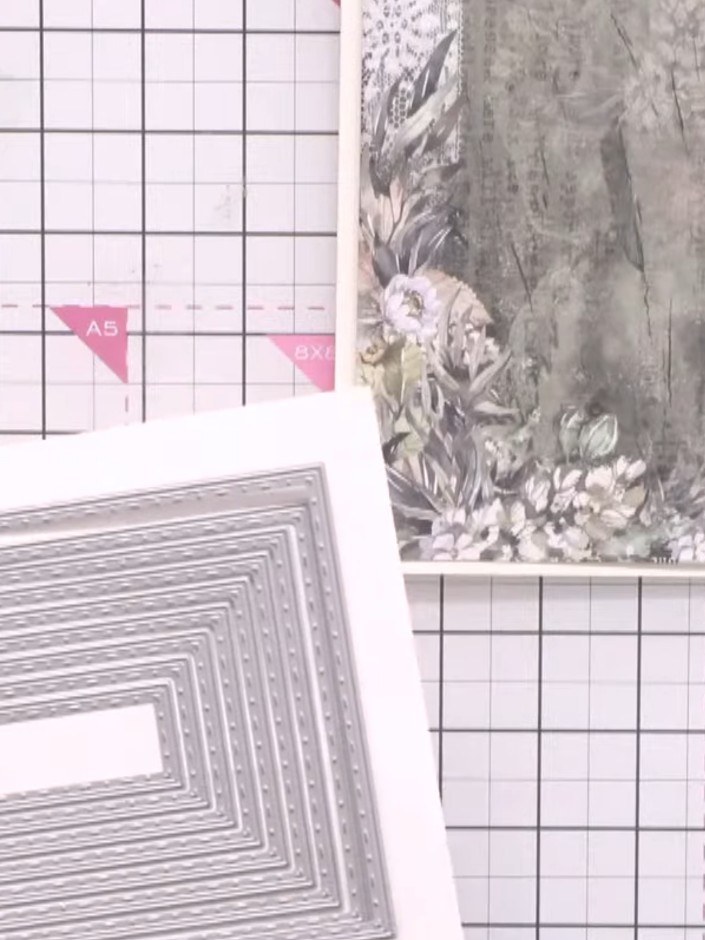 2
Select an appropriately sized nesting rectangle die from your set. Position it on your card base to cut a window aperture that will frame your slider element.
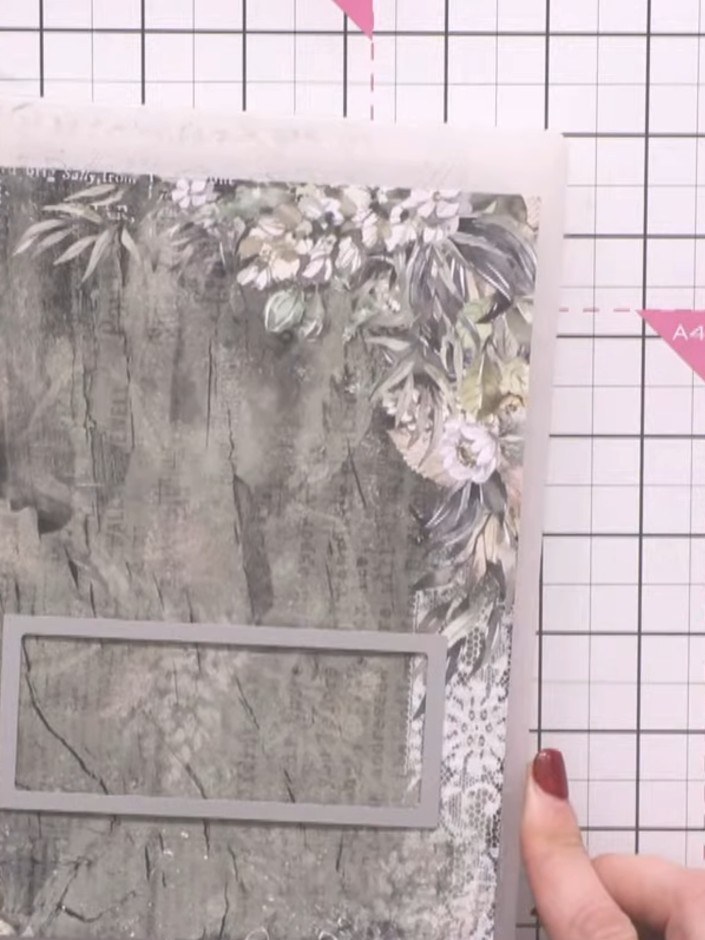 3
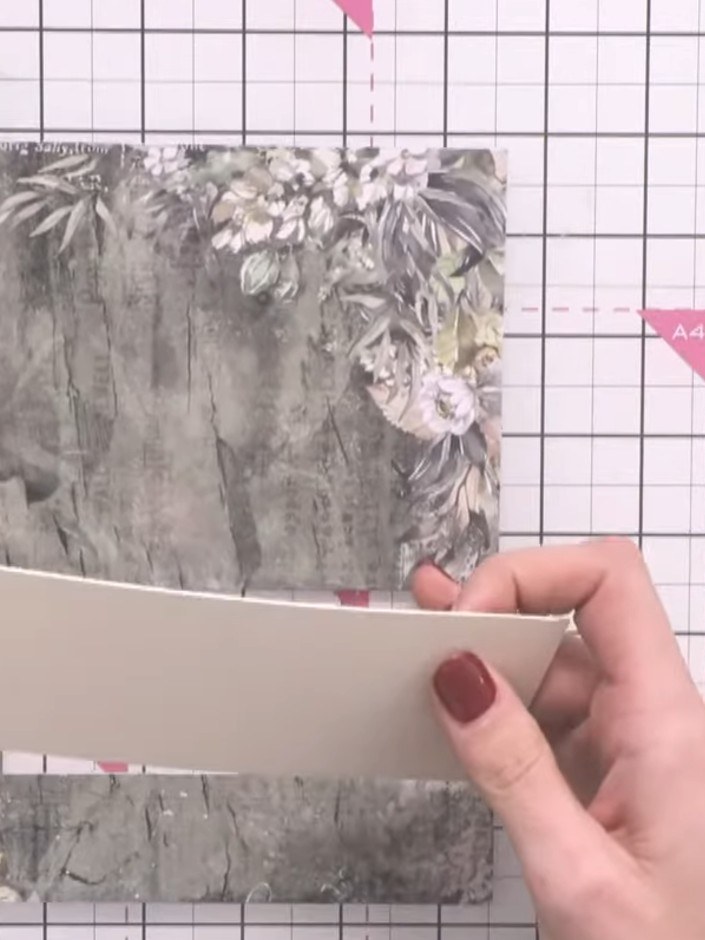
Position the die-cut aperture frame on your decorative paper panel. This frame will create the window opening for your slider element.
 4
Trim the slider piece to create a panel that will pull smoothly through the window opening without being too loose or tight. Test the fit by sliding it through the aperture to ensure smooth movement.
 5
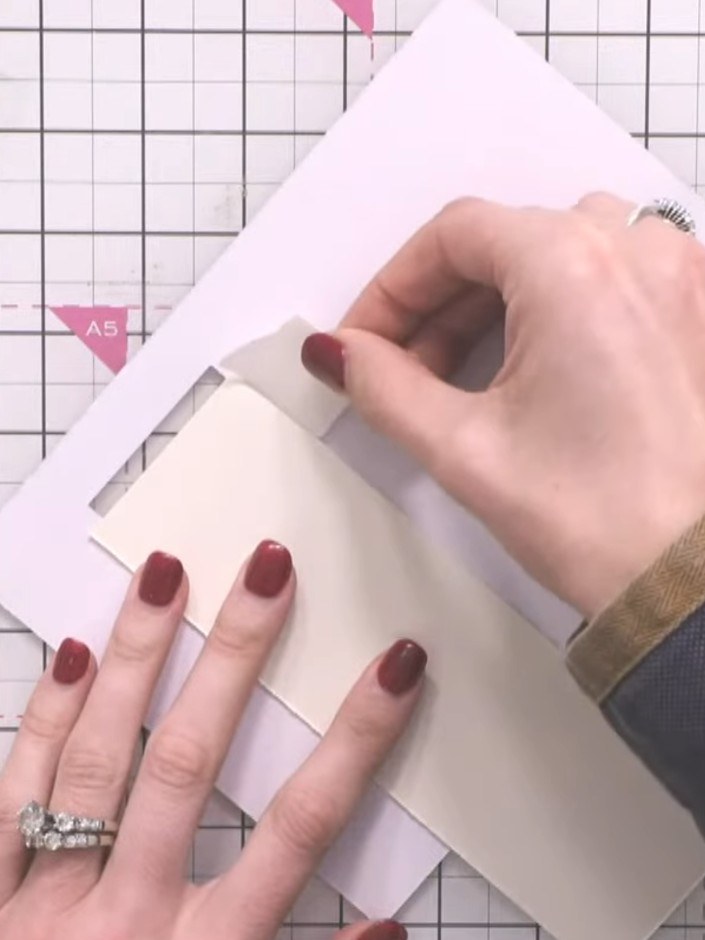
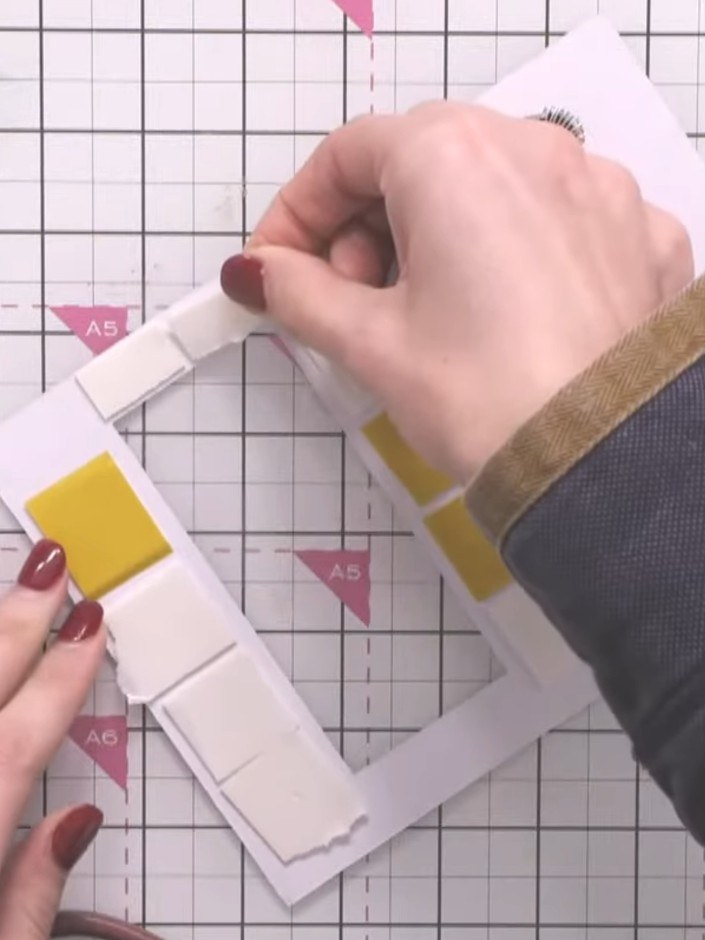
Apply foam pads around the window aperture on your card base, leaving one edge open. This creates a raised channel for the slider mechanism to move through smoothly.
 6
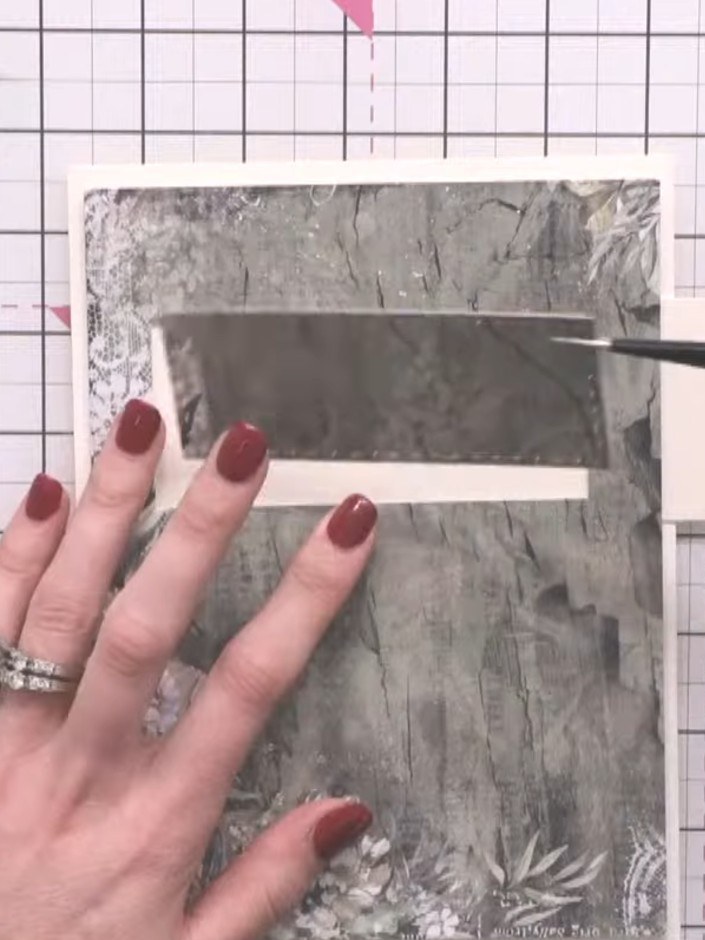
Place thin foam pads at the opposite end of the window panel from the yellow squares to act as stoppers. This prevents the slider from sliding out completely when pulled.
 7
Apply glue carefully to the edges of your chosen image or decorative element using a glue pen. Attach it to the slider piece, ensuring glue is only on the edges to prevent it catching on the window sides as it moves.
 8
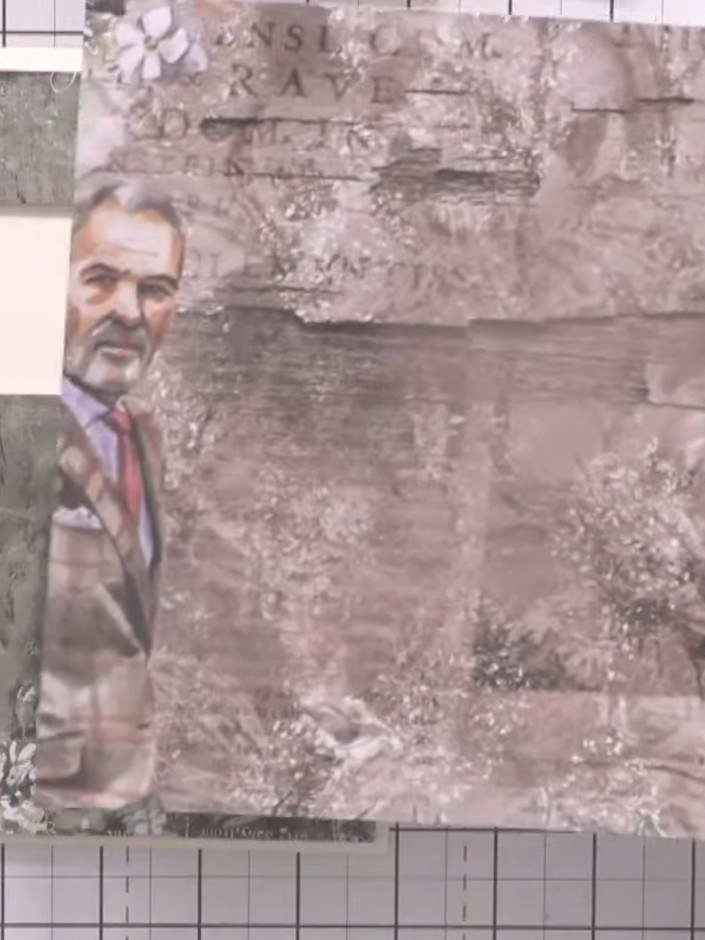
Stamp a sentiment or message onto the card base in the area that will be revealed when the slider is pulled out. Position it so it appears in the window opening.
 9
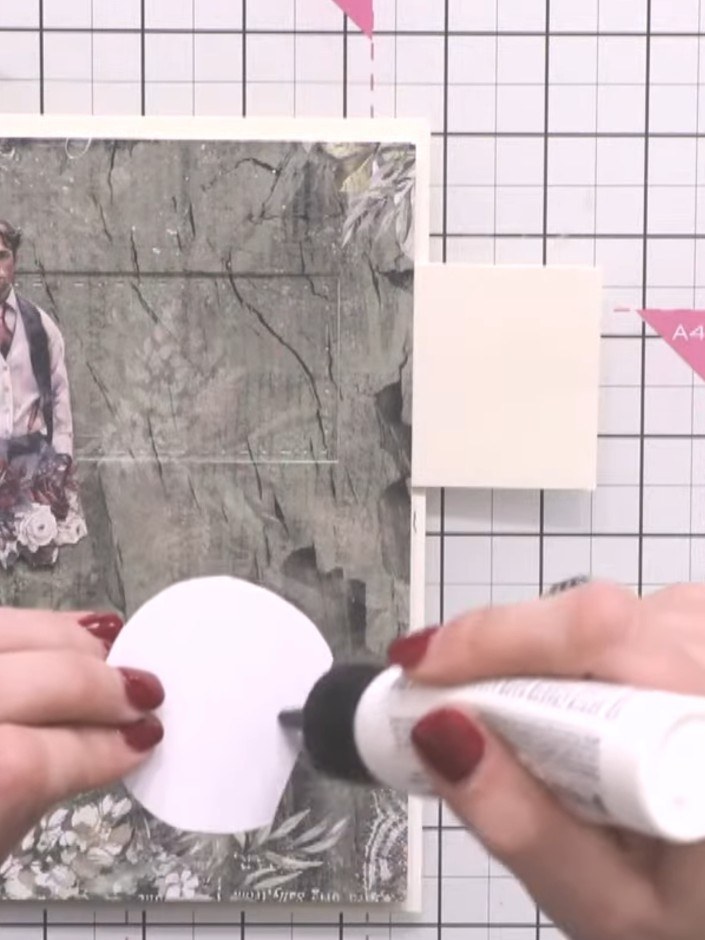
Attach foam pads to the back of your main focal image (the character topper). Layer the foam pads to build up sufficient height so the image will sit at the correct level to interact with the elements on your card base.
 10
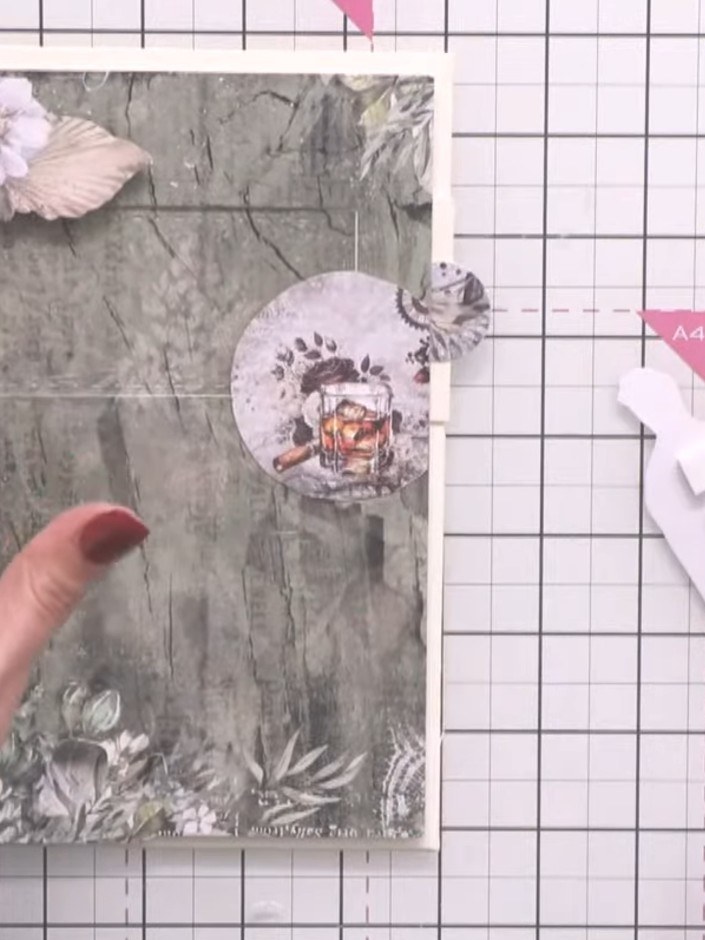
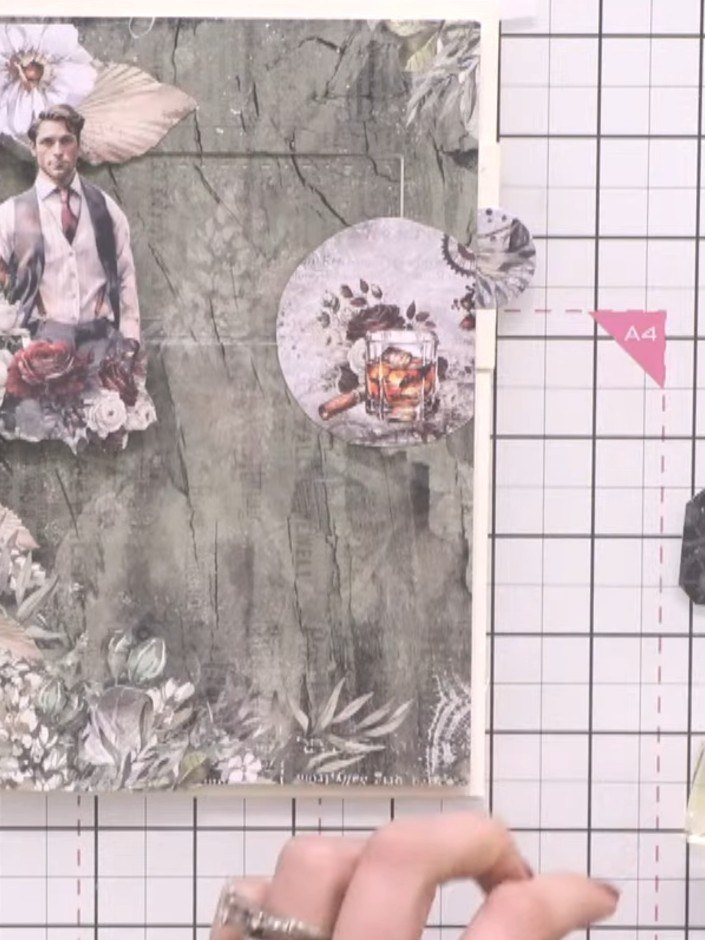
Fussy cut decorative elements from your paper pad and layer them around the card front using foam pads to add dimension and visual interest.
 11
Heat emboss a sentiment onto a decorative plaque using white embossing powder and a heat gun. Position the embossed plaque at the bottom of the card front.
 12
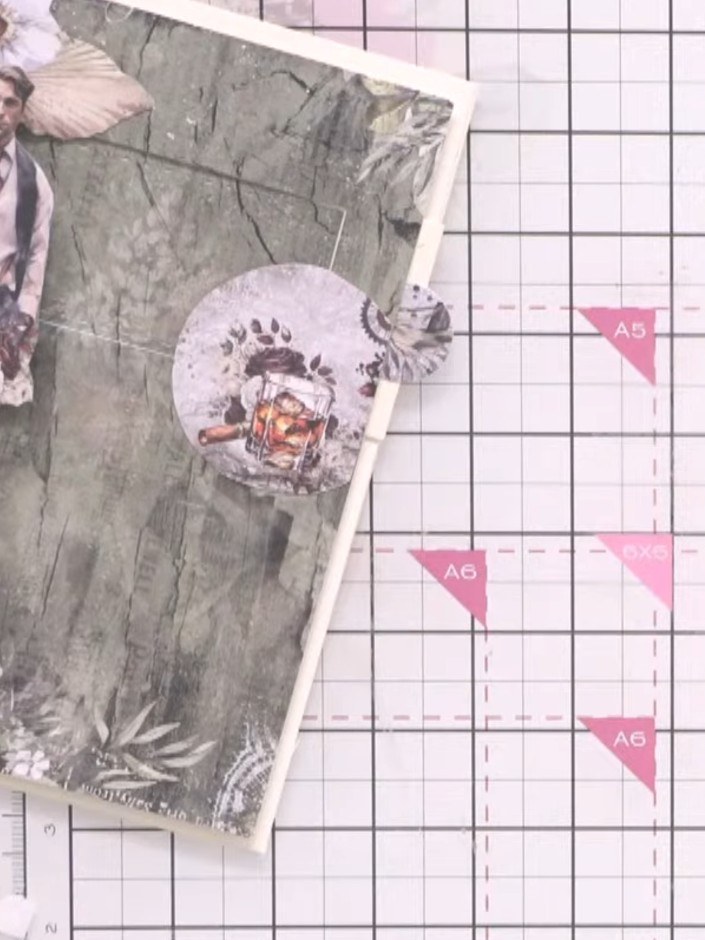
Adhere the embossed plaque to the card front using foam pads for dimension. Test that the slider mechanism moves smoothly without catching on any of the card elements.
Share your make with the Stamps By Me community - and keep this guide for next time.
Written up from the show itself. See every guide from our shows · free how-to guides · watch live on My Telly · the previous layout