Give your friends €10 off their first order!
Refer a FRIEND








A project from our live show MY PODCAST - Catch my latest updates broadcast 8th September 2025 · 08/09/2025 · watch it from 45:30
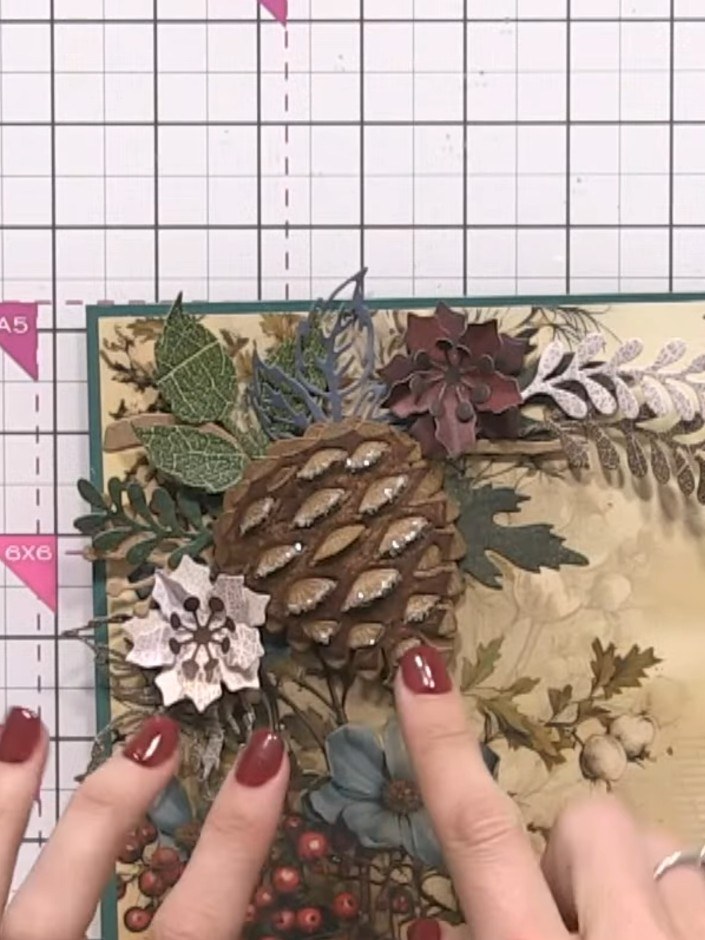
Create a stunning festive card featuring a beautifully detailed pine cone surrounded by layered poinsettia flowers and winter foliage. This 7x7 inch design uses rich burgundy, cream and teal tones from the Holly and Berry collection, with dimensional layering and delicate sparkle accents. The vintage-style botanical background creates an elegant, luxurious Christmas card perfect for the season.
 Perfect Pinecones - Large Edition - 141224BSEE IT
 Holly & Berry Paper Textures Pack - 7 X 7 - 031123FSEE IT
 Holly & Berry Die Collection - 050925BSEE IT
 Holly & Berry Paper Pack 7 X 7 - 031123BSEE IT
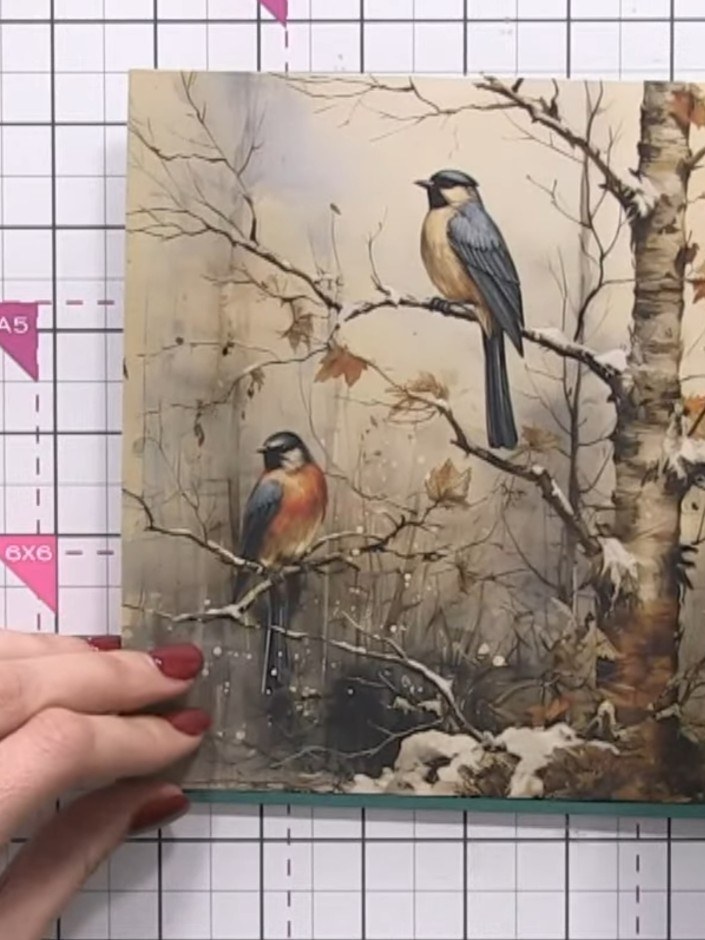
Cut a piece of patterned paper from the Holly and Berry collection to fit your card base. Place it on your cutting mat and trim to size.
▶ watch this step (1:00:45)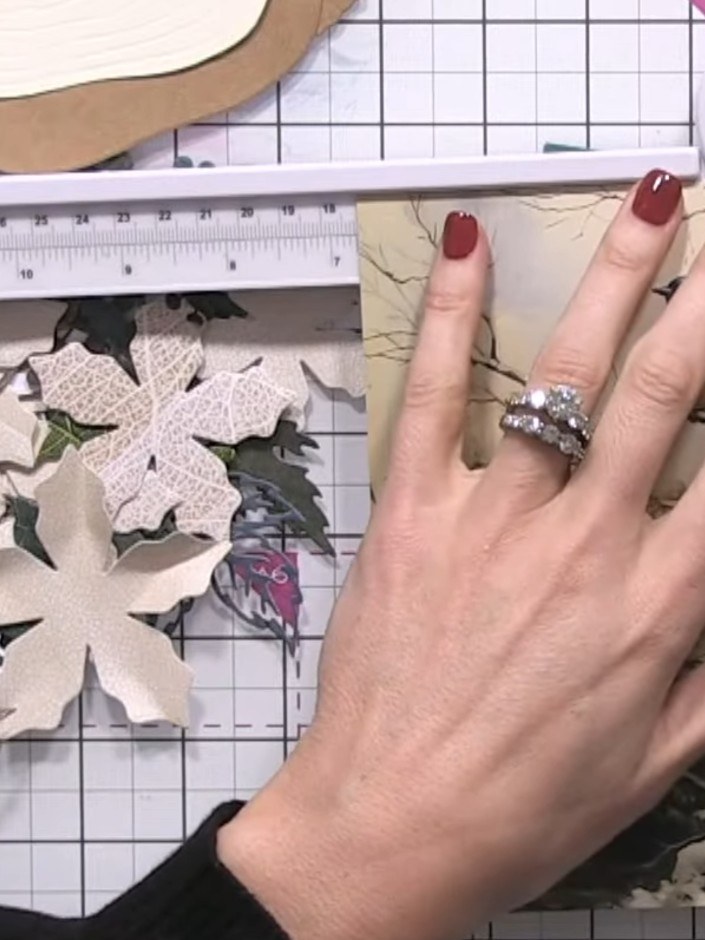
Die-cut multiple poinsettia petals from the Holly & Berry paper collection using the scoring board and die-cutting machine. Cut petals in various colours and shades from the 7 x 7 paper pack to create variety for your design.
▶ watch this step (1:01:00)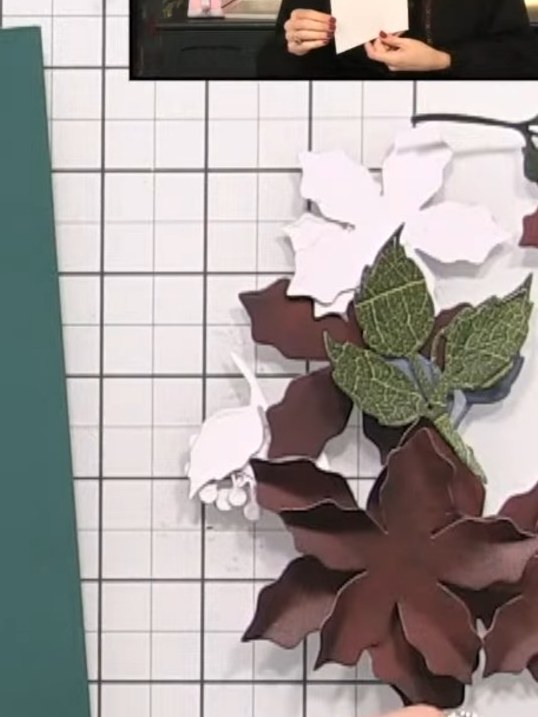
Layer the poinsettia petals by stacking smaller petals inside larger ones. Pinch the petals together at the base to create dimension and shape.
▶ watch this step (1:10:00)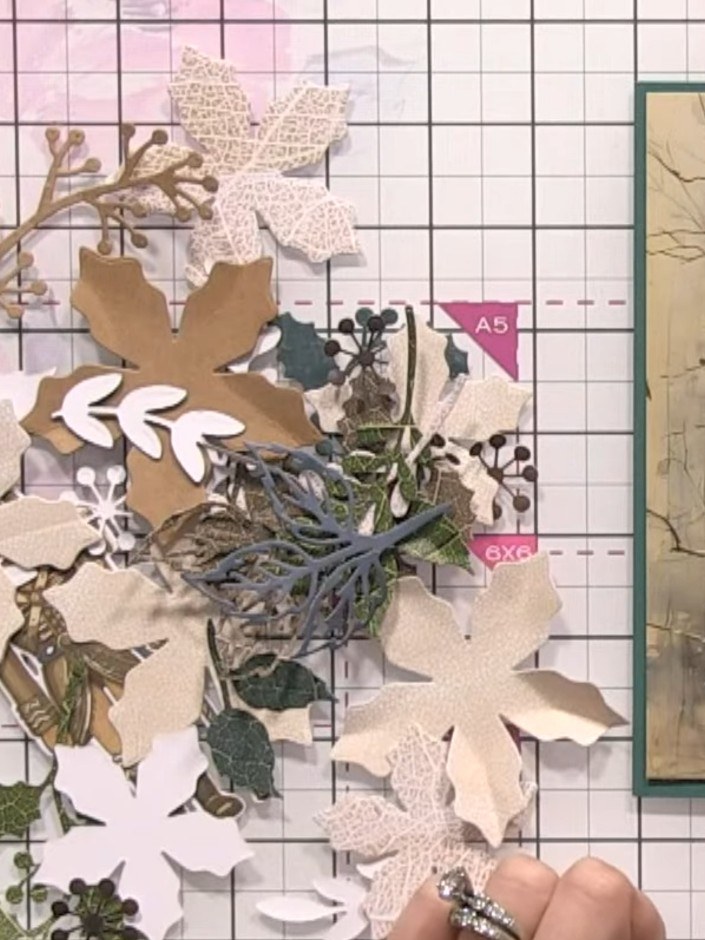
Create smaller poinsettia flowers by repeating the layering process with reduced-size petals. Pinch the edges of each petal to add texture and dimension. Layer the smaller petals together to form a complete flower.
▶ watch this step (1:11:00)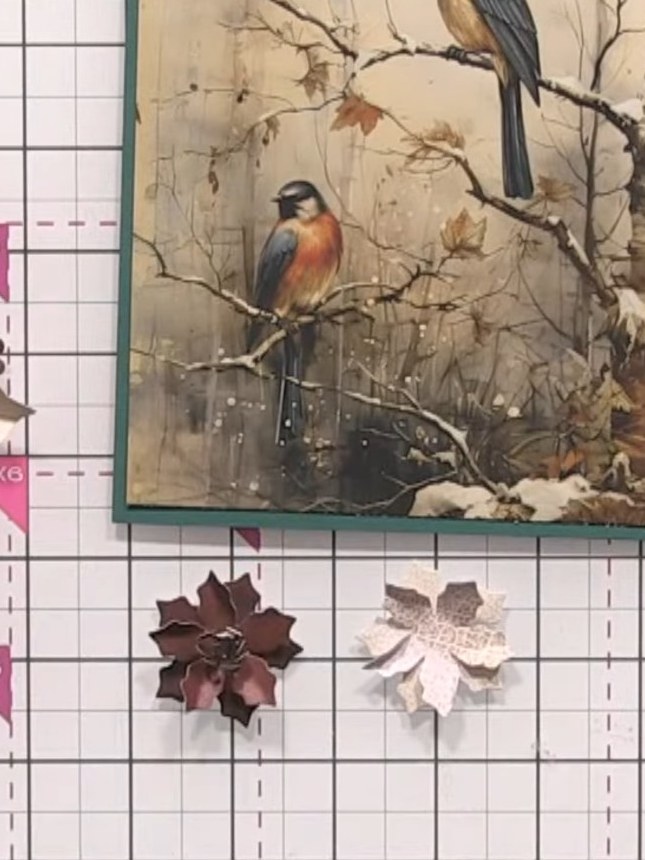
Apply glue to the centre of each brown poinsettia flower and attach it to the card. Position the flowers as desired amongst the leaf arrangements.
▶ watch this step (1:11:45)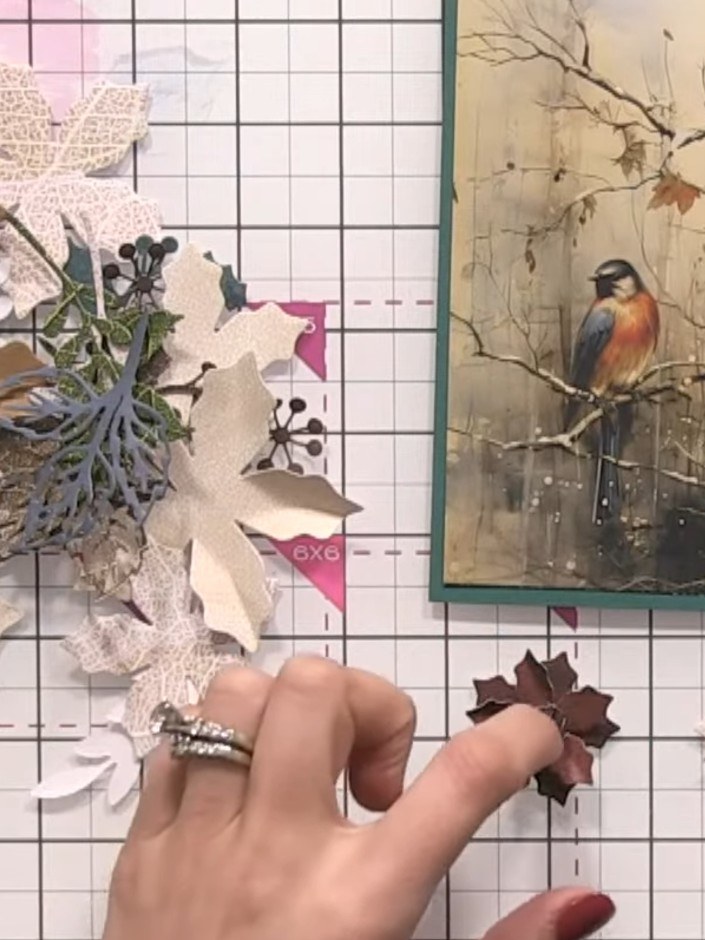
Die-cut foliage pieces from the skeleton leaf paper using the Holly & Berry dies to create greenery elements for your arrangement.
▶ watch this step (1:12:00)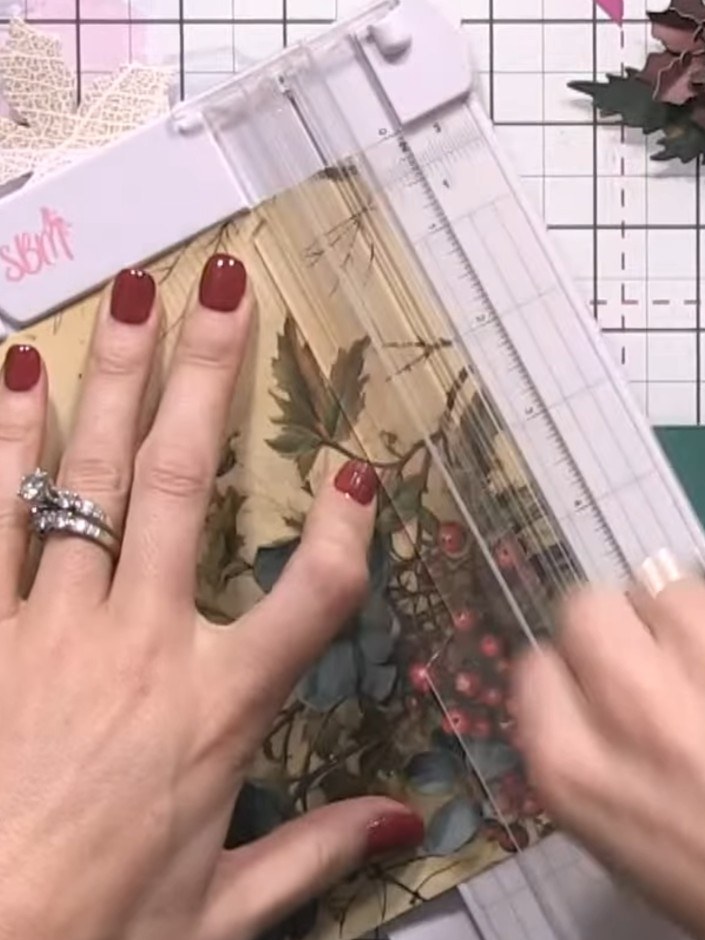
Position the large brown pine cone on the card front as your main focal point. Place it over the floral patterned paper, ensuring it sits prominently in your design.
▶ watch this step (1:14:30)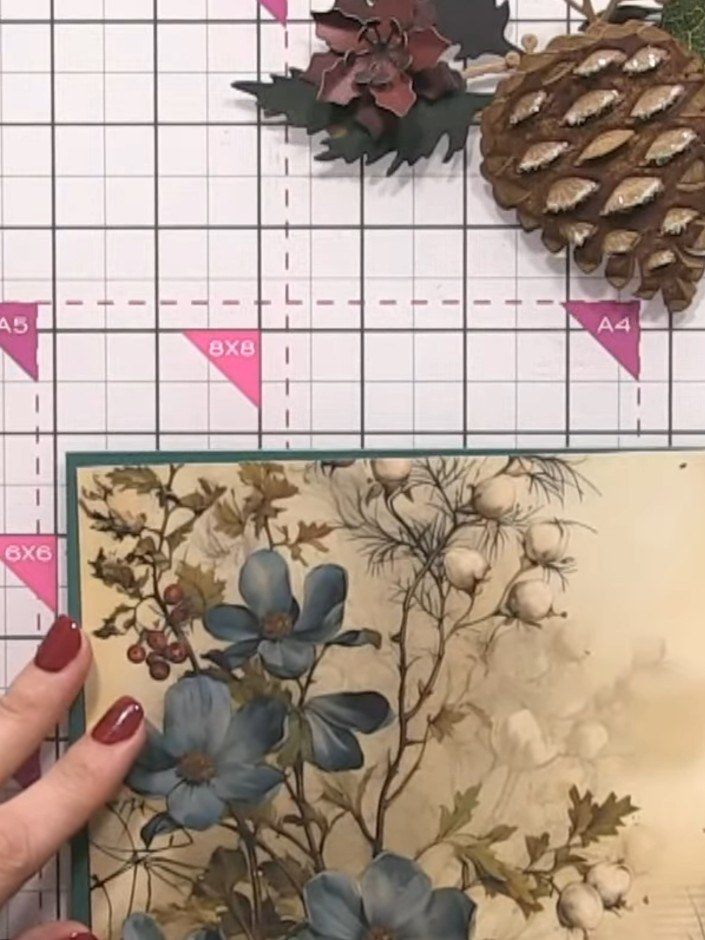
Position the foliage pieces around the base of the pine cone, tucking the leaves under other elements to create a natural arrangement.
▶ watch this step (1:15:00)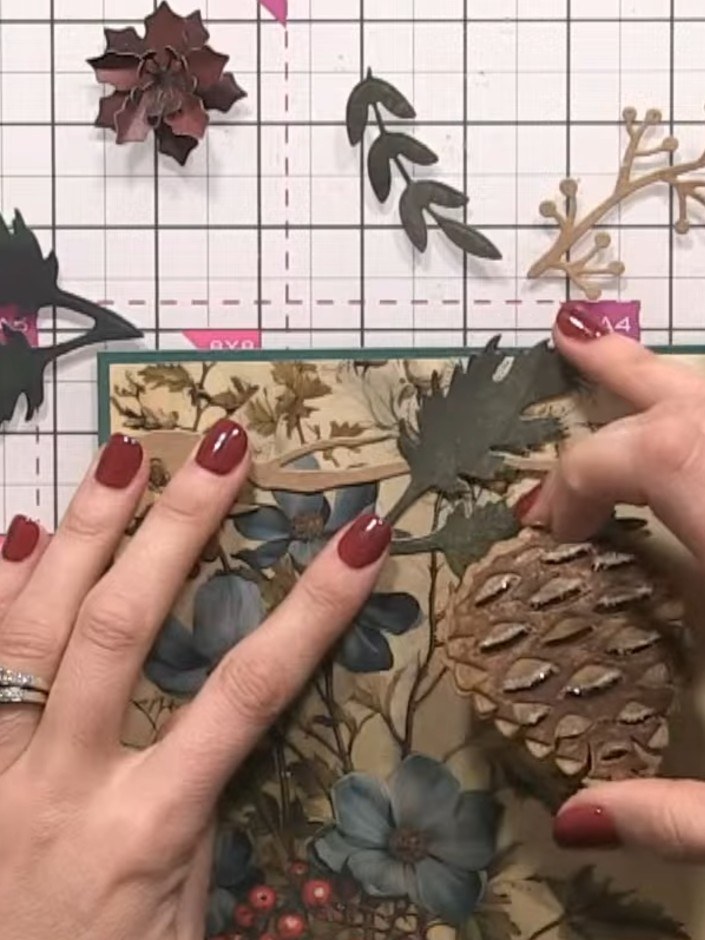
Layer the dark green and burgundy poinsettia flowers around the pine cone on the card front. Arrange them in a pleasing composition to create a festive floral display.
▶ watch this step (1:15:30)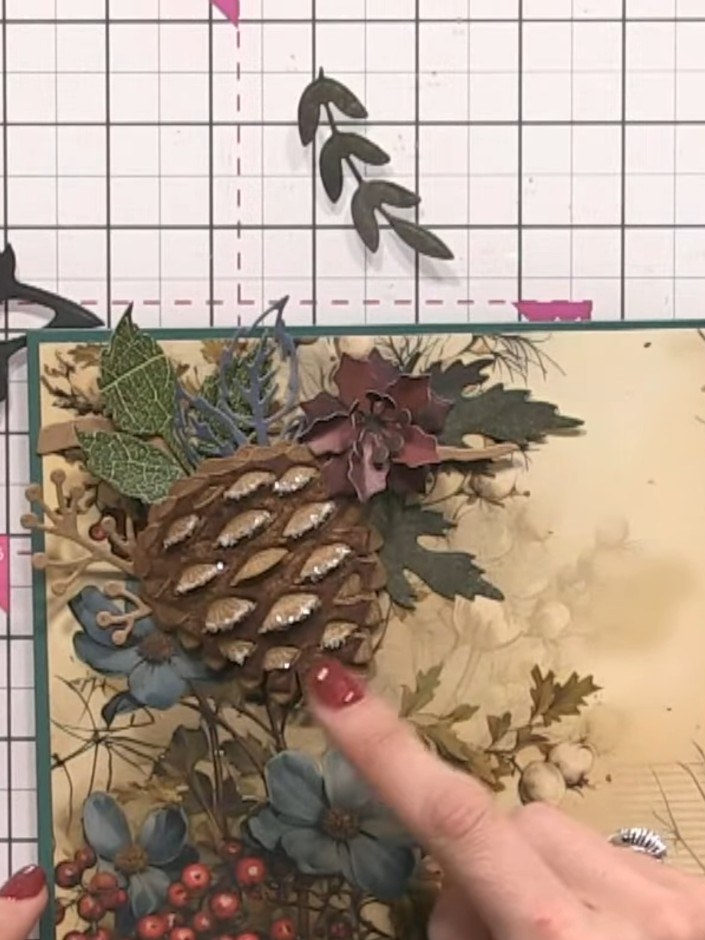
Apply glue to the tips of the pine cone petals and sprinkle with crystal clear glitter to create an icy sparkle effect. Allow to dry completely.
▶ watch this step (1:17:00)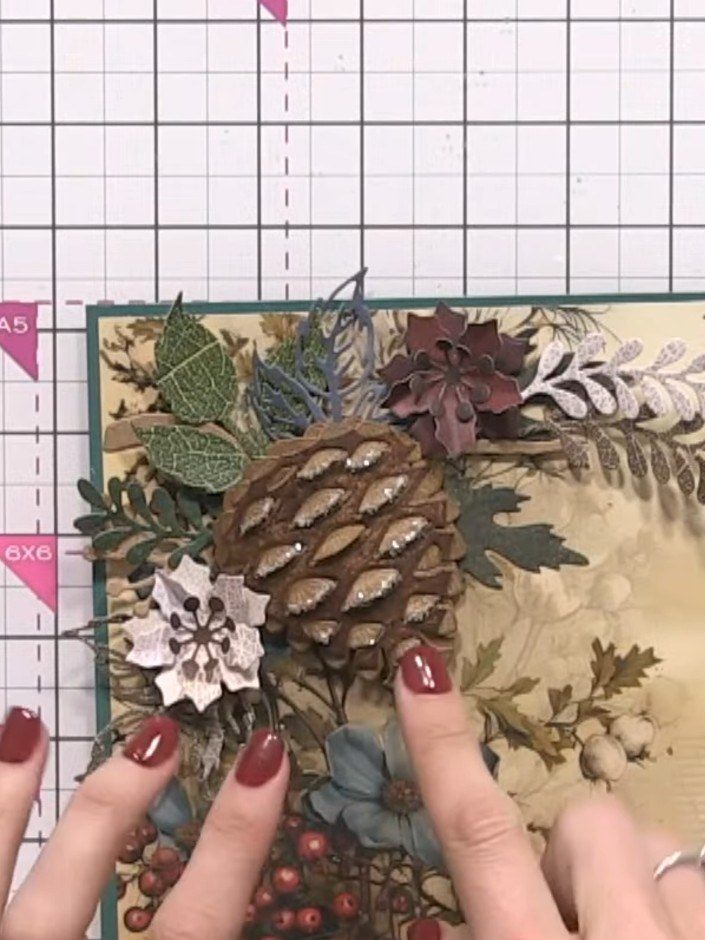
Add gems or sparkle to the flower centres and raised details on the pine cone and other embellishments as desired to complete your card.
▶ watch this step (1:19:30)Written up from the show itself. See every guide from our shows · free how-to guides · watch live on My Telly