Give your friends €10 off their first order!
Refer a FRIEND








Prices change straight away. Every language is our own translation, not Google.
A project from our live show ONE DAY SPECIAL - Join Toni for her brand new launch - Broadcast 29th August 2025 · 29/08/2025
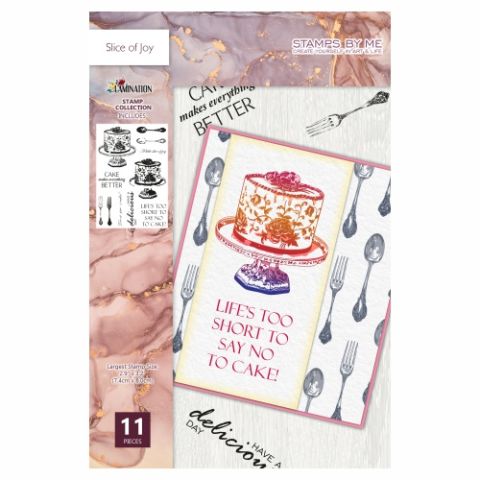
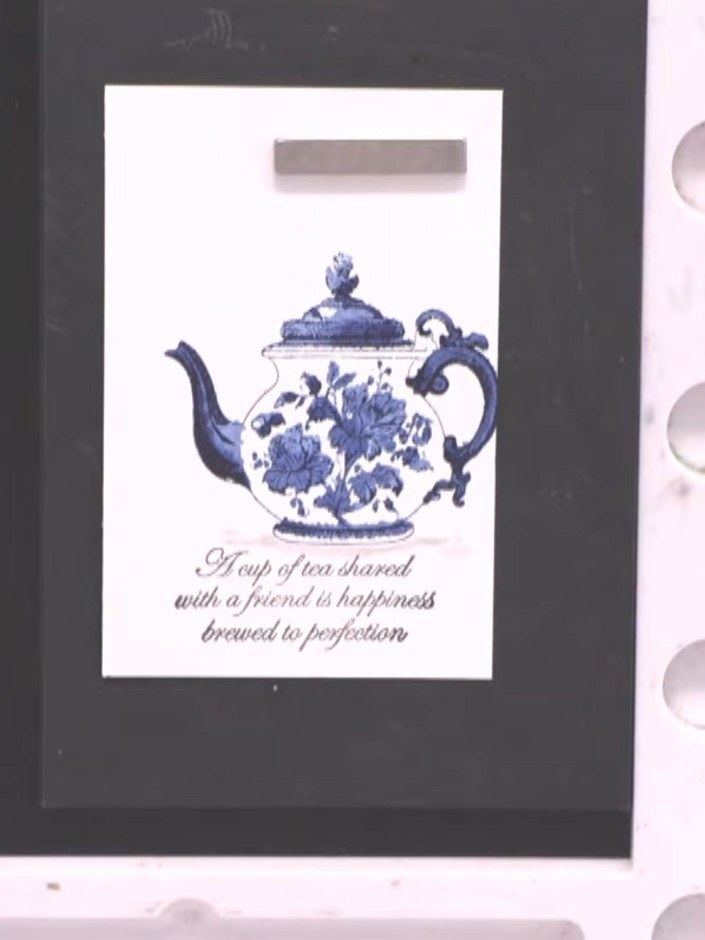
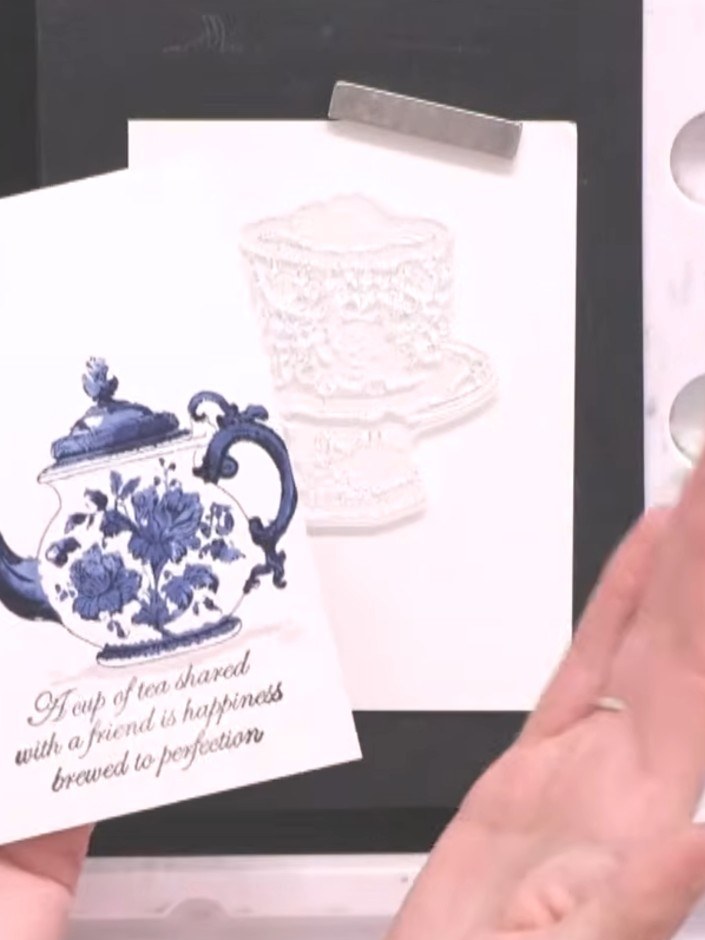
Create charming greeting cards featuring a decorative teapot and an ornate cake stand with beautiful vintage styling. Using the lamination stamping technique, blend multiple ink colours to achieve rich, watercolour-style depth on your images. The two-layer method adds shadow detail and dimension, elevating your stamped designs for a professional finish.
 1
Take a fresh piece of A5 watercolour card. If you have already stamped on one side, turn it over to use the reverse side.
 2
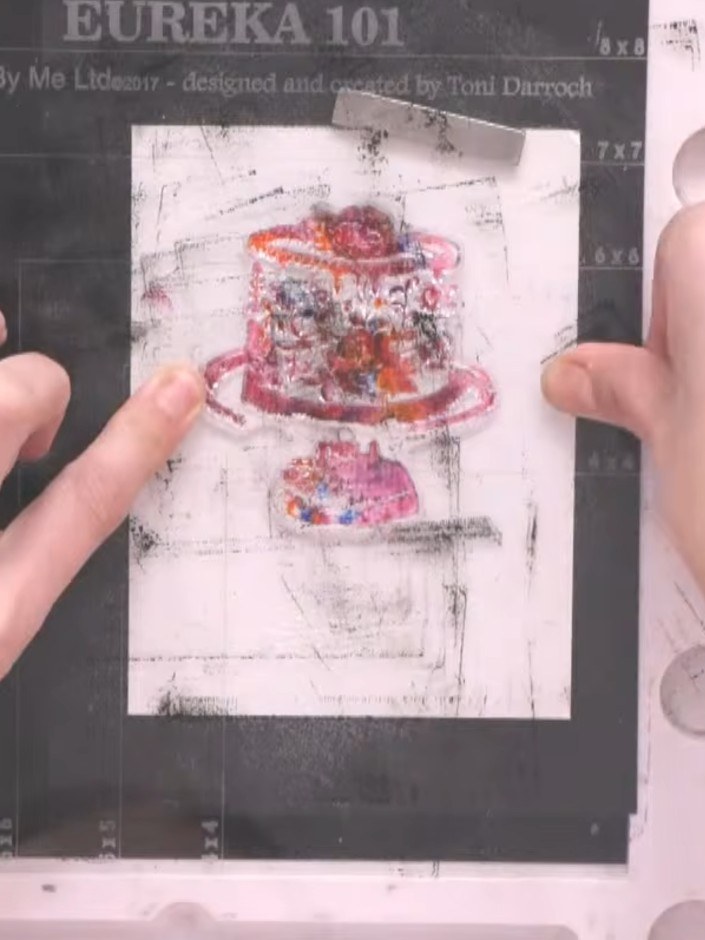
Apply multiple ink colours directly to the solid cake stamp using the corner of the ink pads. Use teal, pink, orange and purple to create a multicoloured effect on the stamp surface.
 3
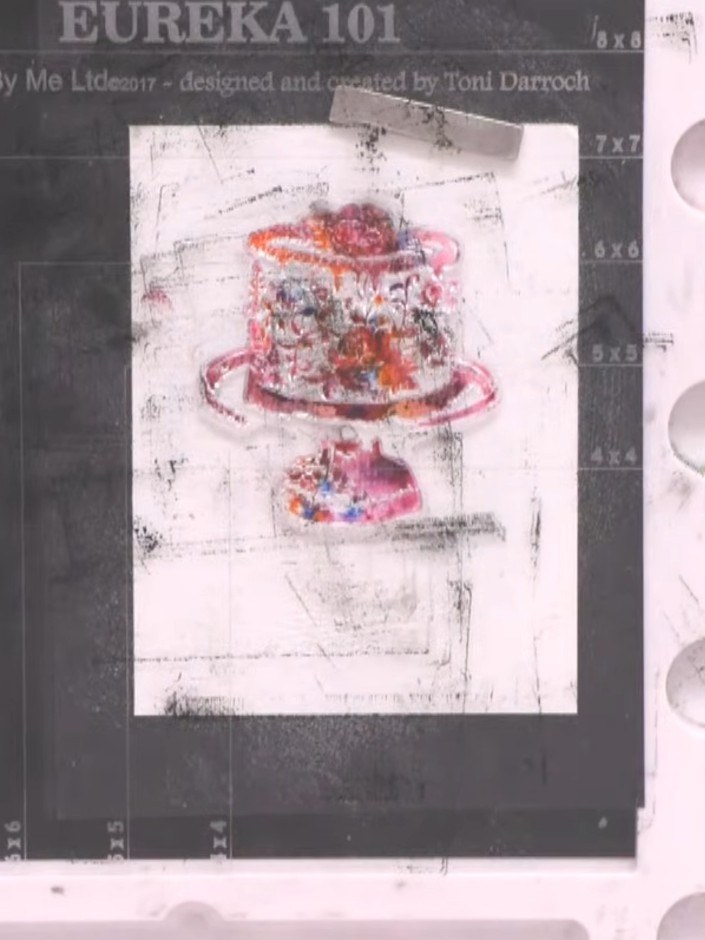
Apply ink randomly to the stamp surface, ensuring complete coverage. Use multiple colours such as teal, creating a varied, multicoloured effect across the entire stamp.
 4
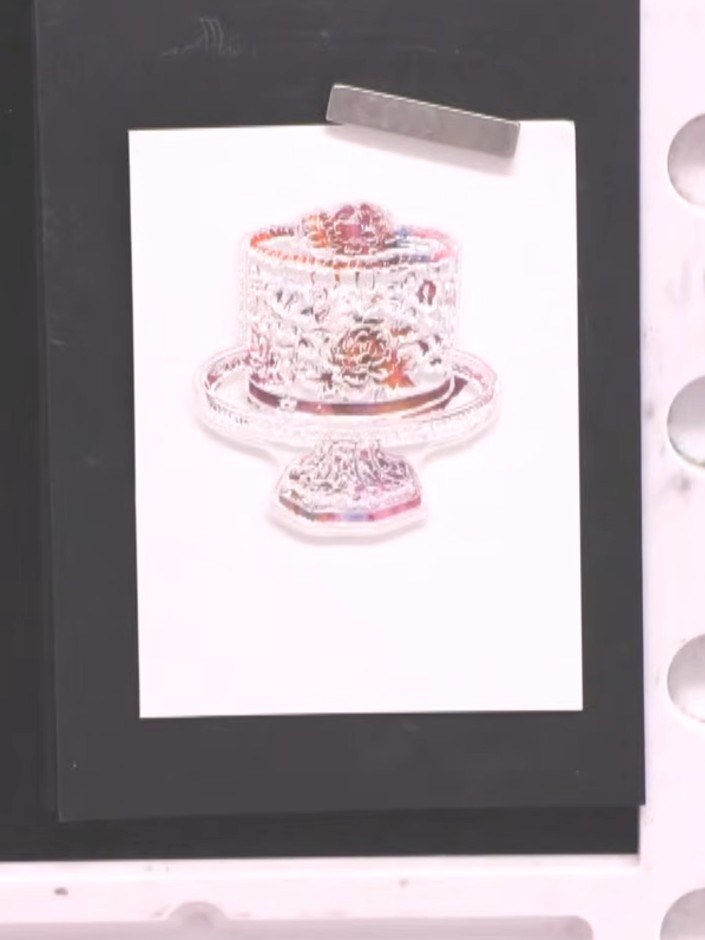
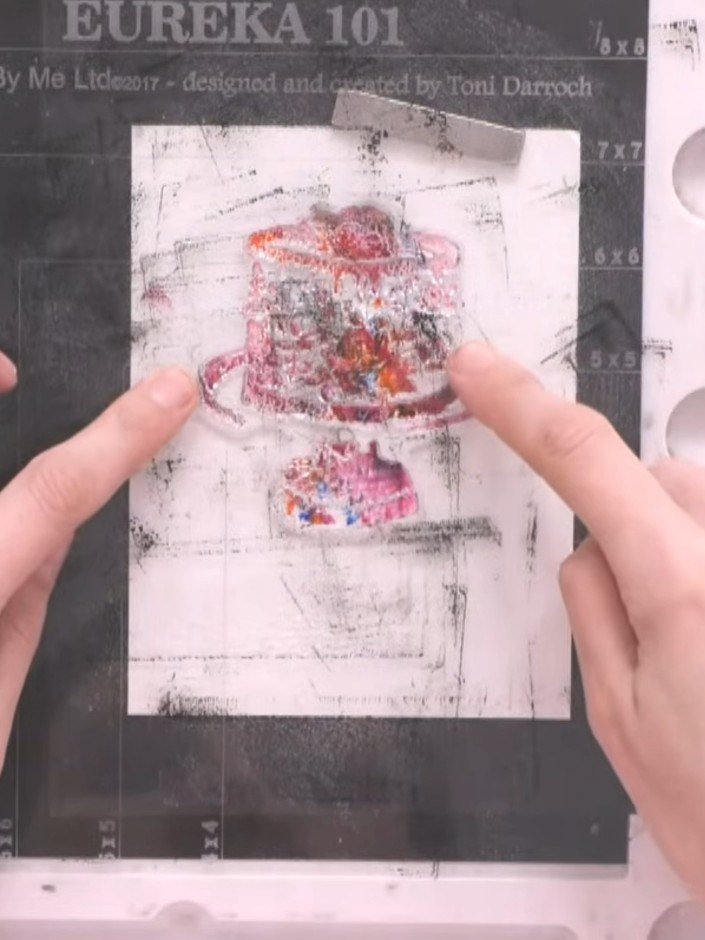
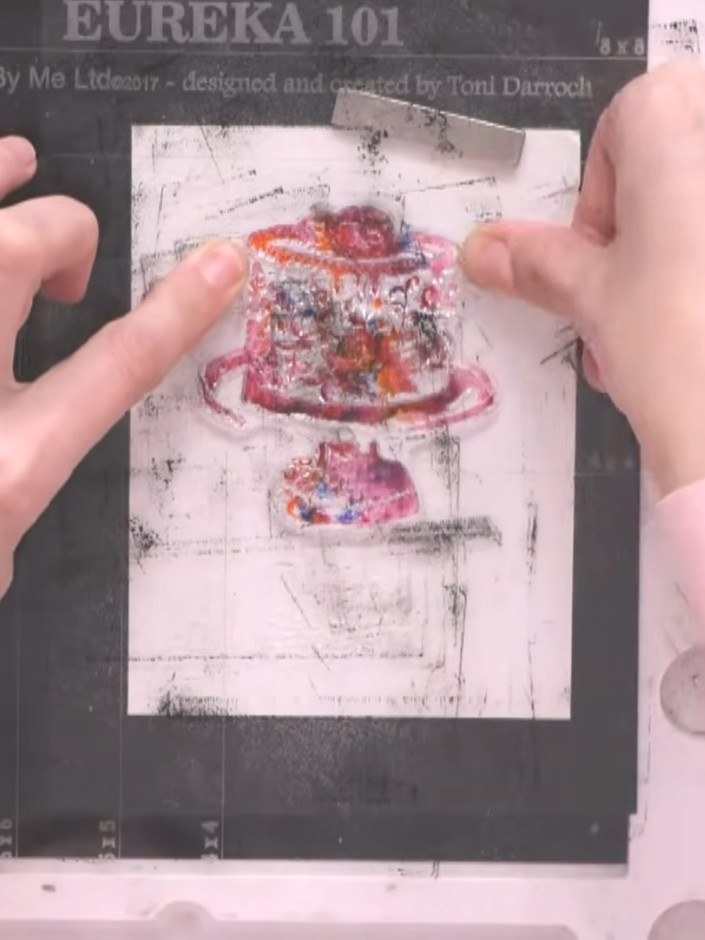
Spray the stamped image three times with water to activate and blend the multiple ink colours together. Allow the water to sit on the card for a moment to help the colours blend.
 5
Allow the watercolour card to settle for a moment. Use a dry wipe or cloth to gently blot away any excess water puddles from the surface.
 6
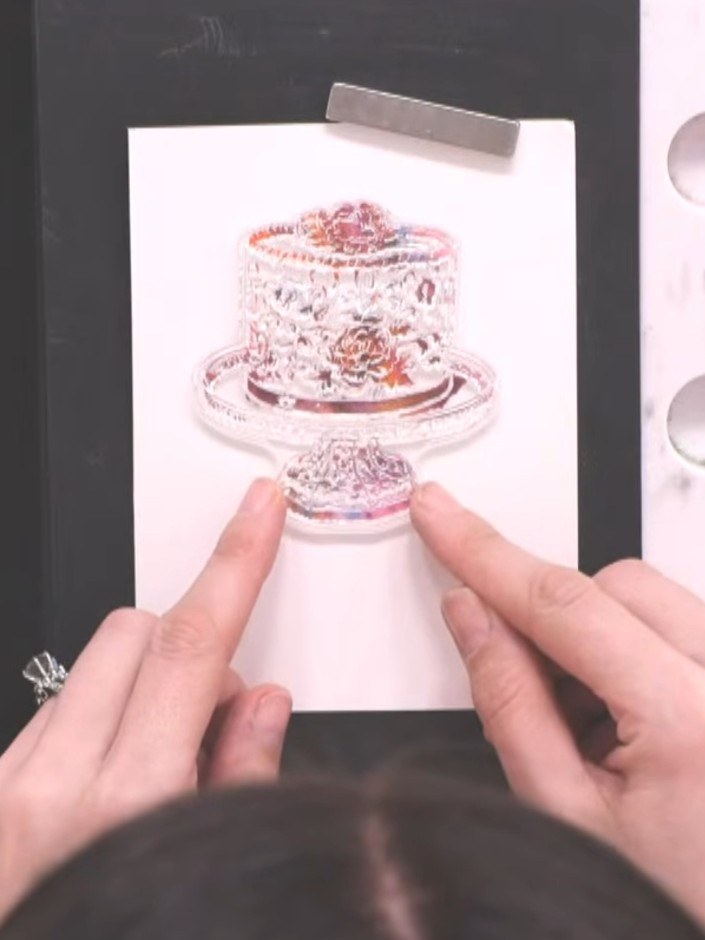
Position the detail stamp over the solid cake image on your card blank, using the packet as a guide to ensure correct alignment. Make sure the first bit is lined up properly before stamping.
 7
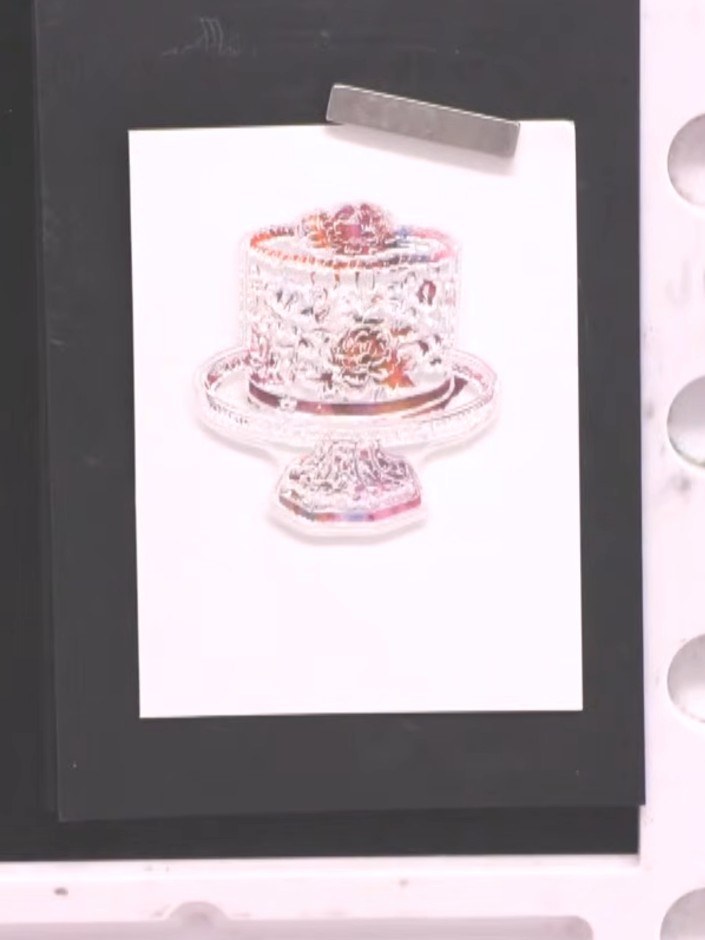
Stamp the cake image onto white card using teal ink. Press firmly and evenly to ensure all the decorative details - the flowers, beads and ornate patterns around the cake - are clearly transferred.
 8
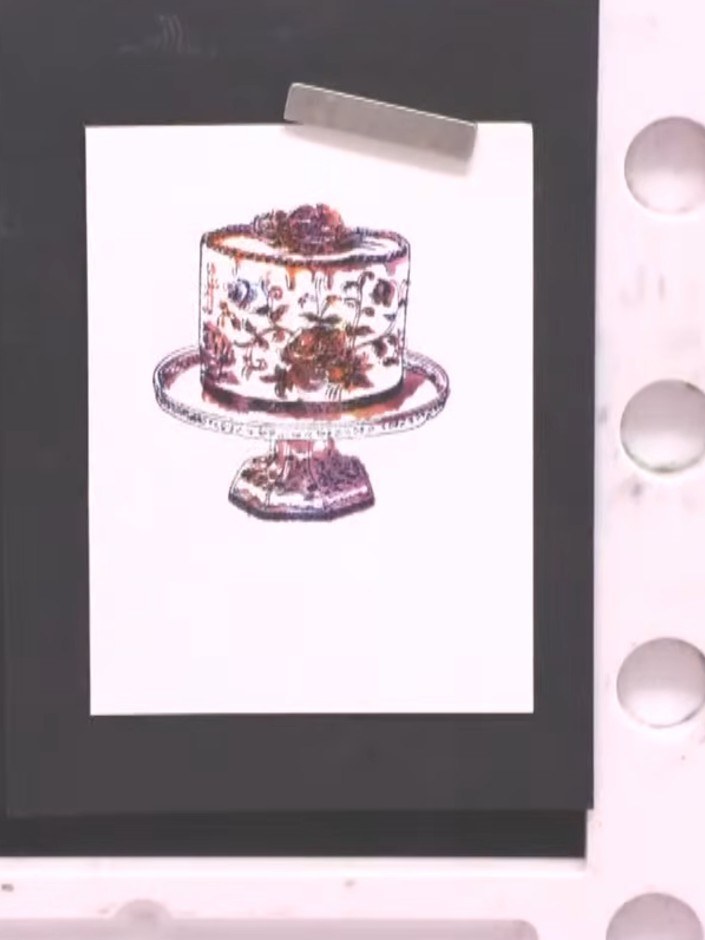
If the stamped detail is not sufficiently visible, stamp the detail layer a second time using a darker ink colour to increase the contrast and make the design stand out more clearly.
 9
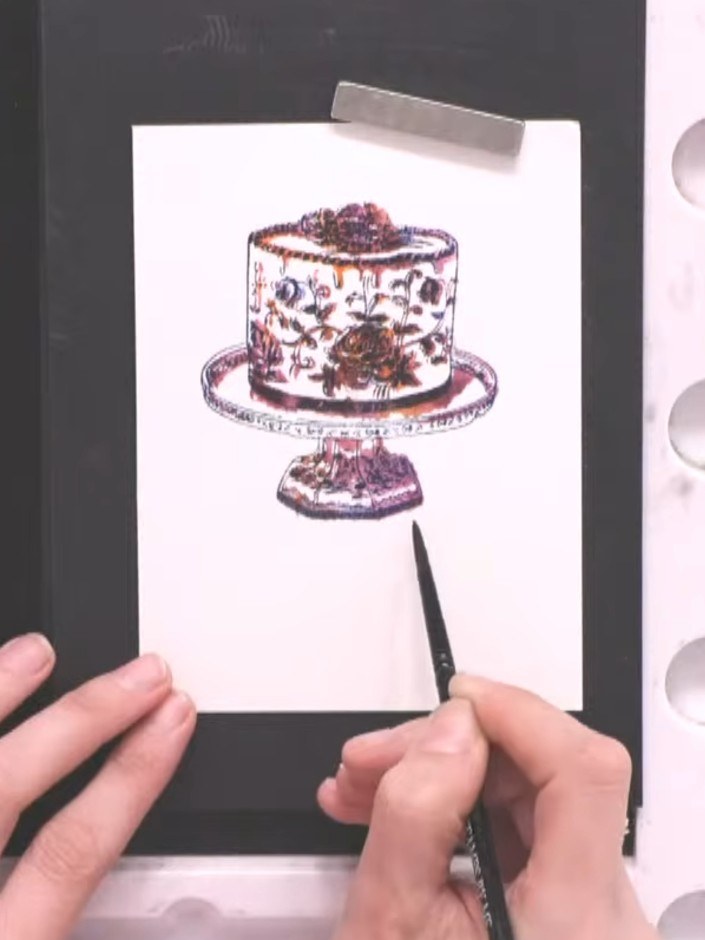
Using a paintbrush, apply heather-coloured paint to create a shadow around the base of the cake stand. Extend the shadow outwards to ground the image and prevent it from appearing tilted.
 10
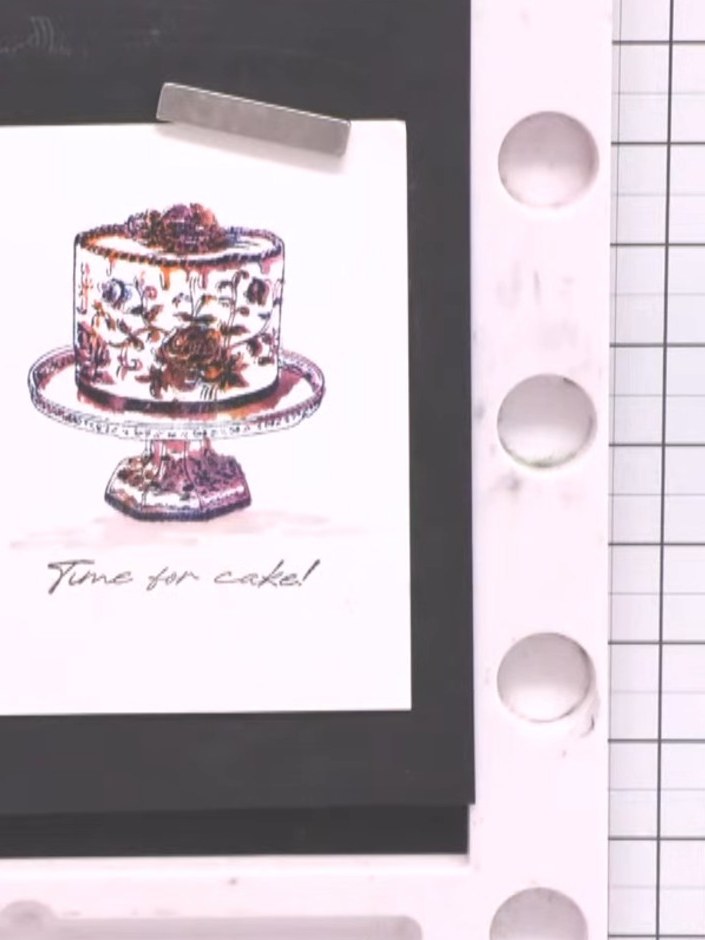
Trim the card to size, removing any excess paper from the bottom edge to create a neat finish.
 11
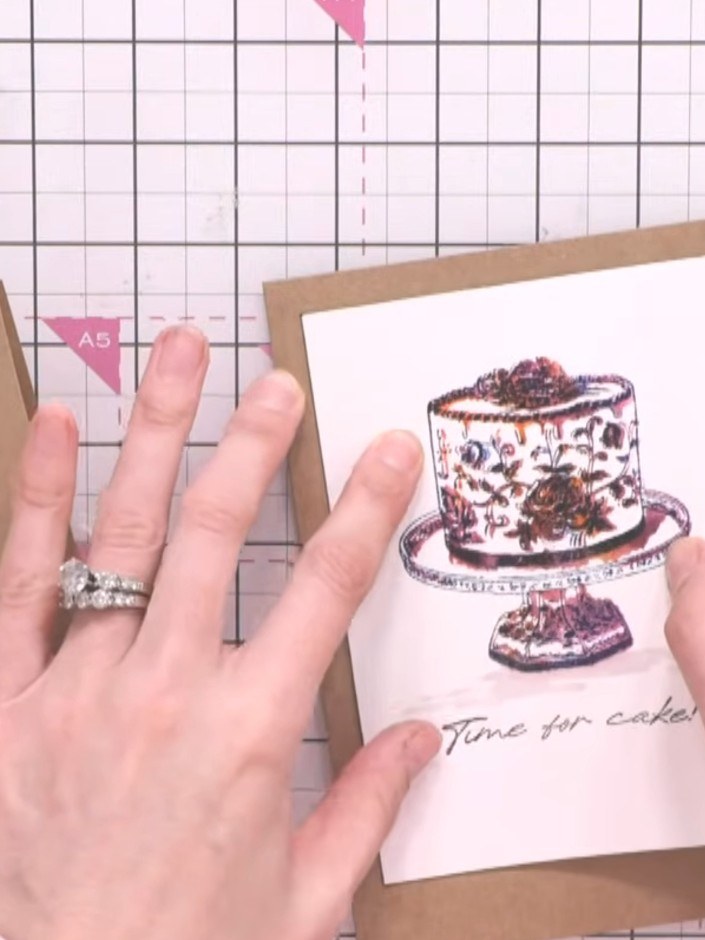
Tilt your ink pad and gently edge the card to create a subtle border line around the edge. This adds a finishing touch without creating harsh marks.
 12
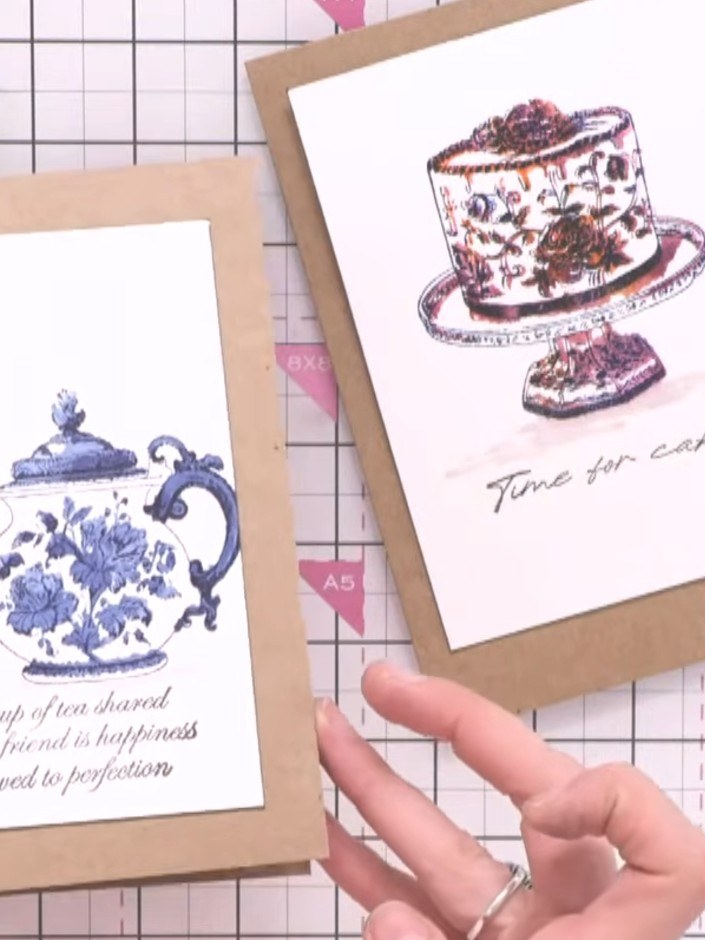
Adhere the stamped panel to the kraft card blank using glue or double-sided tape, ensuring it is centred on the card front.
Share your make with the Stamps By Me community - and keep this guide for next time.
Written up from the show itself. See every guide from our shows · free how-to guides · watch live on My Telly · the previous layout