Give your friends €10 off their first order!
Refer a FRIEND








Prices change straight away. Every language is our own translation, not Google.
A project from our live show MY PODCAST - Catch my latest updates broadcast 25th August 2025 · 25/08/2025 · watch it from 24:30
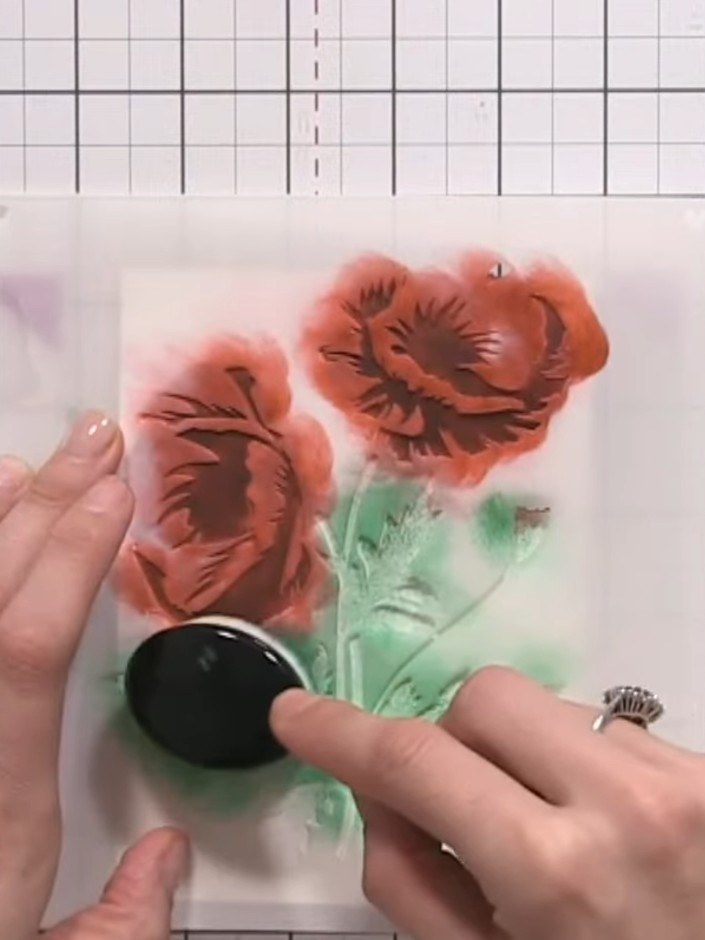
Create a beautiful layered poppy card featuring rich red blooms and delicate green foliage on a soft pink watercolour background. Using stencils, dies and water-based inks, you'll build up dimensional flowers with realistic depth and artistic splatter effects. The finished piece showcases elegant poppies with a contemporary watercolour style perfect for special occasions.
 Stencil & Die Set - Carnations - 090724KSEE IT
 Stamps By Me Stencil and Die - Poppy Bouquet - 030125BSEE IT
 Carta - Traditional Watercolour Paper - A5 - WCPA501SEE IT
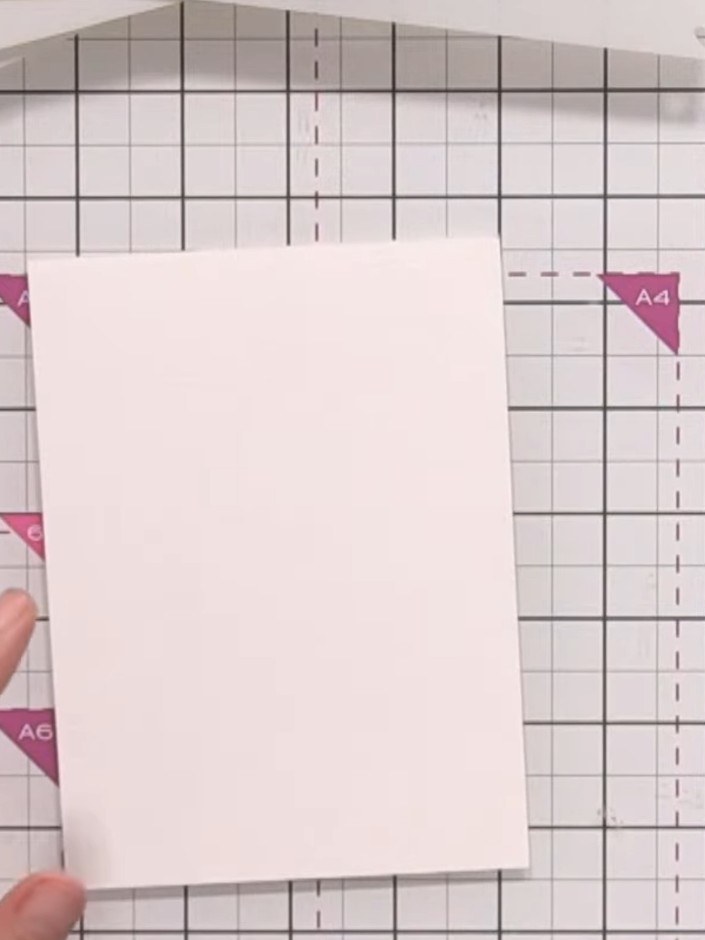
Cut a piece of watercolour card stock to your desired card size. You can use a full A5 sheet or trim it to a smaller size as preferred.
▶ watch this step (24:30)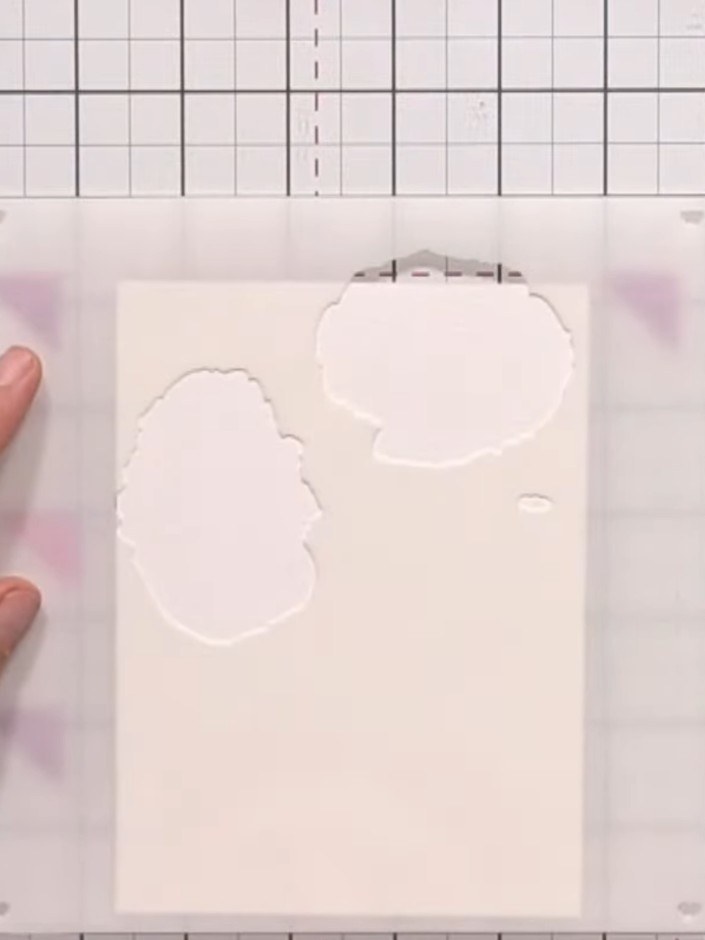
Place your card stock on the craft mat. Position the first poppy stencil layer on top of the card stock, centring it as desired.
▶ watch this step (25:00)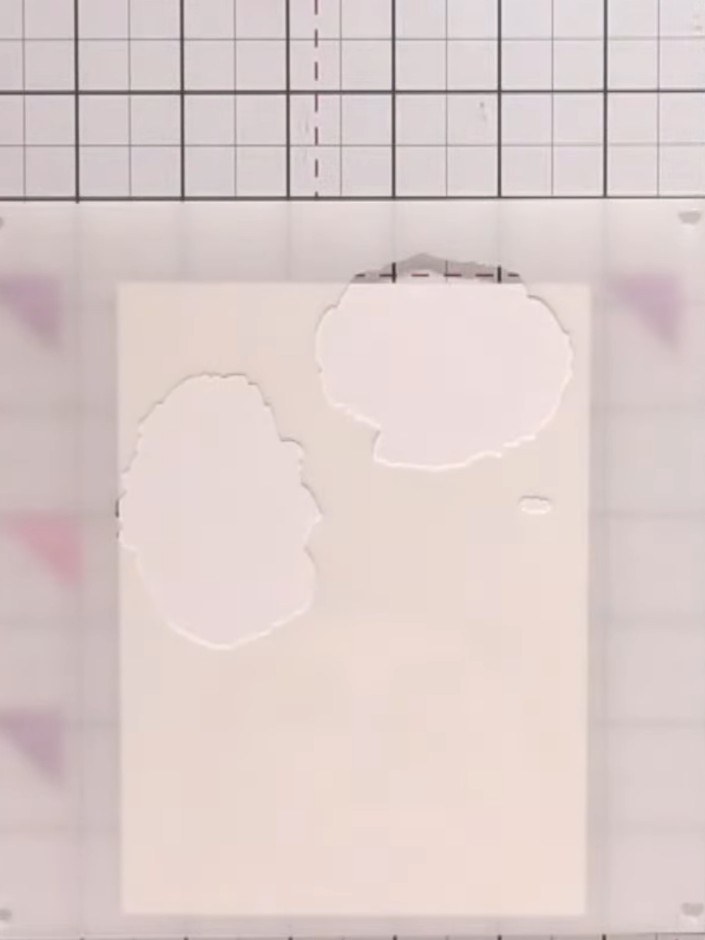
Using a red ink pad, apply ink to the first poppy stencil with a pouncing motion, pressing the pad firmly onto the stencil over your watercolour paper.
▶ watch this step (26:30)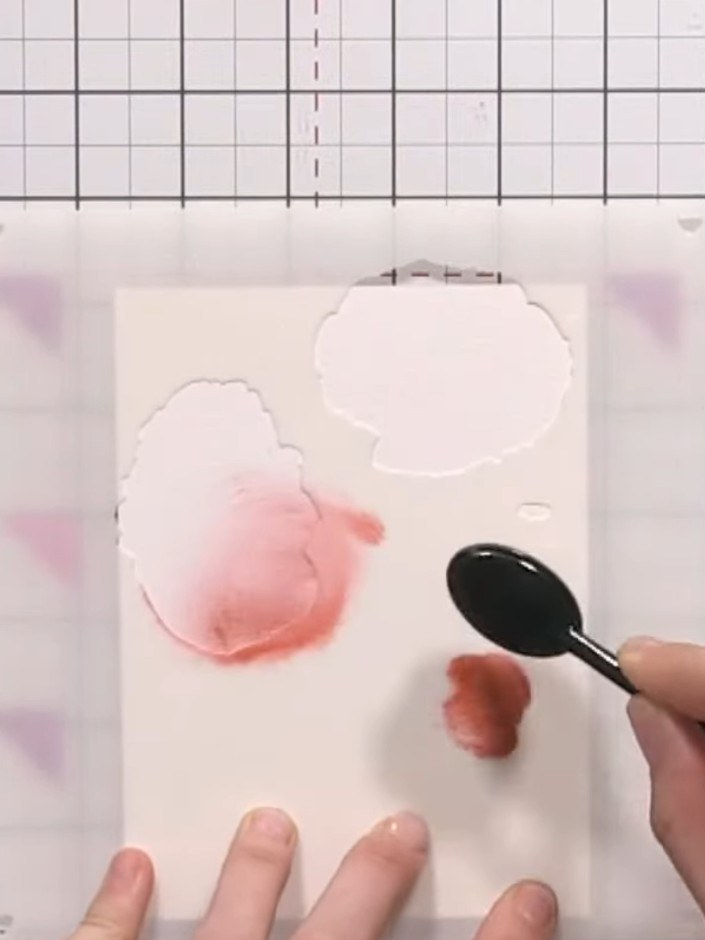
Lightly spray the inked area with water using a spray bottle to create a blended watercolour effect on the stamped poppy design.
▶ watch this step (27:00)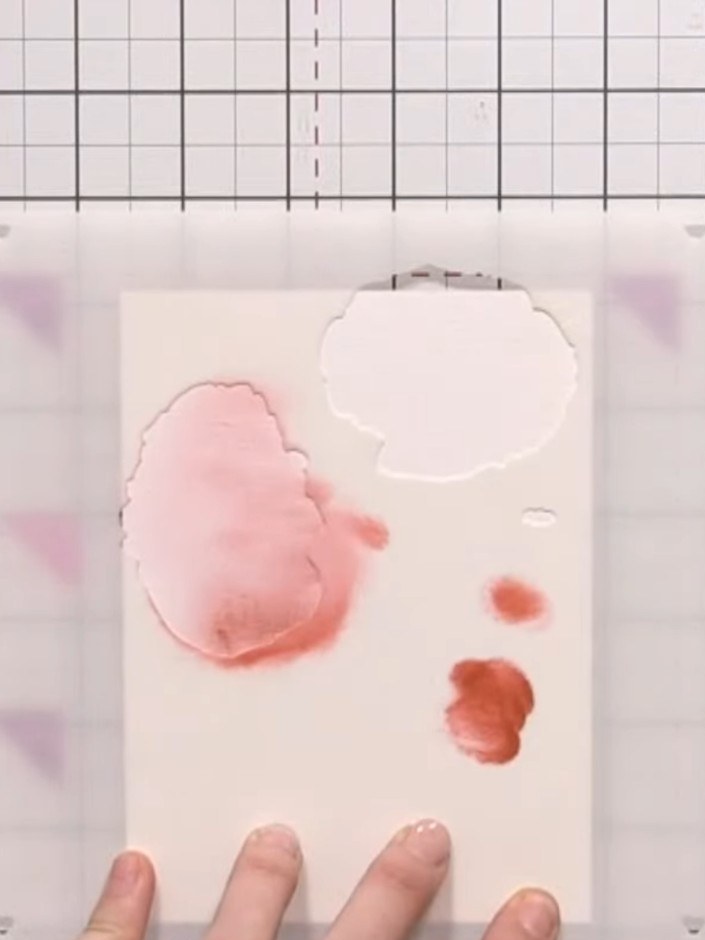
Remove the first stencil carefully. Position the second petal layer stencil on top of your card, aligning it carefully with the first layer.
▶ watch this step (27:30)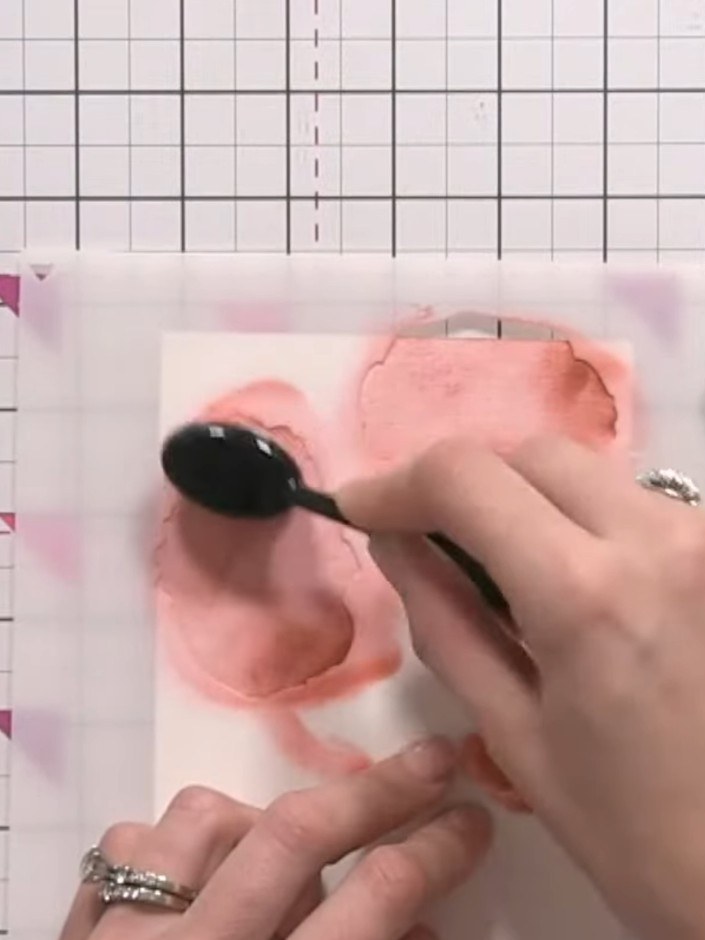
Apply red ink to stencil number two using a gentle pouncing technique. Use light dabbing motions to avoid dragging the delicate vein details on the stencil.
▶ watch this step (28:00)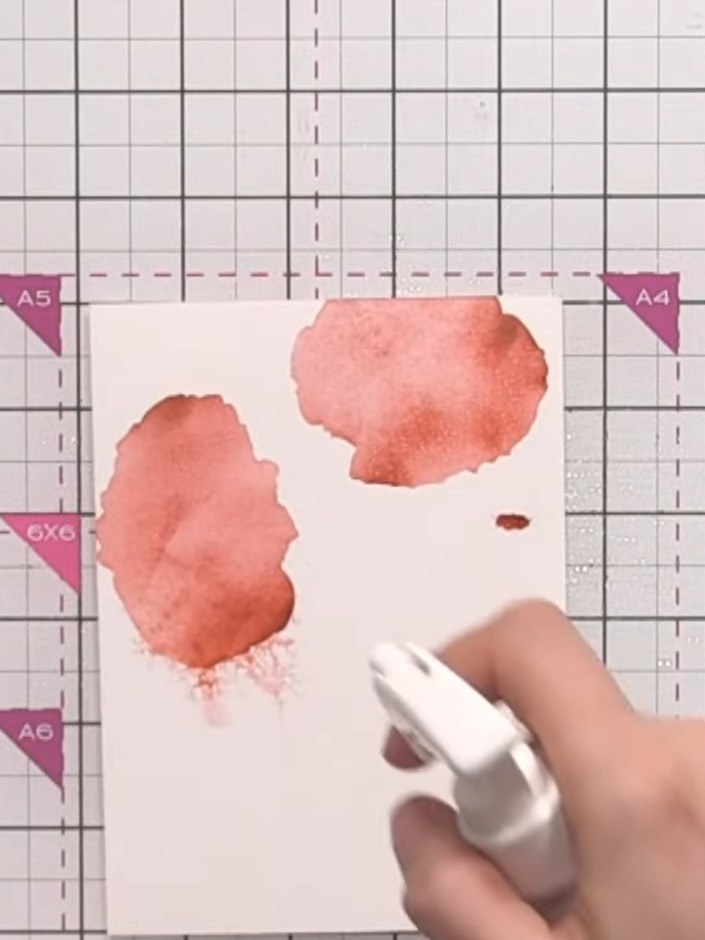
Spray the inked layer lightly with water using a spray bottle. Allow the coral ink to bleed and blend naturally on the watercolour paper, creating a soft watercolour effect.
▶ watch this step (28:30)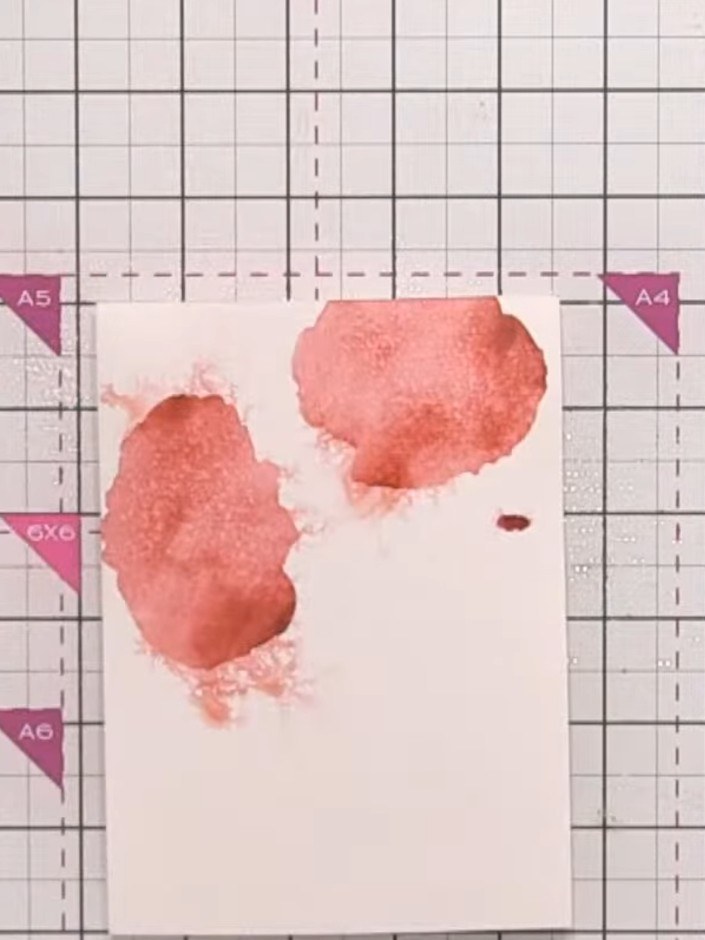
Position stencil number three over your card and apply red ink with a firmer press to create darker tones. Optionally add blue ink on top to create a deep burgundy colour.
▶ watch this step (29:00)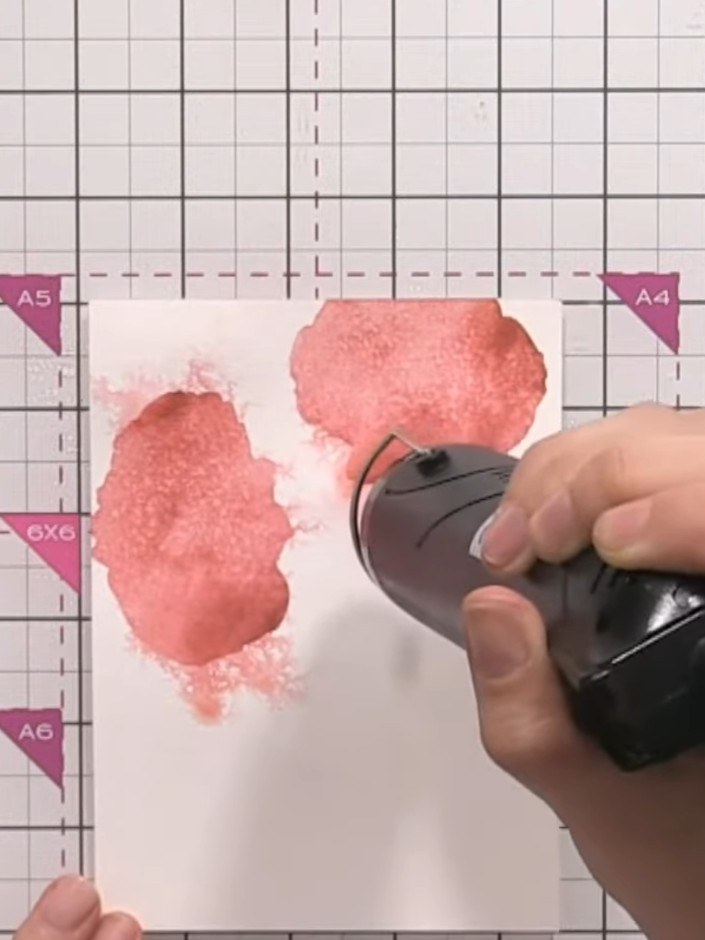
Position stencil number four over the watercolour background. Press firmly and tap the ink pad onto the stencil, ensuring the colour reaches the detailed centre areas of the poppies. Use a light green ink to stamp the stem and bud onto your watercolour paper. Lightly spray with water to create a soft, blended effect.
▶ watch this step (30:00)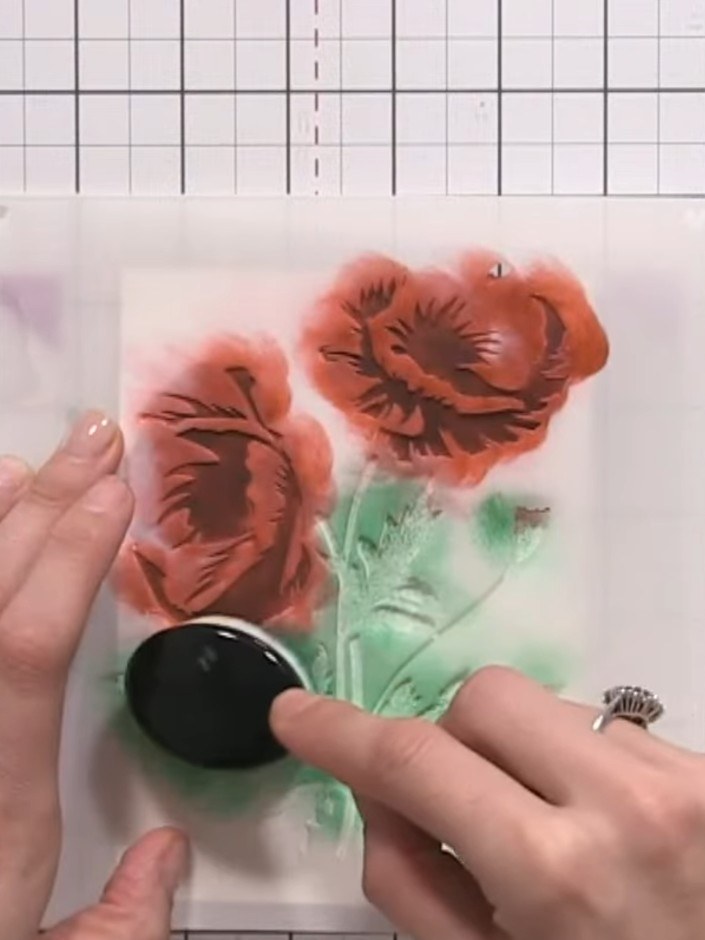
Use the green detail stencil to add darker shading to the stem area. Optionally add a touch of blue ink to create additional depth and dimension to the foliage.
▶ watch this step (37:00)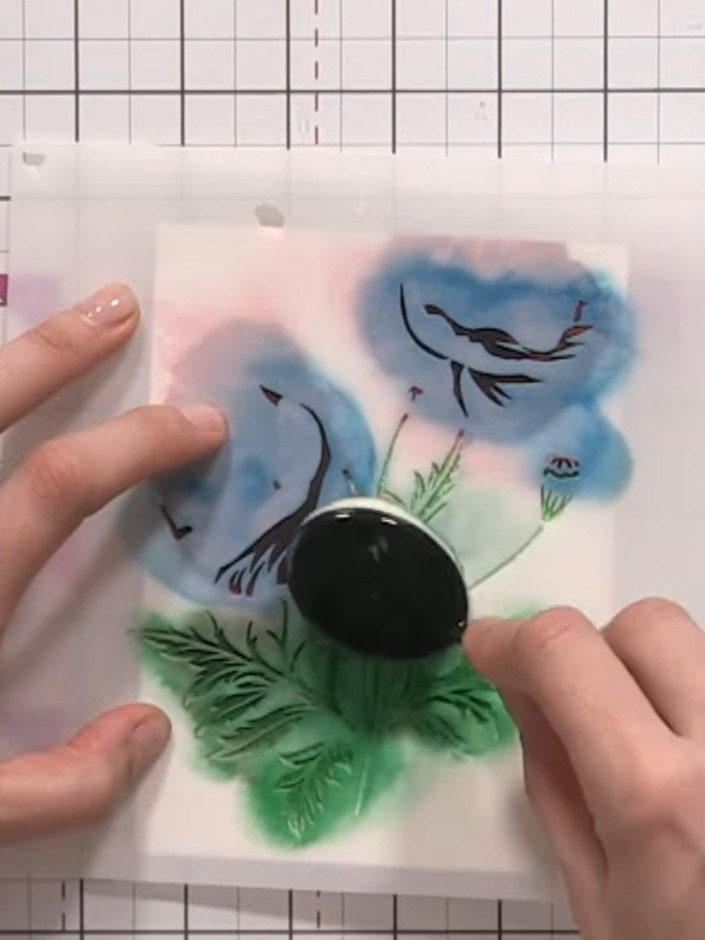
Position the centre stencil from the top corner of stencil four over the poppy petals, aligning carefully. Apply black ink through the stencil to add the poppy centres.
▶ watch this step (42:30)Written up from the show itself. See every guide from our shows · free how-to guides · watch live on My Telly


