Give your friends €10 off their first order!
Refer a FRIEND








A project from our live show Create Together Club - 5 Days of Creativity - Broadcast Friday 6THTH June 2025 · 06/06/2025 · watch it from 9:00
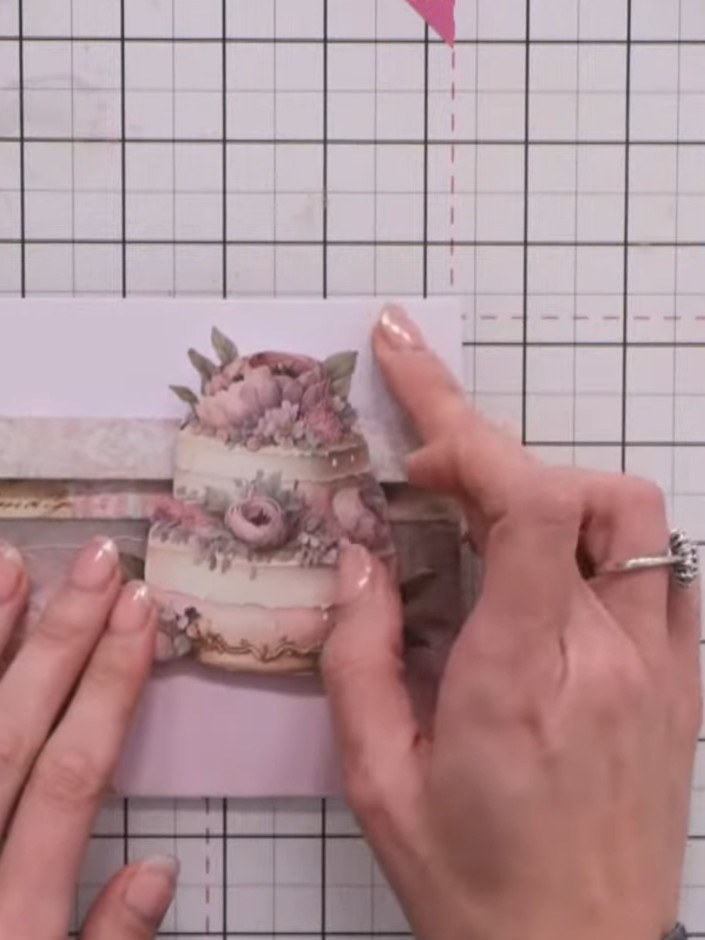
Create an elegant landscape card featuring delicate layered vellum strips that add soft texture and depth. A decorative paper panel with floral corners provides a beautiful frame, while a fussy-cut cake embellishment becomes the stunning focal point. This design combines gentle vellum layering with dimensional paper crafting for a sophisticated finish in romantic pink and cream tones.
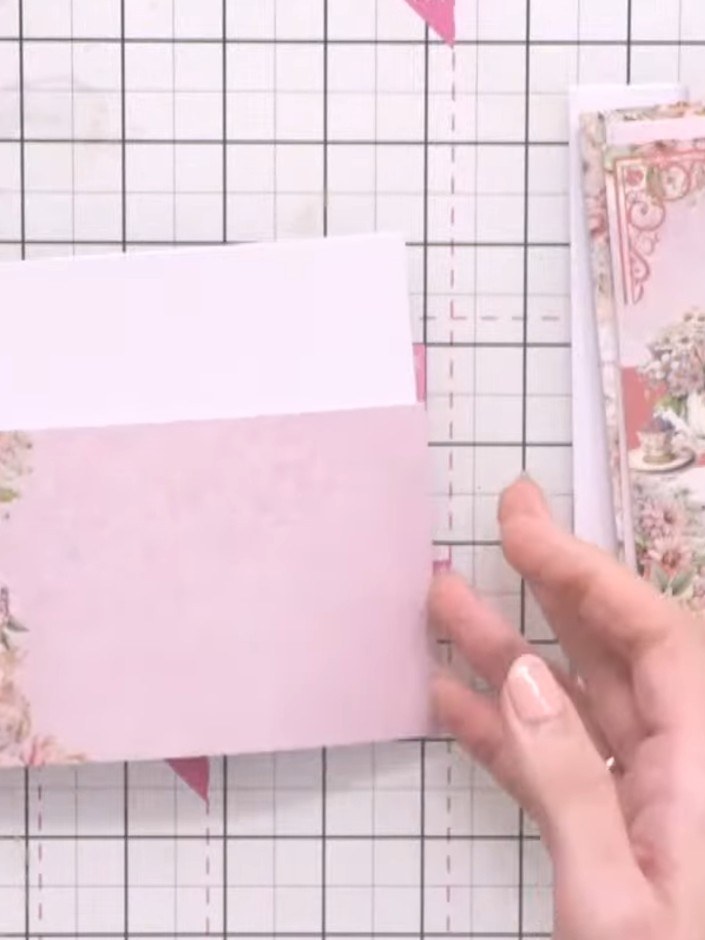
Cut a coloured paper offcut to fit across the bottom of your landscape card base. Position it and secure it with tape.
▶ watch this step (10:00)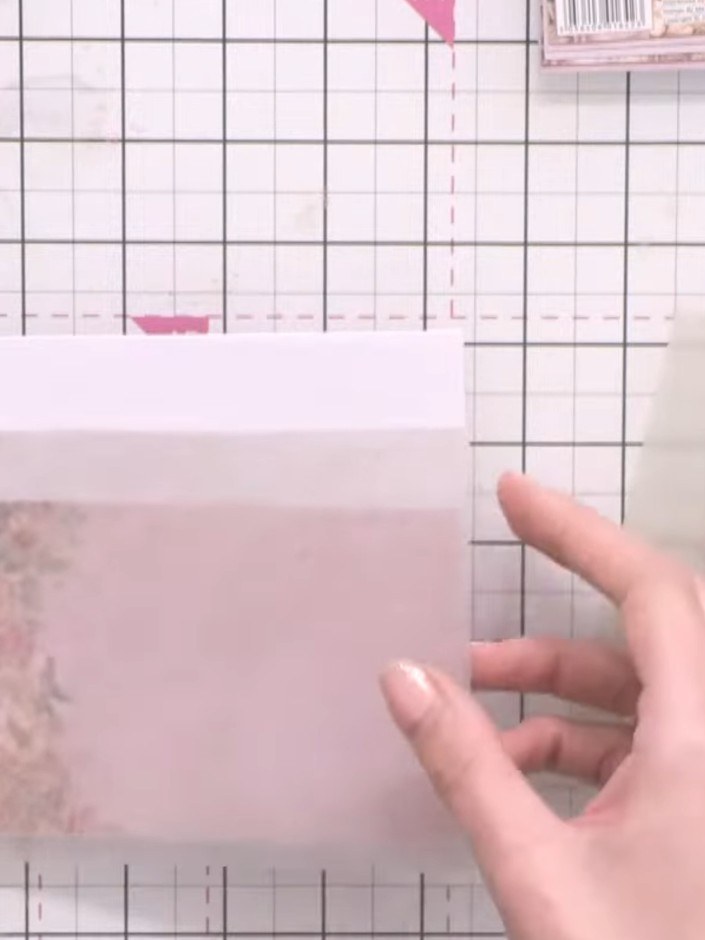
Select a light-coloured vellum sheet and trim it to size. Layer the vellum diagonally across the bottom section of the card base.
▶ watch this step (12:30)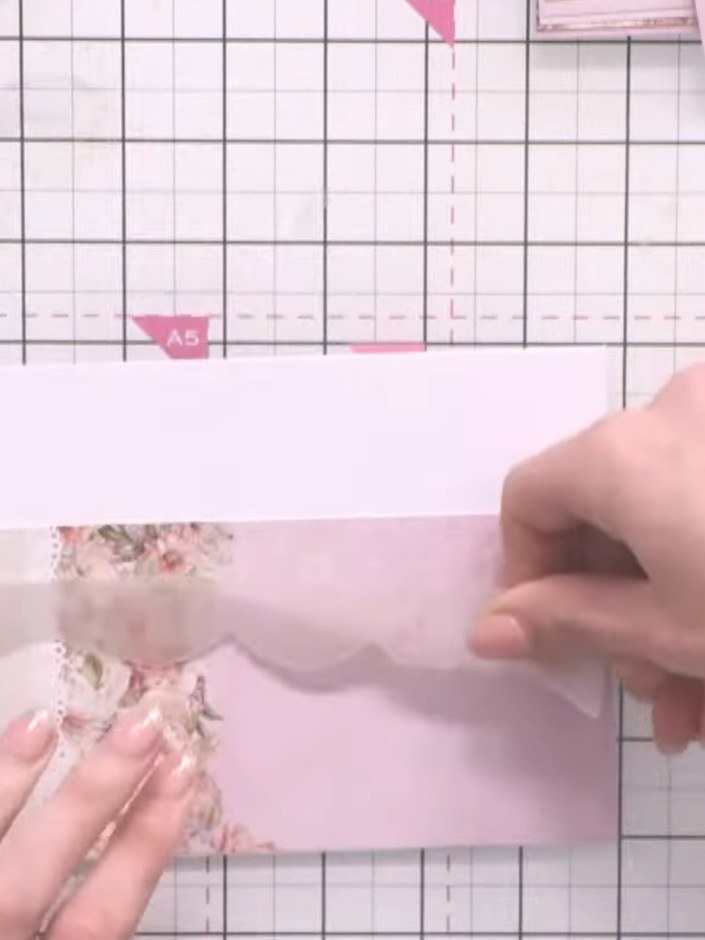
Position a second strip of vellum above the first strip, overlapping slightly to create a layered texture effect. Smooth down to secure in place.
▶ watch this step (13:00)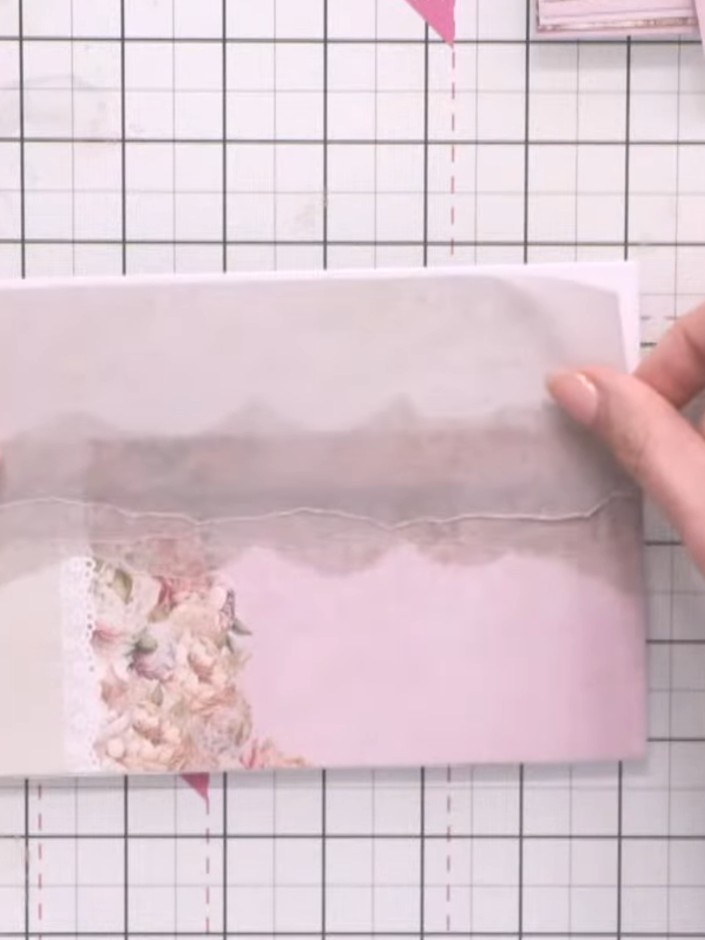
Place a third vellum strip across the top of the card panel to complete the layered vellum detail. Ensure the adhesive tape is positioned so it will be hidden by the subsequent layers.
▶ watch this step (14:00)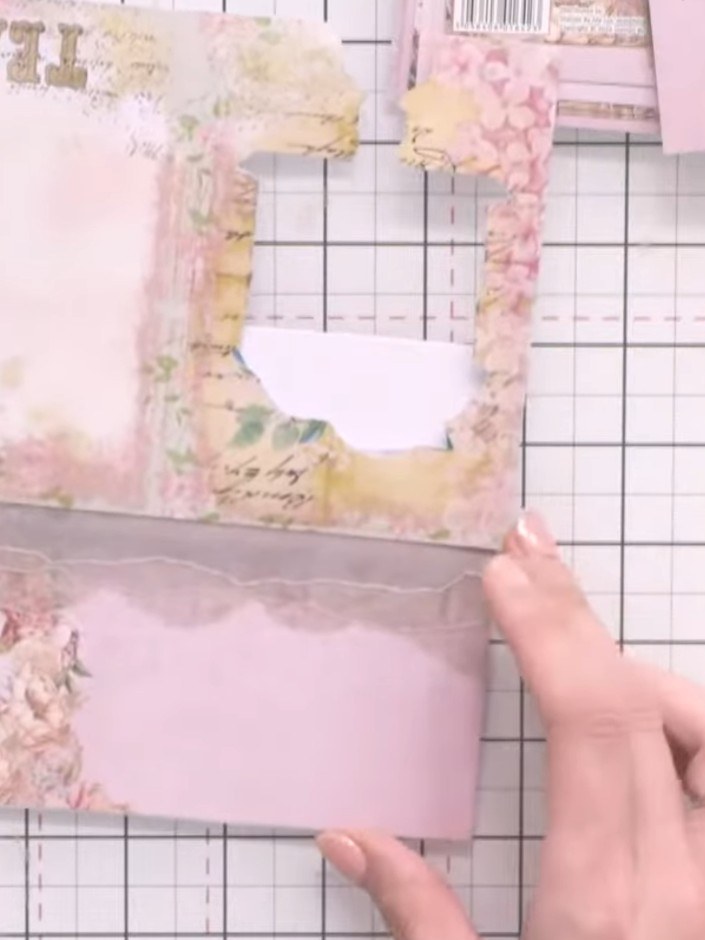
Cut a thin strip of decorative paper from your paper collection. Position it horizontally across the middle of the card to break up the vellum layers and add visual interest.
▶ watch this step (15:00)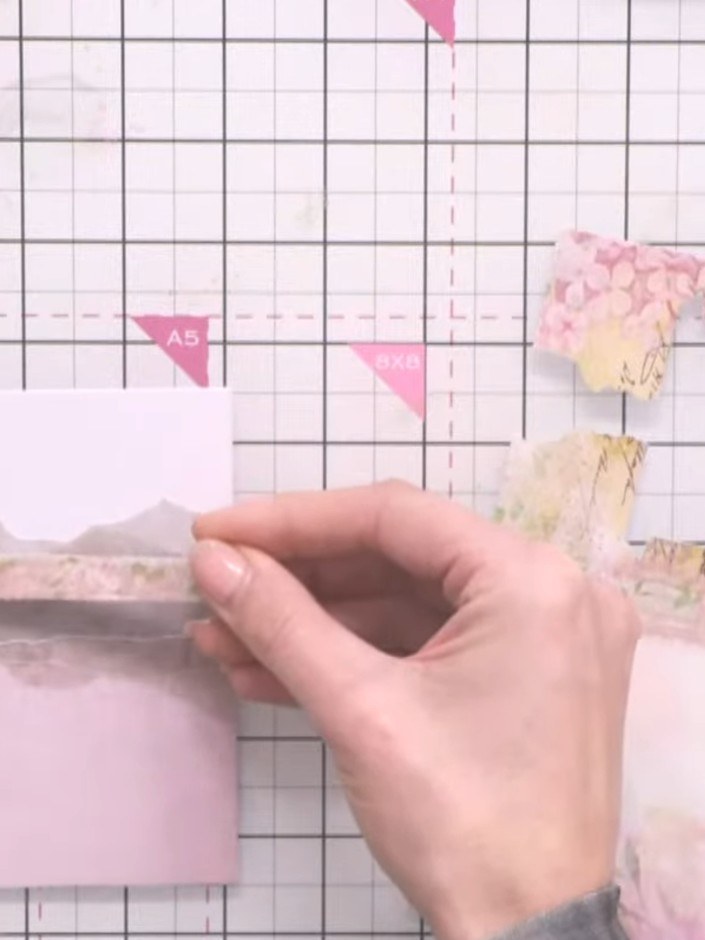
Cut a panel from thicker paper and position it near the top of the card to conceal any visible tape from the vellum layers underneath.
▶ watch this step (16:00)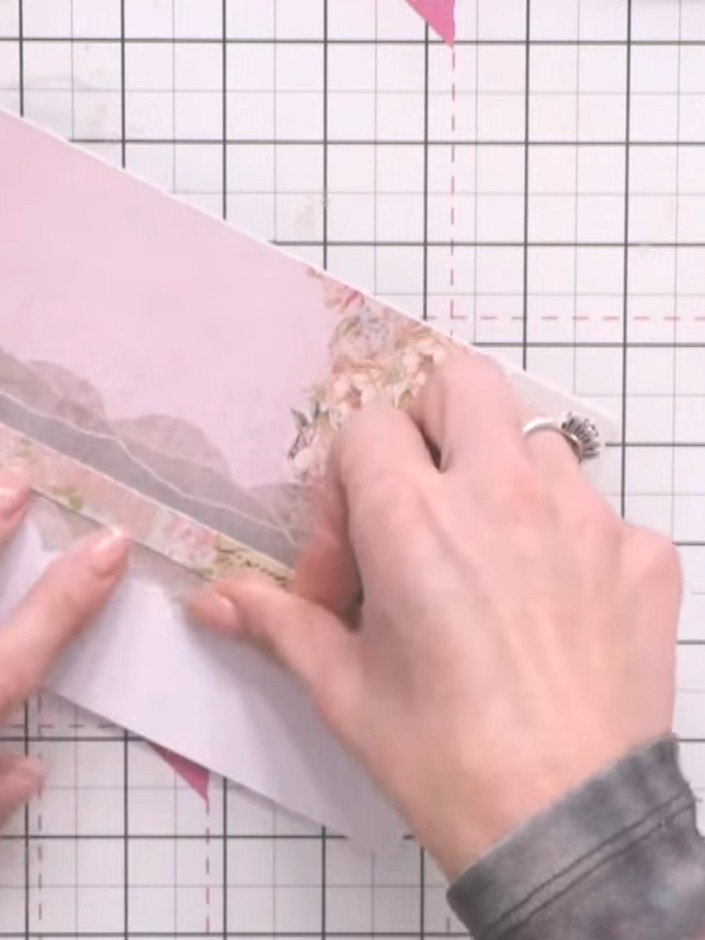
Apply foam pads to the back of the top vellum panel. Position the panel on the card base to create a raised, layered effect.
▶ watch this step (17:00)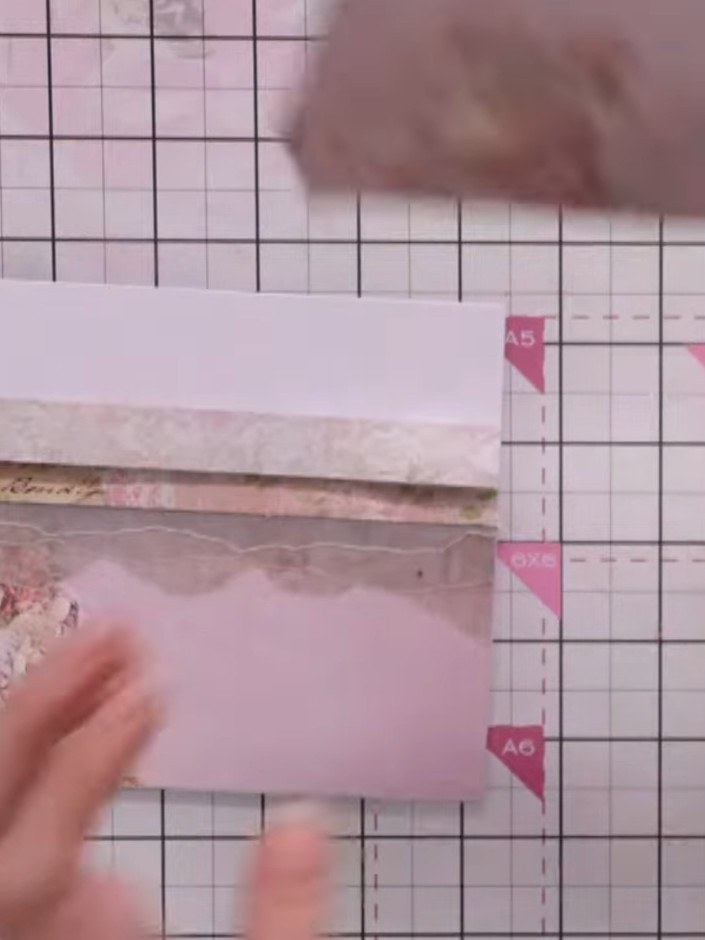
Fussy-cut a cake design from your paper collection. Position it on the card front using foam pads to add dimension.
▶ watch this step (27:00)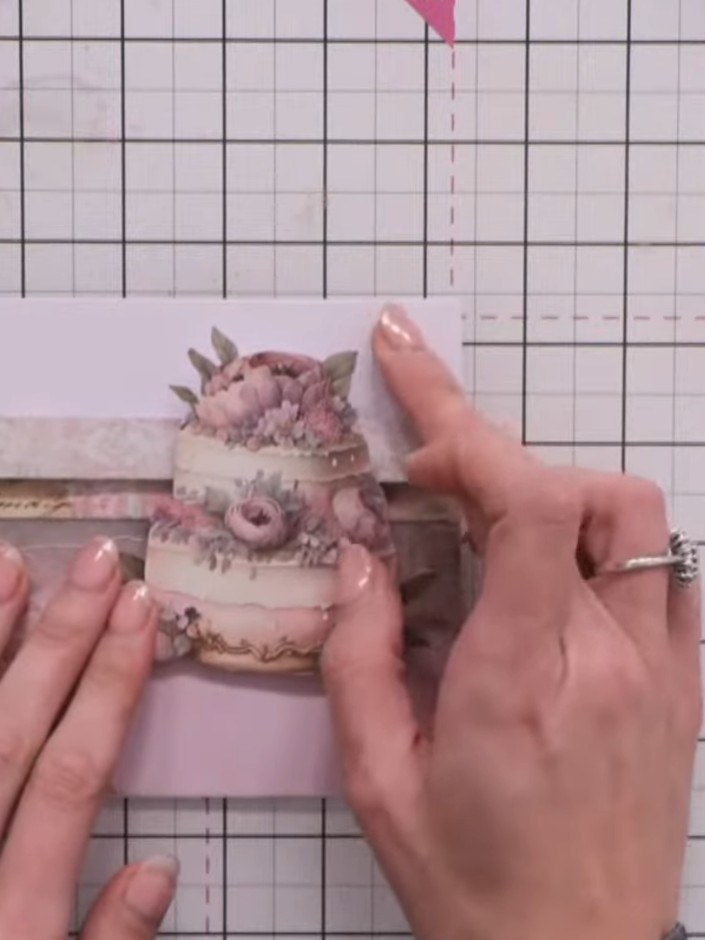
Add a washi tape sentiment strip to the card, positioning it as desired on the design to complete your landscape vellum layered card.
▶ watch this step (31:00)Written up from the show itself. See every guide from our shows · free how-to guides · watch live on My Telly
