Give your friends €10 off their first order!
Refer a FRIEND








A project from our live show Create Together Club - 5 Days of Creativity - Broadcast Friday 6THTH June 2025 · 06/06/2025 · watch it from 32:45
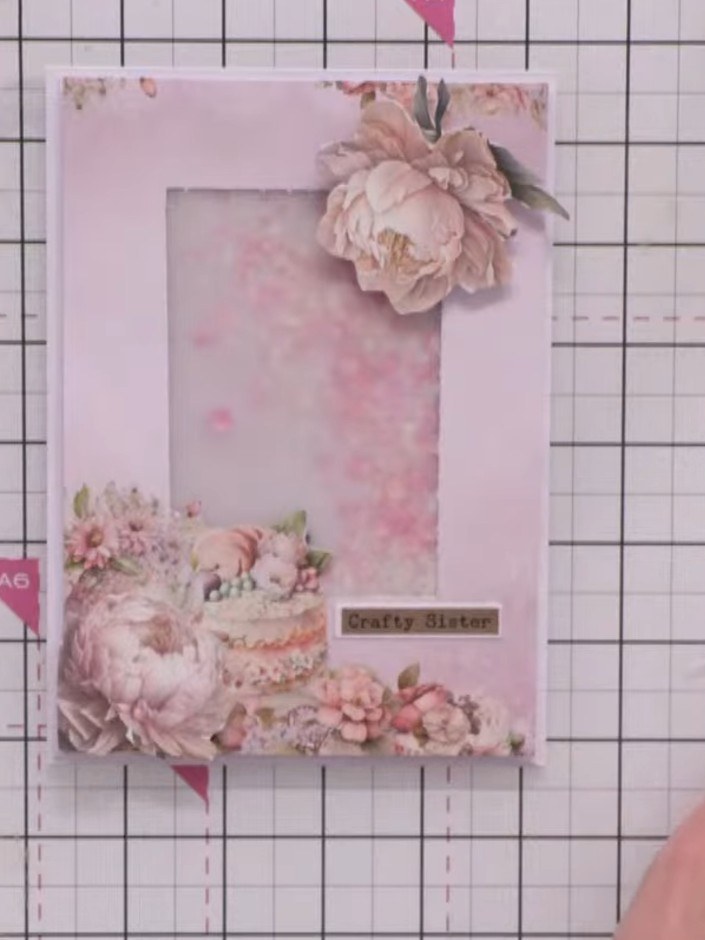
Create an elegant shaker card with a custom vellum window aperture featuring dimensional floral embellishments. This portrait-format design showcases soft pink tones with vintage-style flowers, greenery, and decorative cake imagery. The project combines die-cutting, vellum layering, and dimensional decoupage techniques to create a sophisticated greeting card with movement and depth.
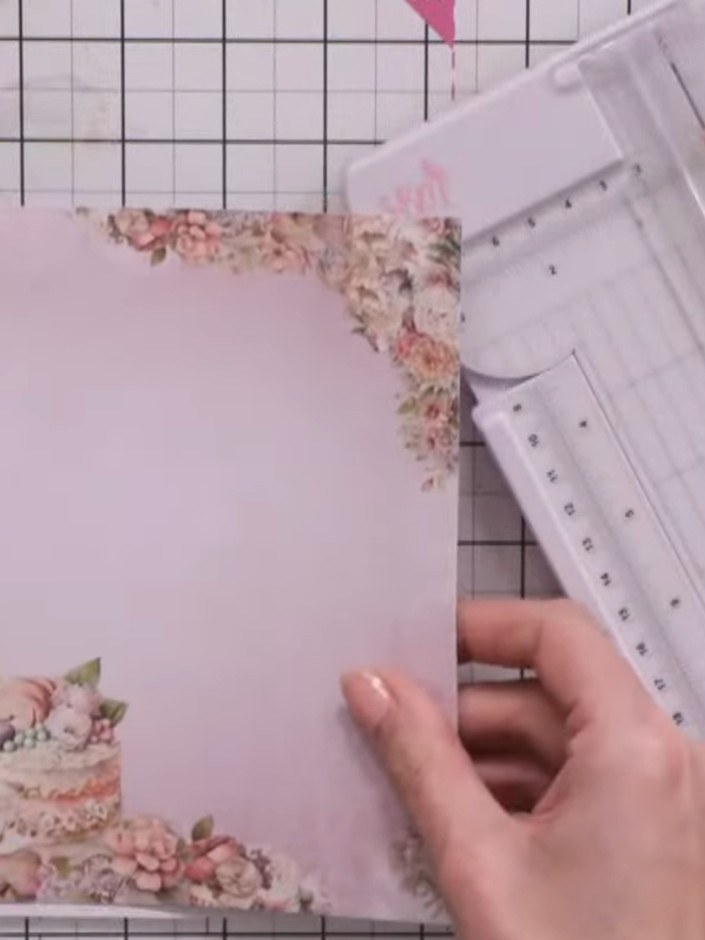
Select a patterned paper with decorative floral detail along one side. Place it on your cutting mat and mark where you need to trim it to fit your card front.
▶ watch this step (33:00)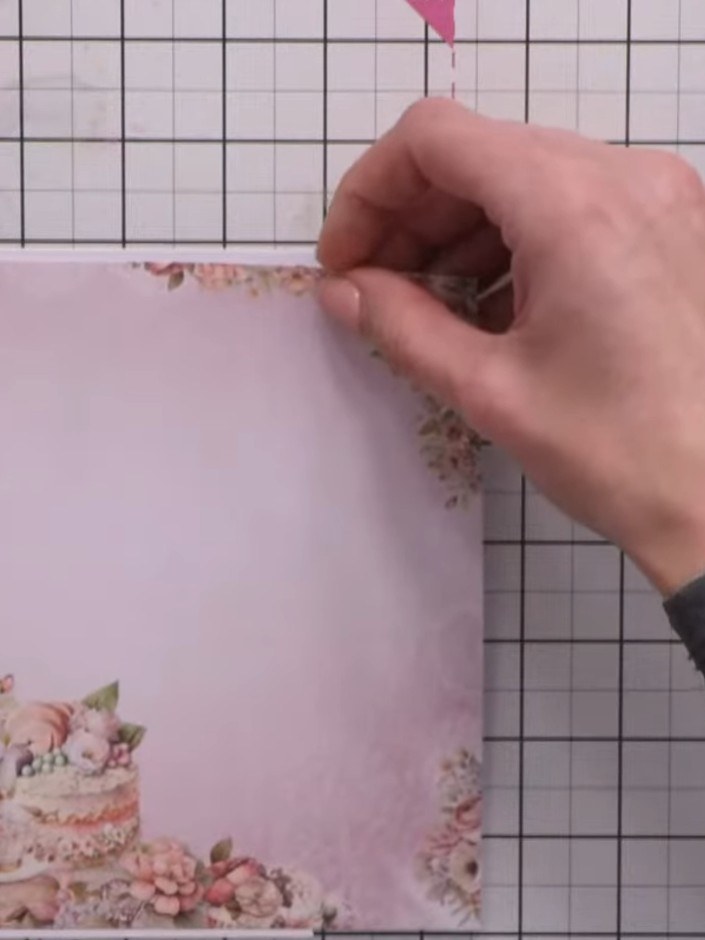
Mark where you want your aperture window to be on the card front, following the decorative detail of the floral paper design.
▶ watch this step (33:15)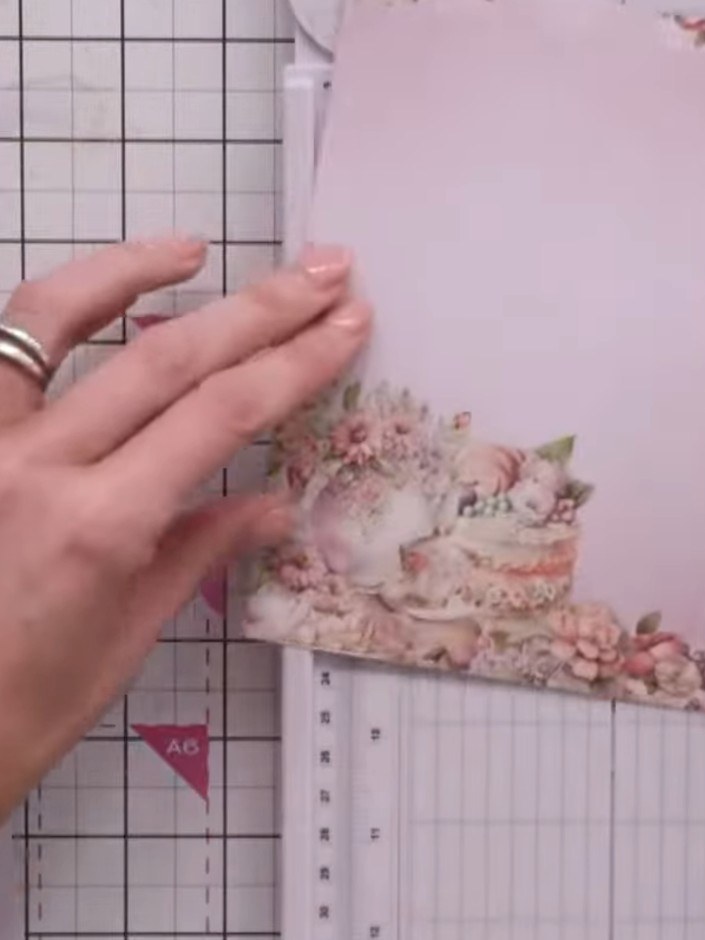
Using a craft knife and ruler, carefully cut a window aperture in the pink card, following the floral design as a guide for placement. Cut along straight lines to create a rectangular opening.
▶ watch this step (34:00)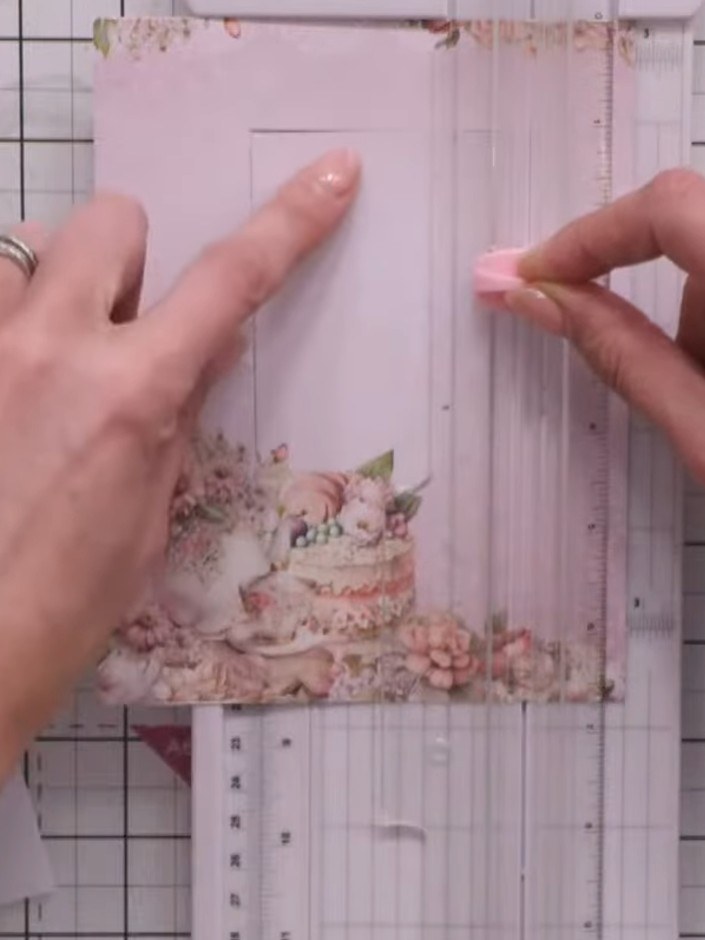
Trim any rough edges around the aperture with scissors to neaten the cut. Ensure all edges are smooth and clean for a professional finish.
▶ watch this step (35:00)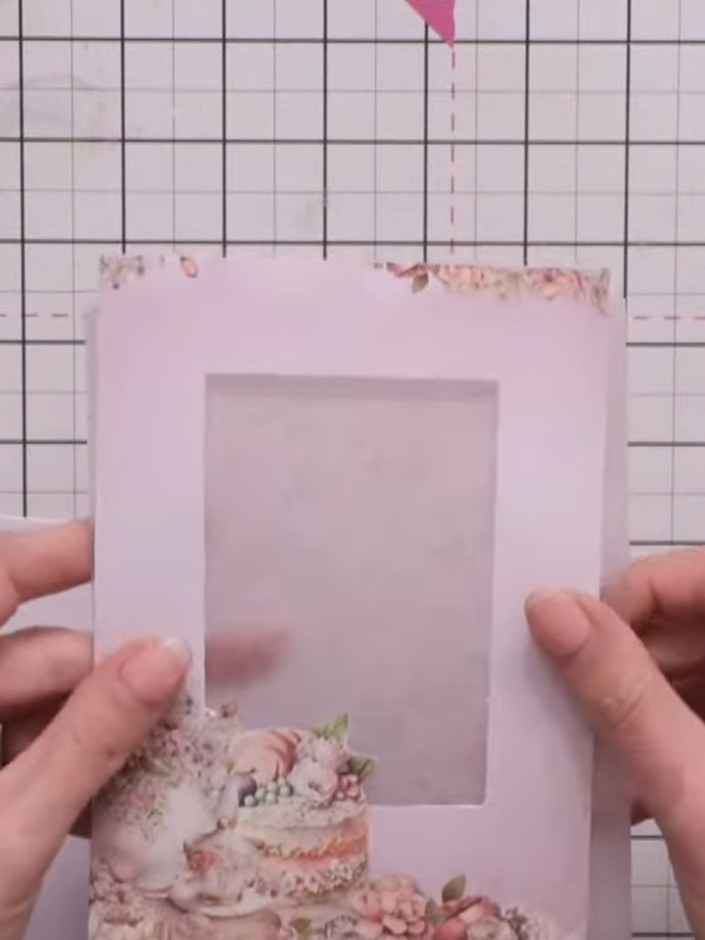
Select a light-coloured vellum sheet and cut it to size to fit behind your aperture window on the card front.
▶ watch this step (38:00)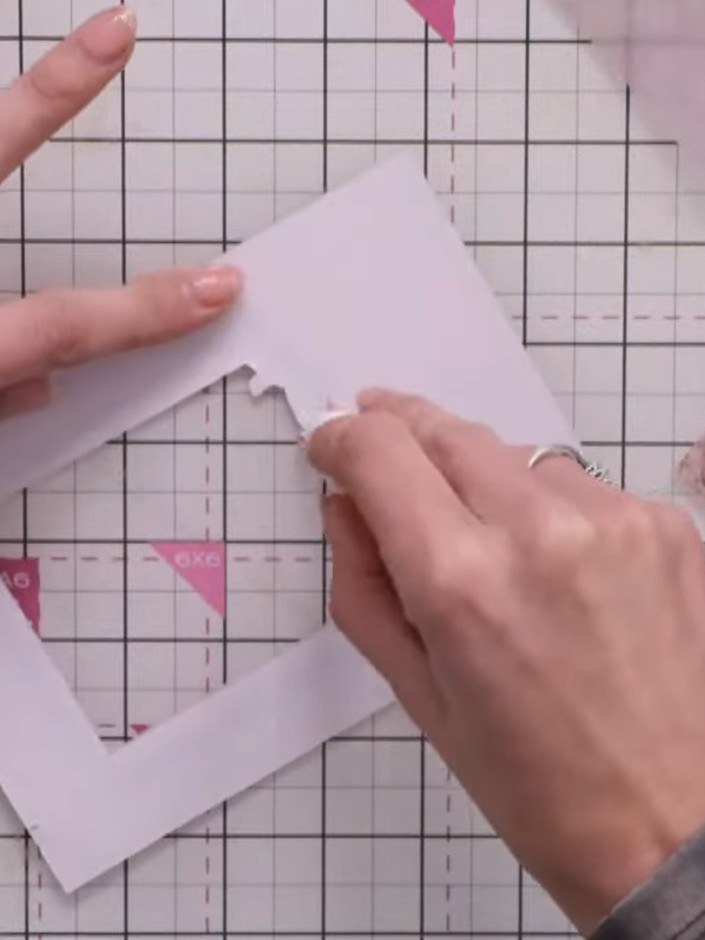
Apply foam tape around the aperture window on the card to create a shaker chamber. Ensure the foam tape is sealed completely to prevent the shaker contents from escaping.
▶ watch this step (39:00)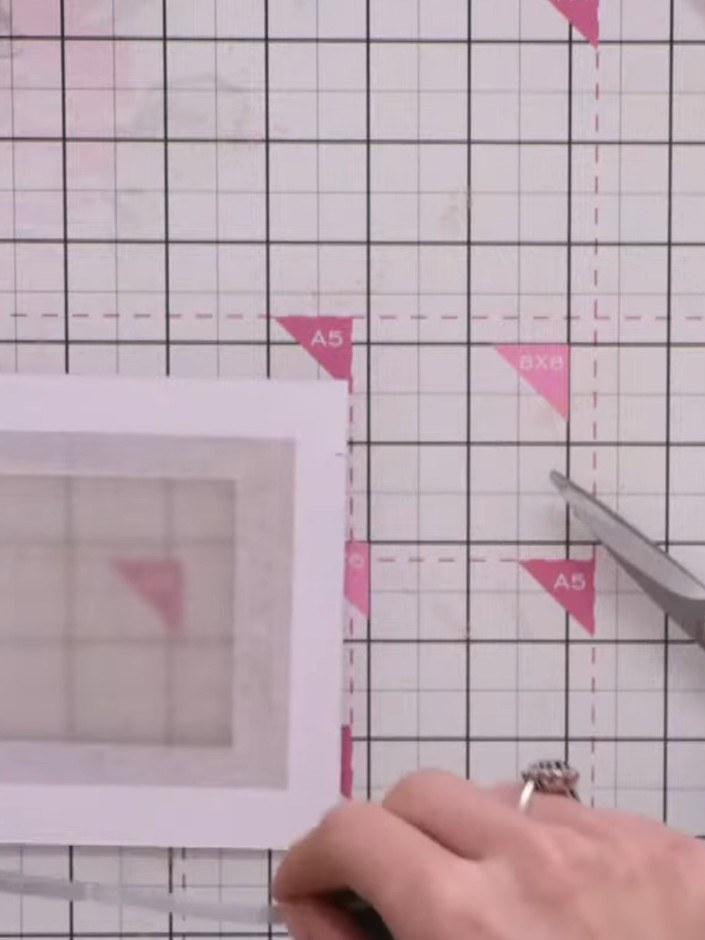
Place a thin piece of white paper inside the shaker frame to act as a backing, preventing the embellishments from falling behind the vellum window.
▶ watch this step (40:00)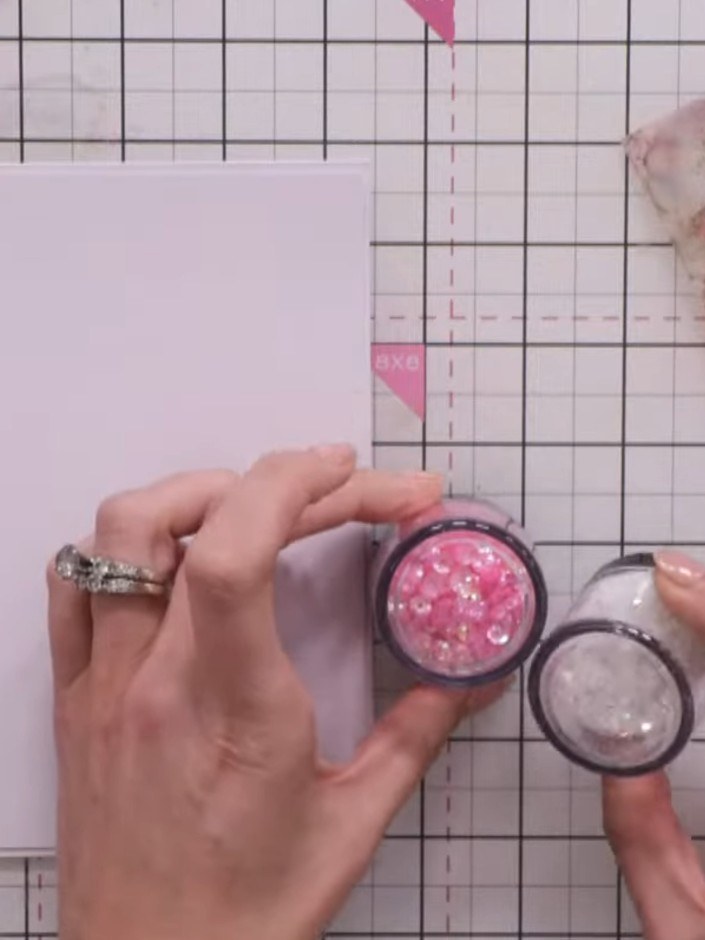
Add your shaker contents onto the paper backing inside the aperture. Use pink and white sequins and chunky glitter. Use an anti-static bag to prevent the glitter from sticking to the vellum window.
▶ watch this step (44:00)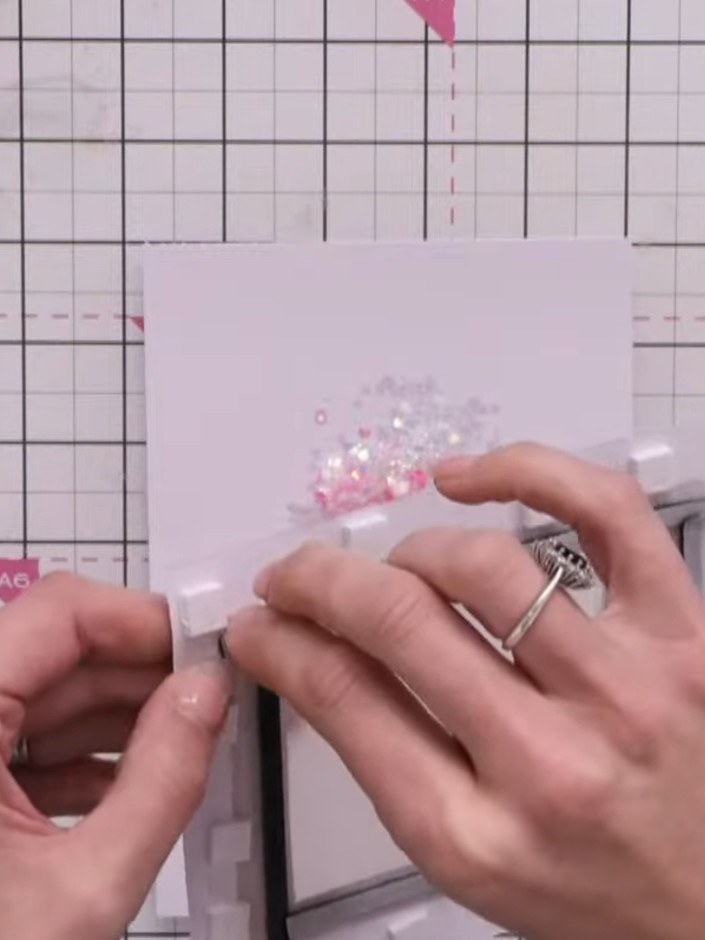
Adhere the vellum window to the foam tape border, pressing firmly around all edges to seal the shaker chamber completely.
▶ watch this step (46:00)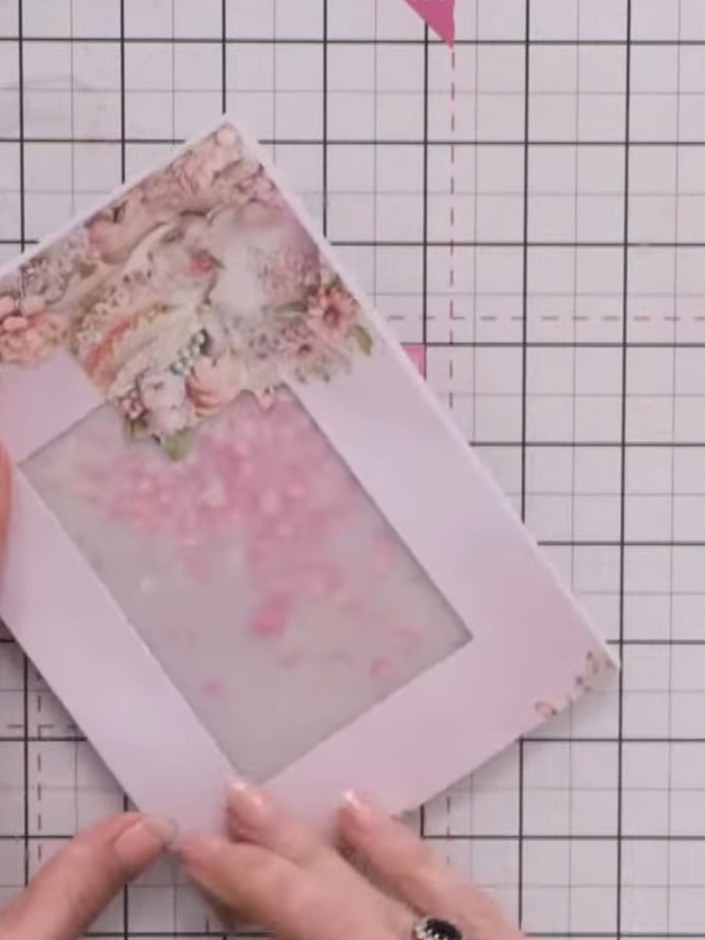
Mount the decorated vellum panel onto a white matting layer using adhesive. Then attach this mounted panel to your white card base using foam pads for dimension.
▶ watch this step (48:00)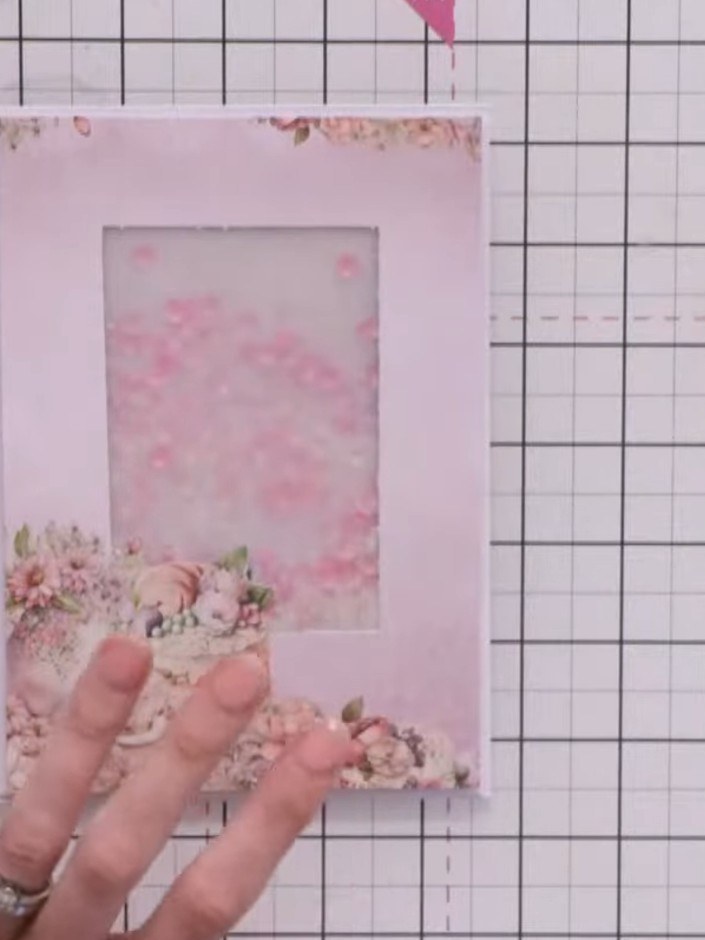
Fussy-cut flower designs from your paper collection. Add them to the top corner of the card using foam pads to create dimension.
▶ watch this step (49:00)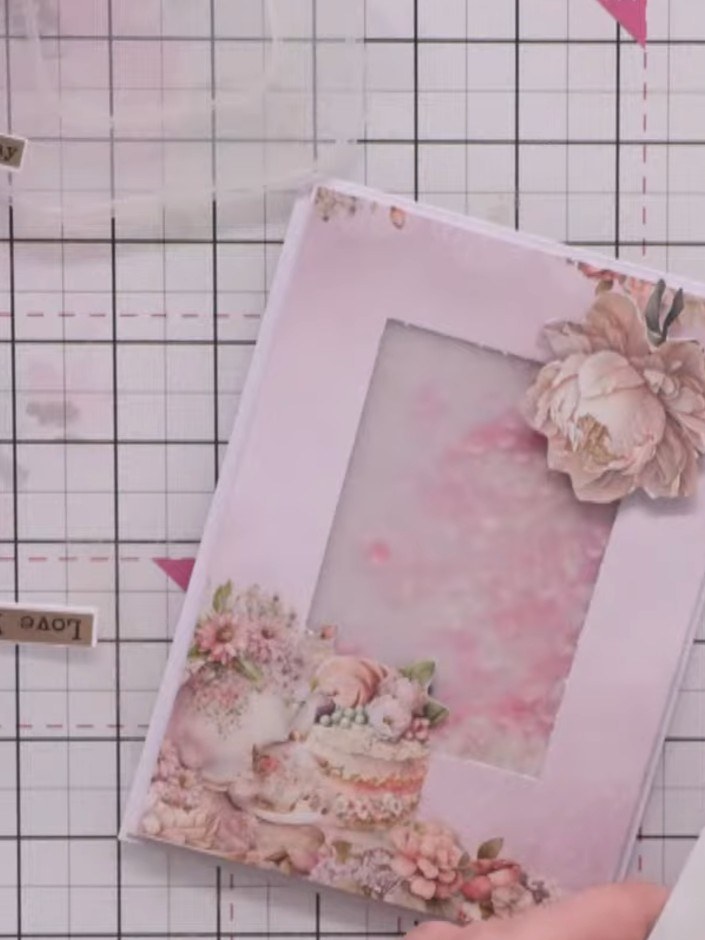
Add a second flower with greenery to the bottom area of the frame to balance the design. Trim the greenery flush with the flower edges before attaching.
▶ watch this step (52:00)Written up from the show itself. See every guide from our shows · free how-to guides · watch live on My Telly
