Give your friends €10 off their first order!
Refer a FRIEND








A project from our live show IDEAL WORLD - Join Toni for the latest Stamps By Me product launch - Broadcast Wed 7th May 12 p.m. · 07/05/2025 · watch it from 11:30
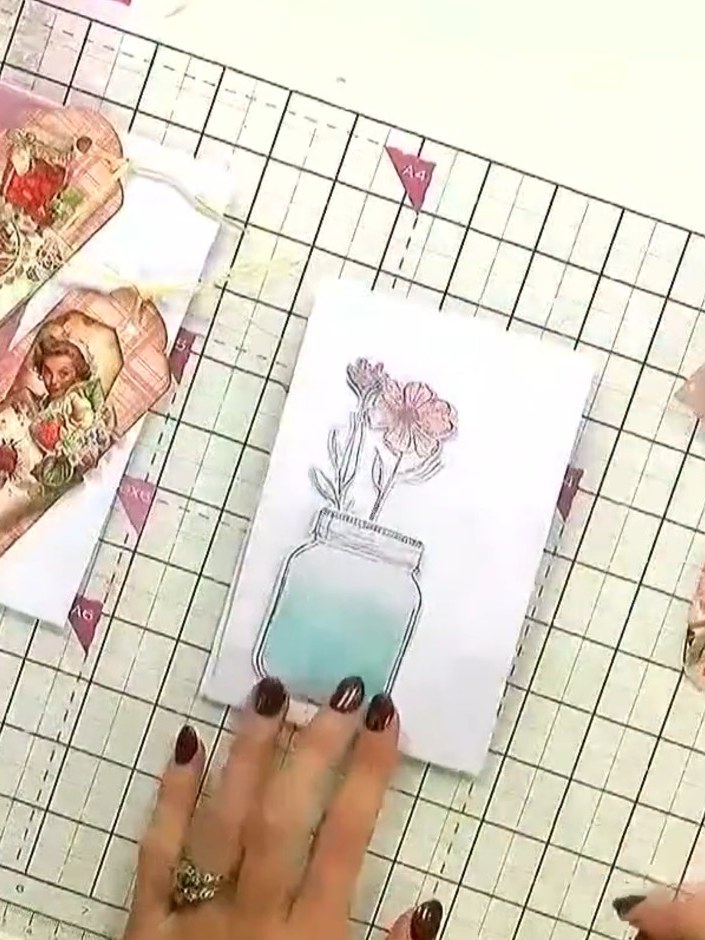
Make a beautiful card featuring a vintage-style jar filled with flowers, using vellum layered over white card. The design incorporates soft pink and mint green watercolour tones with delicate floral stamps and decorative tags. This elegant project uses simple layering techniques to create a sophisticated, semi-transparent effect.
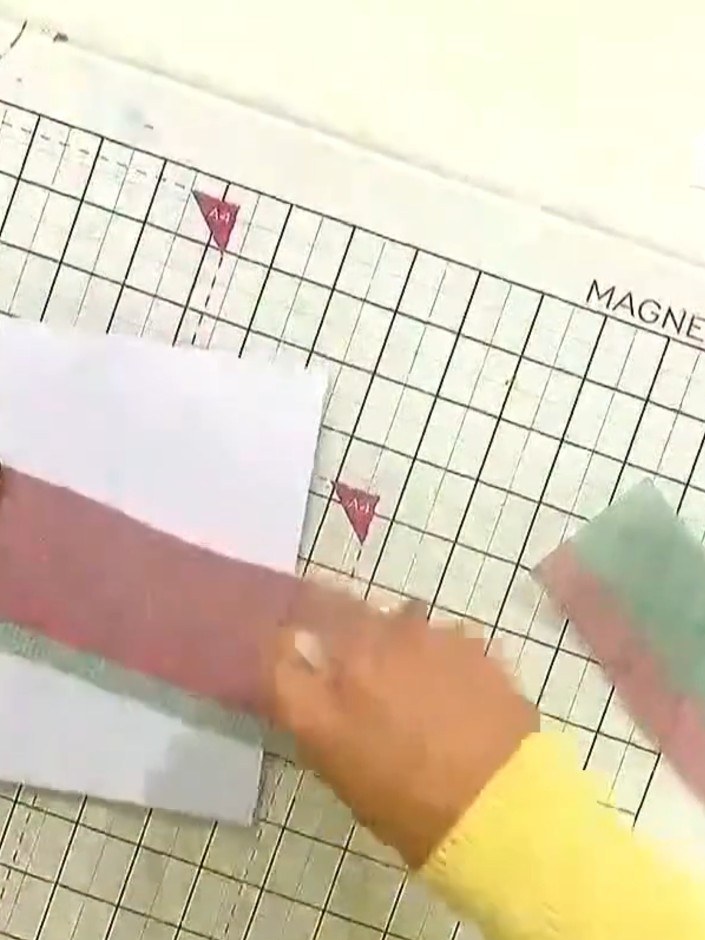
Take a white card blank as your base and place it on your craft mat.
▶ watch this step (11:30)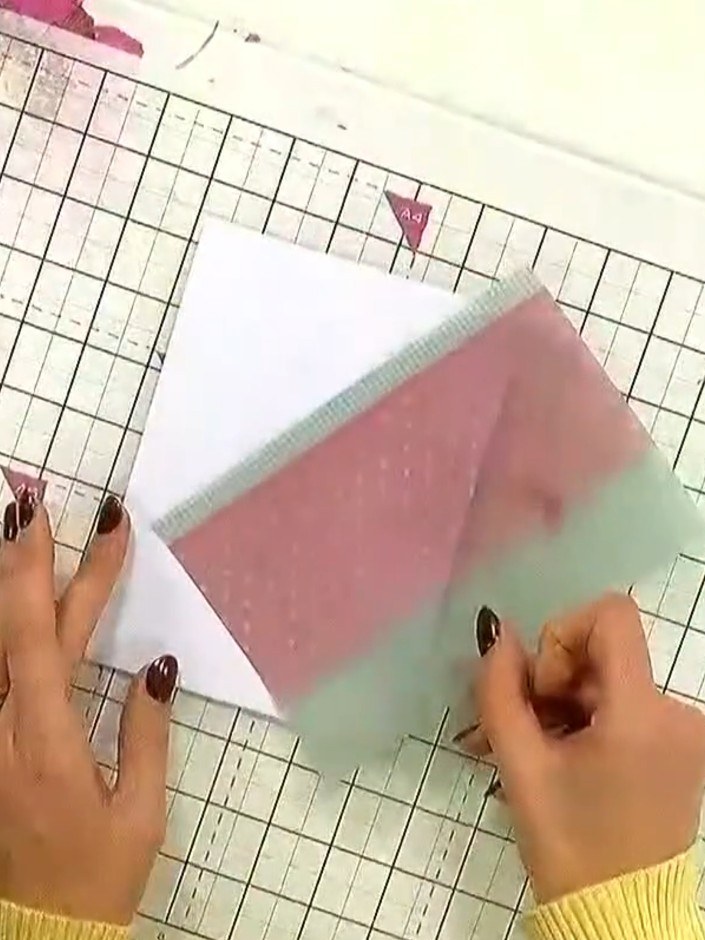
Select a piece of vellum from the kit with a design you like. Place it on your magnetic glass mat to hold it in position.
▶ watch this step (11:35)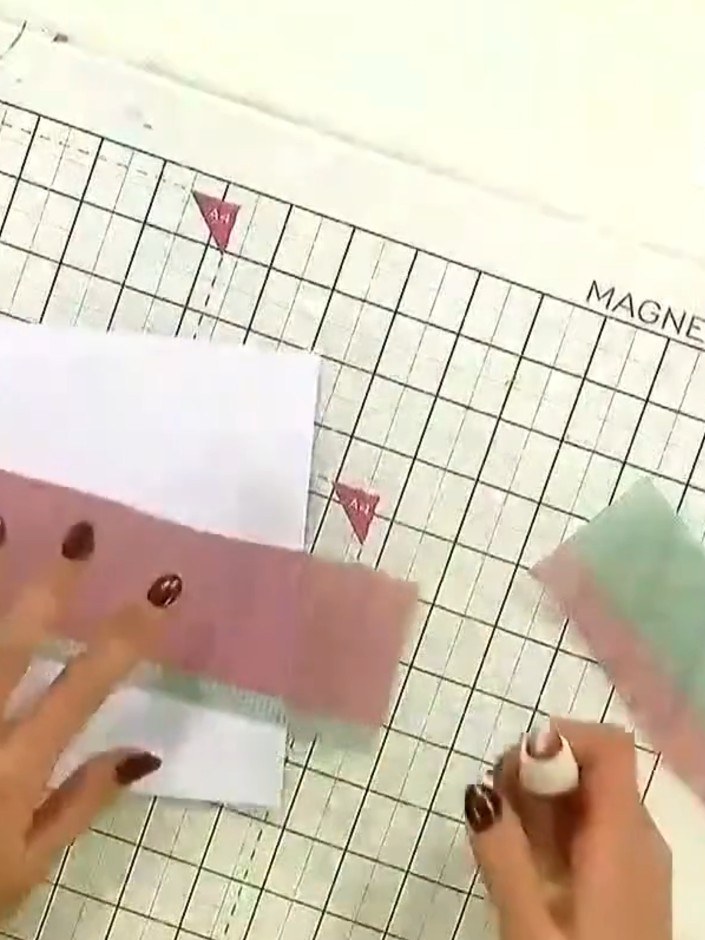
Apply double-sided tape or adhesive to the back of the vellum panel. Position the tape along the edges to secure the vellum to your card base.
▶ watch this step (11:40)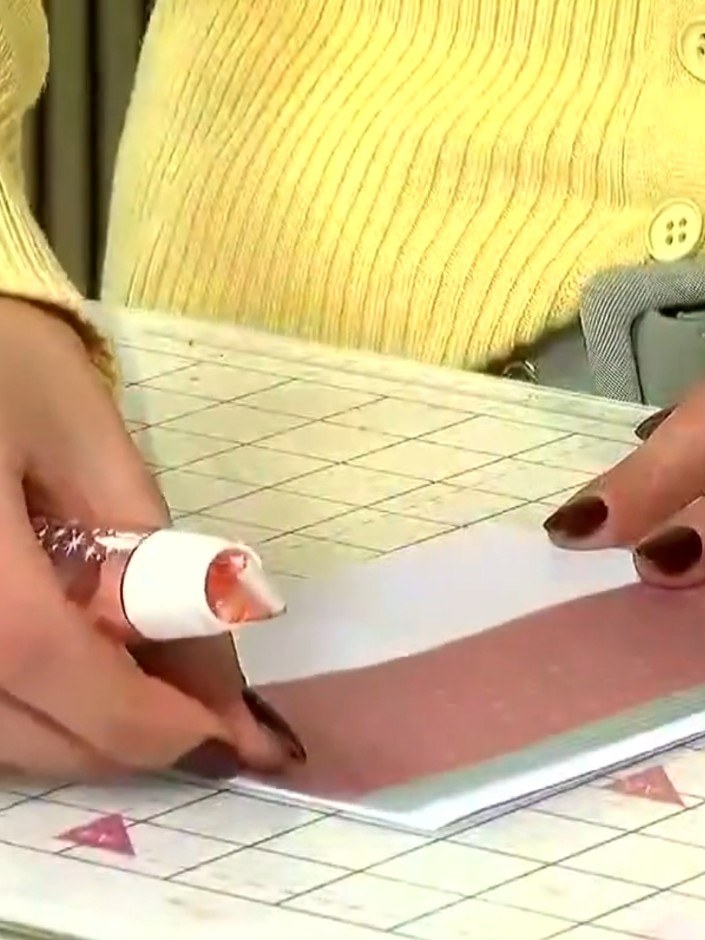
Position the vellum strip down the side of your card base, aligning it neatly with the edge. The vellum should run vertically along one side of the card.
▶ watch this step (11:45)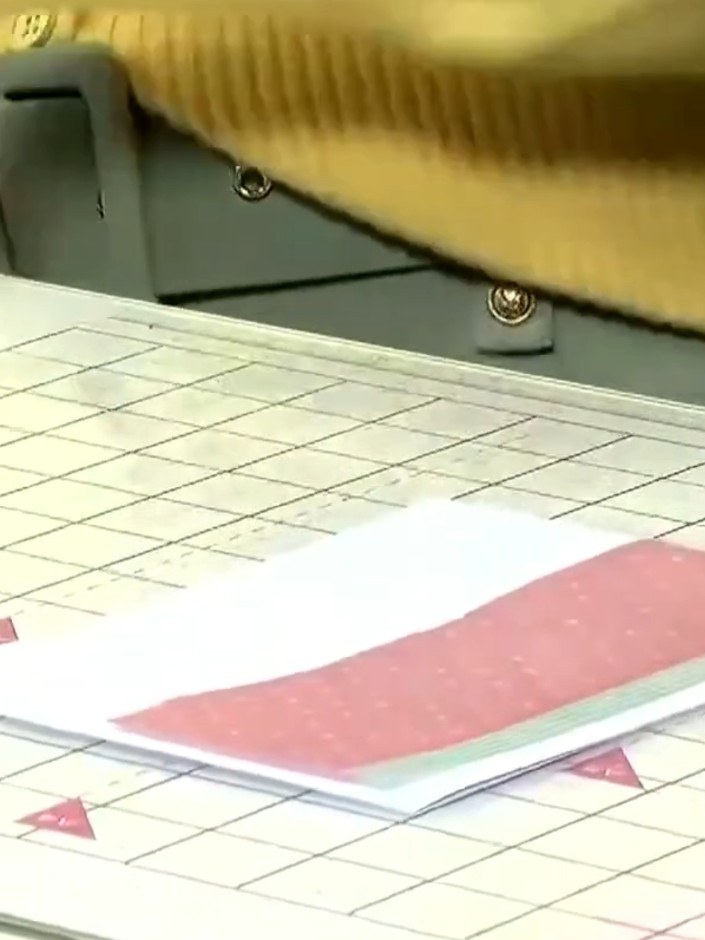
Press firmly on the vellum panels to secure them in place on the card base. Ensure all edges are well adhered by applying pressure across the entire surface of each vellum piece.
▶ watch this step (11:50)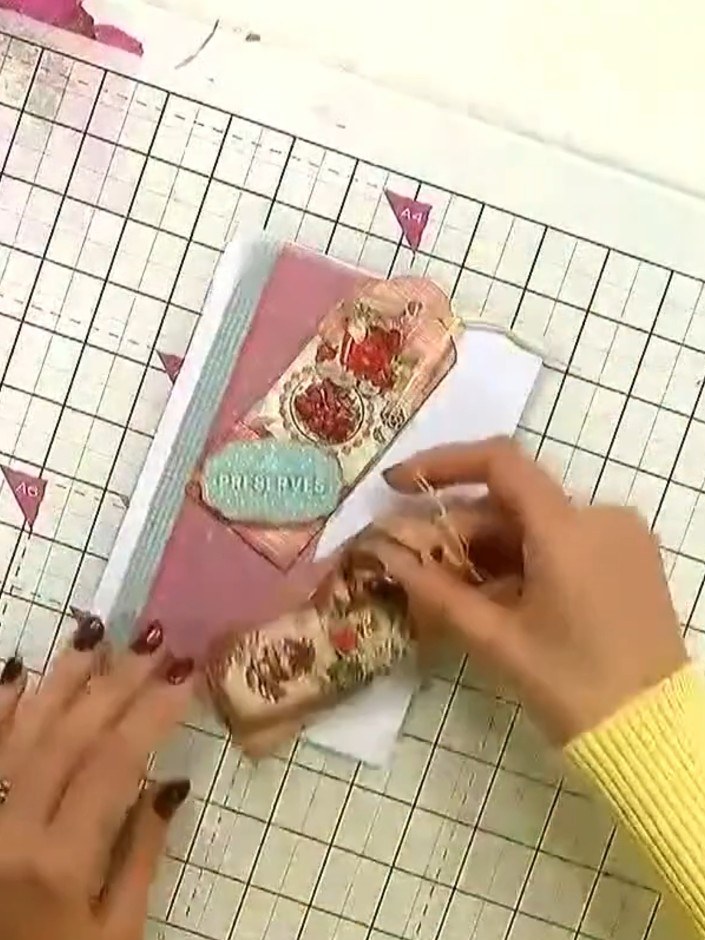
Place the vellum panel over the white card base to observe how the transparency creates depth and elegance. The vellum allows the decorative elements beneath to show through whilst adding a soft, sophisticated layer.
▶ watch this step (12:00)Written up from the show itself. See every guide from our shows · free how-to guides · watch live on My Telly