Give your friends €10 off their first order!
Refer a FRIEND








A project from our live show IDEAL WORLD - Join Toni for the latest Stamps By Me product launch - Broadcast Wed 7th May 12 p.m. · 07/05/2025 · watch it from 12:45
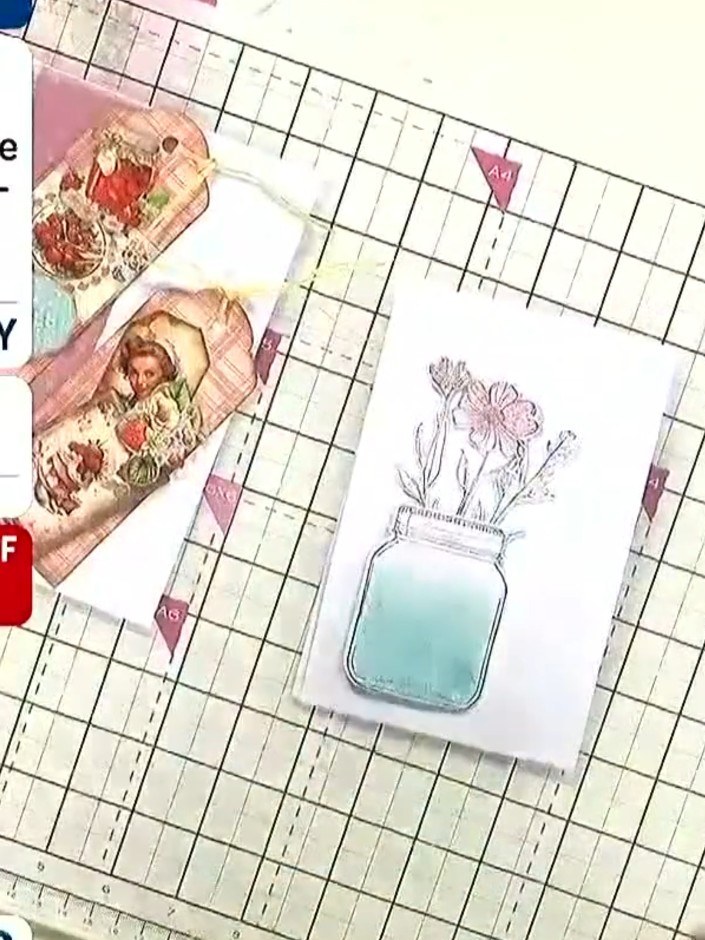
Make a delightful mason jar card with a realistic watercolour effect and pretty floral embellishments. This charming design features a stamped jar filled with faux water in soft blue tones, topped with dimensional flowers in romantic pinks and corals. Using simple stamping and watercolouring techniques with added sparkle, you'll create a beautiful handmade card perfect for any occasion.
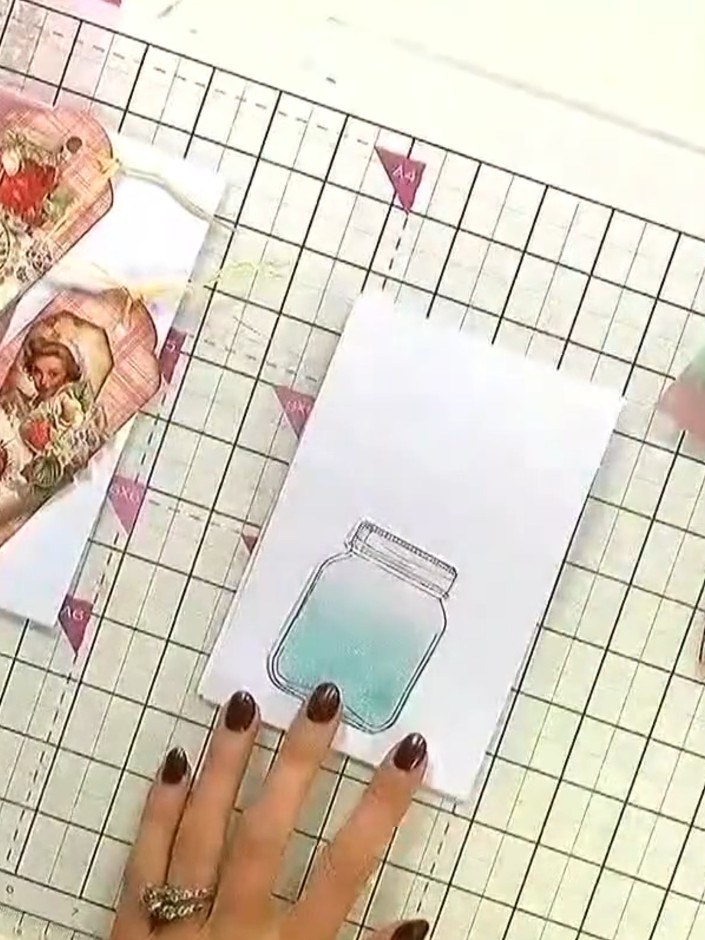
Stamp the mason jar image onto white card using the stamp set. Position the jar stamp centrally on your card and press firmly to transfer the image.
▶ watch this step (12:45)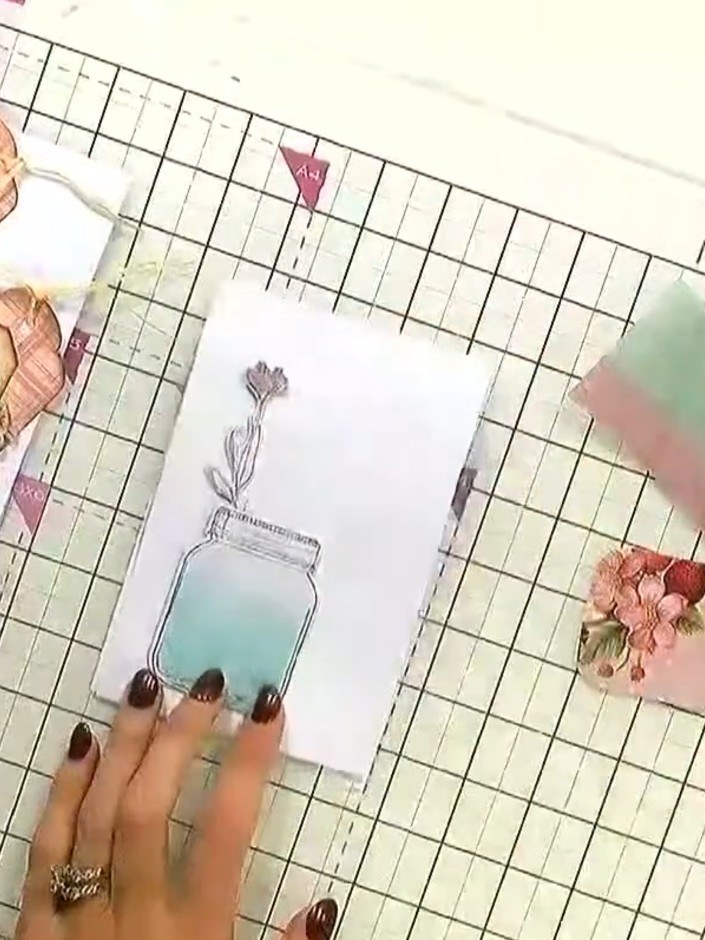
Add faux water inside the jar using watercolour paint in soft blue tones. Paint the lower portion of the jar to create the appearance of water.
▶ watch this step (12:50)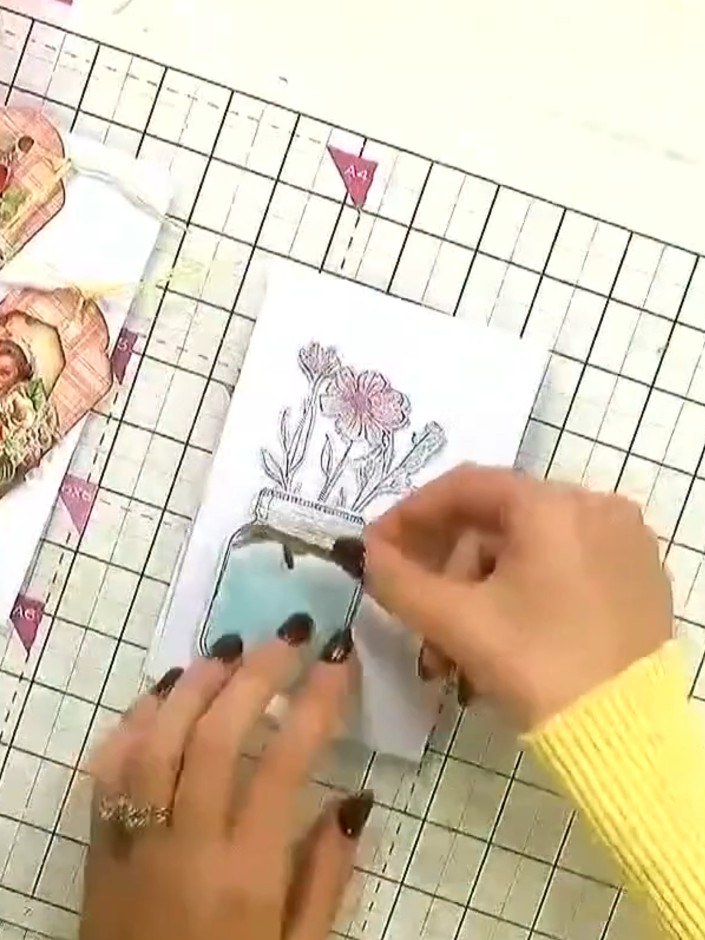
Add sparkle or glitter to the watercoloured jar to create the effect of water. Apply the glitter whilst the watercolour is still wet so it adheres properly.
▶ watch this step (13:00)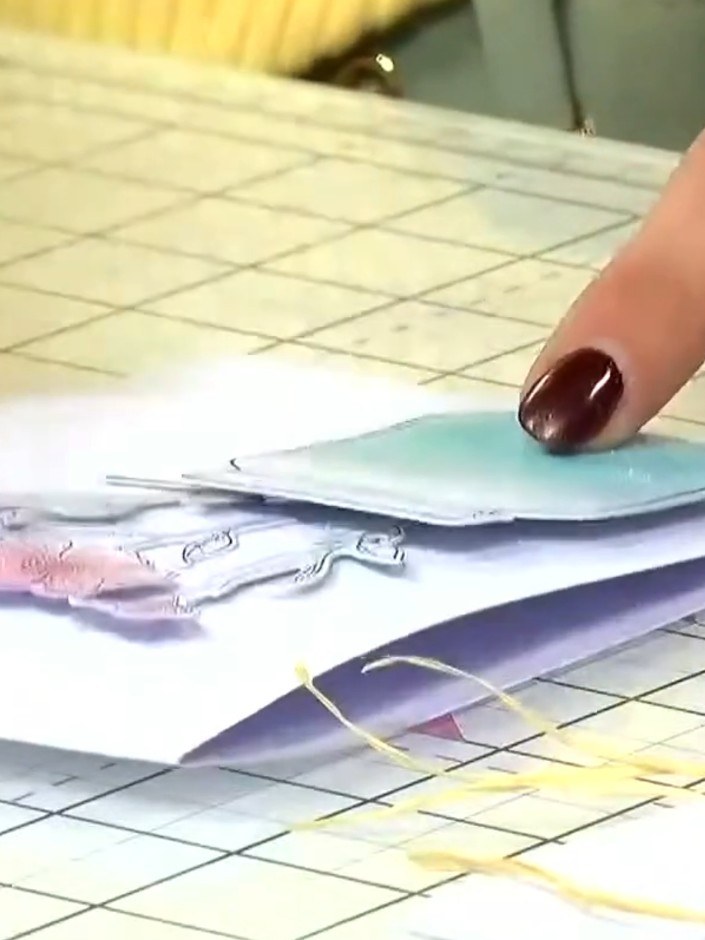
Take a white card blank and position it on your craft mat. Place the blue jar panel on top to check the positioning and layout before adhering.
▶ watch this step (13:10)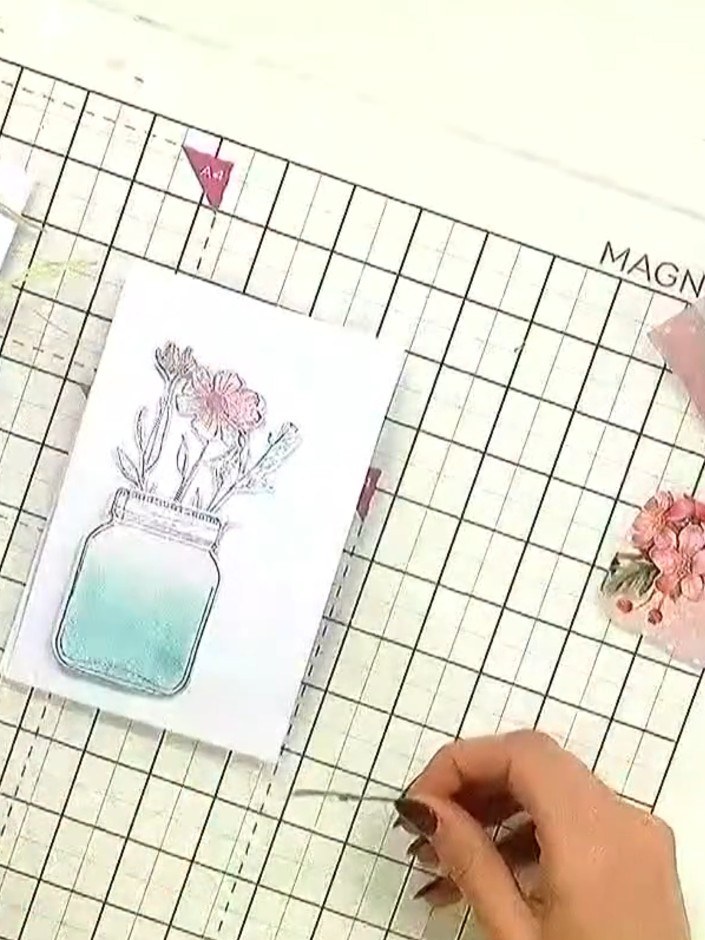
Select faux flowers and embellishments from the pack. Choose pieces that complement your colour scheme - pink flowers work well with the watercoloured jar design.
▶ watch this step (13:15)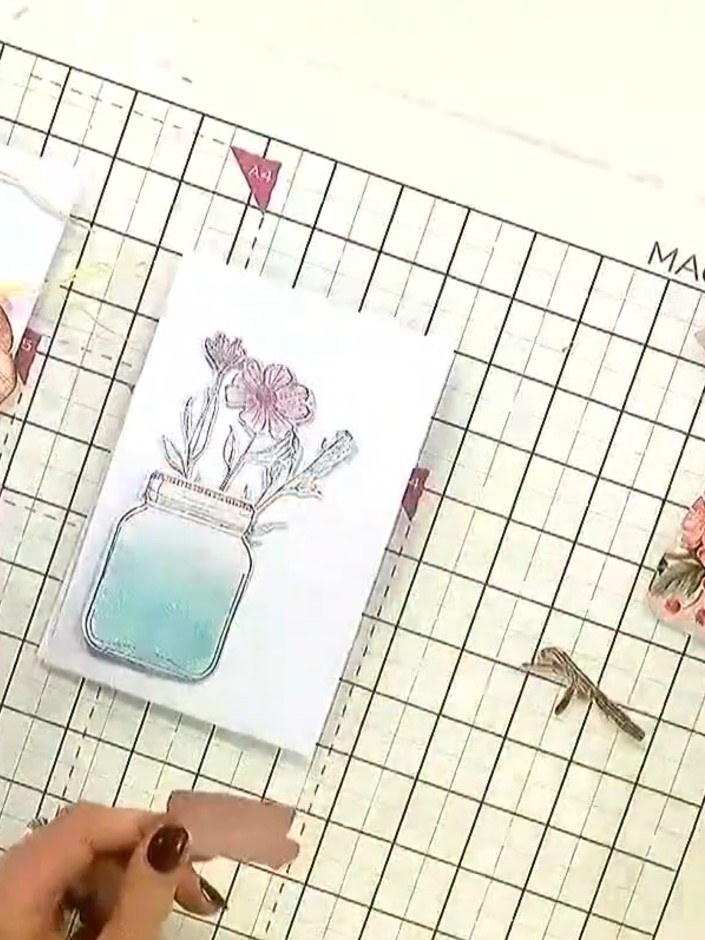
Apply foam pads to the back of the die-cut flowers. Position the flowers on the card, placing them around the mason jar design to create a decorative arrangement.
▶ watch this step (13:20)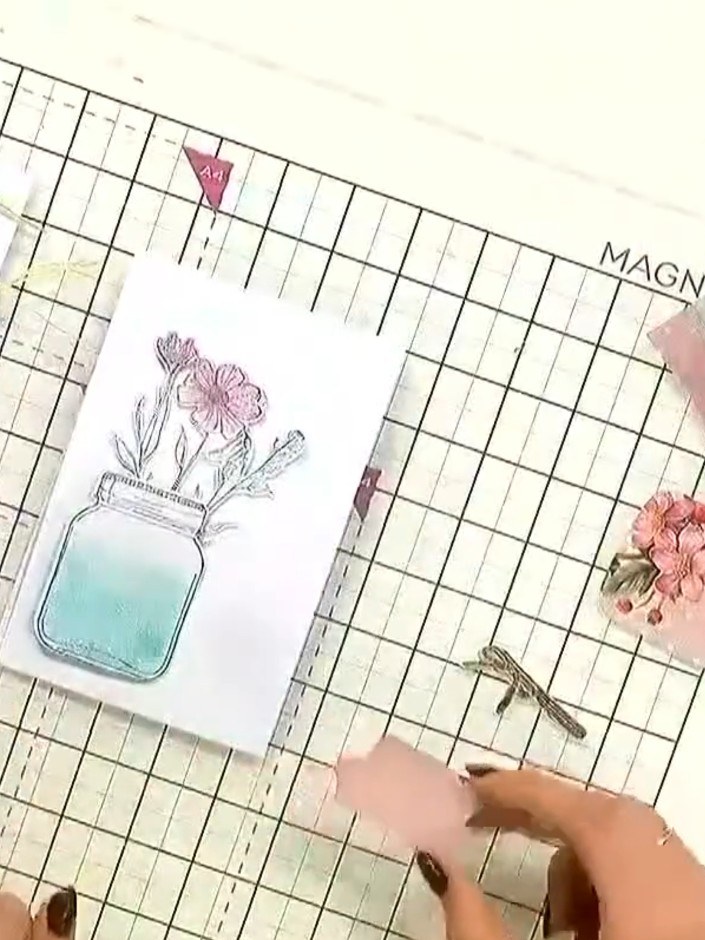
Position the die-cut floral elements on top of the mason jar image to add dimension and detail to your card. Arrange the flowers and foliage pieces to create an attractive composition extending from the jar.
▶ watch this step (13:25)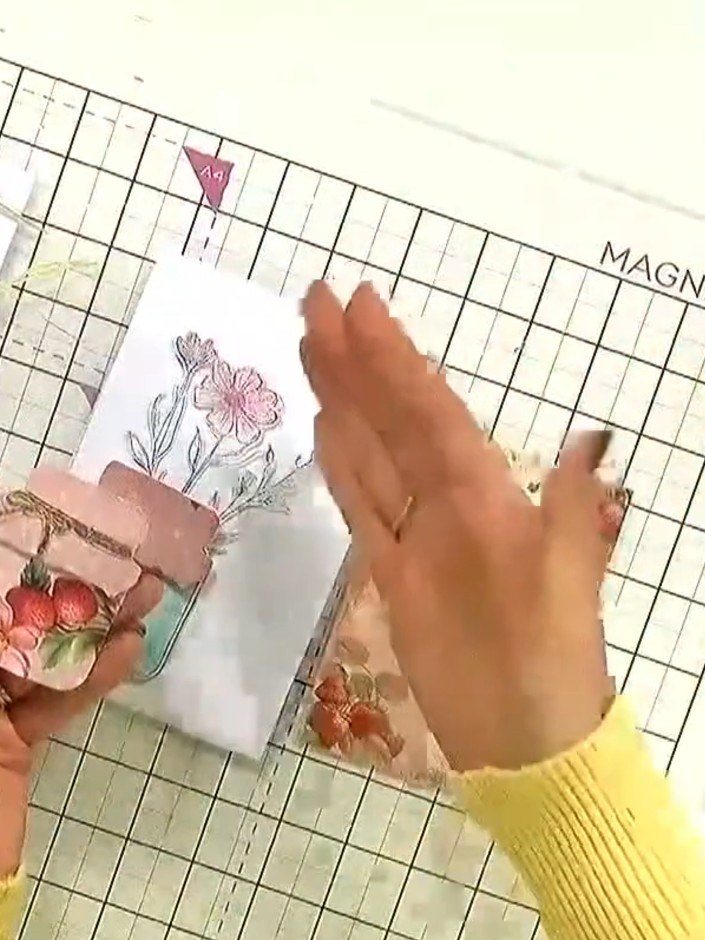
Step back and admire your finished handmade mason jar card with its beautiful watercolour background and floral embellishments. Your bespoke card is now complete and ready to give to someone special.
▶ watch this step (14:00)Written up from the show itself. See every guide from our shows · free how-to guides · watch live on My Telly