Give your friends €10 off their first order!
Refer a FRIEND








Prices change straight away. Every language is our own translation, not Google.
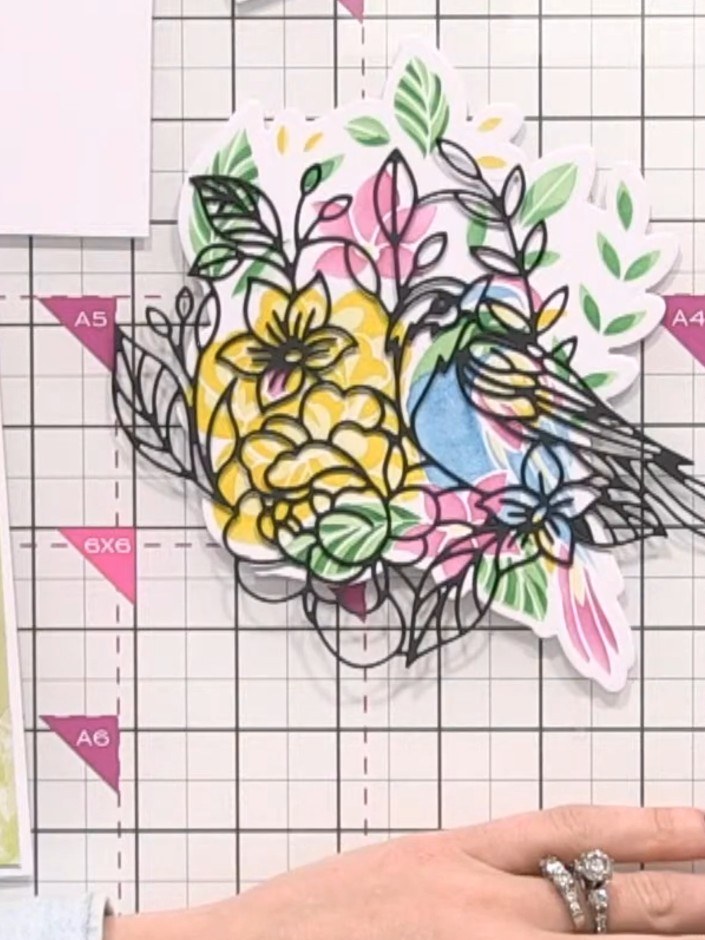
A project from our live show MIGHTY MONDAY - Join Toni for her detailed papercrafting sessions - Broadcast 14th April 2025 · 14/04/2025
Create a beautiful coordinated card using three complementary vintage papers in stripe, block and floral patterns. The papers share a consistent colour palette of soft yellows, greens, pinks and blues, allowing you to layer them together for a cohesive, professional look. This project uses simple layering and adhering techniques to build dimension and visual interest.
 1
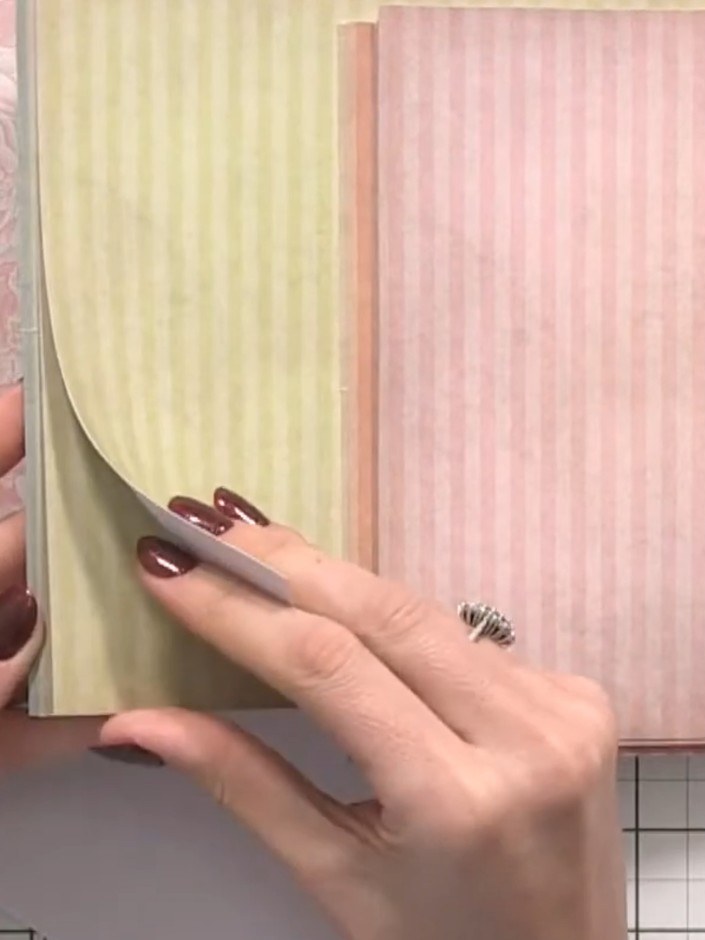
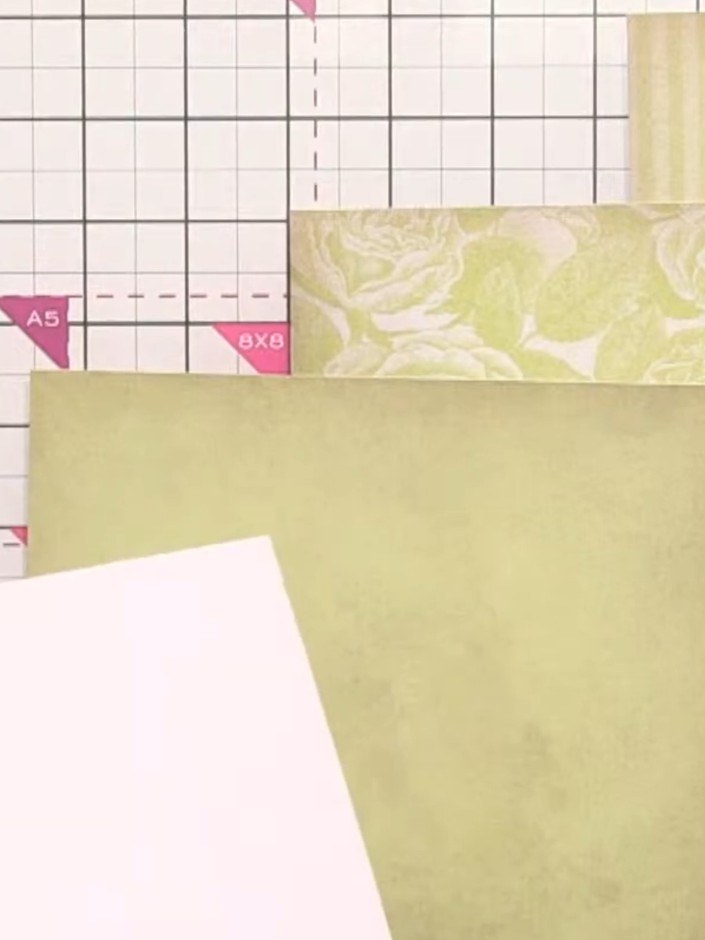
Select three coordinating papers from the vintage collection: choose a pink and white stripe pattern, a solid pink paper, and a floral design paper to work together.
 2
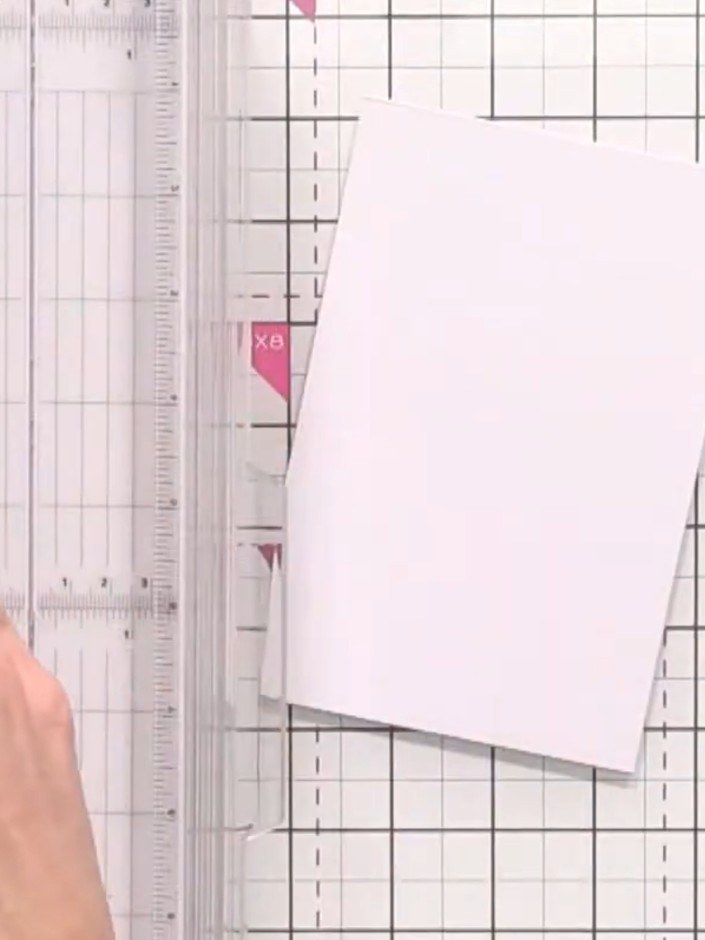
Cut panels from each of the vintage papers at 1.5 inches wide using a guillotine or craft knife. You'll need multiple panels from the different patterned papers in the collection.
 3
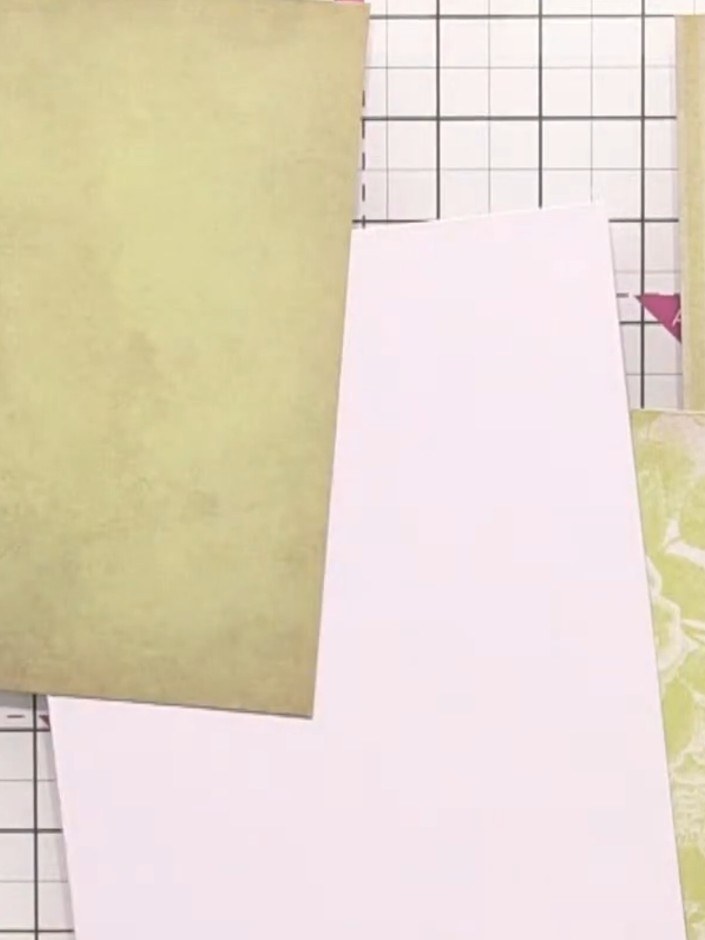
Arrange the three cut panels on your white card blank, layering them to create visual interest. Position the green floral patterned papers at different heights and angles on the card base.
 4
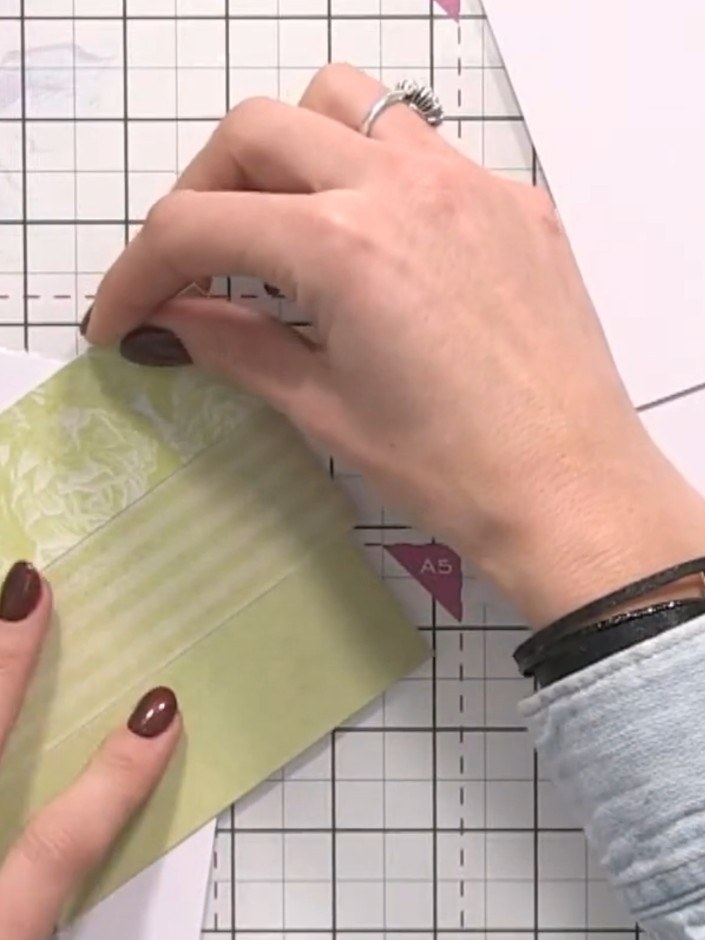
Secure each pink panel to the card base using double-sided tape or adhesive. Position the panels on the white card base, ensuring they are evenly spaced and aligned.
 5
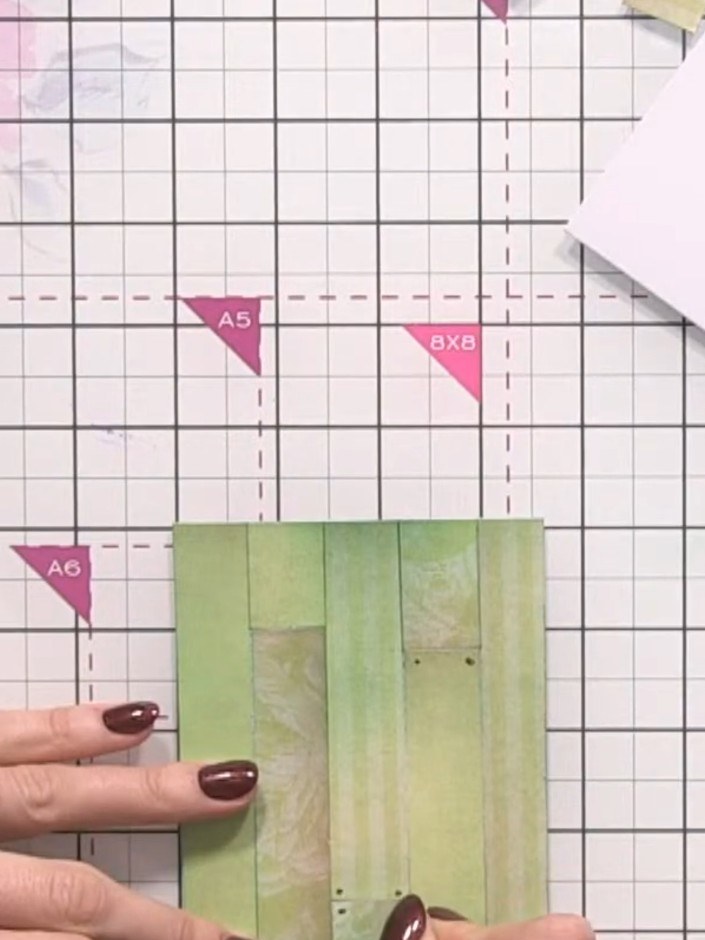
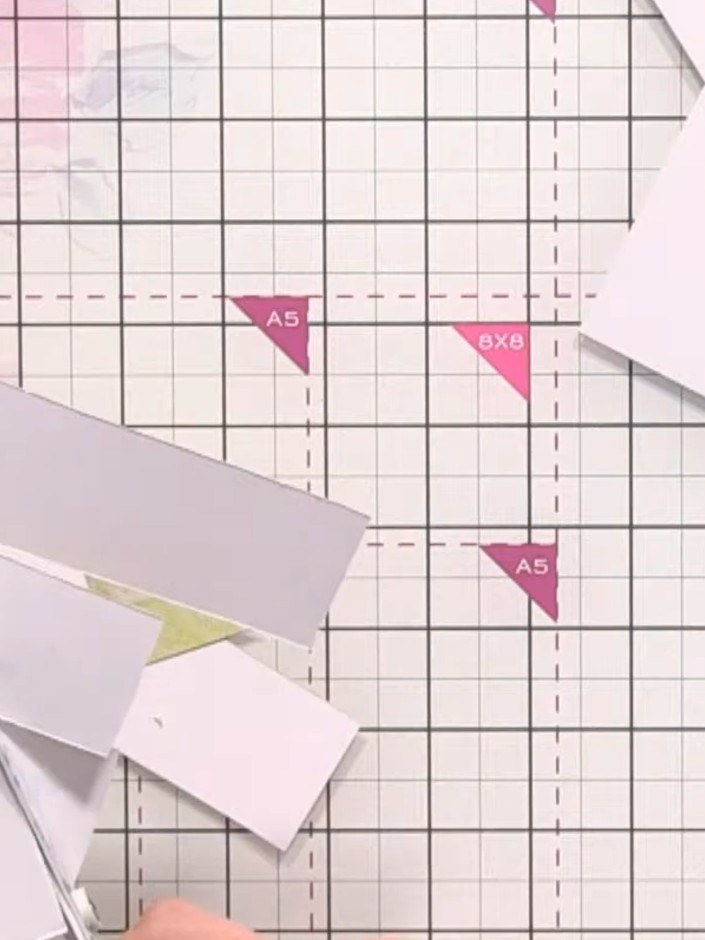
Create a second card background by arranging strips of the coordinating vintage papers vertically, staggering them across the white card base. Use both the striped and patterned papers from the collection.
 6
Tear one of the white paper strips by hand to create a textured edge, adding dimension to your card design.
 7
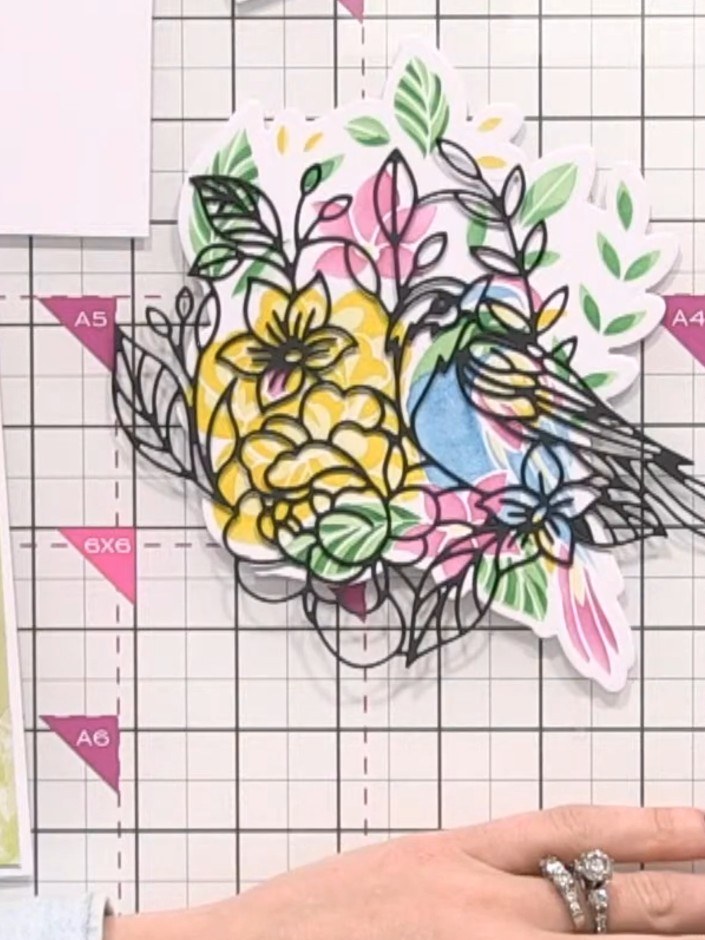
Add a sentiment or embellishment to complete your card. You can use a glue pen to attach small decorative elements to the layered panel.
Share your make with the Stamps By Me community - and keep this guide for next time.
Written up from the show itself. See every guide from our shows · free how-to guides · watch live on My Telly · the previous layout