Give your friends €10 off their first order!
Refer a FRIEND








A project from our live show HSN PRODUCT INSPIRATION - Join me for a fun filled show broadcast 29th September 2026 · 29/09/2026 · watch it from 45:00
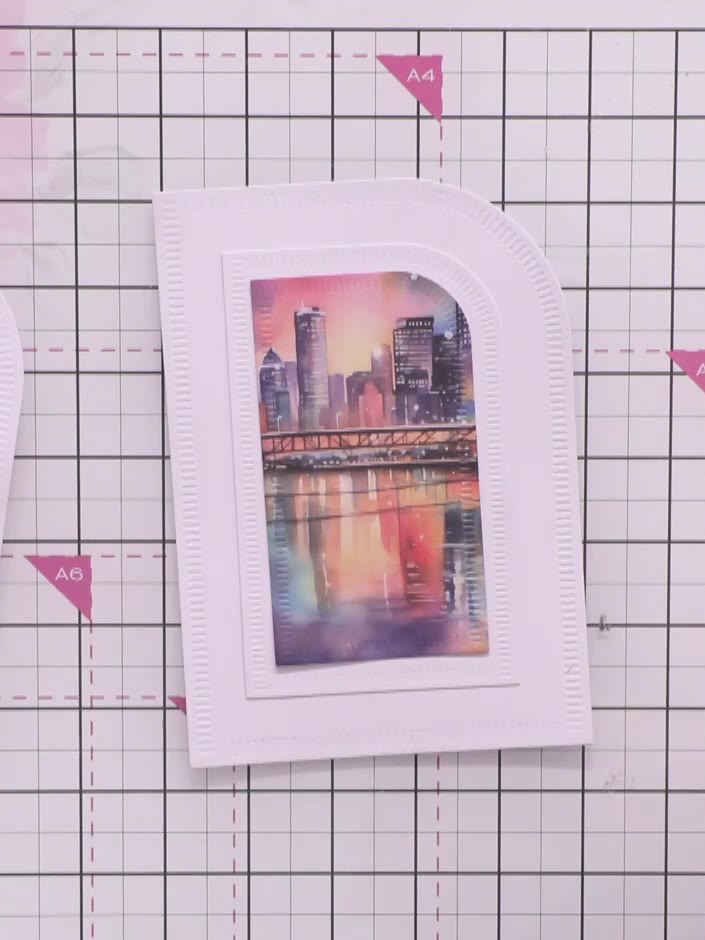
Make an elegant shaped card with decorative curved corners and a raised aperture frame showcasing a beautiful cityscape scene in warm sunset hues. Using the Corner Curve die set, you'll nest multiple die sizes to create a sophisticated layered frame effect. This contemporary design combines clean white card with vibrant patterned paper for a stunning result.
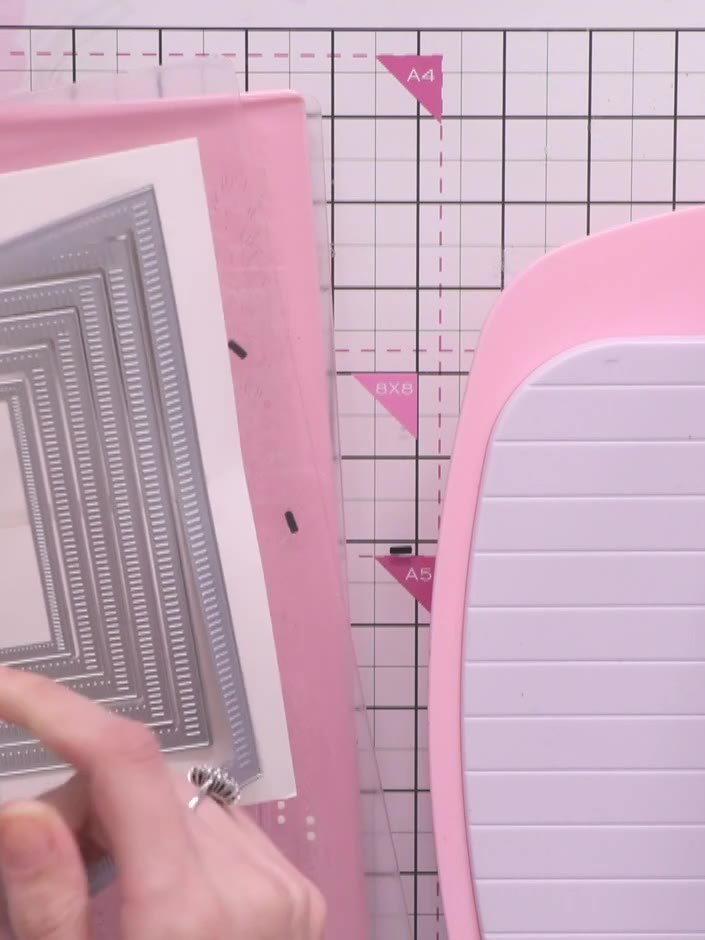
Select the largest Corner Curve die from the nested die set. Cut two pieces of white card stock using this die with your die-cutting machine.
▶ watch this step (45:15)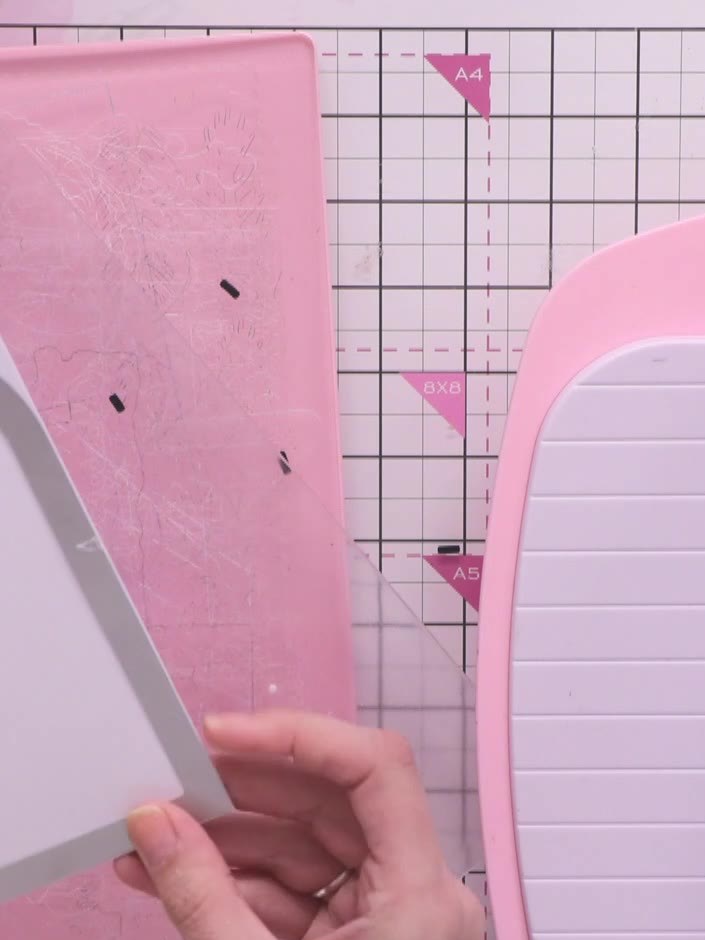
Score a vertical line down the side of one of the back pieces using a scoring tool. This score line will help the card stand up as a tent fold.
▶ watch this step (46:00)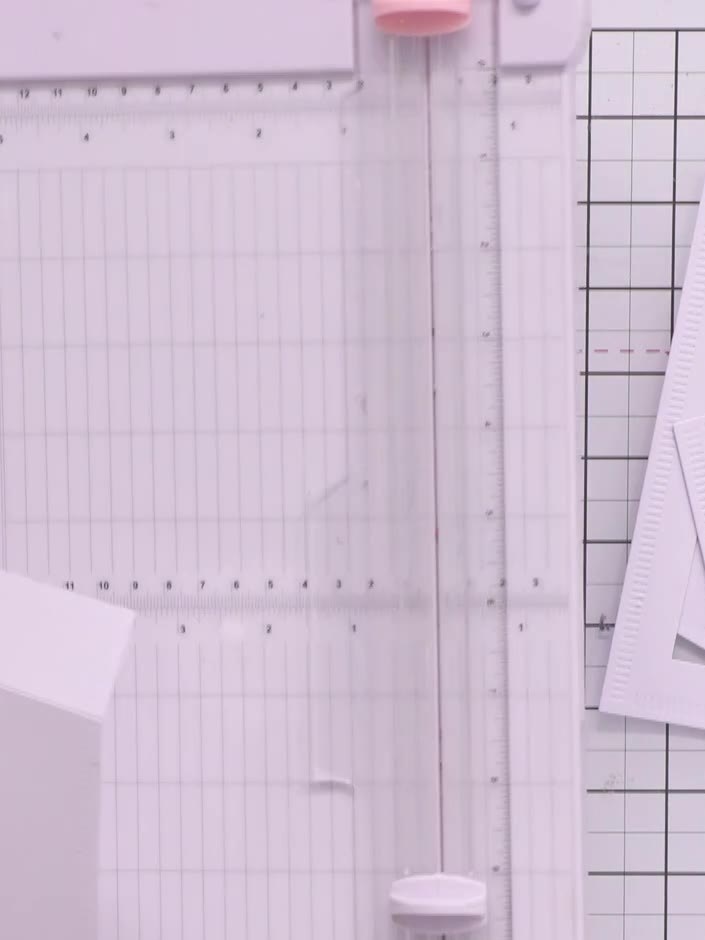
Cut a second, smaller size of the Corner Curve die from white card stock. This will create a frame when layered over the first cut piece.
▶ watch this step (54:30)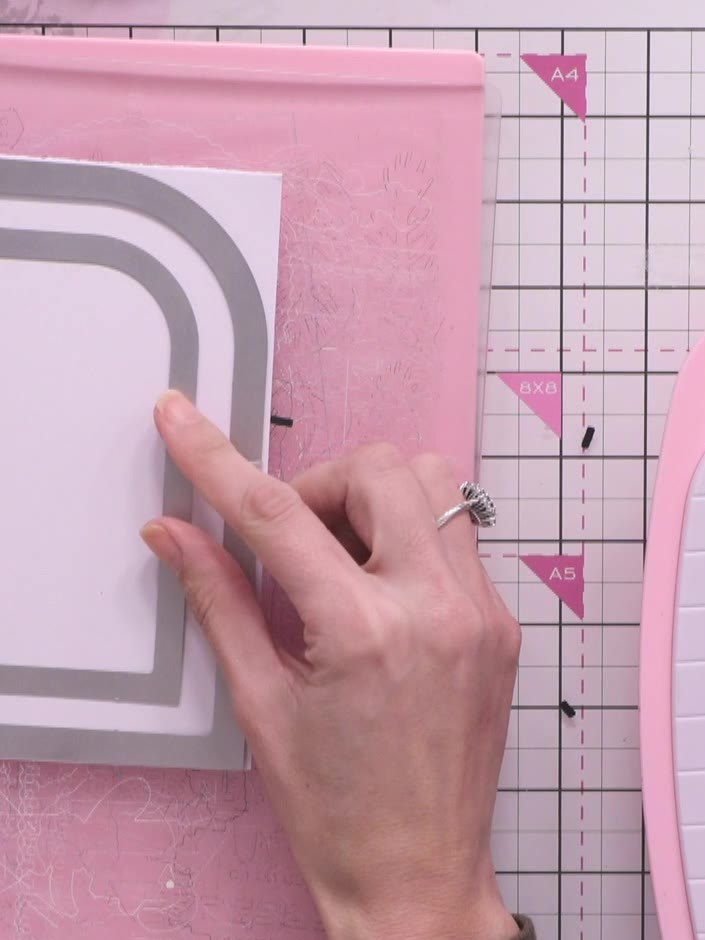
Position the smaller rounded rectangle die inside the larger die on your white cardstock to create a nested frame effect. Ensure the dies are evenly spaced to form an aperture frame.
▶ watch this step (48:15)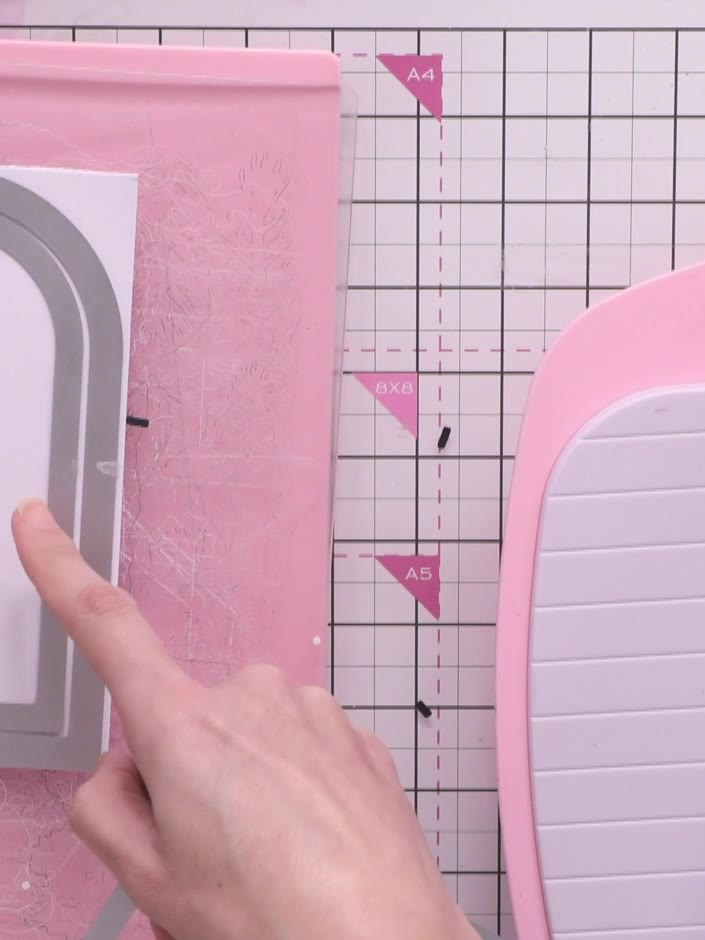
Select the next size down die from the nested set and cut it from your chosen patterned paper. Position this piece inside the frame on your card to showcase the desired part of the design.
▶ watch this step (48:45)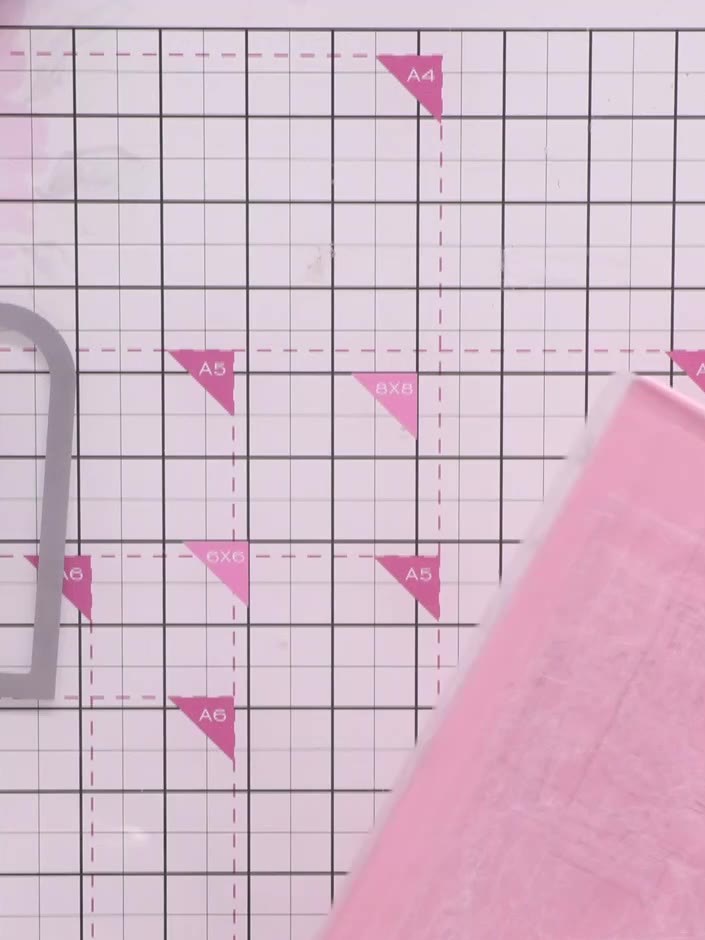
Attach thin foam pads around the back of the frame piece. This will raise the cityscape frame above the card base to create dimension.
▶ watch this step (54:00)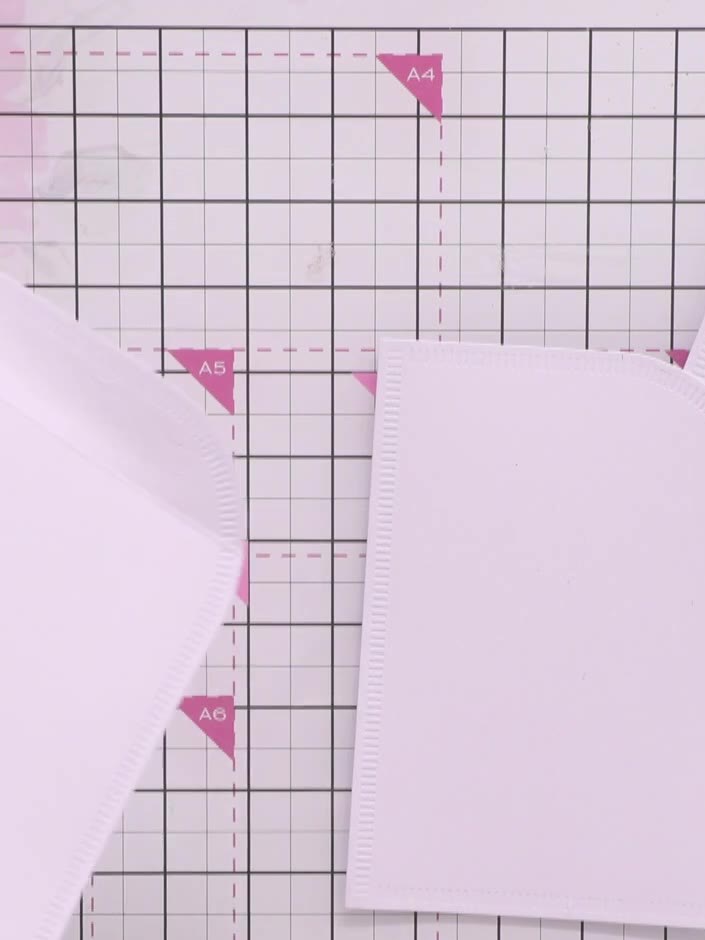
Stick the patterned paper piece flat inside the frame opening. Position it carefully to ensure it sits flush within the aperture.
▶ watch this step (55:00)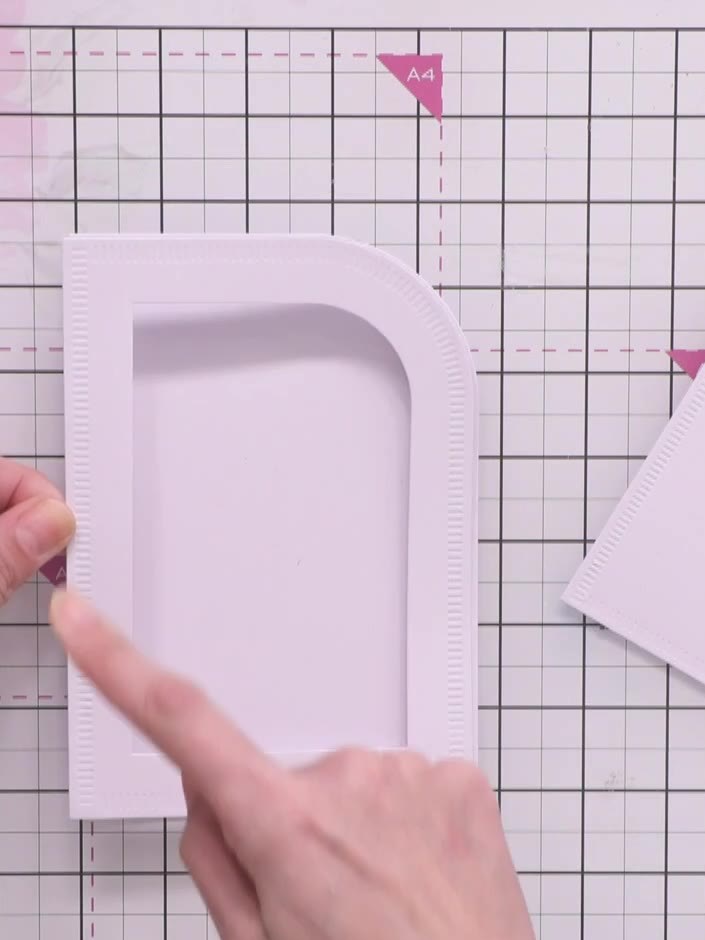
Attach the raised frame to the card base using foam pads. Position the frame carefully on the card front, ensuring it is centred and aligned properly.
▶ watch this step (55:30)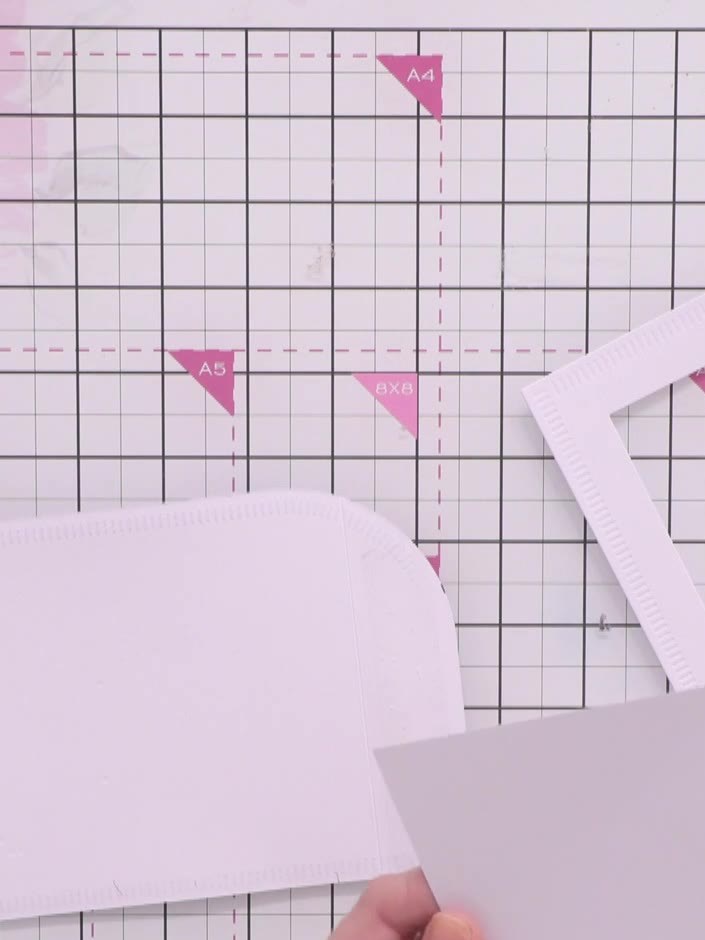
Pop out any remaining window details from the die-cut pieces if desired for added texture and dimension to your card design.
▶ watch this step (56:00)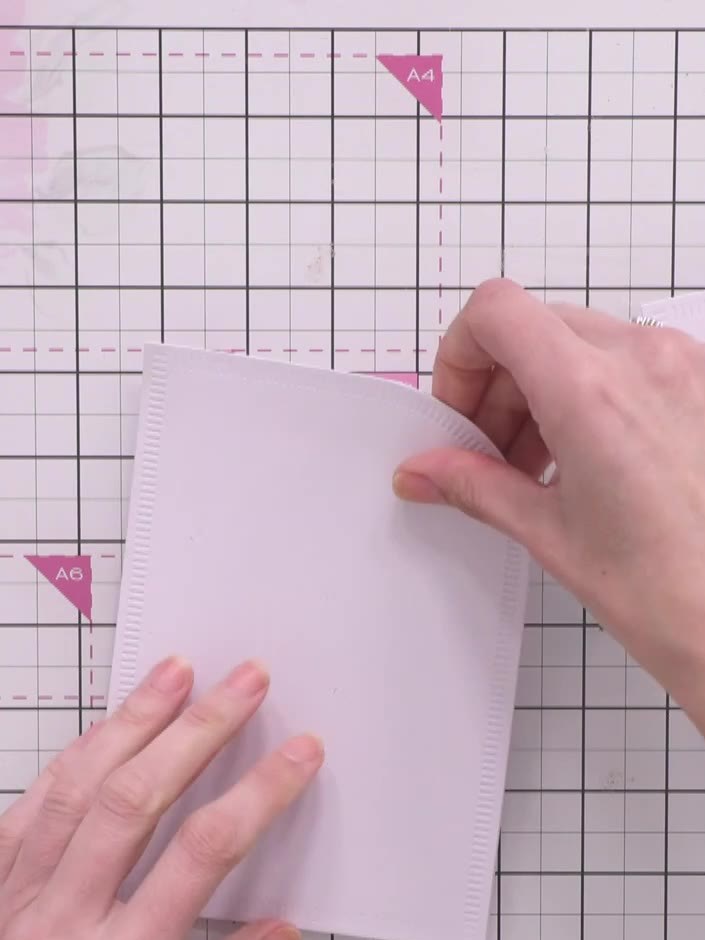
Add a sentiment or decorative accents to complete your card. You can also add sparkle or embellishments as desired to finish the design.
▶ watch this step (56:30)Written up from the show itself. See every guide from our shows · free how-to guides · watch live on My Telly