Give your friends €10 off their first order!
Refer a FRIEND








A project from our live show HSN PRODUCT INSPIRATION - Join me for a fun filled show broadcast 29th September 2026 · 29/09/2026 · watch it from 1:04:30
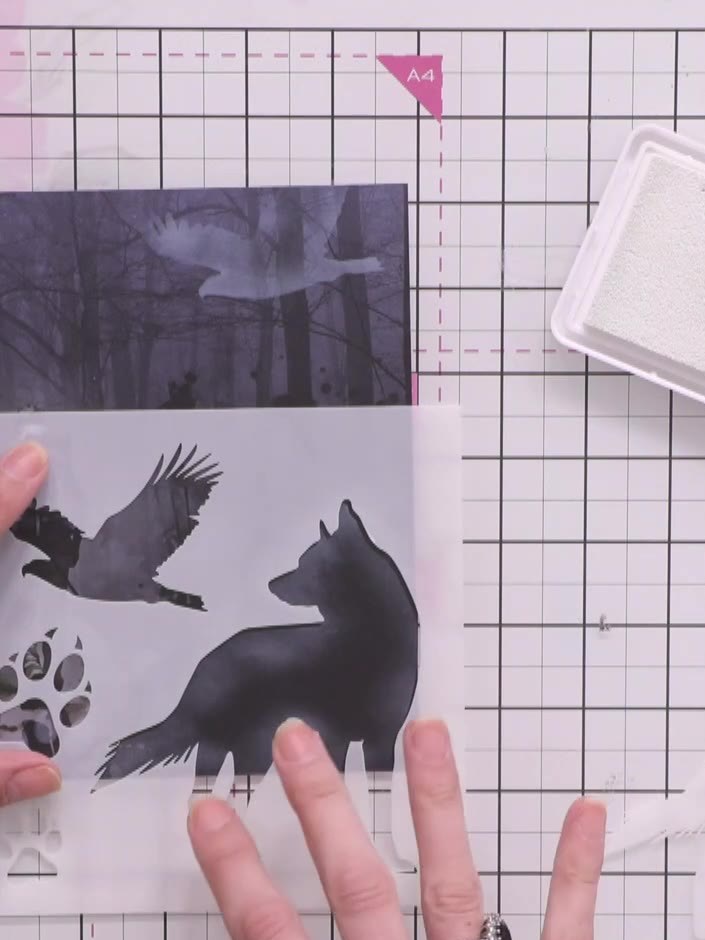
Create a striking woodland card featuring a wolf silhouette against a misty forest backdrop. This nature-inspired design uses masking and stencilling techniques to build layers of depth, with a wolf, flying bird, and paw prints creating a dramatic outdoor scene in muted greys and blacks. The finished card combines stamping and white highlighting to achieve a professional, atmospheric effect.
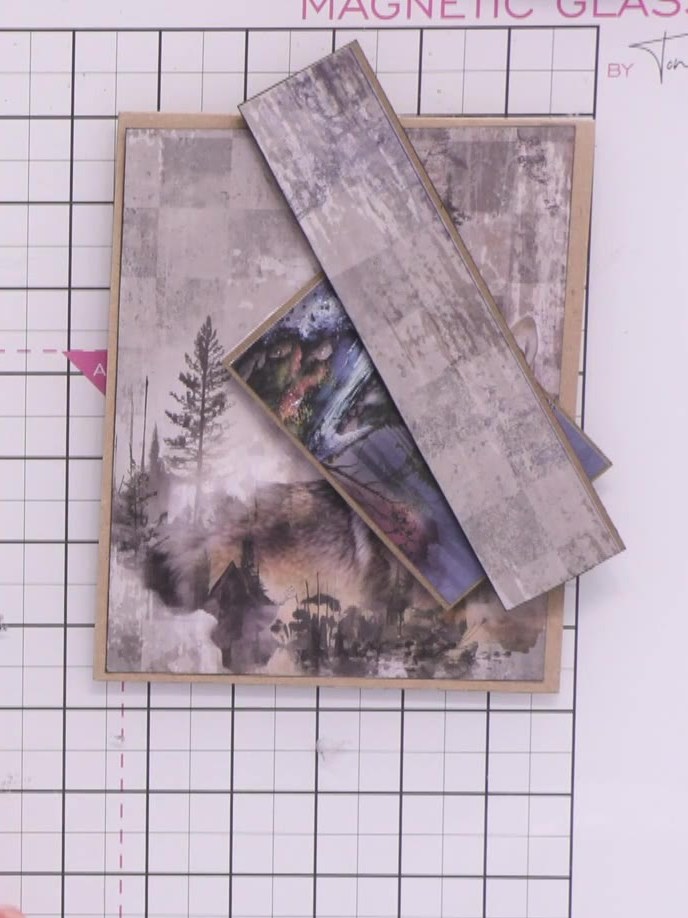
Select a patterned paper from the Great Outdoors kit featuring the wolf and forest imagery. This will be used as the base for your card design.
▶ watch this step (1:04:45)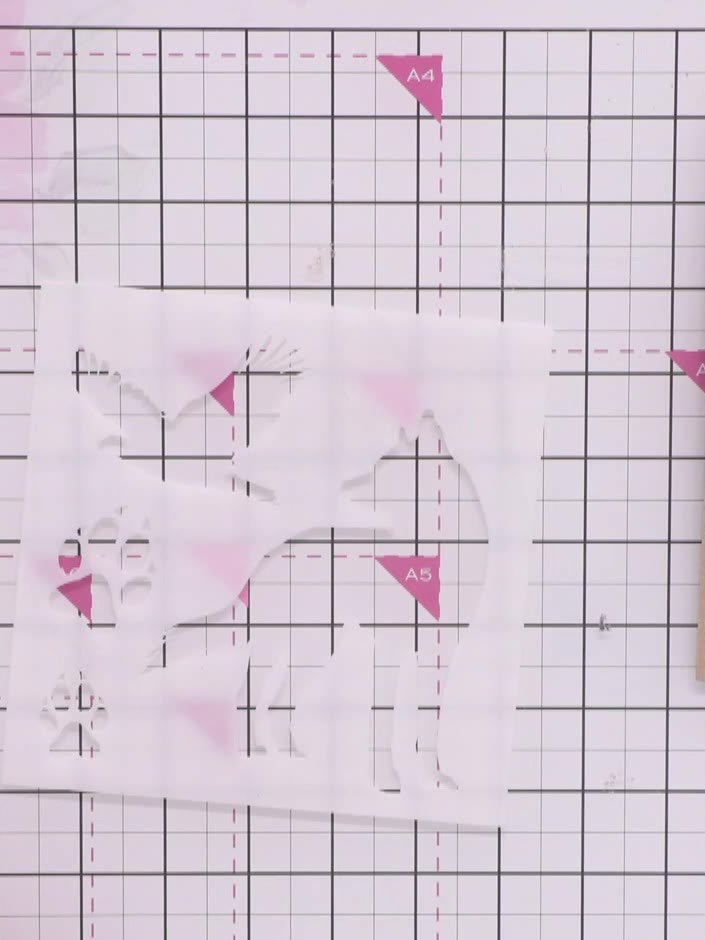
Place the wolf mask stencil on your chosen patterned paper and secure it in position with low-tack tape to prevent it from moving.
▶ watch this step (1:05:00)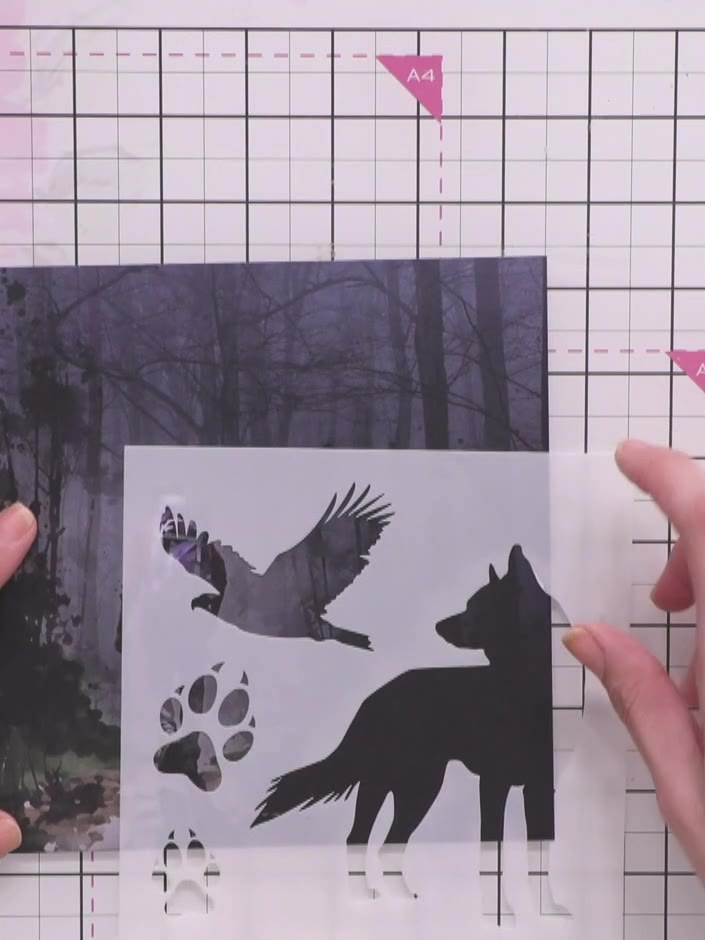
Apply white ink around the exterior of the mask using a brush to create a halo effect. Work the ink outwards from the edges of the stencil design to blend it into the forest background.
▶ watch this step (1:05:30)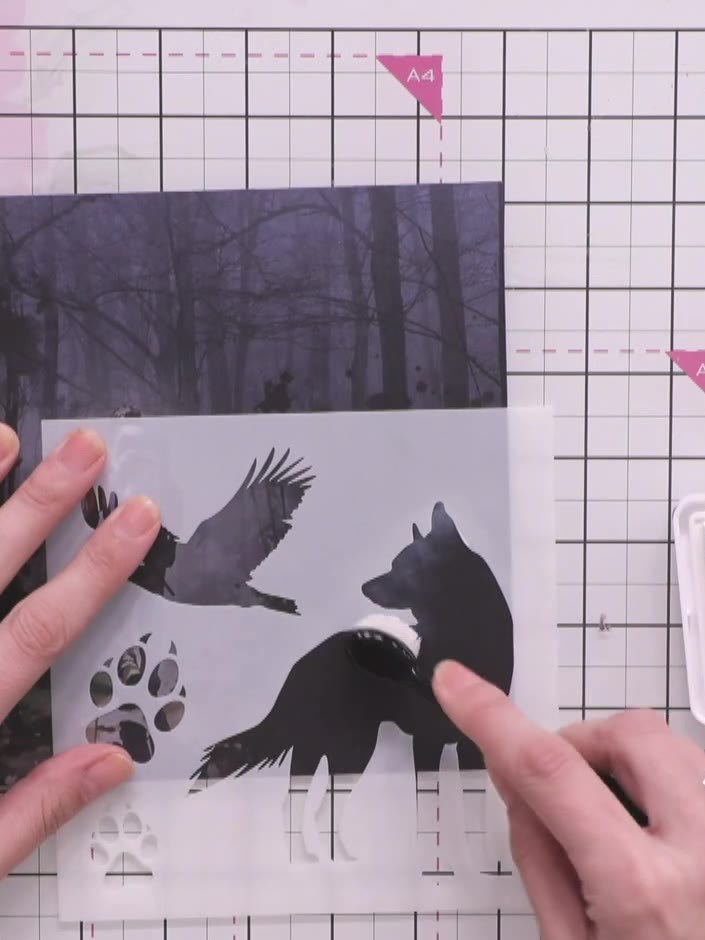
Carefully peel away and remove the mask stencil from the card to reveal the white highlighted outline around the wolf, bird, and paw print silhouettes against the forest background.
▶ watch this step (1:06:00)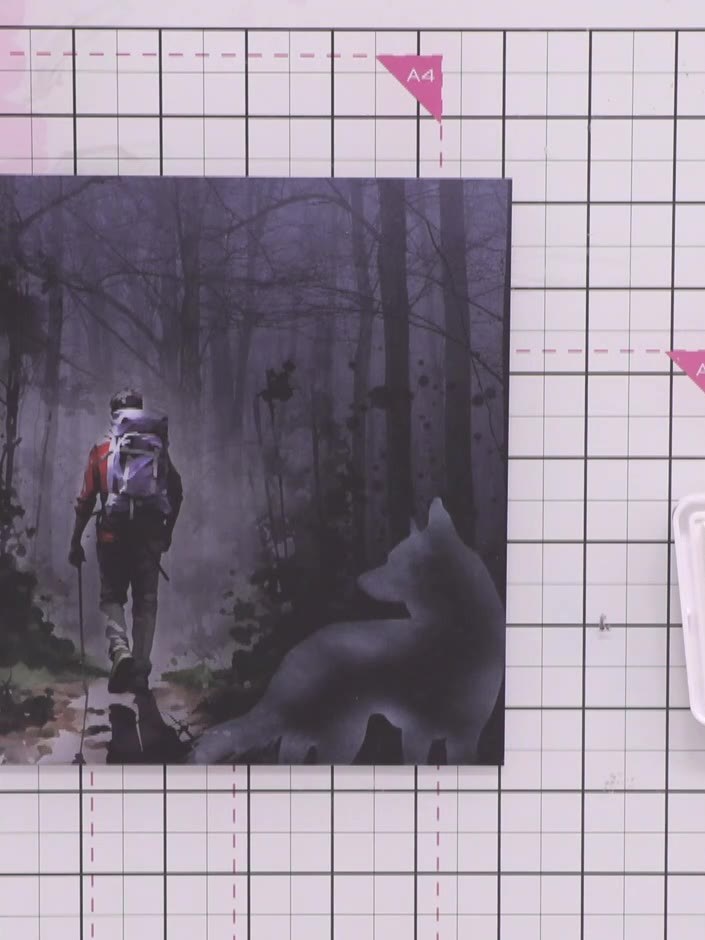
Stamp the hiker figure onto the forest patterned paper using white ink. Position the stamp towards the centre of the paper, ensuring the image is clear and well-defined.
▶ watch this step (1:06:30)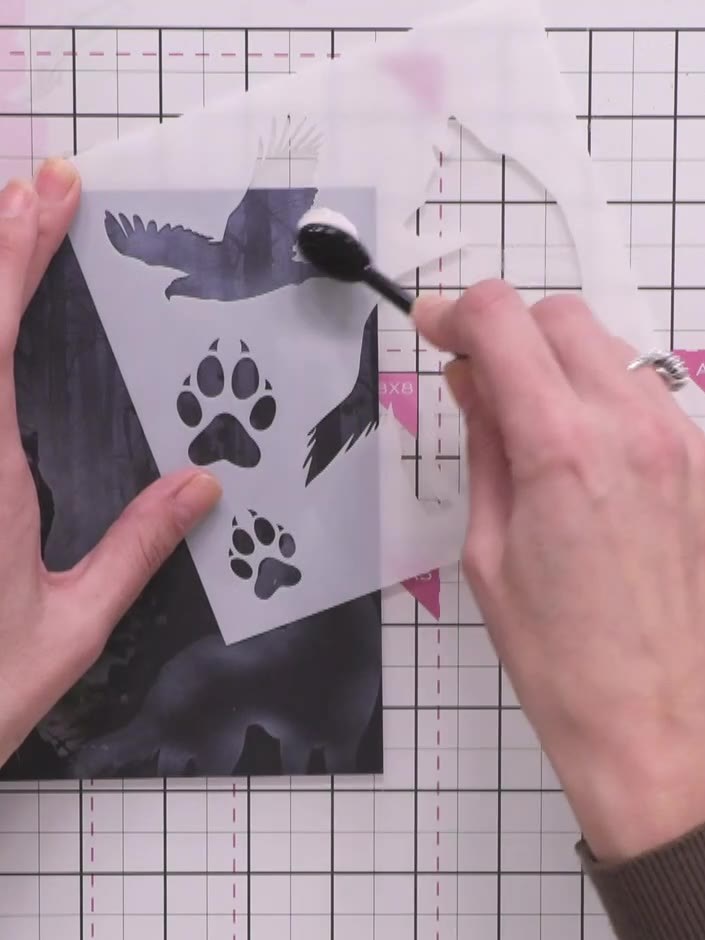
Position the hiker stamp image so that the wolf appears to be watching over him in the forest scene. Hold the piece in place whilst checking the composition works well with the paw prints and bird elements already stamped.
▶ watch this step (1:07:00)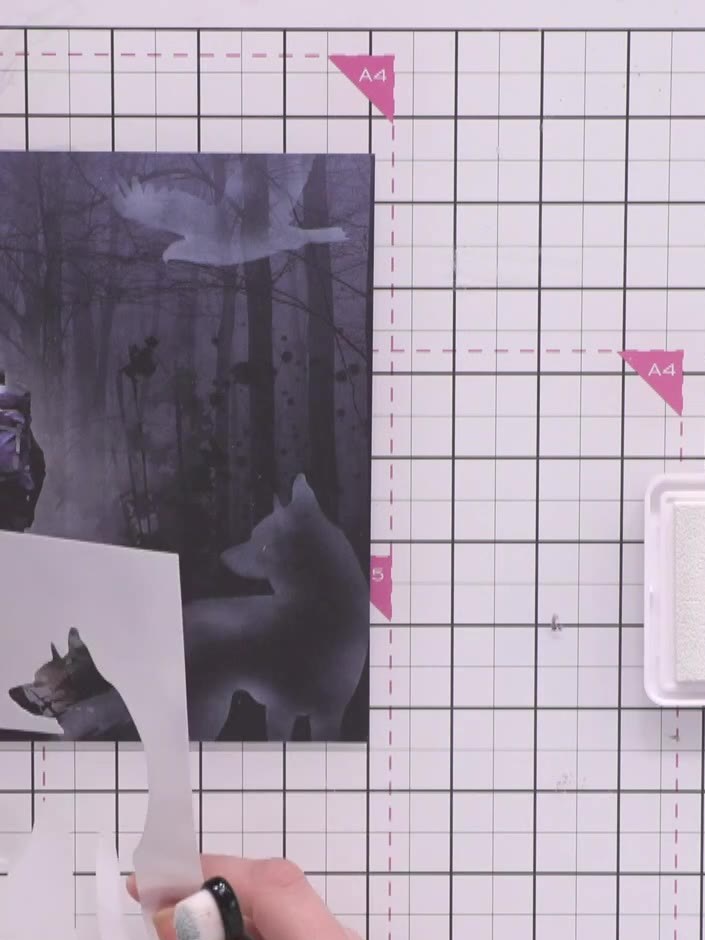
Stamp the bird figure at the top of the composition using the outdoor scene stamp. Position it so it appears to be watching over the hiker and wolf scene below.
▶ watch this step (1:07:30)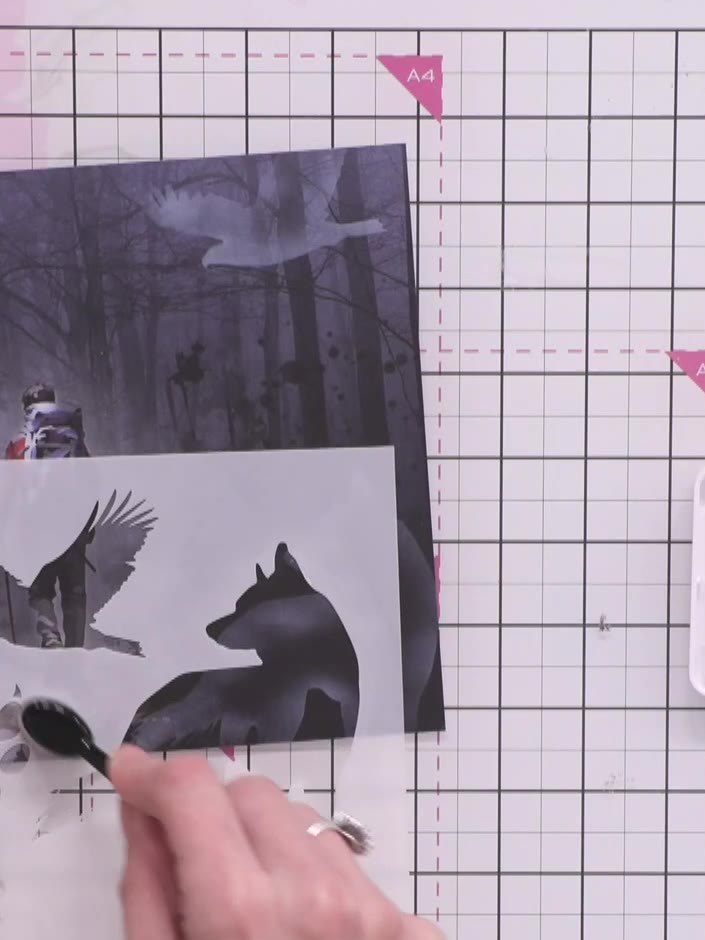
Use the paw print stamp from the Great Outdoors stamp set to add white stamped accents across the bottom portion of the card. Position the paw prints to create a natural scattered effect.
▶ watch this step (1:08:00)
Mount the finished panel onto a white card base using adhesive. Position the panel centrally on the card front and press firmly to secure.
▶ watch this step (1:08:30)Written up from the show itself. See every guide from our shows · free how-to guides · watch live on My Telly