Give your friends €10 off their first order!
Refer a FRIEND








Prices change straight away. Every language is our own translation, not Google.
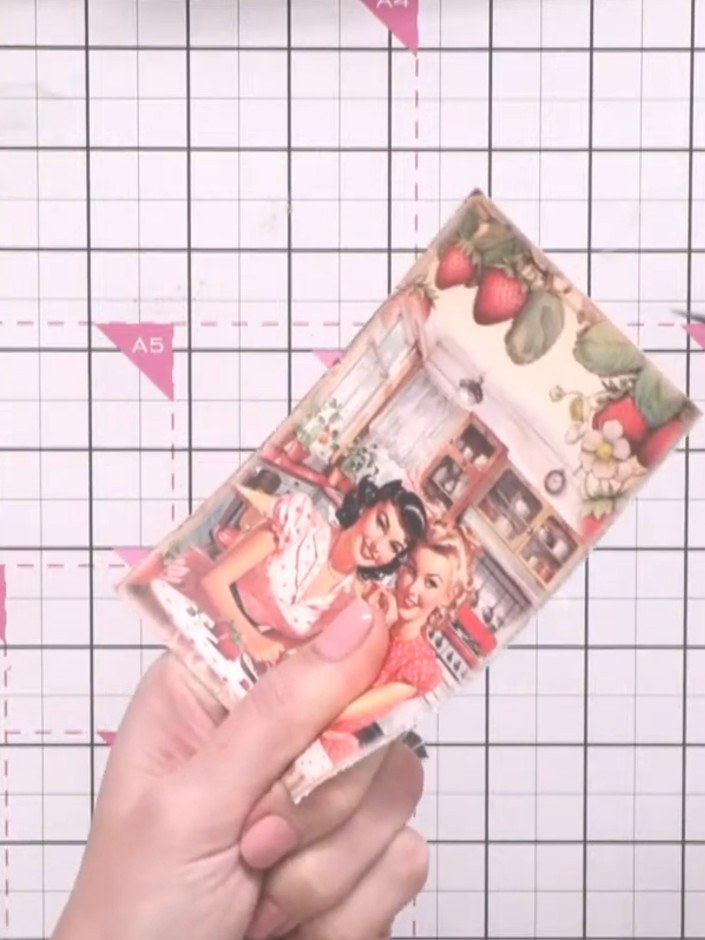
A project from our live show HSN MARCH PRODUCT PREVIEW - Join me for my Sneak Peek - Broadcast 27th February 25 · 27/02/2025
Create a quick and elegant card featuring beautiful patterned vellum layered over a white card base. The design showcases delicate floral imagery with strawberries and blossoms in soft pink and green tones, topped with a decorative sentiment for a lovely ethereal effect. This simple layering technique produces an impressive result with minimal effort.
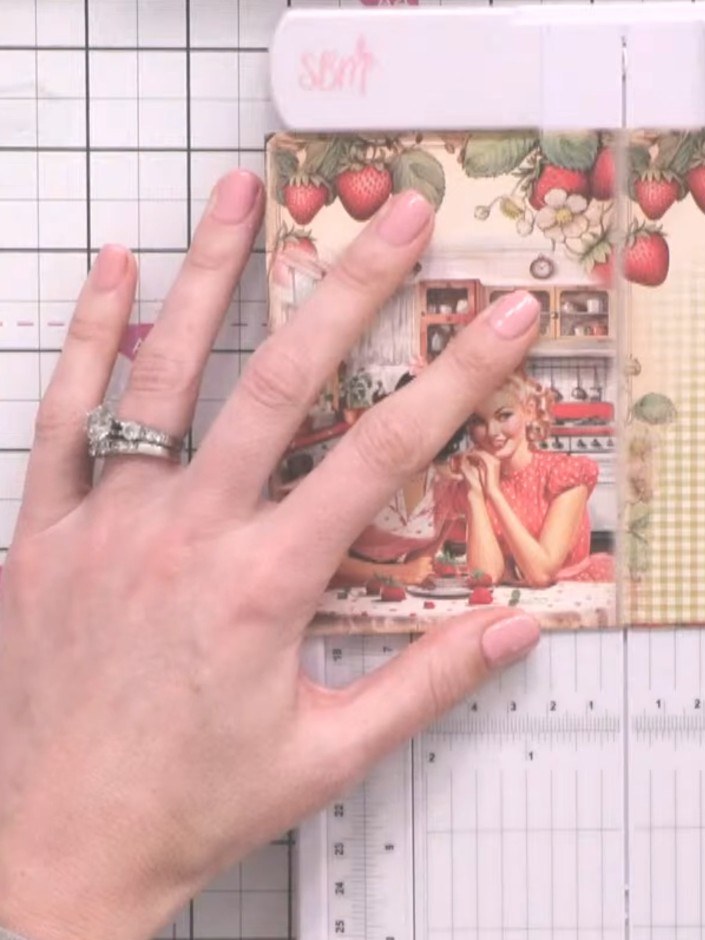 1
Trim your card base to size using a trimmer. Position the decorative paper on the trimmer and cut to the required dimensions.
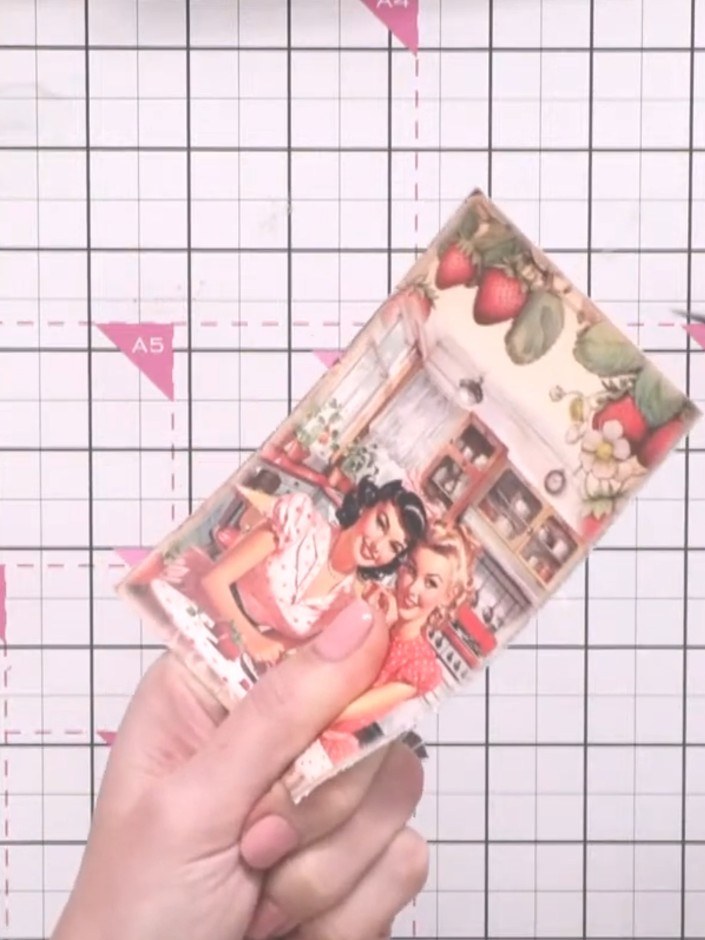 2
Using scissors, gently distress the edges of your card base to create a vintage, textured effect.
 3
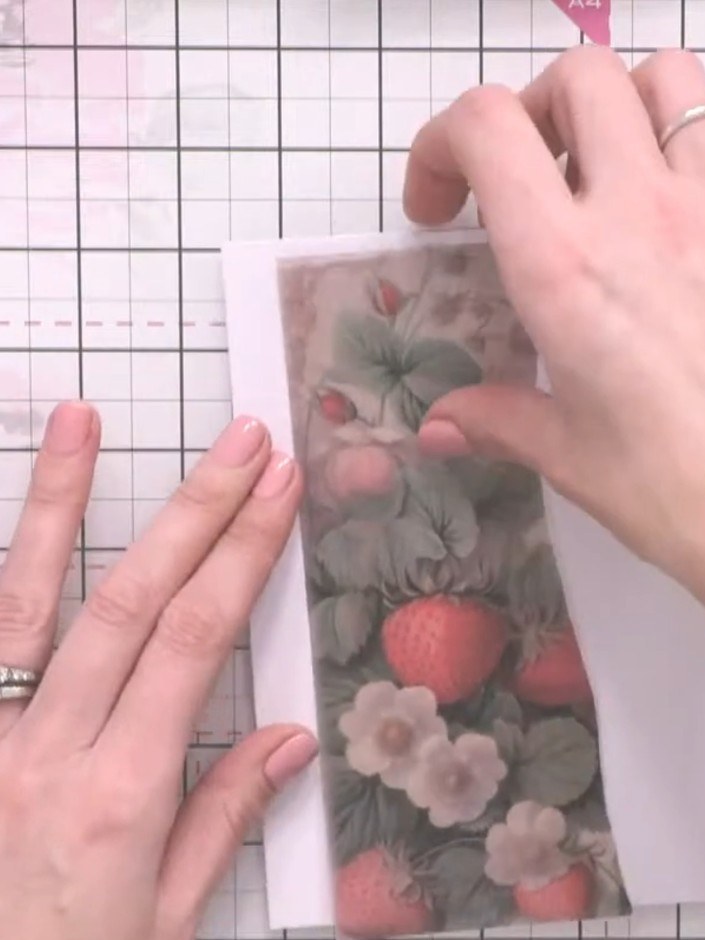
Tear a piece of patterned vellum featuring strawberries and flowers to approximately A6 size (roughly half of A4).
 4
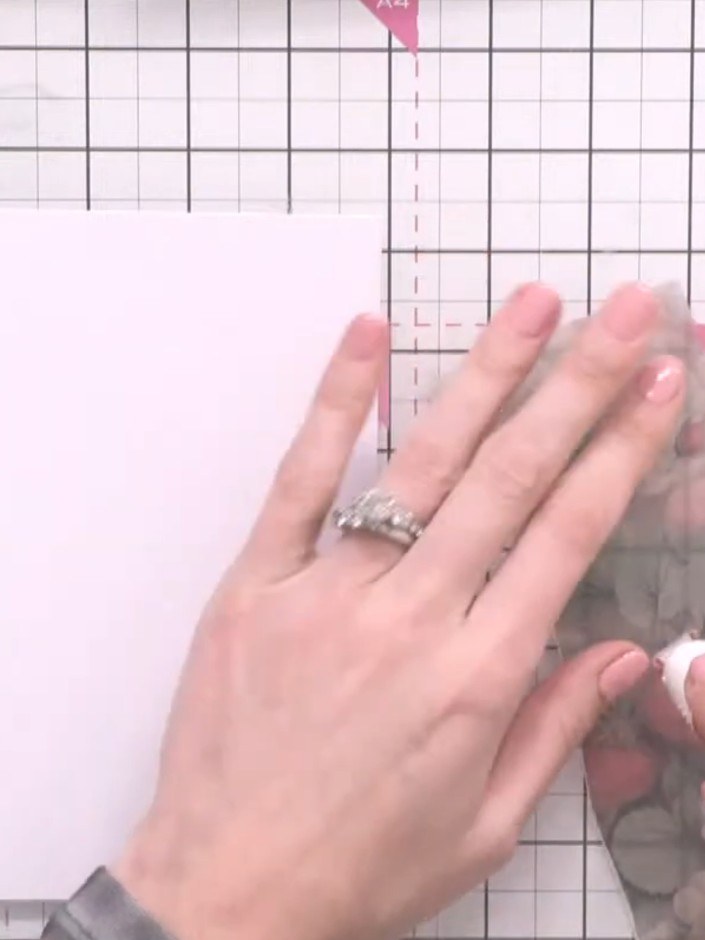
Using a tape pen, adhere the vellum sheet to one side of the pink card base. Apply the adhesive carefully along the edges to secure the vellum in place. Stamp a sentiment onto the vellum card using black ink. Position the sentiment along the edge or in a corner of the card where it will be visible through the vellum. Adhere a decorative topper (such as a vintage girl image) to the front of the card using foam pads for dimension. Position the topper centrally on the vellum panel.
 5
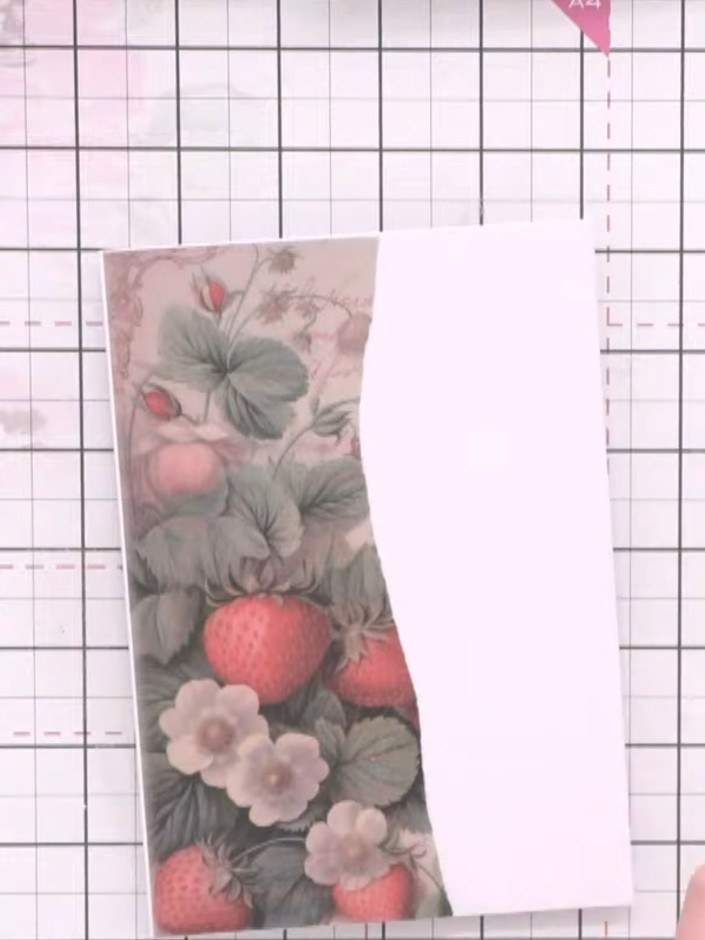
Layer additional vellum pieces on top of the base card for extra visual interest. Position the decorative strawberry and floral vellum panel on the left side of the card. Add a plain vellum panel on the right to balance the design.
Share your make with the Stamps By Me community - and keep this guide for next time.
Written up from the show itself. See every guide from our shows · free how-to guides · watch live on My Telly · the previous layout