Give your friends €10 off their first order!
Refer a FRIEND








Prices change straight away. Every language is our own translation, not Google.
A project from our live show HSN MARCH PRODUCT PREVIEW - Join me for my Sneak Peek - Broadcast 27th February 25 · 27/02/2025 · watch it from 58:15
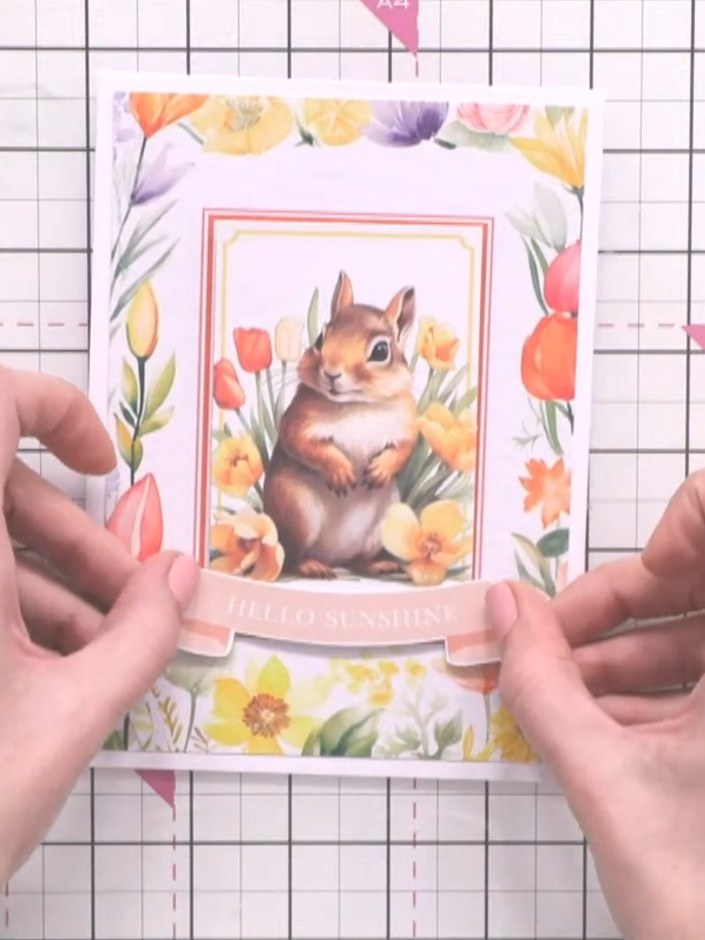
Create a charming spring card featuring adorable animals surrounded by colourful florals. This quick and easy project uses pre-cut toppers and sentiment banners from the Flora and Fauna collection, simply layered onto a card blank with foam pads for instant dimension. Perfect for birthdays, friendship messages or seasonal greetings with minimal effort and maximum impact.
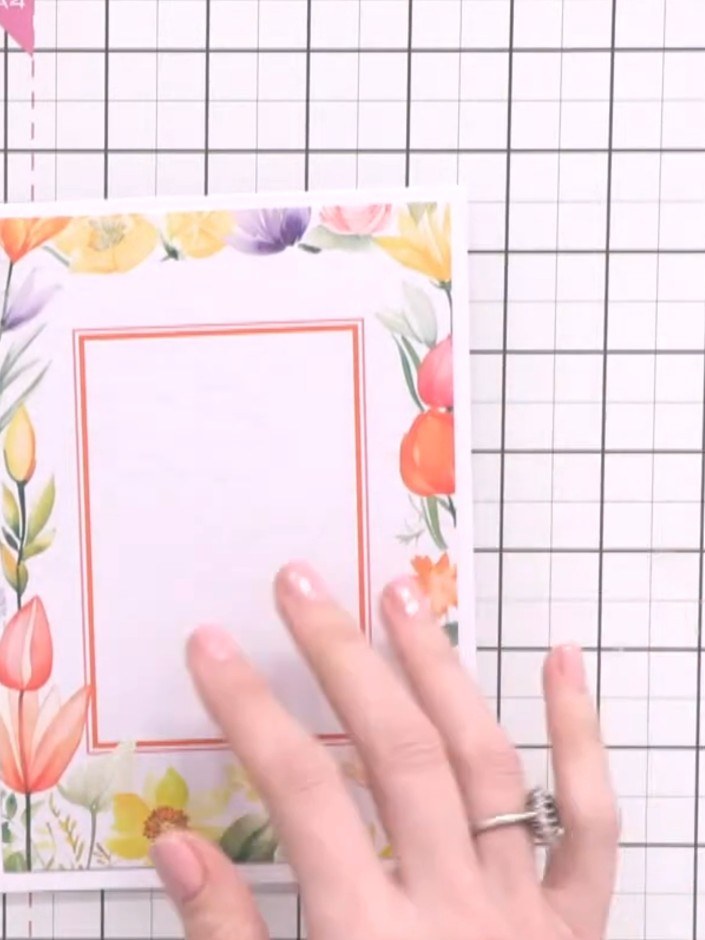
Select a pre-folded card blank from the Flora & Fauna Toppers pad. The toppers are already sized to fit the card blanks, so no trimming is required.
▶ watch this step (58:30)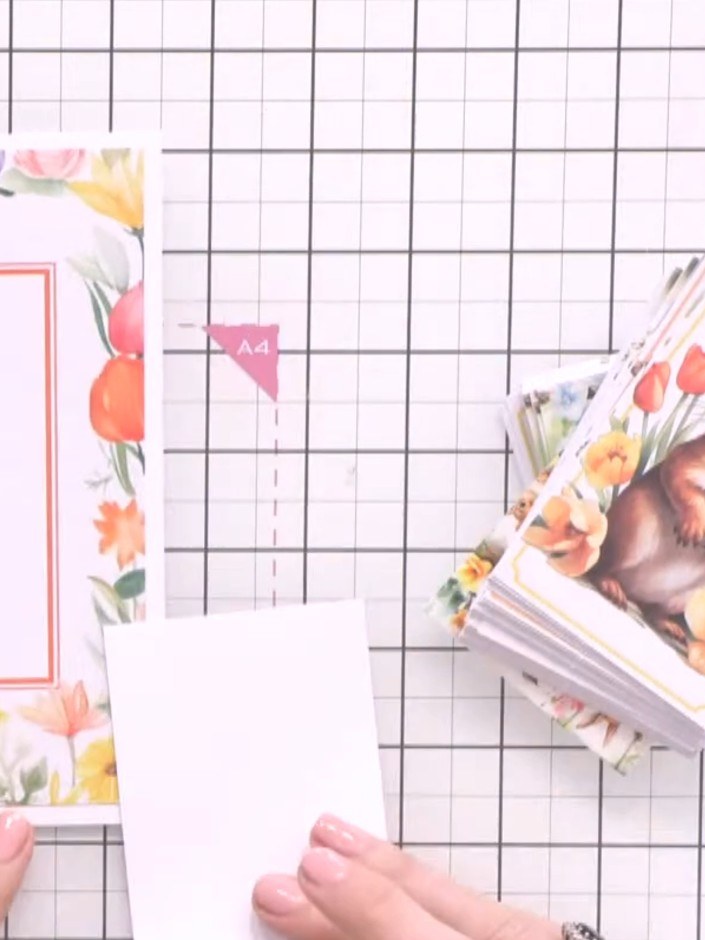
Select a topper design from the Flora & Fauna collection that complements your chosen card's colour scheme. The topper can feature an animal or floral design that coordinates with the decorative paper.
▶ watch this step (58:45)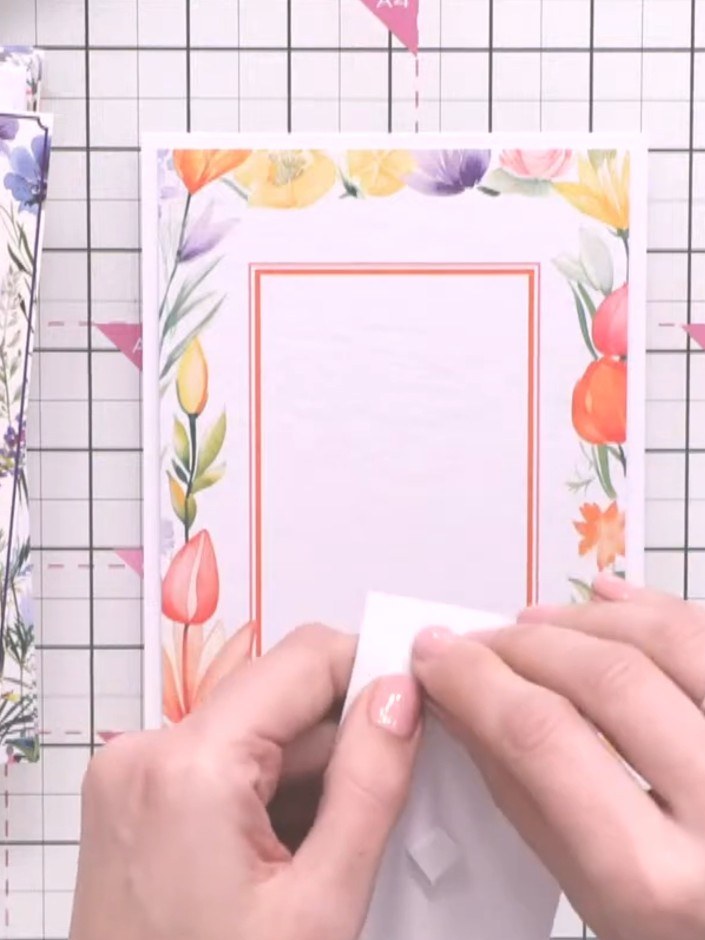
Apply a foam pad to the back of the floral topper panel.
▶ watch this step (59:00)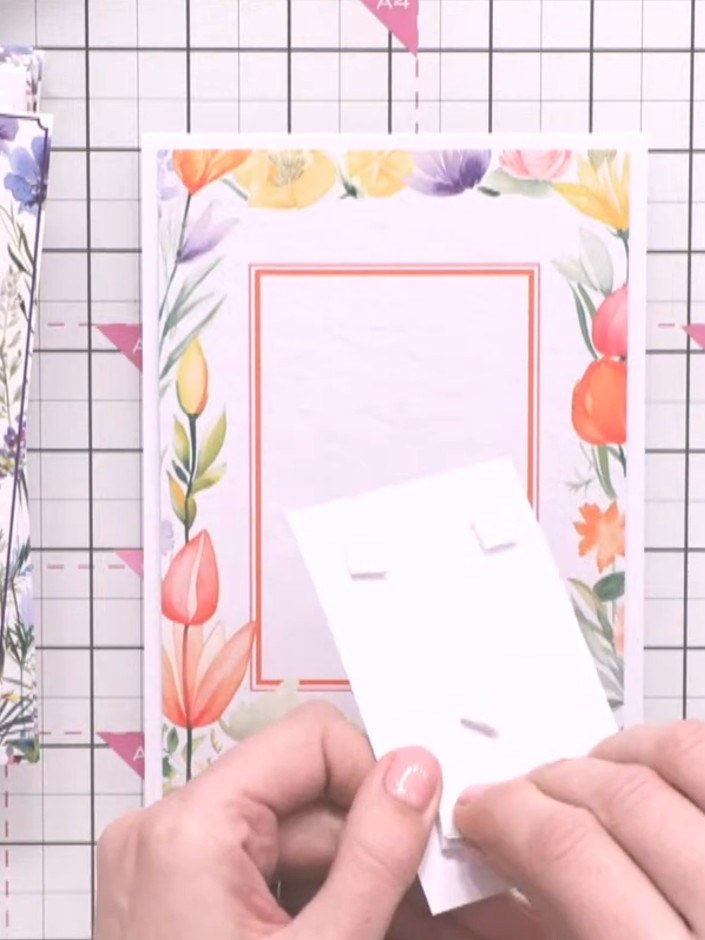
Adhere the floral topper to the centre of the white card blank using adhesive.
▶ watch this step (59:15)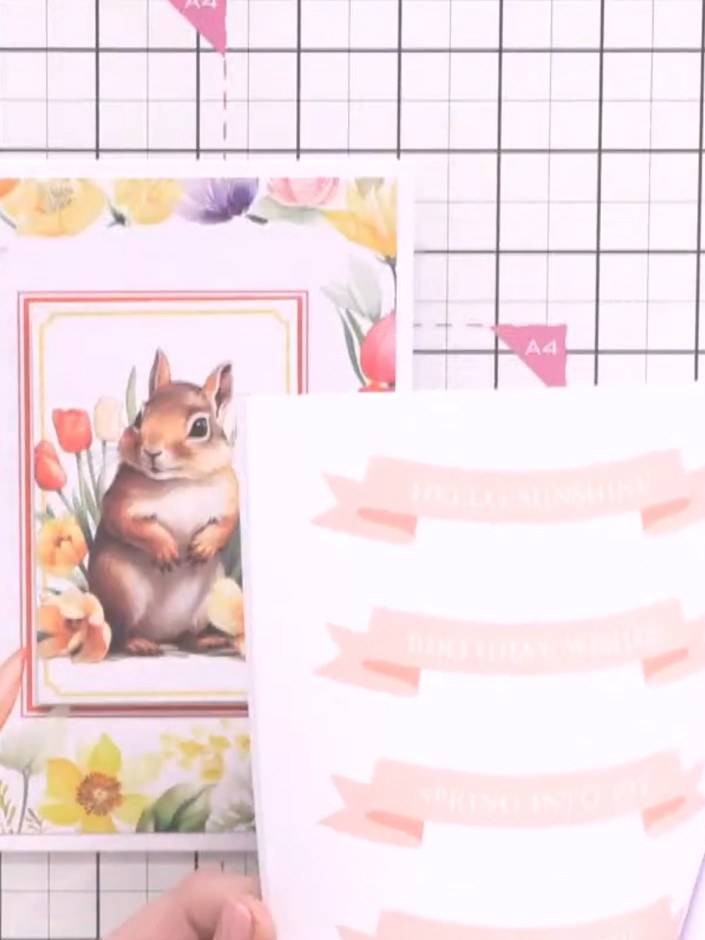
Cut out a sentiment banner from the sheet using scissors or the coordinating die. The banner features a pink watercolour design.
▶ watch this step (59:45)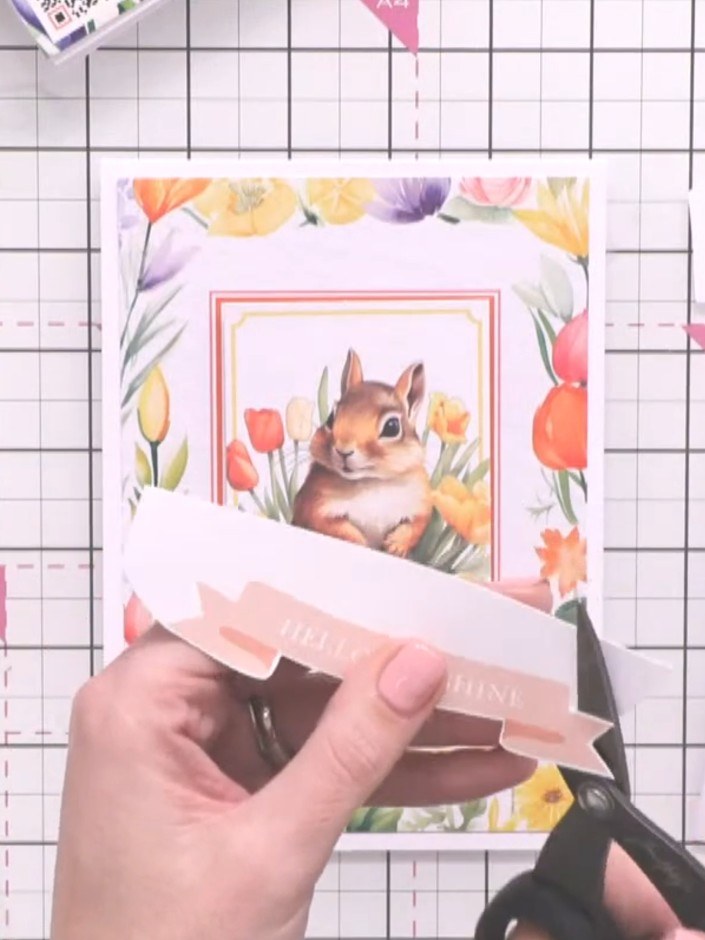
Adhere the sentiment banner to the lower portion of the card front using adhesive.
▶ watch this step (1:00:15)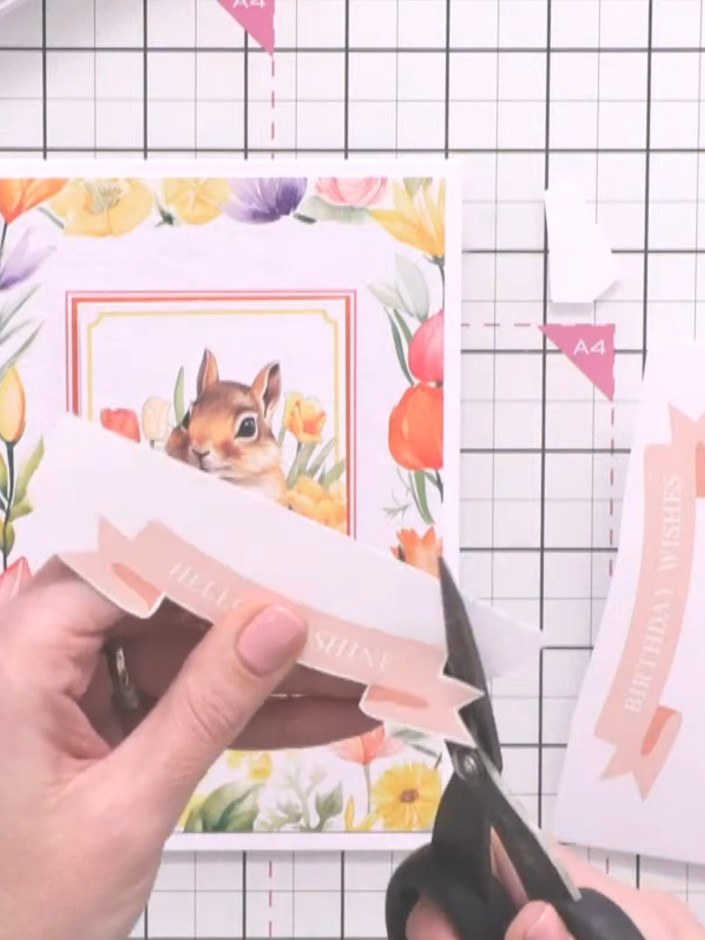
If desired, add sparkle or embellishments to your card. Alternatively, leave the card flat for posting to nursing homes or other recipients.
▶ watch this step (1:00:45)Written up from the show itself. See every guide from our shows · free how-to guides · watch live on My Telly


