Give your friends €10 off their first order!
Refer a FRIEND








A project from our live show MIGHTY MONDAY - Join Toni for her detailed papercrafting sessions - Broadcast 6th Jan 2025 · 06/01/2025 · watch it from 27:00
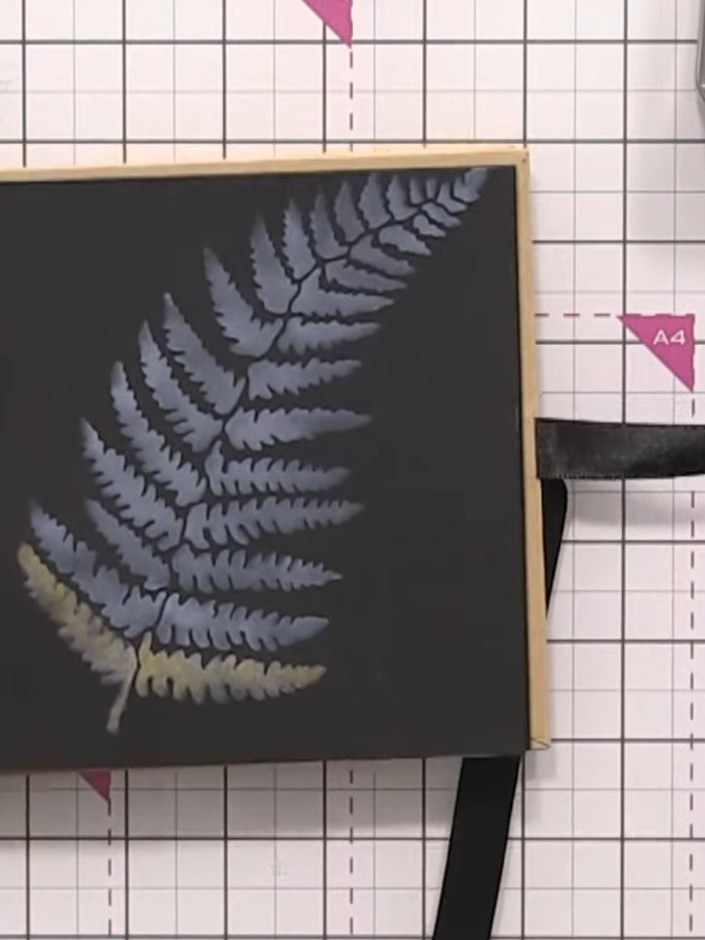
Create a stunning sparkly fern and floral design on a black spiral-bound notebook using confetti inks layered over white stencilled botanicals. The shimmering, dimensional artwork features purple flowers and grey-blue foliage, enhanced with white gel pen borders and delicate details for a polished finish. This elegant piece combines stencilling, ink blending and hand-drawn embellishments to create a beautiful botanical journal cover.
 Stamps By Me - Premium Pigment Ink Pure White - Cotton - 121022MSEE IT
 Stamps By Me - Wistful Charm - 5 X 7 Stencil - Fern - 180723BSEE IT
 Stamps By Me Confetti Ink - Oyster - 180822ISEE IT
 Stamps By Me Confetti Ink - Cloud - 180822DSEE IT
 Stamps By Me Confetti Ink - Grape - 180822ESEE IT
 Stamps By Me Confetti Ink - Grasshopper - 180822GSEE IT
 Stamps By Me Confetti Ink - Lagoon - 180822LSEE IT
 Stamps By Me Confetti Ink - Mushroom - 180822HSEE IT
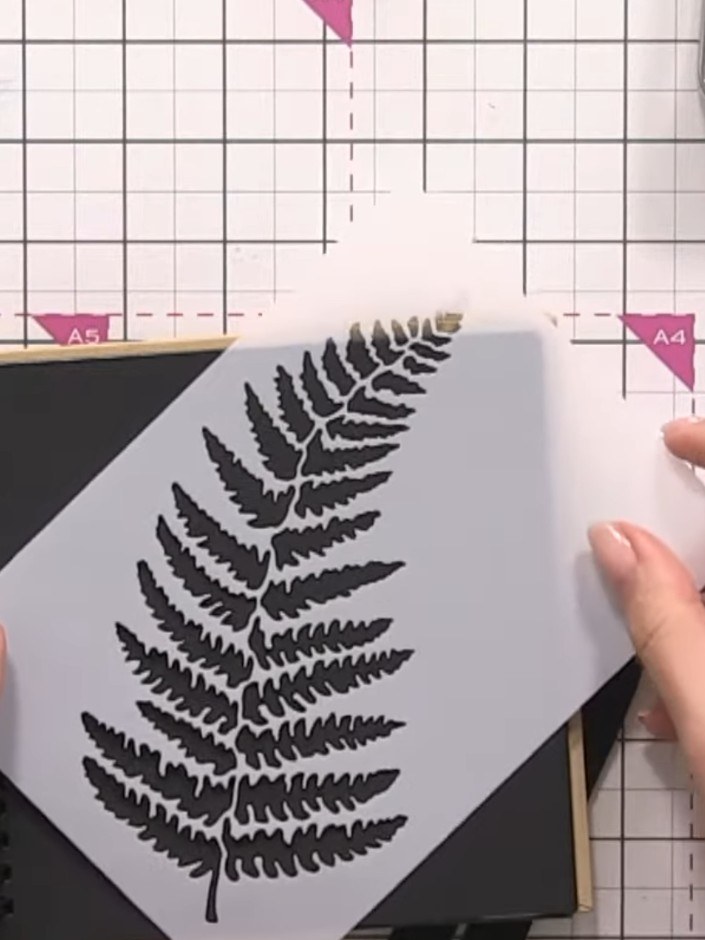
Place the fern stencil on black card. Apply white ink pad through the stencil using a blending brush, working the ink through all the cut-out areas to create the fern design.
▶ watch this step (27:15)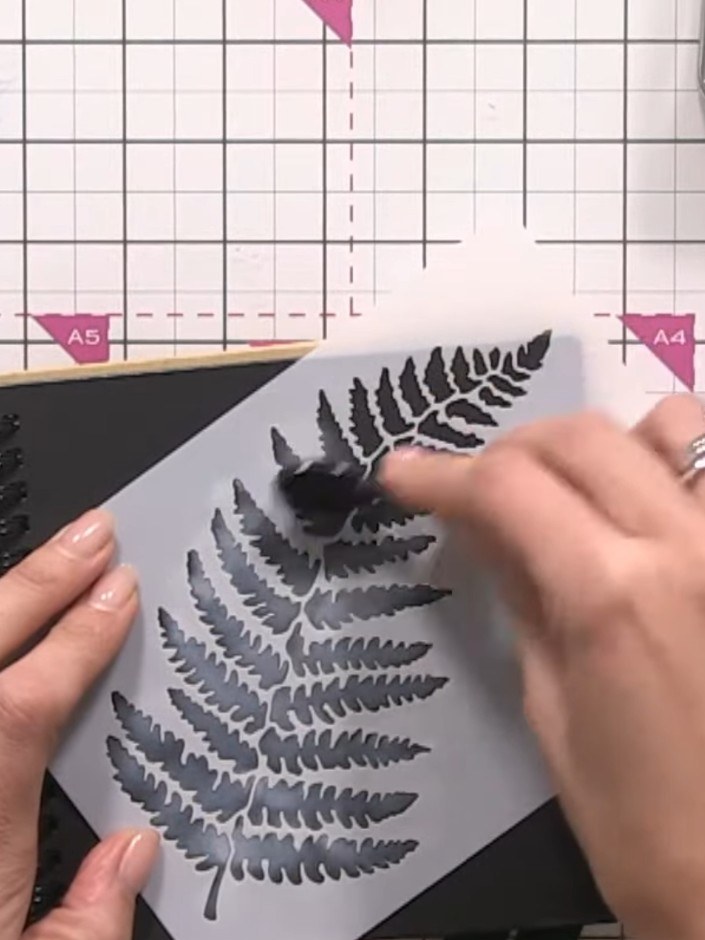
Once the white base is dry, select a sparkly confetti ink colour such as gold. Apply the ink through the fern stencil using a blending brush, moving and shaking the brush to distribute the sparkly particles evenly.
▶ watch this step (28:00)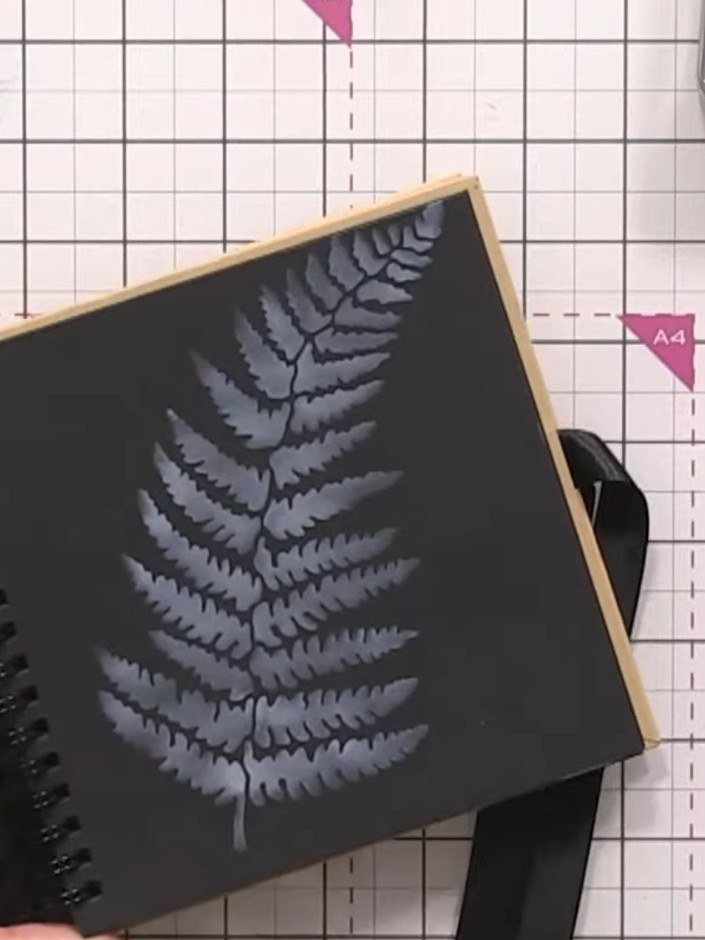
Mix the grasshopper confetti ink with water on a glass mat. Using a damp brush, paint over the white fern design on the black card, allowing the sparkle to show through.
▶ watch this step (28:45)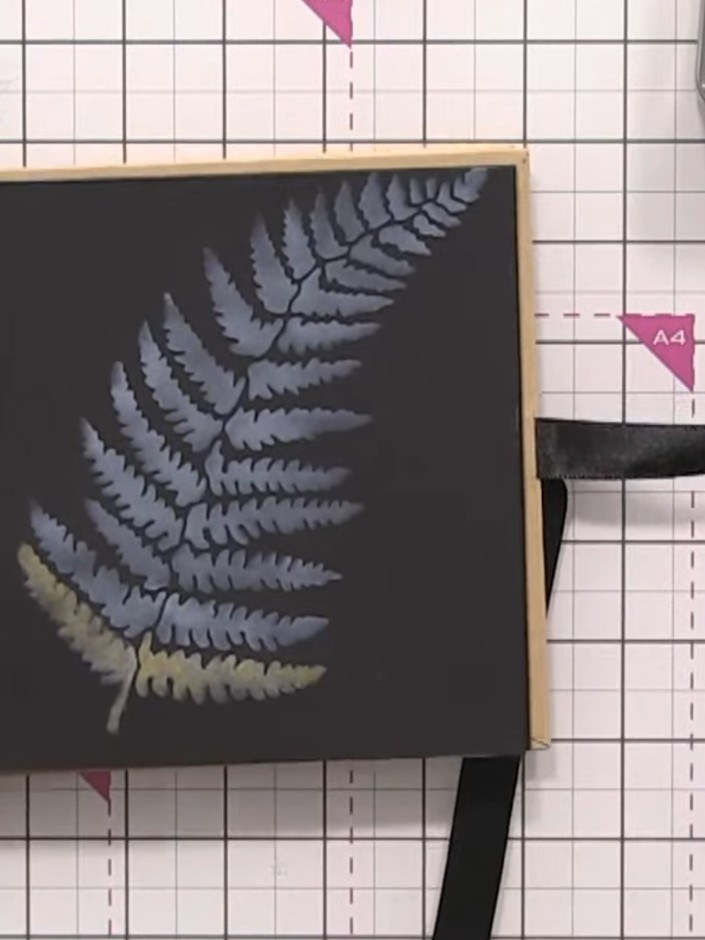
Continue adding sparkly confetti ink to other areas of the fern using different colours such as clear sparkle. Allow each layer to dry completely between applications.
▶ watch this step (30:15)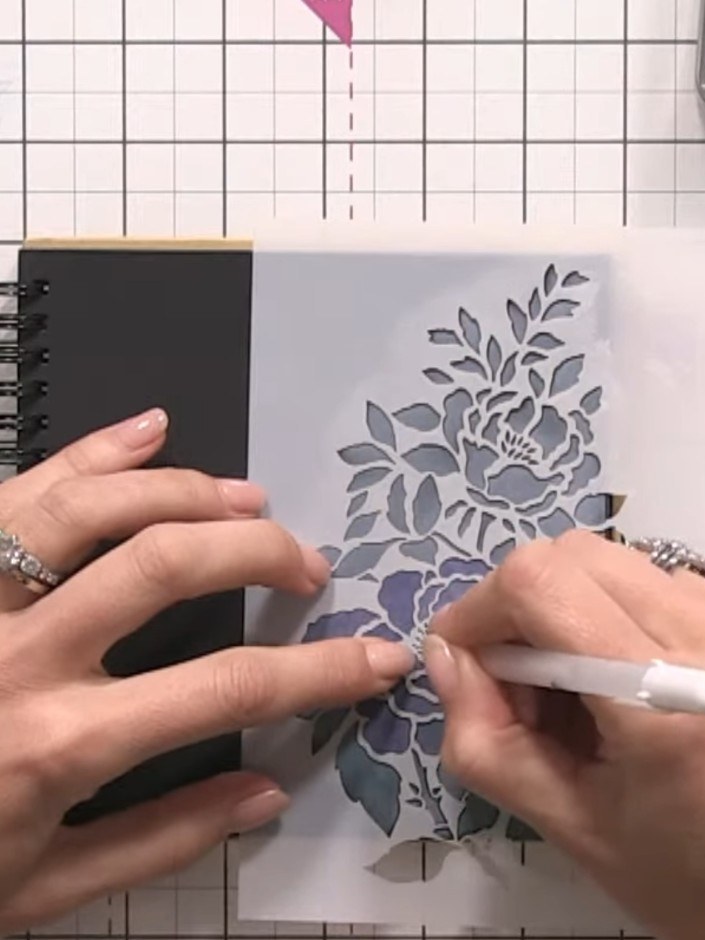
Using a white gel pen, carefully outline the centre details of the fern design by following the stencil holes for precision. Work slowly to ensure clean, accurate lines that highlight the intricate flower centre.
▶ watch this step (32:45)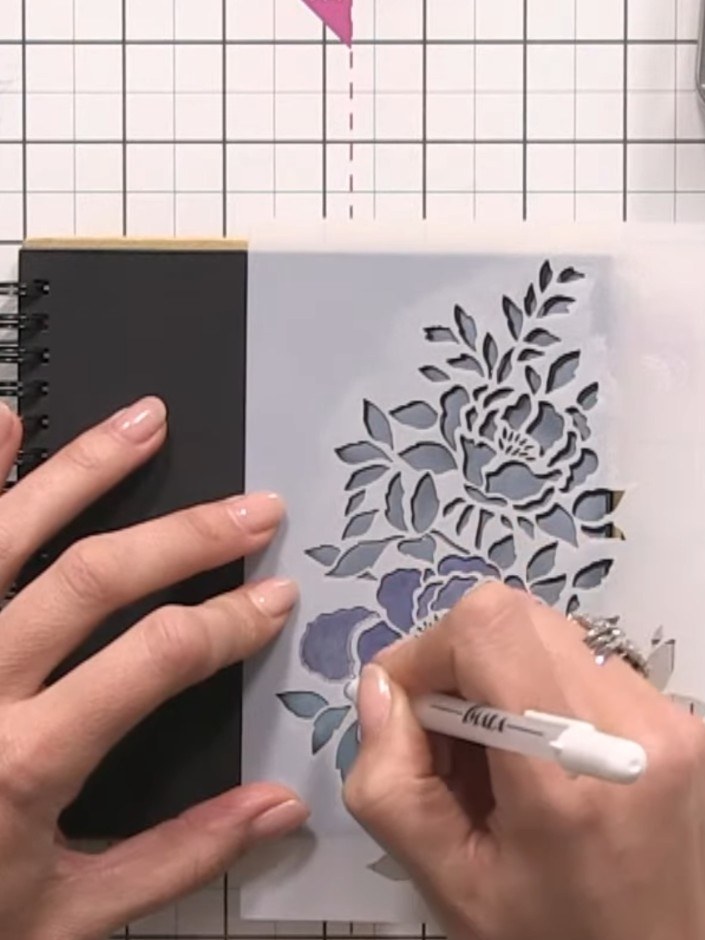
Replace the stencil over your design and use a white gel pen to carefully outline the outer edges of the fern motif, adding definition and detail to the design.
▶ watch this step (33:30)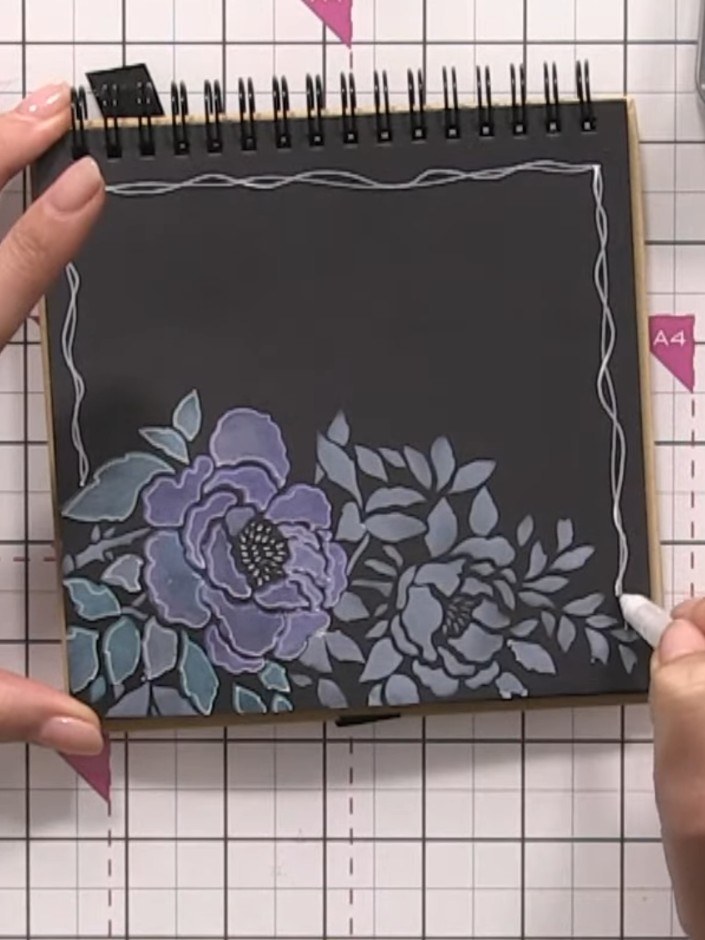
Using a white gel pen, draw decorative wonky lines from the floral design to the edges of the page to anchor the artwork and create a frame effect.
▶ watch this step (36:00)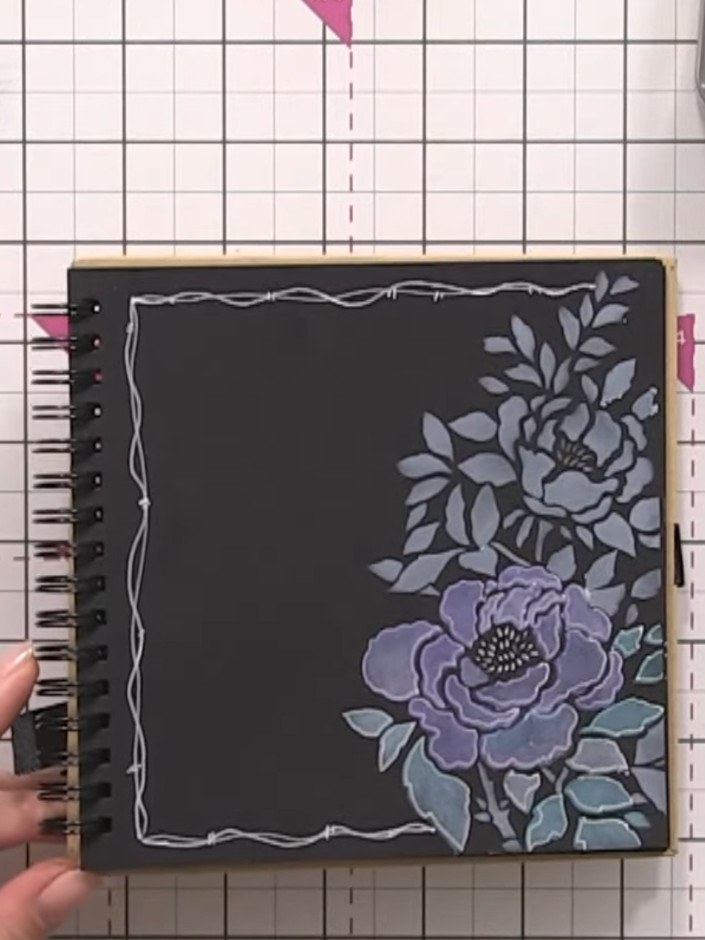
Add decorative hash marks or doodle patterns around the floral design using a white gel pen to frame it and prevent it from floating on the page.
▶ watch this step (36:45)Written up from the show itself. See every guide from our shows · free how-to guides · watch live on My Telly