Give your friends €10 off their first order!
Refer a FRIEND








A project from our live show MIGHTY MONDAY - Join Toni for her detailed papercrafting sessions - Broadcast 6th Jan 2025 · 06/01/2025 · watch it from 11:00
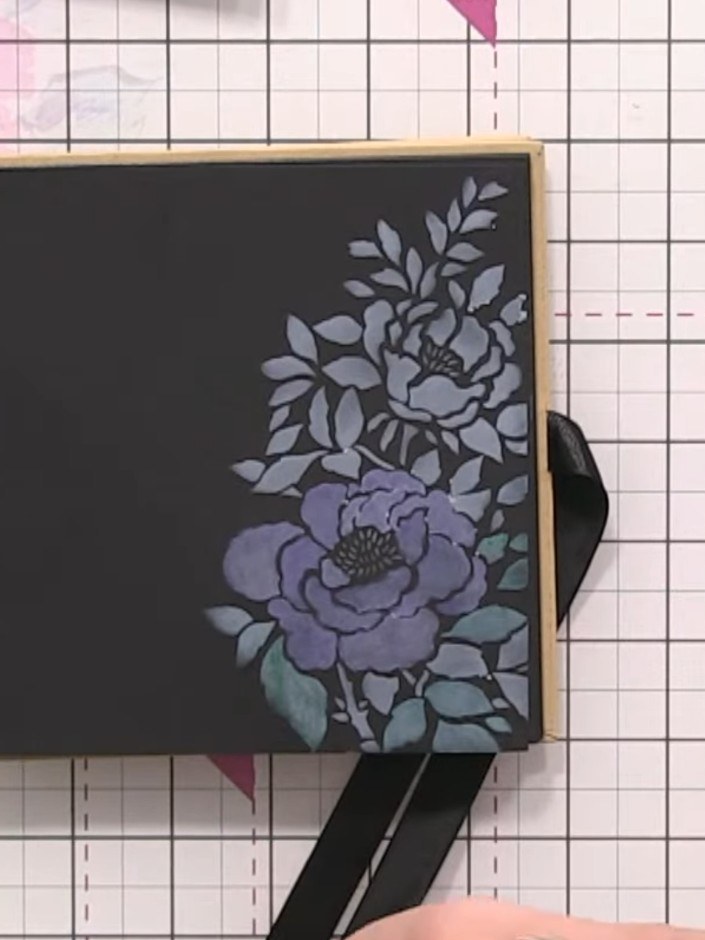
Create a stunning halo effect floral design on black card using a layered stencilling technique. Apply white ink as a base beneath vibrant watercolour inks in purple, blue and grey tones, then enhance with diluted confetti inks for a soft, ethereal finish. The white underlay allows the colours to glow beautifully against the dark background, producing an elegant, ghostlike effect with delicate shading.
 Stamps By Me - Premium Pigment Ink Pure White - Cotton - 121022MSEE IT
 Stamps By Me - Wistful Charm - 5 X 7 Stencil - Fern - 180723BSEE IT
 Stamps By Me - Wistful Charm - 5 X 7 Stencil - Floral 180723CSEE IT
 Stamps By Me Confetti Ink - Oyster - 180822ISEE IT
 Stamps By Me Confetti Ink - Cloud - 180822DSEE IT
 Stamps By Me Confetti Ink - Grape - 180822ESEE IT
 Stamps By Me Confetti Ink - Grasshopper - 180822GSEE IT
 Stamps By Me Confetti Ink - Lagoon - 180822LSEE IT
 Stamps By Me Confetti Ink - Mushroom - 180822HSEE IT
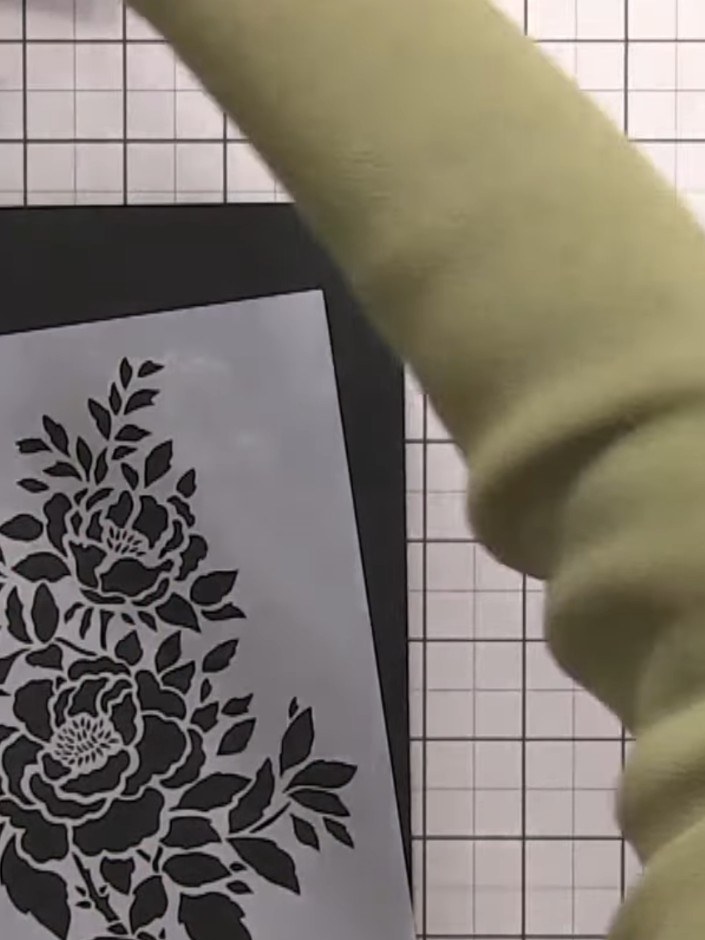
Position your floral stencil on black card. Using a blending brush, apply white pigment ink through the stencil, building up a solid base layer of white over the design.
▶ watch this step (11:30)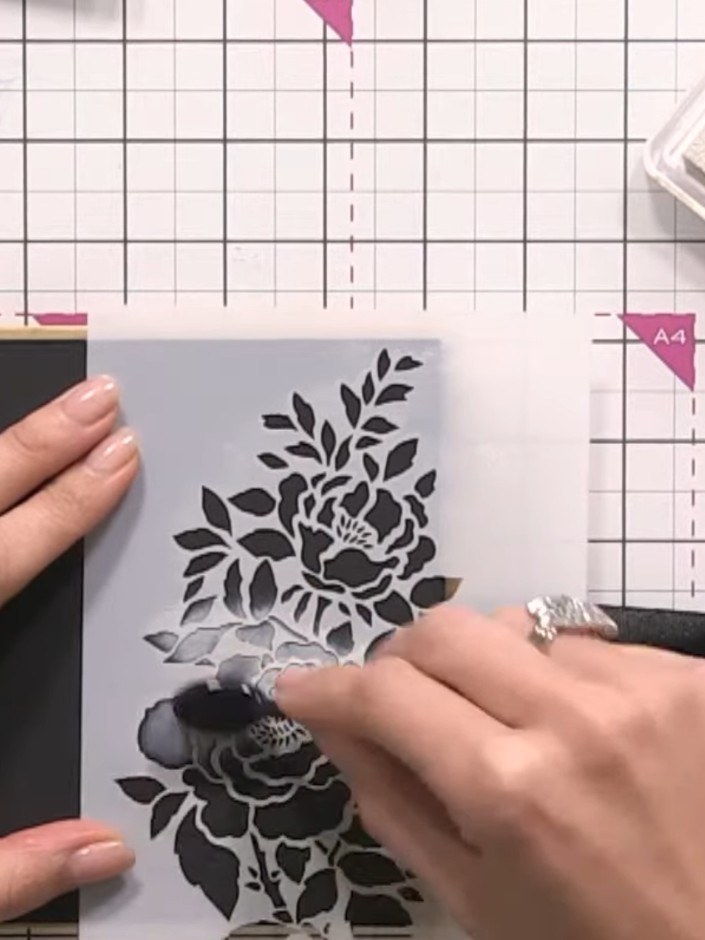
Mix a small amount of coloured confetti ink with water on a glass mat to create a diluted paint consistency. Use a brush to blend the ink and water together until you achieve a watercolour-like consistency.
▶ watch this step (13:00)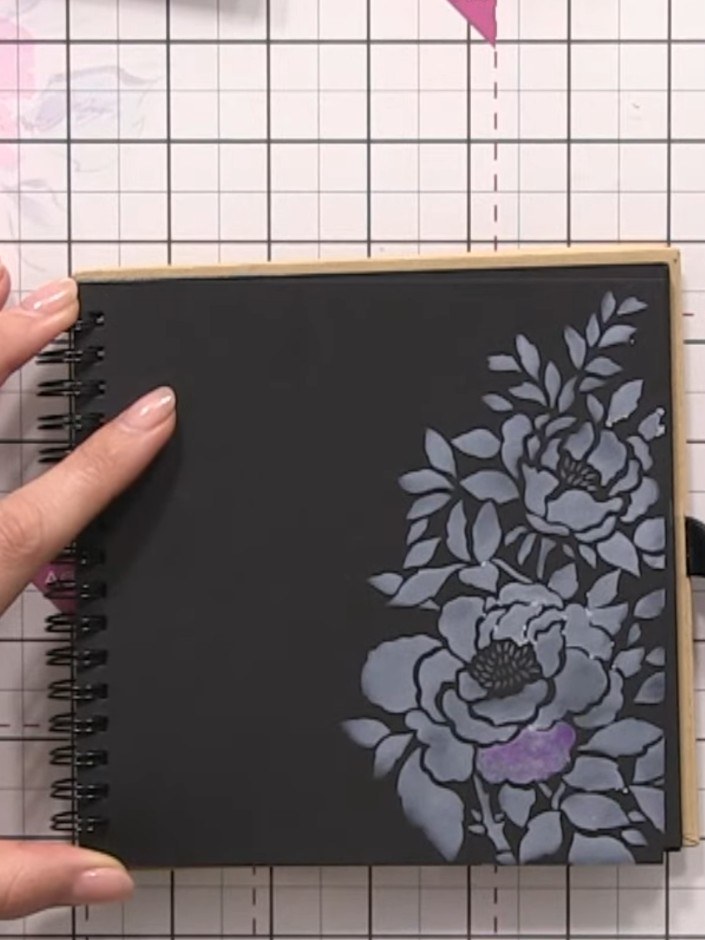
Using a damp brush, paint the diluted purple ink over the white stencilled floral design on the black card. Allow the water to help the colour move and blend across the petals.
▶ watch this step (17:45)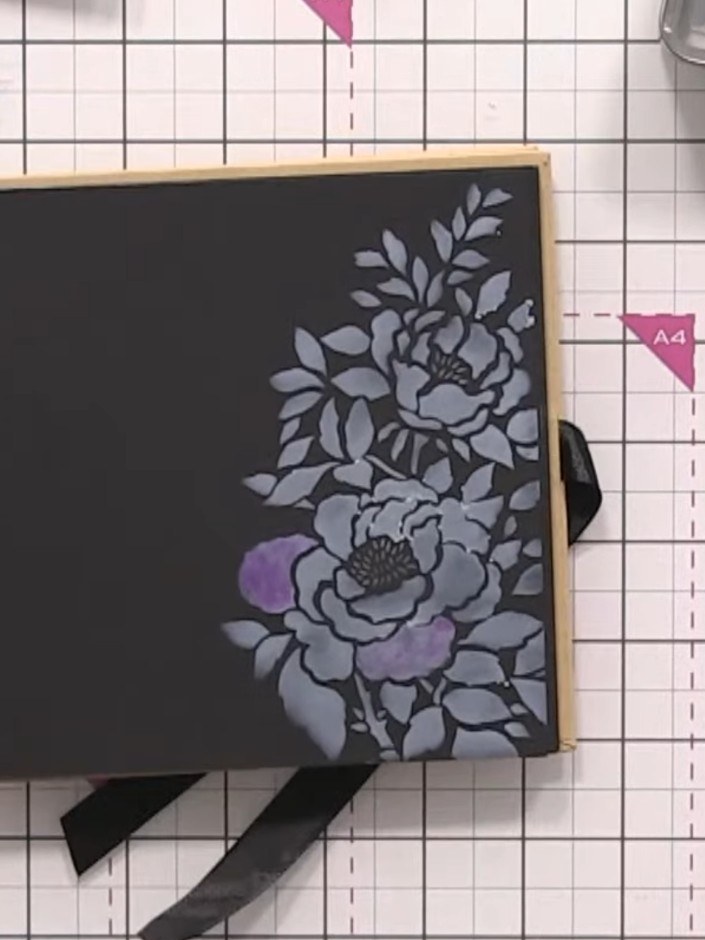
Allow the first colour layer to dry back completely. Observe how the watercolour ink becomes lighter and more ghostlike as the water evaporates from the black card surface.
▶ watch this step (19:00)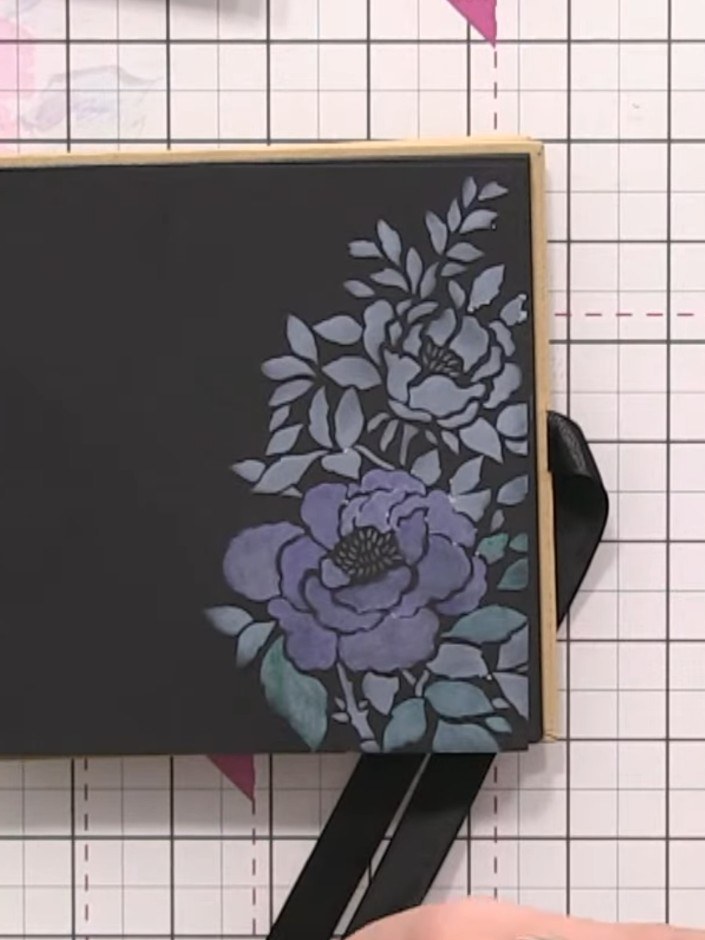
Layer a second colour on top of the first to create shading effects. Use less water for deeper colour saturation in areas where you want more intensity.
▶ watch this step (24:30)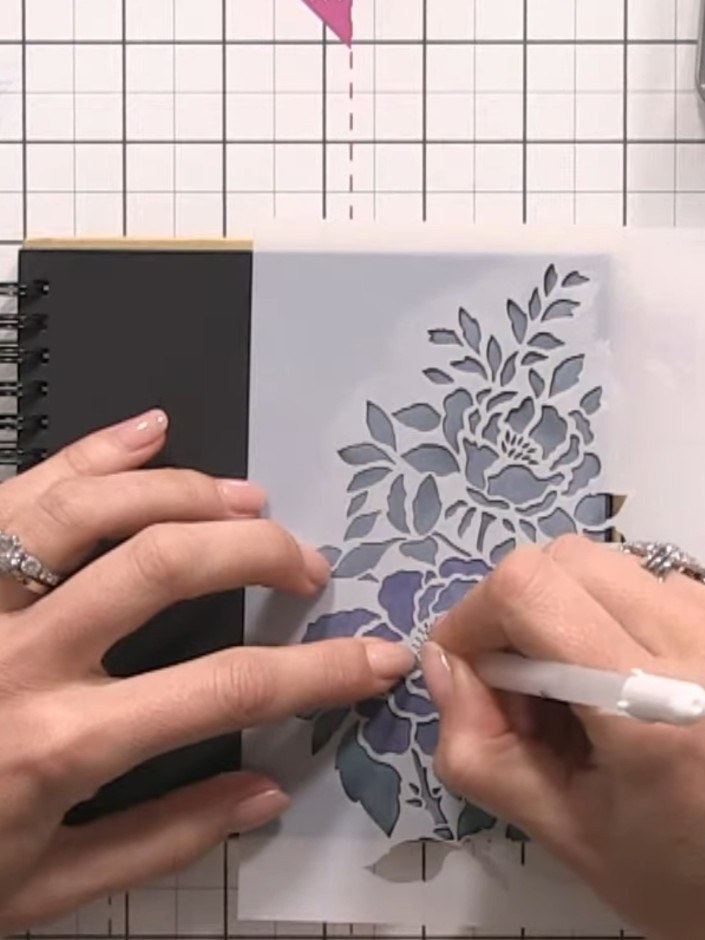
Once the ink is completely dry, use a white gel pen to outline the stencilled floral design. Work carefully around the petals and leaves to add definition and precision to the image.
▶ watch this step (32:45)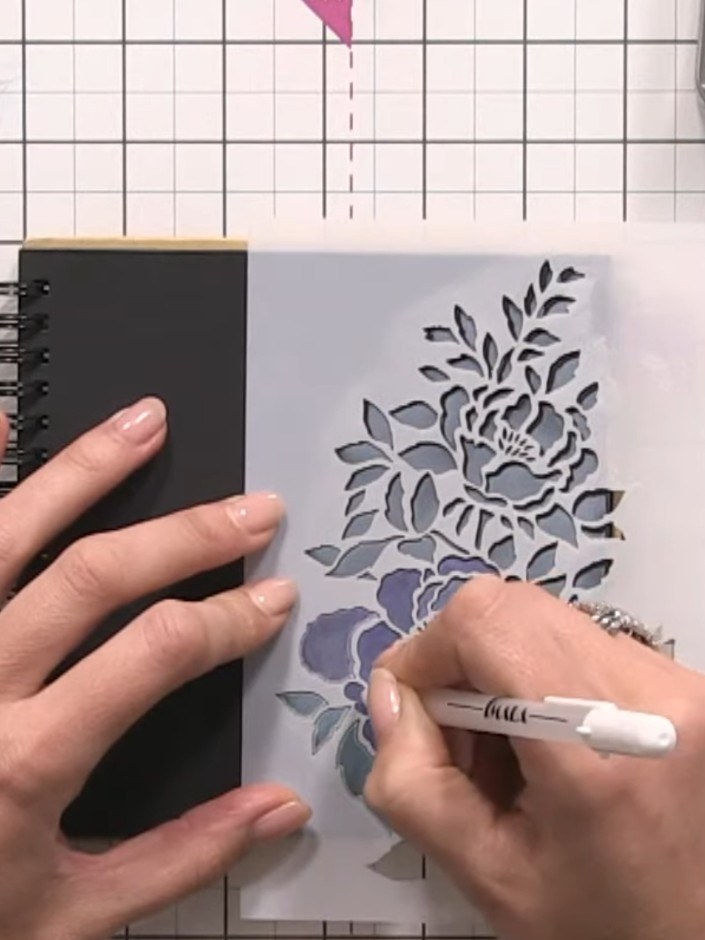
Add decorative elements around your floral design using a white gel pen. Draw wonky lines and hash marks to anchor the artwork on the black card.
▶ watch this step (33:30)Written up from the show itself. See every guide from our shows · free how-to guides · watch live on My Telly