Give your friends €10 off their first order!
Refer a FRIEND








A project from our live show MIGHTY MONDAY - Join Toni for her detailed papercrafting sessions - Broadcast 25th November 24 · 25/11/2024 · watch it from 23:00
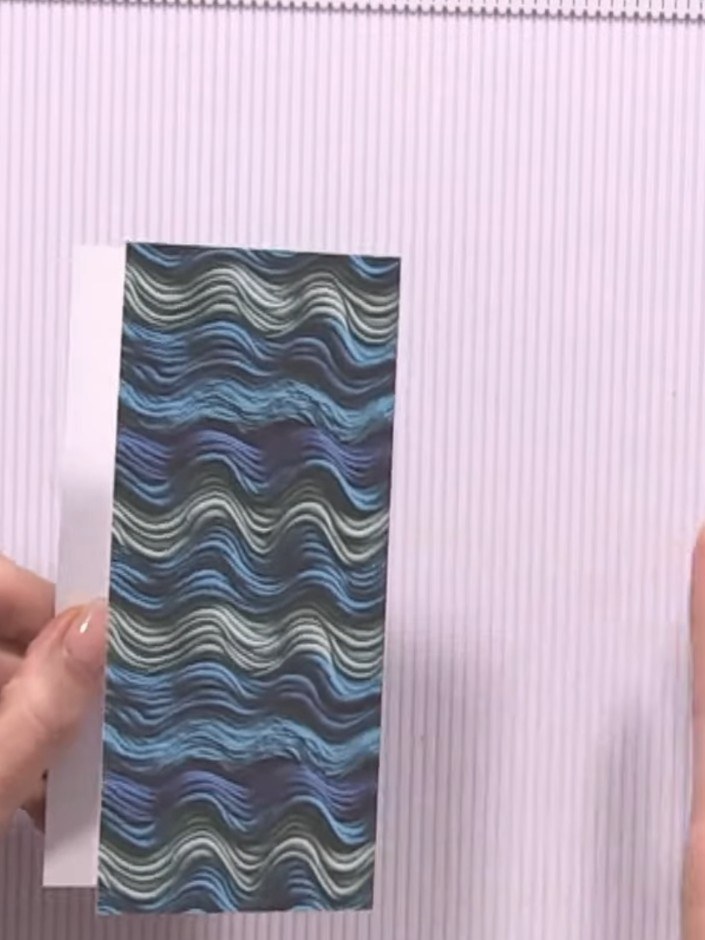
Create a versatile double-pocket page for your 6x6 album featuring decorative patterned papers in rich florals with blues, pinks and golds. This clever design offers storage pockets on both the front and back surfaces, maximising space for photos, journaling cards and embellishments. The project uses simple folding and adhering techniques to construct a functional hinged page that opens to reveal both pocket areas.
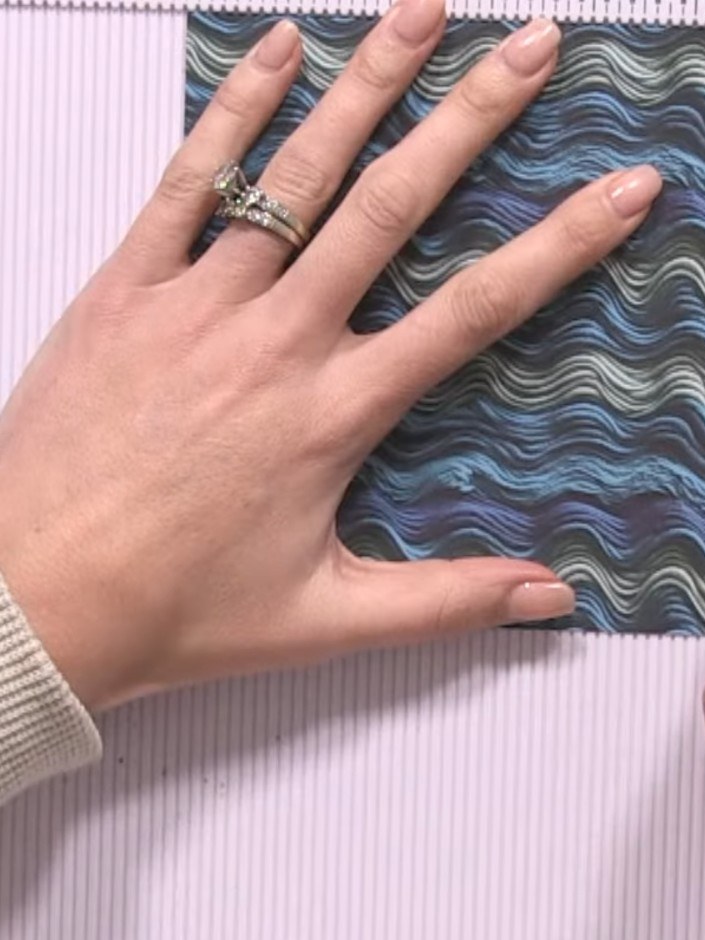
Score a half-inch hinge along one edge of your 6x6 patterned paper using your scoring tool.
▶ watch this step (23:00)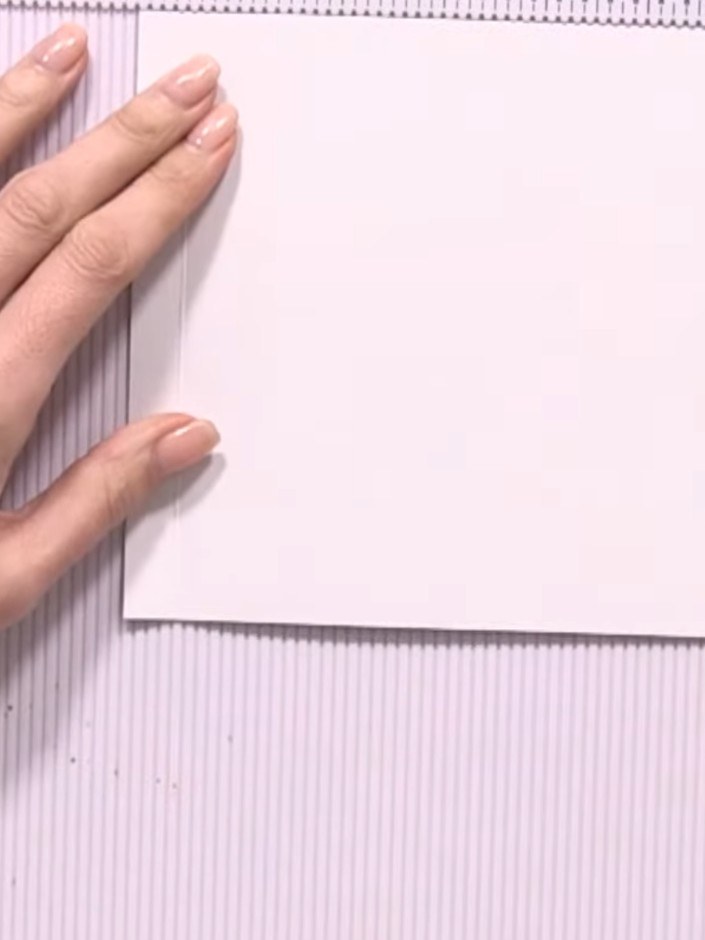
Turn the white card base and score at the 2-inch mark to create the front pocket fold line.
▶ watch this step (23:15)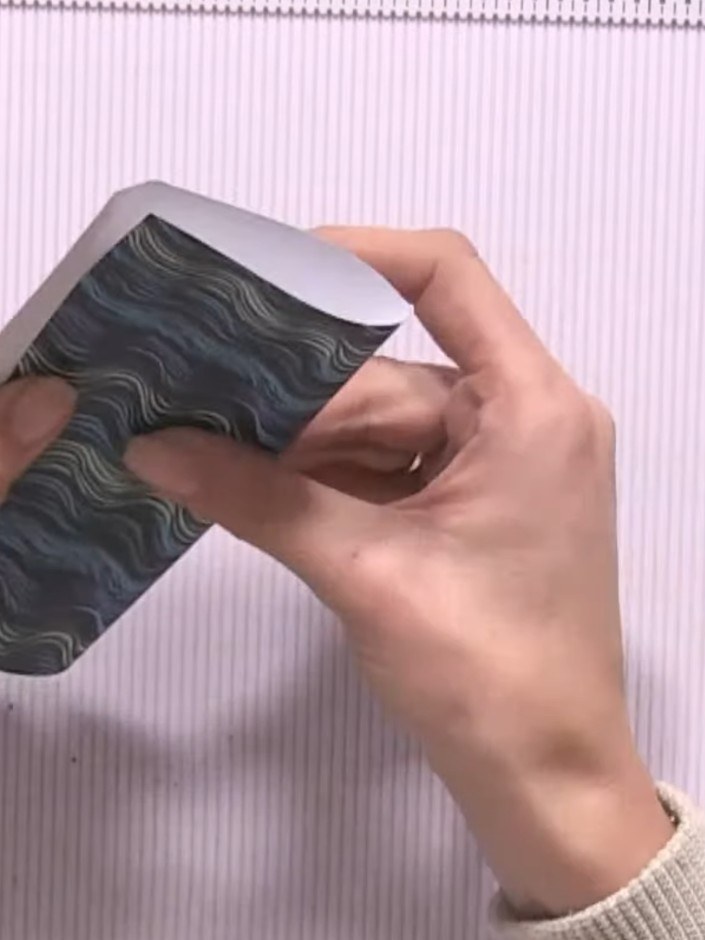
Trim away the hinge section that overlaps with your pocket area to prevent bulk when the pieces are layered together.
▶ watch this step (23:30)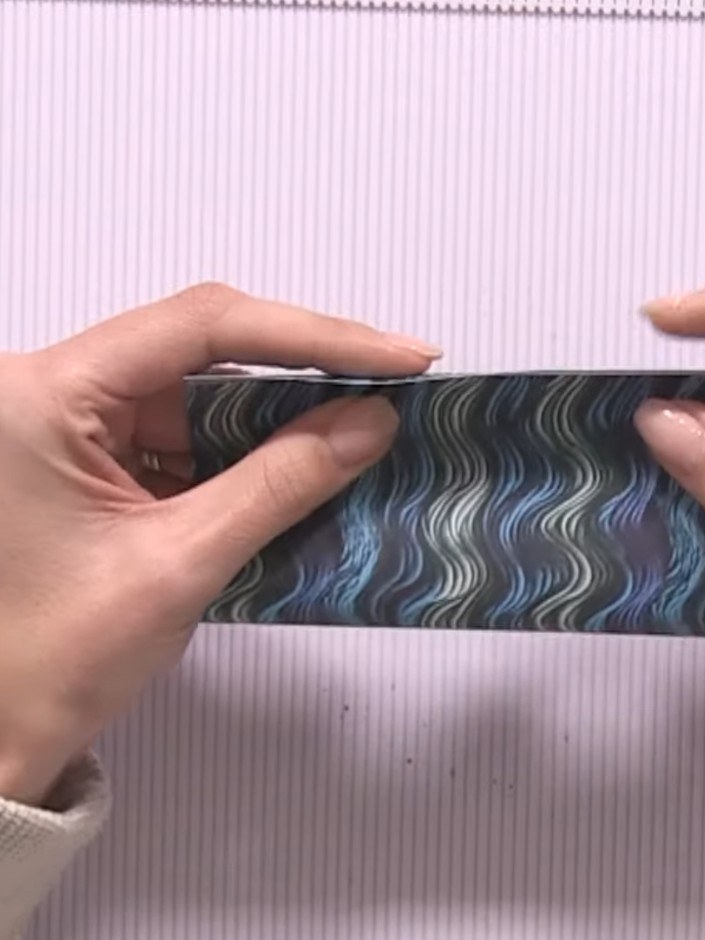
Cut a line down the centre of the patterned panel from the top edge to the two-inch score line.
▶ watch this step (23:45)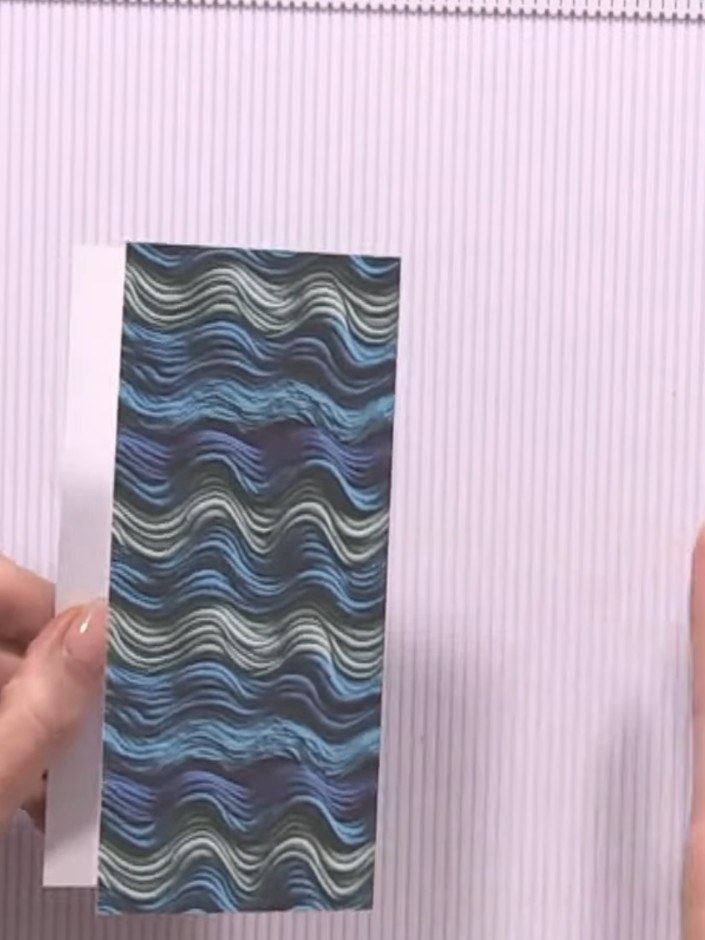
Trim away the triangular sections from the cut edges to create neat, angled corners on your pocket piece.
▶ watch this step (24:00)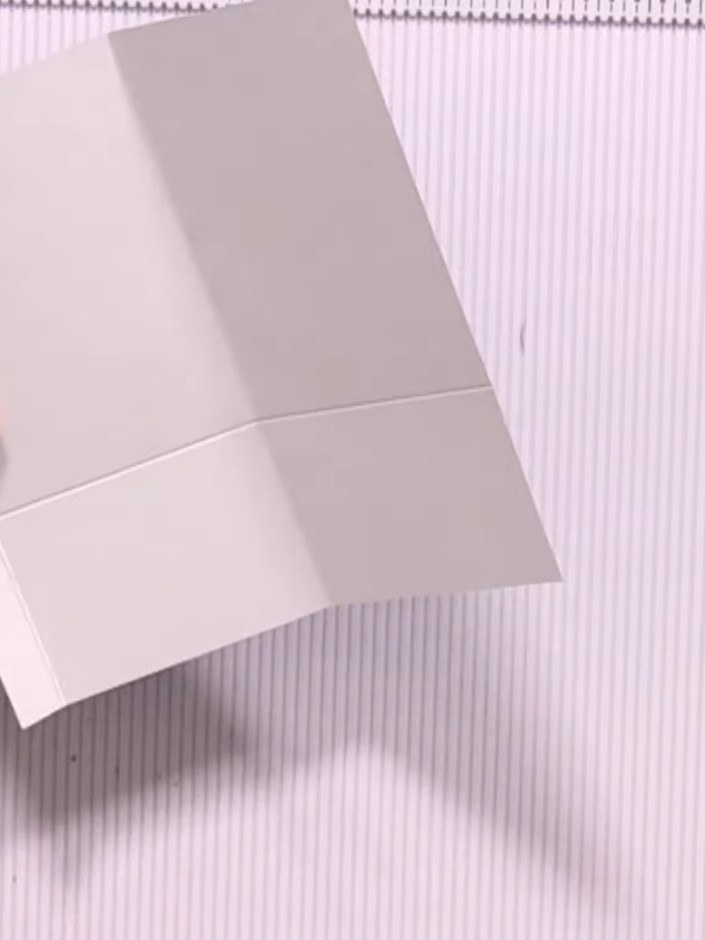
Fold both flaps inward to create your front pocket. The grey patterned panels should fold in to meet at the centre, forming a pocket on the front of your page.
▶ watch this step (24:15)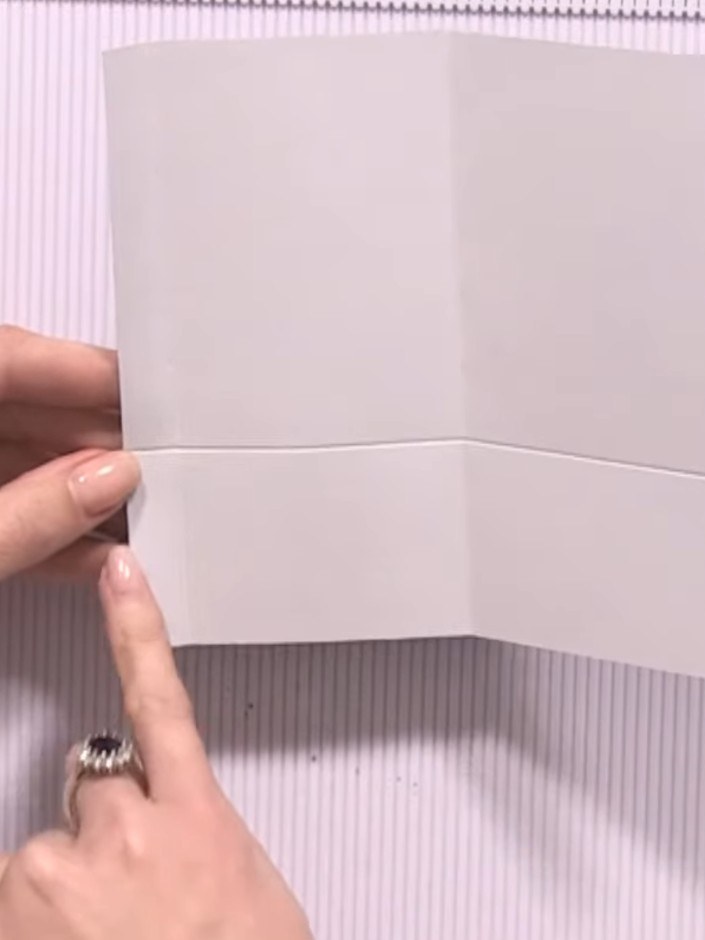
Apply adhesive tape or glue along the side edges of the pocket to seal them closed. Press firmly to secure the layers together.
▶ watch this step (24:30)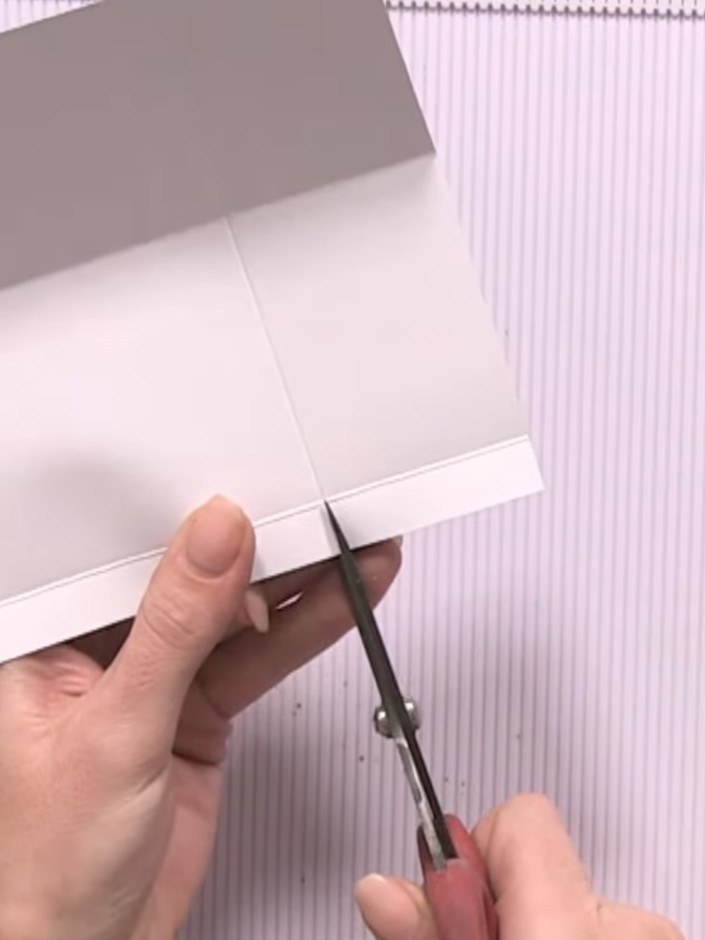
On the back of the page, attach a strip of white offcut paper along the bottom edge using quarter-inch score lines to create a second pocket.
▶ watch this step (24:45)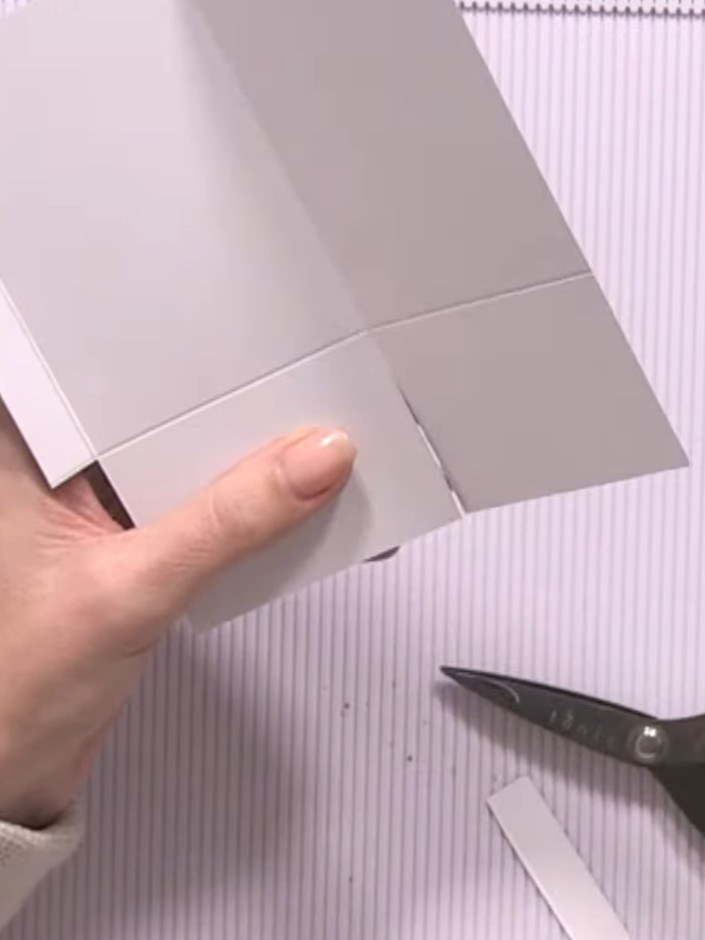
Seal the back pocket by applying adhesive tape or glue along the open edges to secure the pocket in place.
▶ watch this step (25:15)Written up from the show itself. See every guide from our shows · free how-to guides · watch live on My Telly

